10 scripts for Ubuntu MDM with Microsoft Intune
Categories:
7 minute read
Last week I described how to add Ubuntu endpoints to Microsoft Intune and improve their manageability. This guide can be found here: https://justinverstijnen.nl/adding-ubuntu-endpoints-to-intune
This guide is a sort of “Part 2” and covers additional customization options for Ubuntu endpoints enrolled in Microsoft Intune, building on the configuration described in the first guide.
The scripts
You can find the scripts I used in this guide here on GitHub:
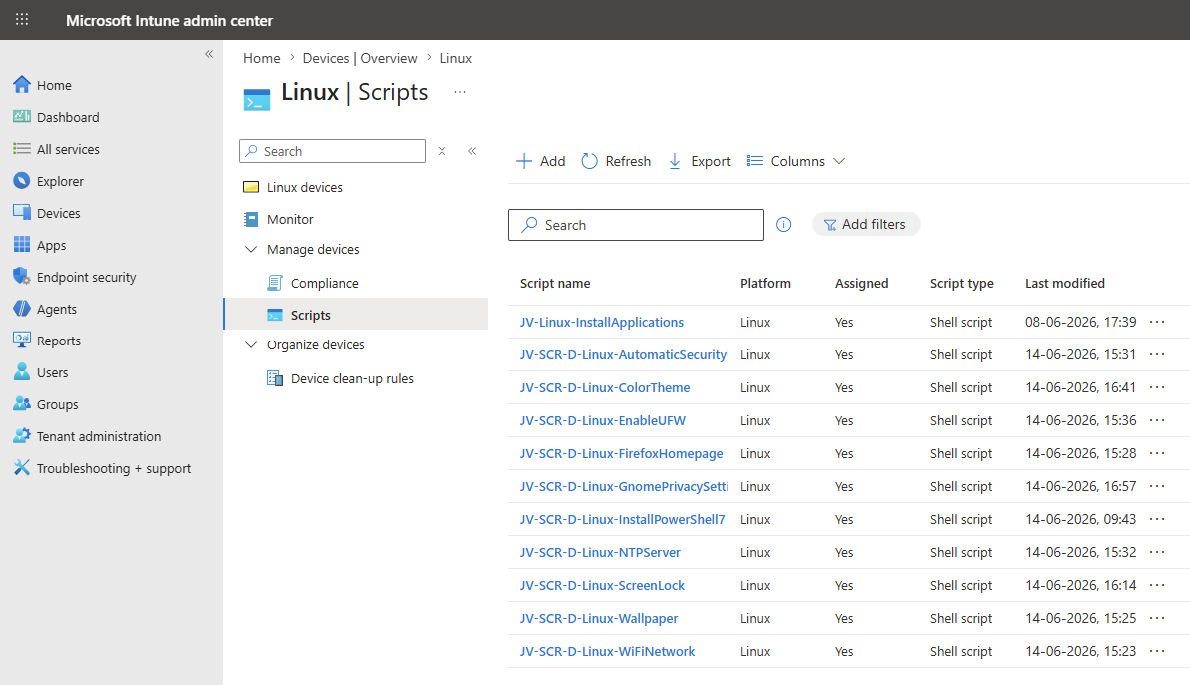
After a few clicks, I manually imported the scripts into Microsoft Intune and assigned them to my Ubuntu device:
Adding a custom script to Microsoft Intune
As all 10 scripts in this post must be added in exactly the same way, I will explain the process once. The process is really simple.
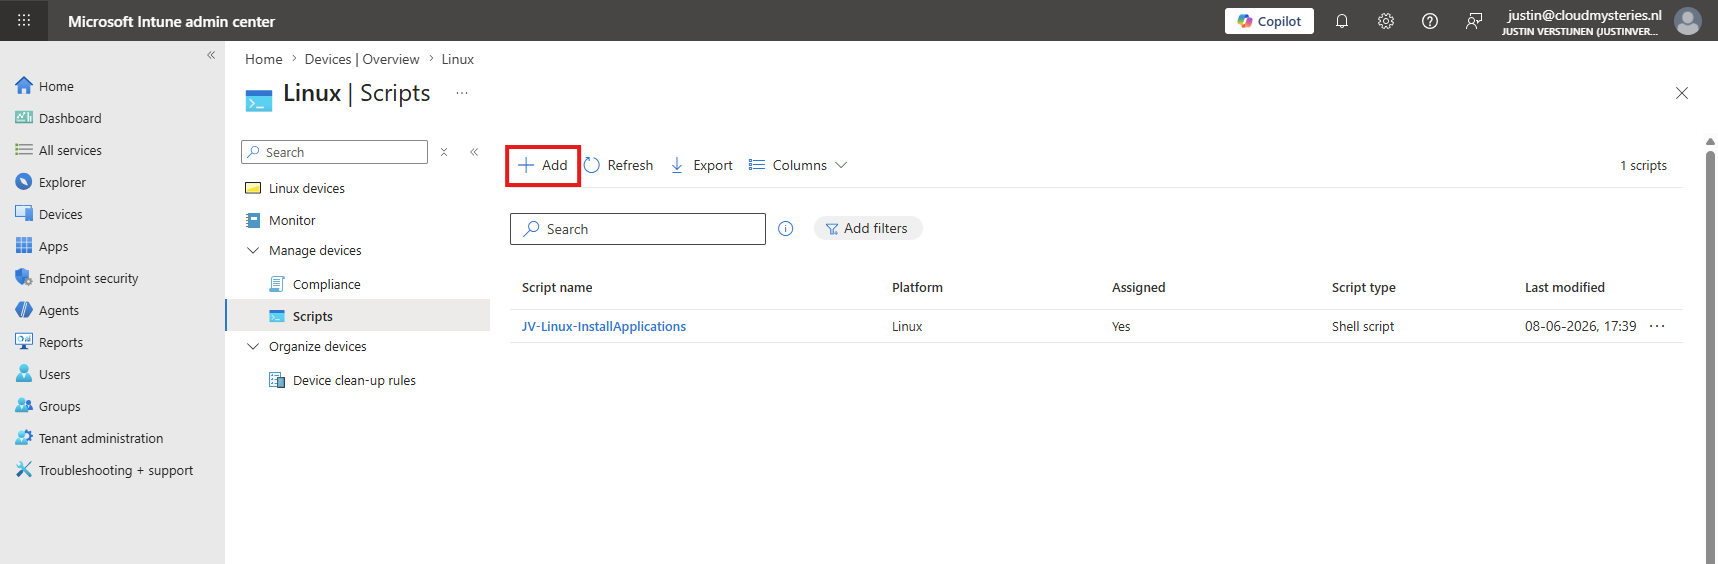
Open Microsoft Intune at https://intune.microsoft.com and navigate to “Devices”, then to “Linux”, and finally to “Scripts”. Here, click “+ Add” to add a new script.
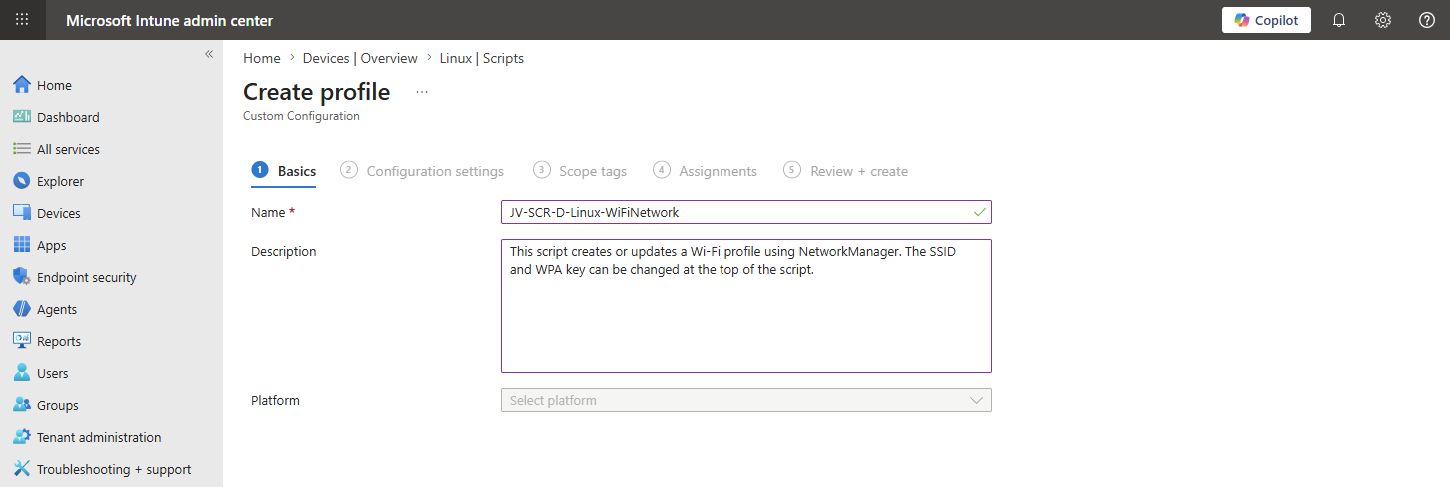
Then fill in the details of your script for documentation purposes in Microsoft Intune.
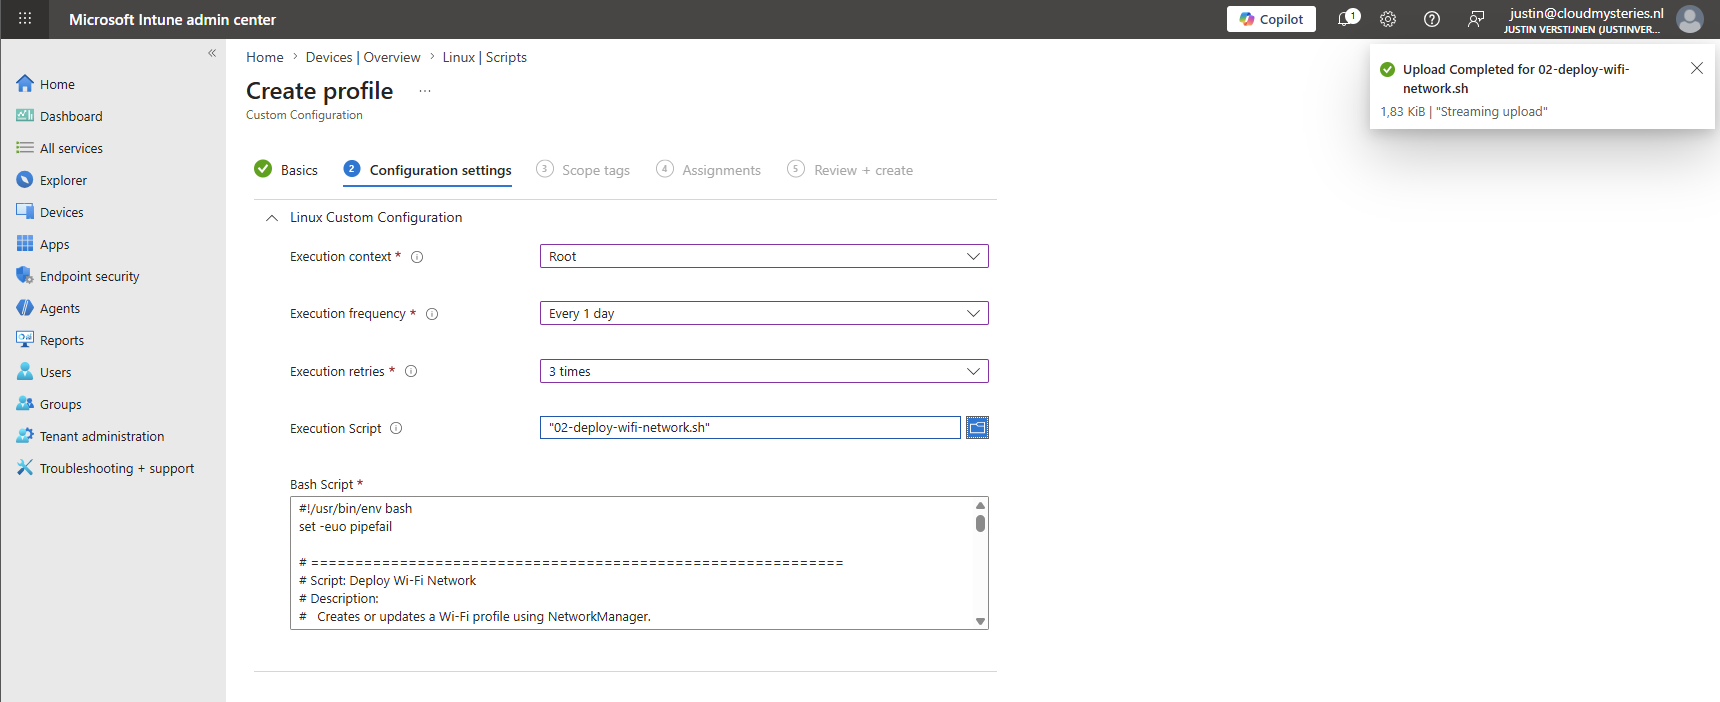
On the “Configuration settings” tab, expand the Linux Custom Configuration blade and configure the following:
| Option | Set this |
|---|---|
| Execution context | Root |
| Execution frequency | Every 1 day |
| Execution retries | 3 times |
Then upload the script after making any necessary adjustments. It should appear in the text box below. It should look similar to this, although you can change the settings depending on your situation, of course:
Then advance to the “Assignments” tab and select your group containing the Linux endpoints:
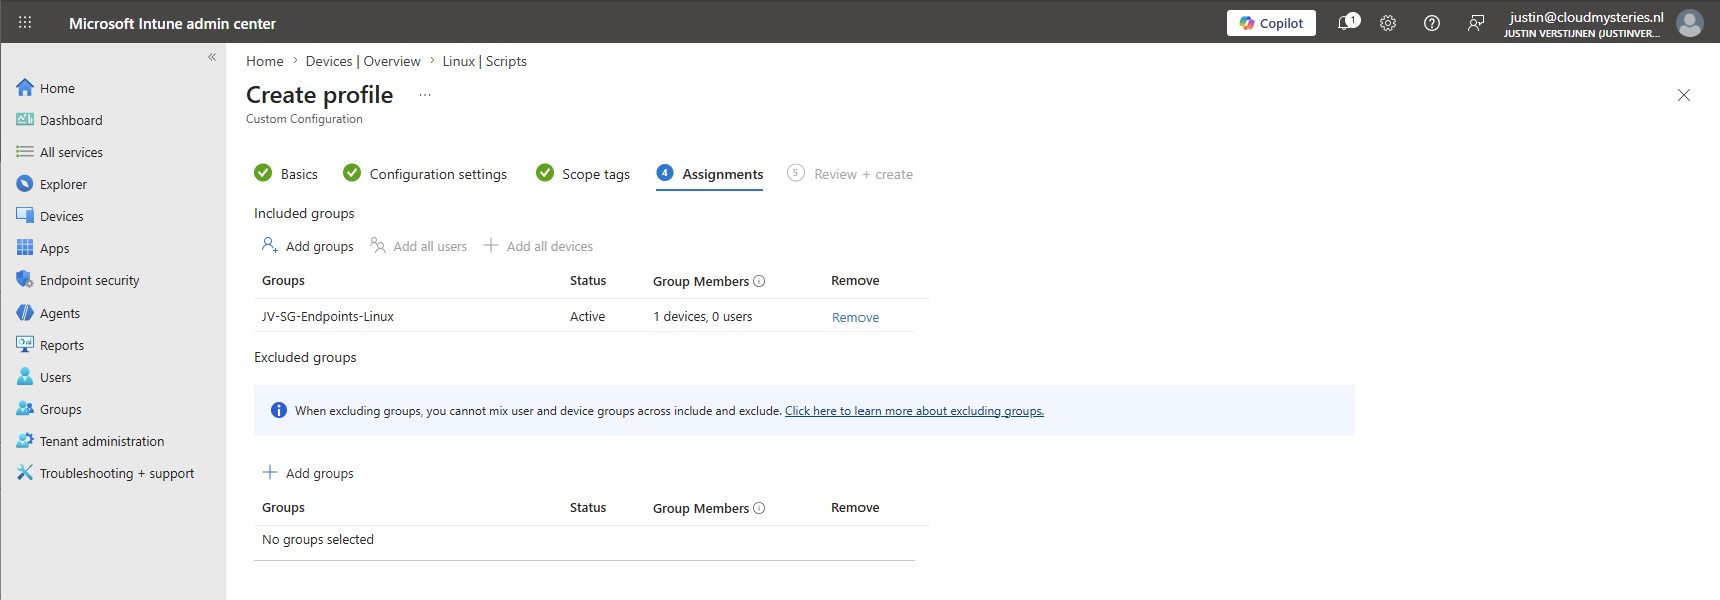
Then finish the assignment, and the script will be executed on the endpoint during the first sync.
Changing script settings
The scripts that have custom settings can be configured at the top. There, you will find several variables that you can adjust to your needs:
Download the script, change the variables in your favorite text editor, and then upload it to Microsoft Intune. You will then be ready to go.
1. Enable Ubuntu Firewall (UFW)
The first script will enable the Ubuntu firewall. This is because Ubuntu has the firewall disabled by default:
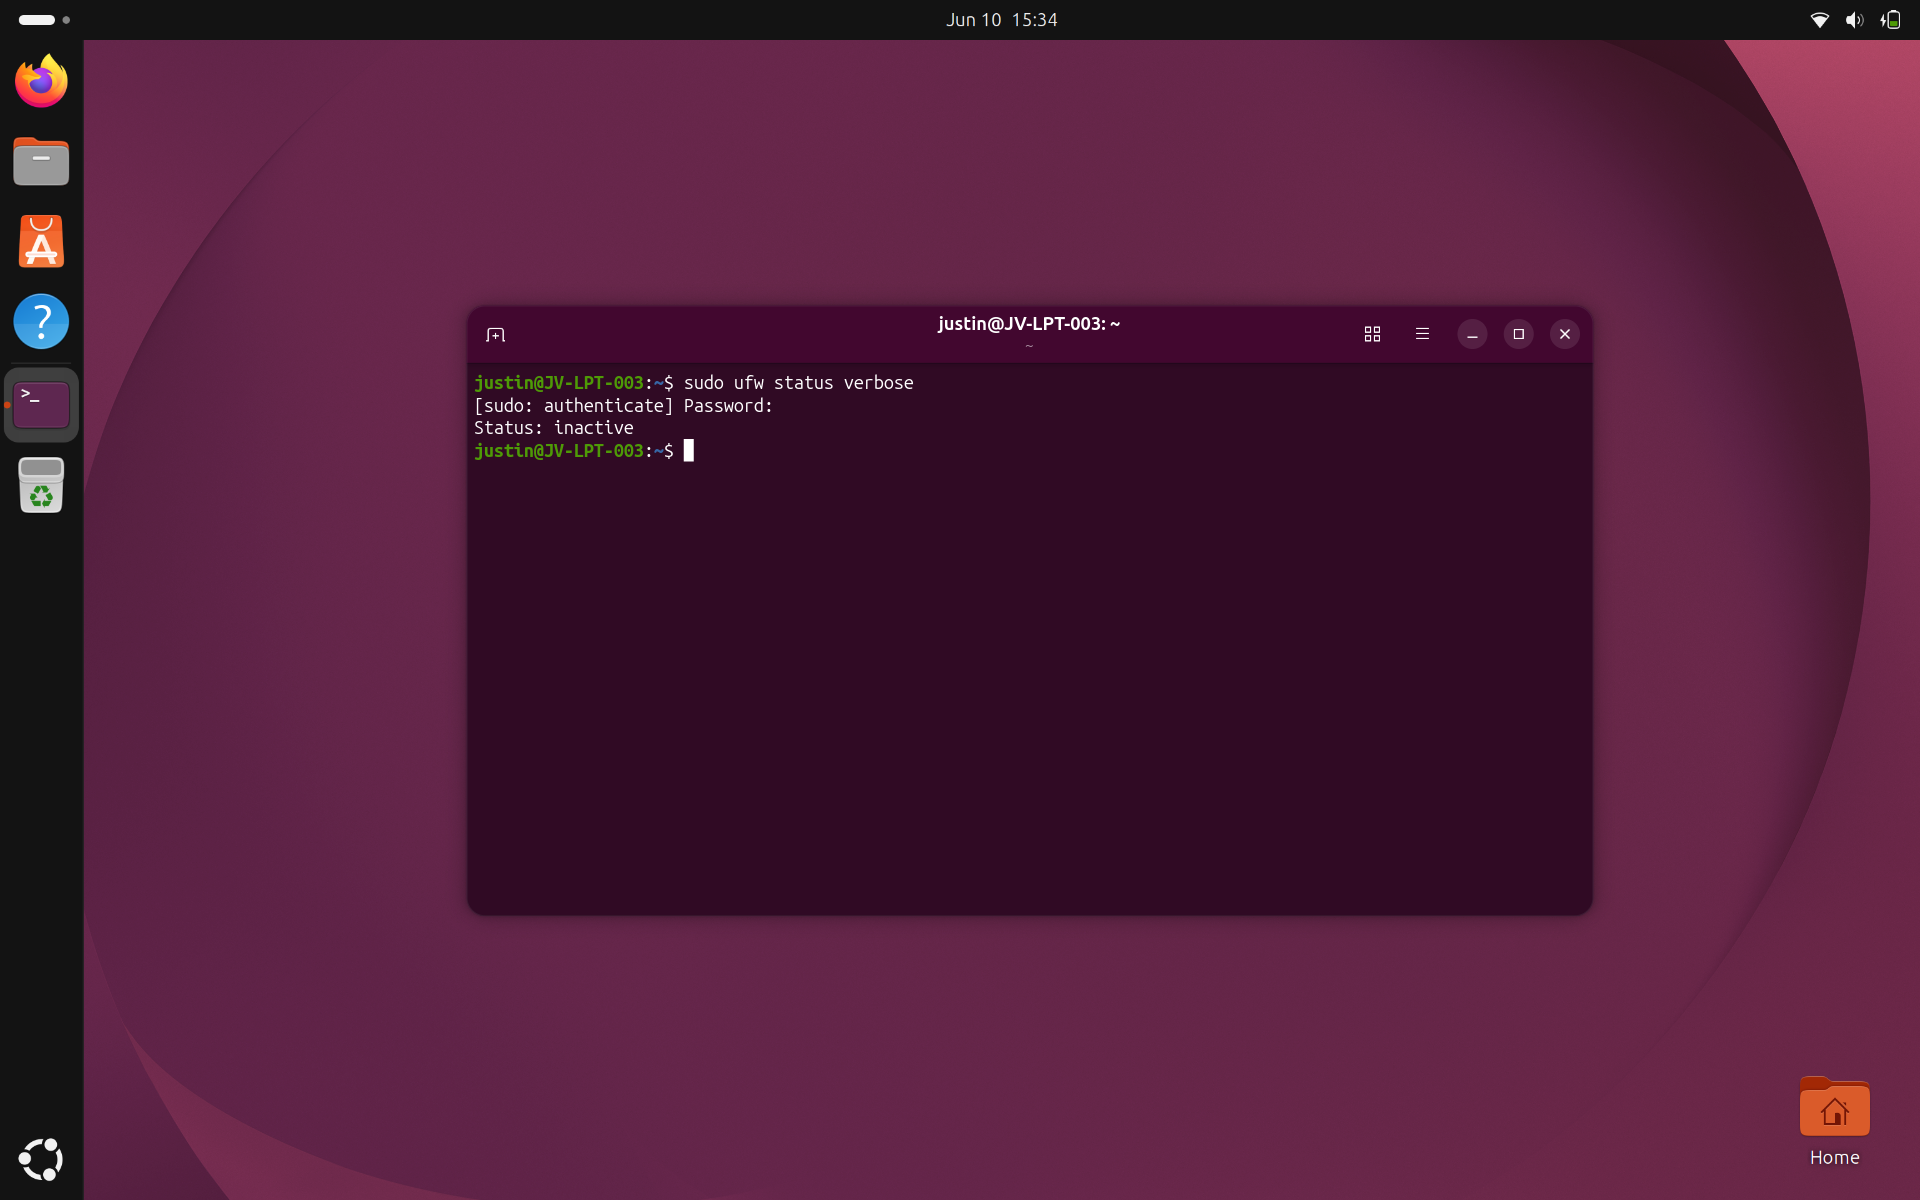
Enabling the firewall will block incoming connections that are not defined by a rule and keep your device a bit more secure. After the script has run to enable the firewall, it will be enabled automatically with no need for manual configuration:
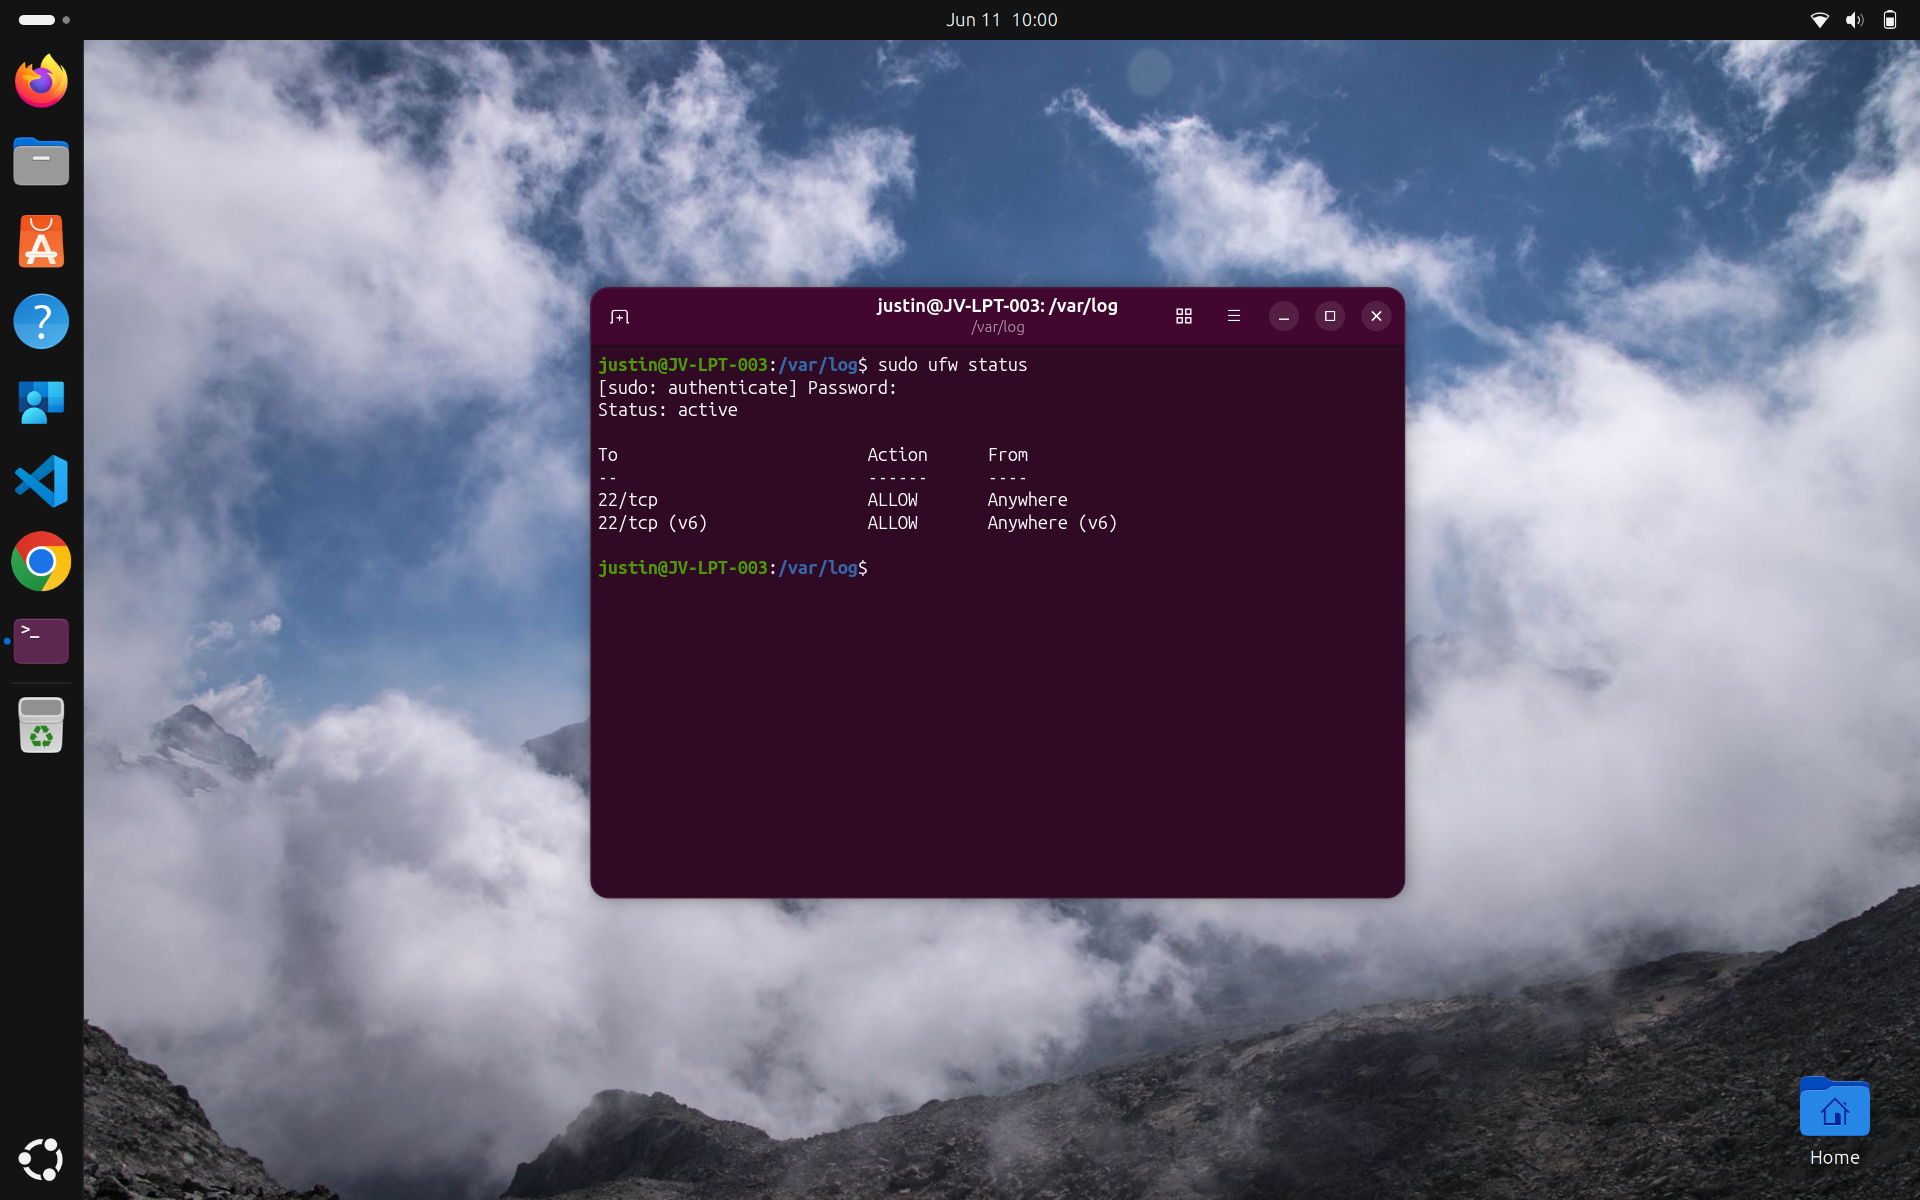
As you can see, the status is now “active”.
2. Deploy a Wi-Fi network
Deploying a Wi-Fi network is also something we often do with Microsoft Intune and generic MDM solutions. This speeds up deployment and eliminates the need to distribute keys throughout the organization.
You can set your own network:
- SSID (Network name): Line 17
- WPA-PSK (Network password): Line 18
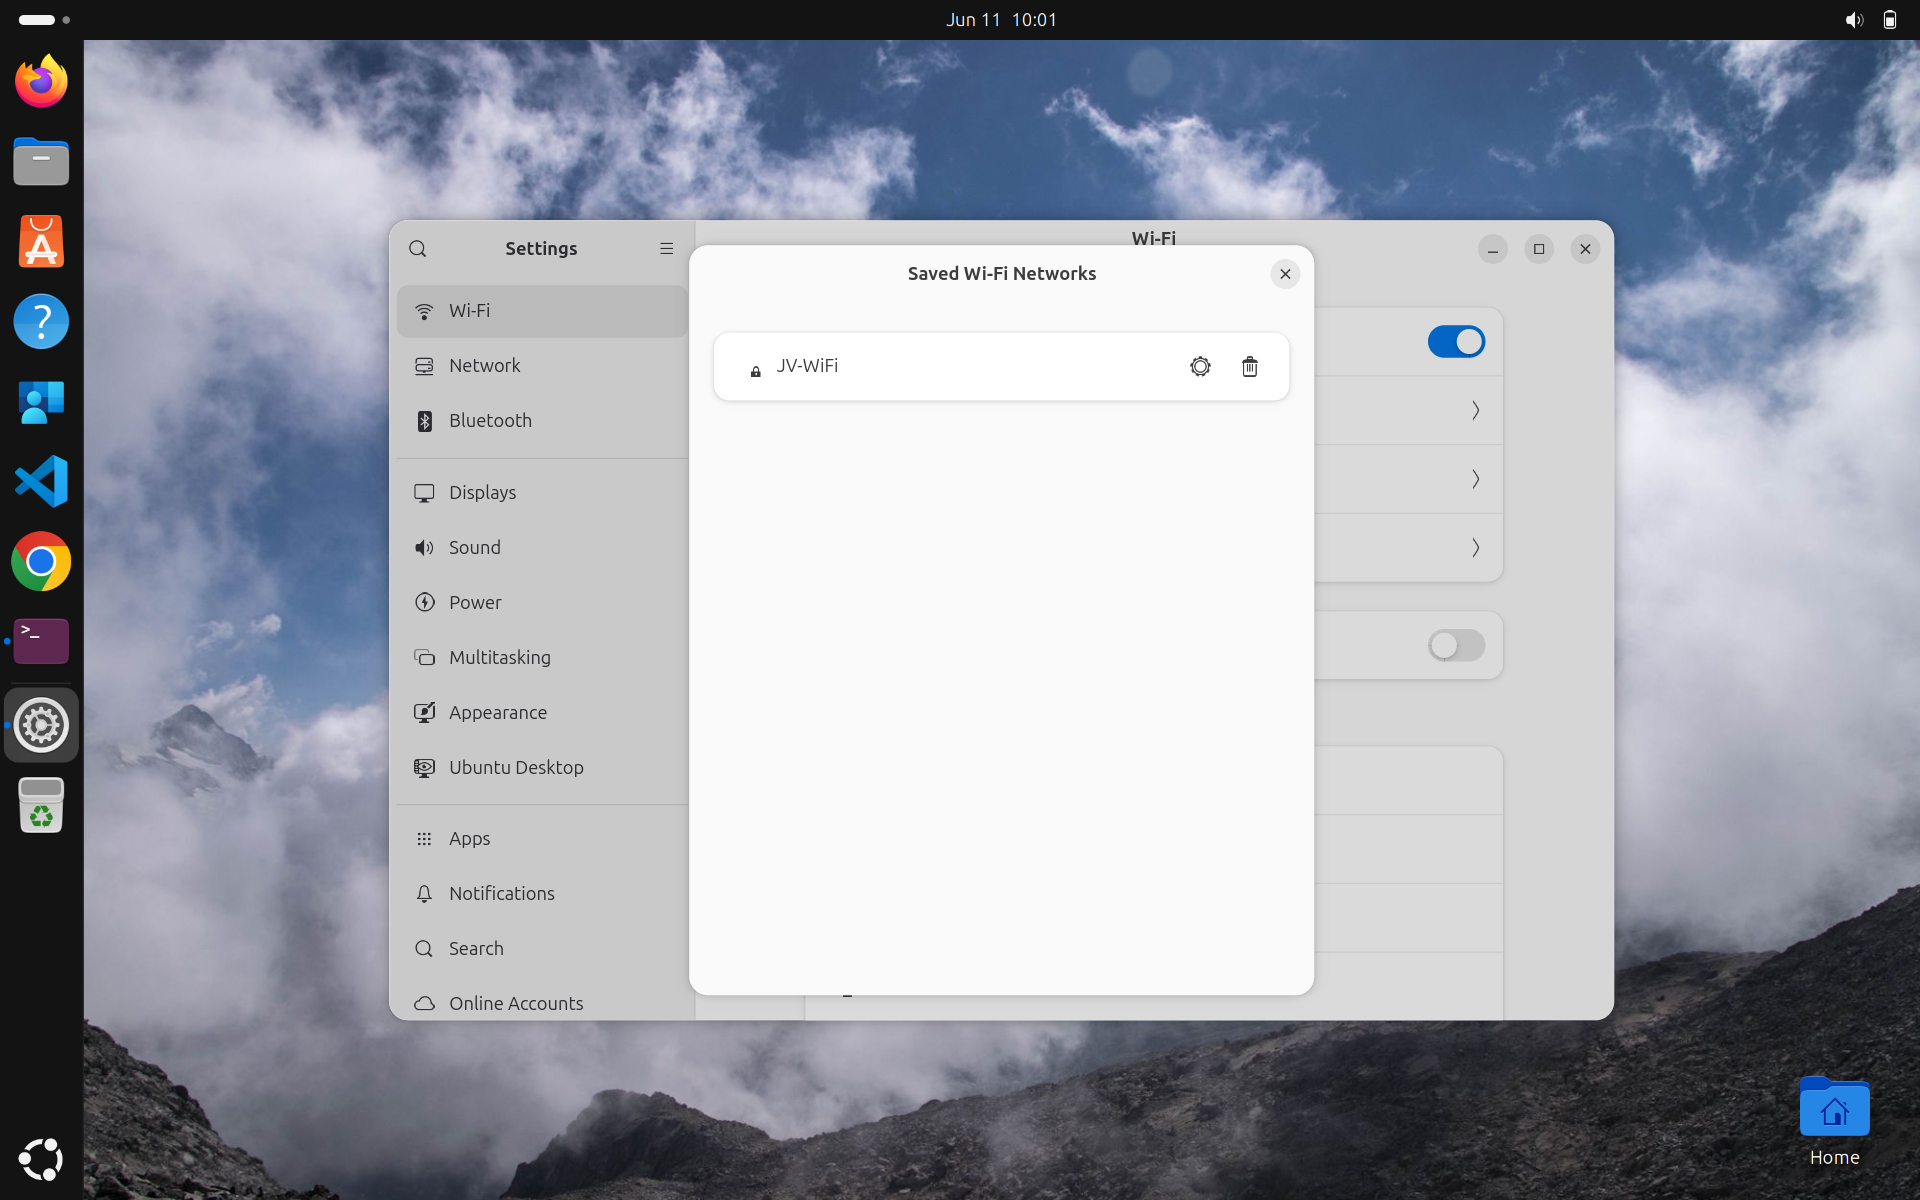
The connection name on Line 19 is a display name in Ubuntu that you can change if you want, but it is not required for the script to work. You could upload this script to Microsoft Intune multiple times when using multiple networks.

3. Deploy wallpaper
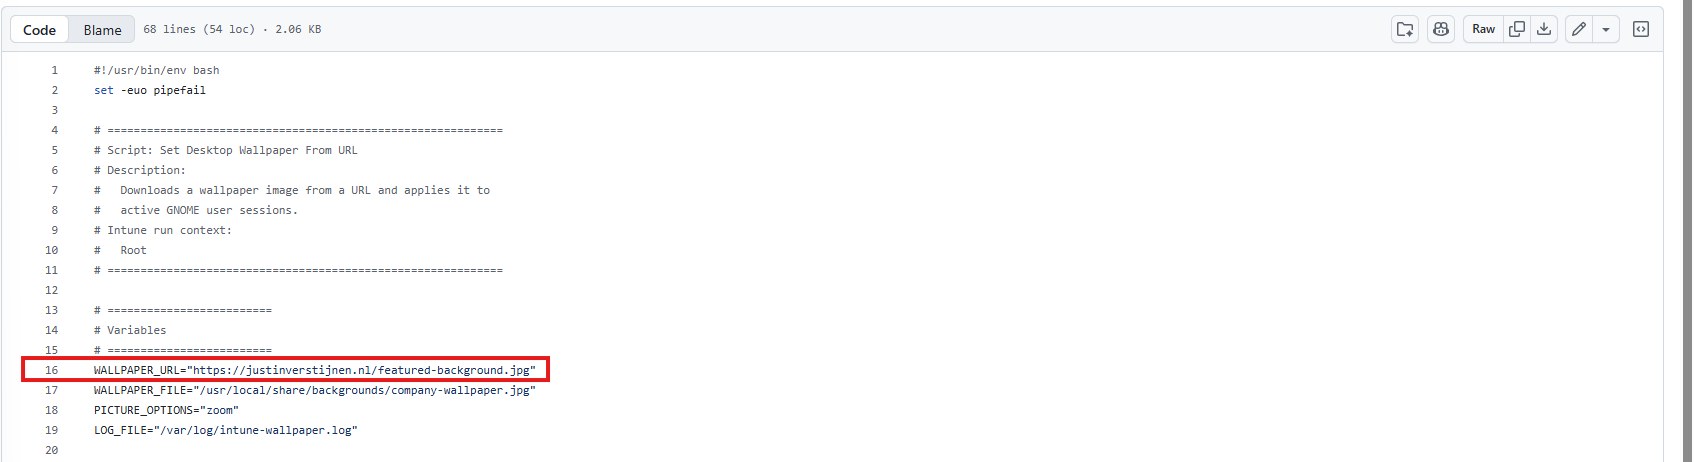
Deploying a wallpaper is also something we often do with Microsoft Intune. In this script, we set a wallpaper URL that must be accessible to the device and configure it as the desktop wallpaper by saving it locally. Updating the wallpaper server-side will also result in a wallpaper update on the endpoints, which is very convenient.
You can change the wallpaper on Line 16 of the script.
4. Install PowerShell 7
It is also possible to install PowerShell 7 from the Ubuntu App Center with a script. This method can also be used to install any application from there.

This way you can also run PowerShell modules and scripts to manage cloud services.
5. GNOME Privacy Settings
This script has various configurable settings for the GNOME Desktop Environment. The table below shows the available options:
| Options | Default value | Supported values | Notes |
|---|---|---|---|
| DISABLELOCATIONSERVICES | true | true, false | Uses the GNOME location setting where available. Some apps may behave differently depending on desktop environment and installed services |
| DISABLERECENTFILE_HISTORY | true | true, false | GNOME exposes file history controls in Privacy & Security settings |
| CLEAREXISTINGRECENTFILEHISTORY | true | true, false | This removes the existing recently-used.xbel file where present |
| DISABLELOCKSCREEN_NOTIFICATIONS | true | true, false | Ubuntu documents this as the dconf key /org/gnome/desktop/notifications/show-in-lock-screen |
| REMOVEOLDTEMP_FILES | true | true, false | Uses GNOME privacy settings where available |
| REMOVEOLDTRASH_FILES | true | true, false | Uses GNOME privacy settings where available |
| OLDFILESAGE_DAYS | 30 | Number of days, for example 7, 14, 30 | Only relevant when old temp or trash cleanup is enabled |
| LOCKPRIVACYSETTINGS | false | true, false | Useful for strict policy enforcement. Leave disabled for a softer baseline |
| APPLYTOACTIVE_USERS | true | true, false | If no GNOME session is active, system defaults still apply on next login |
The settings can be configured at the start of the script, on Lines 4 through 12.
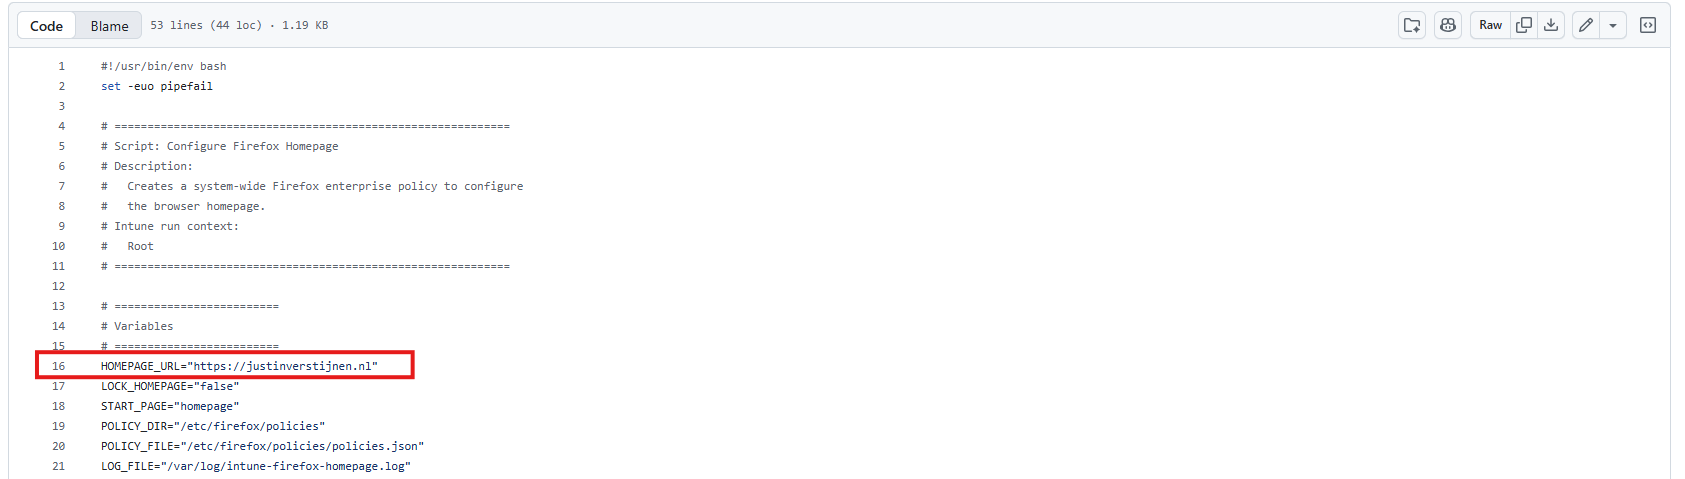
6. Configure homepage for Firefox
As Firefox is the default browser on Ubuntu, we can also configure a default homepage and set it to a particular URL.
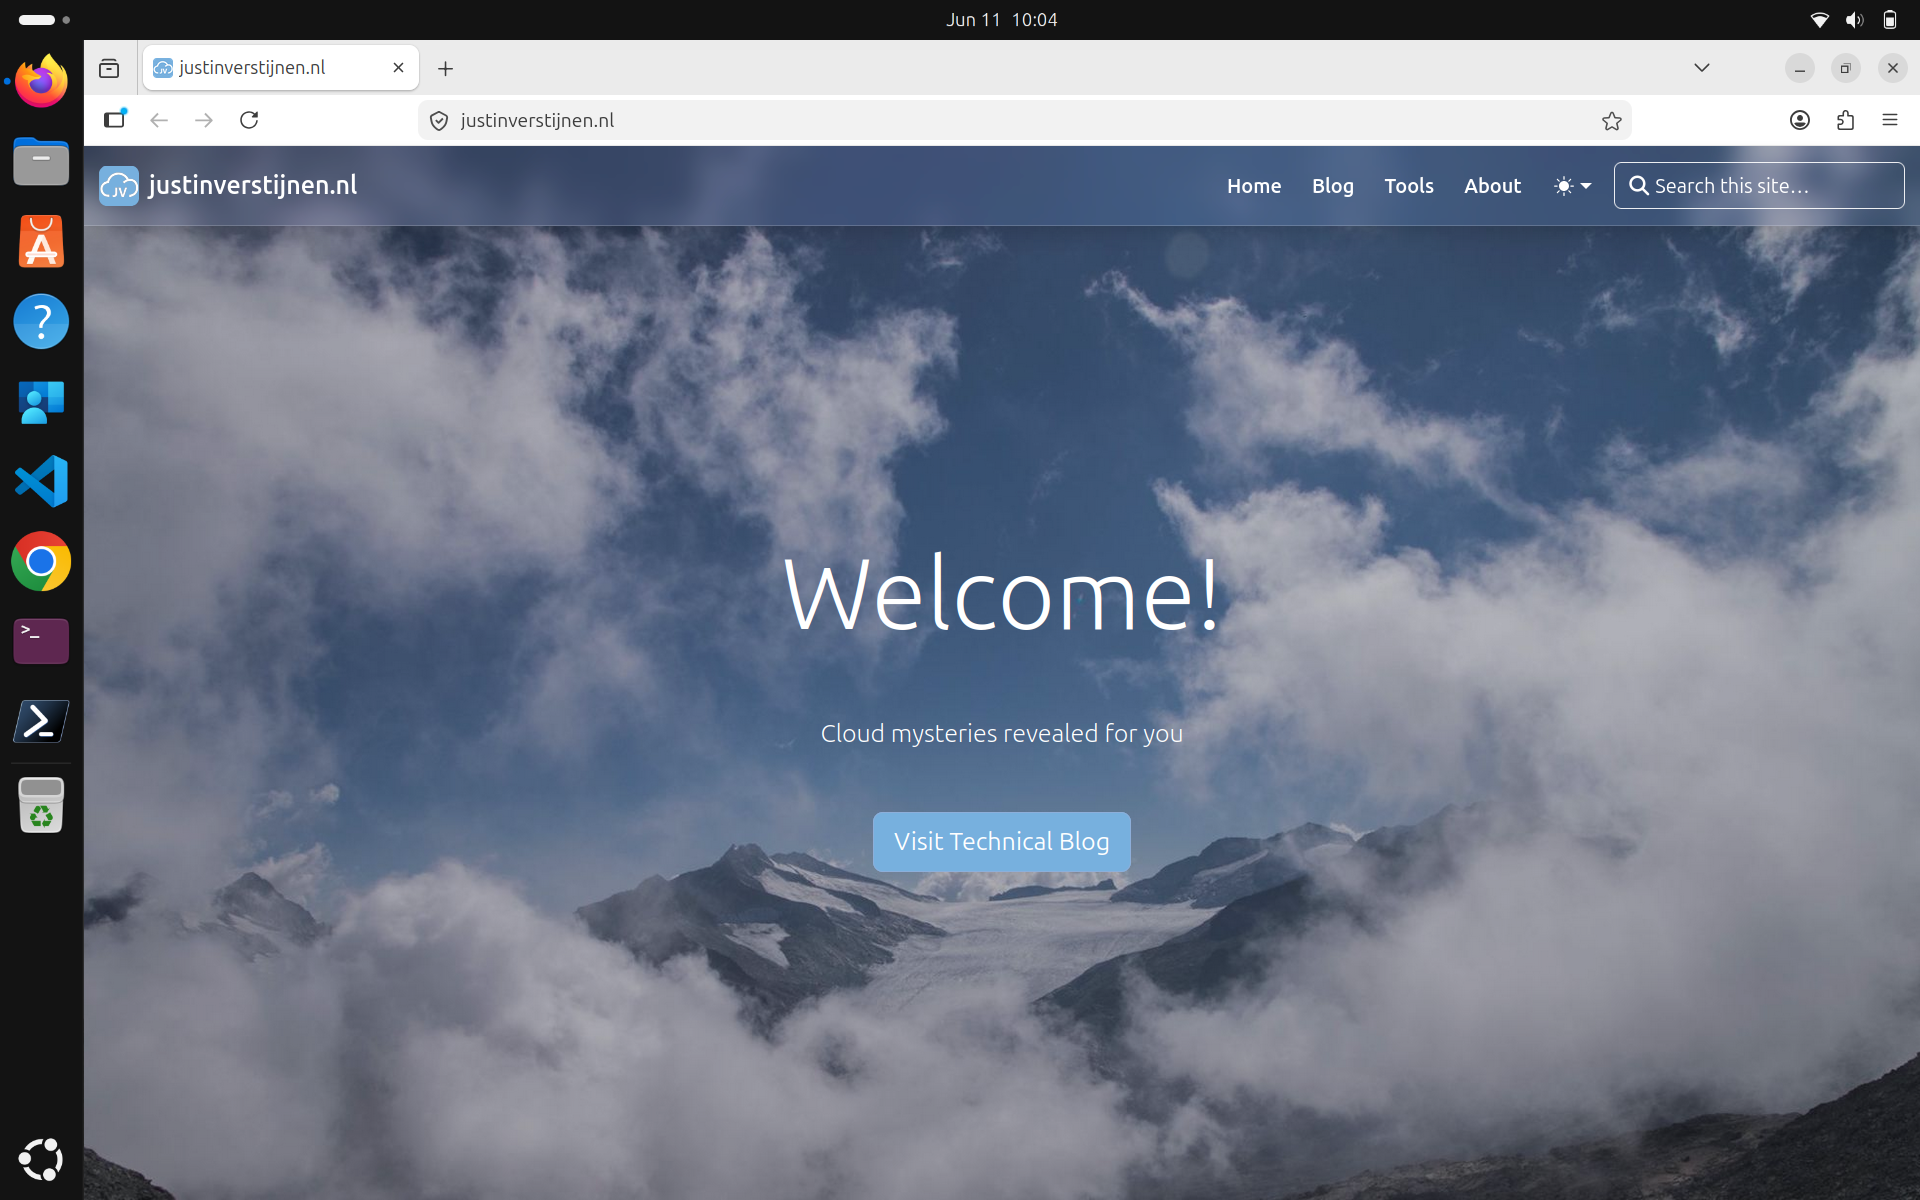
You can change this URL on Line 16 of this script.
7. Set color theme
We can also set the color theme of Ubuntu with this script. You must first select a hex color in the #FFFFFF format, paste it into the script, and then upload it to Microsoft Intune.
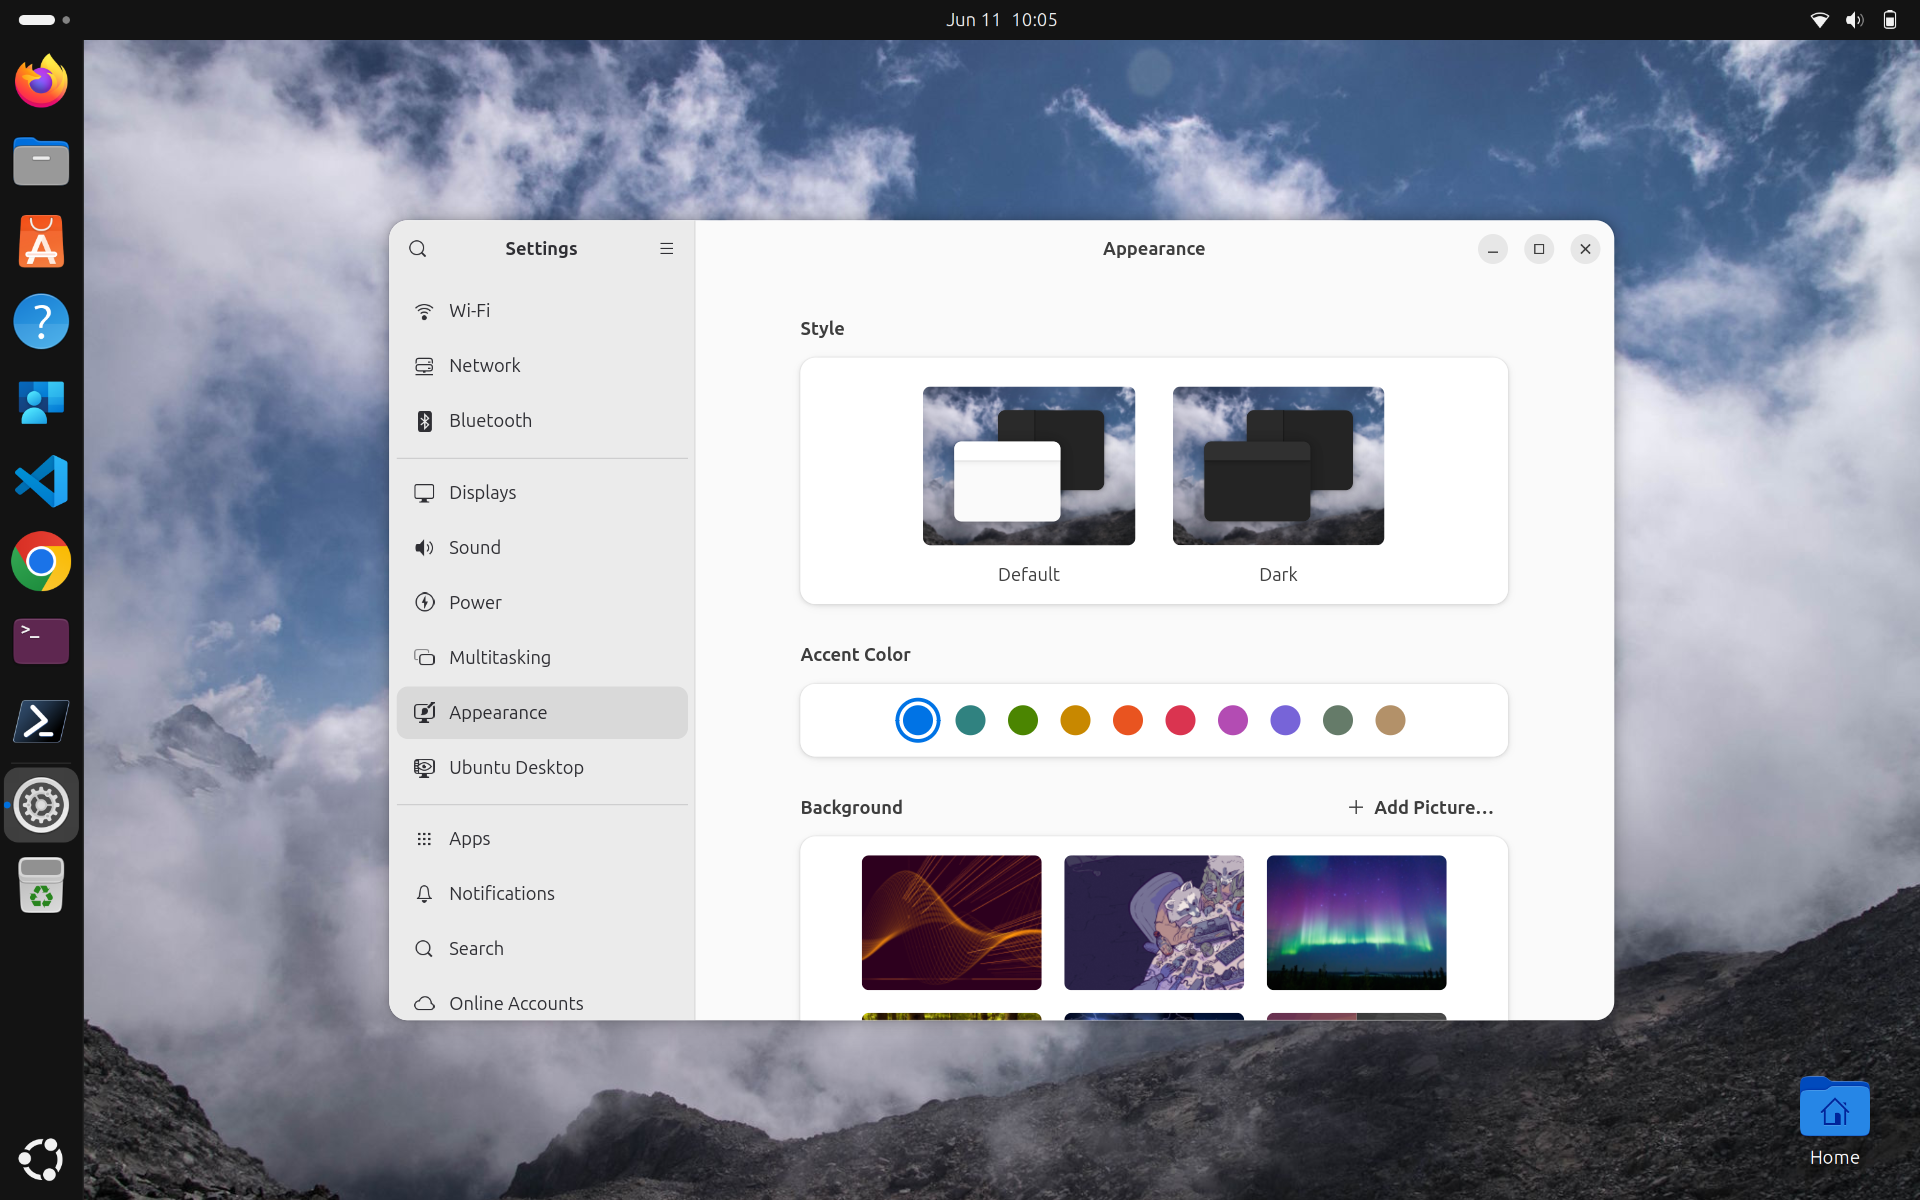
This must be set on Line 4, where you can select one of these options:
- Blue
- Teal
- Green
- Yellow
- Orange
- Red
- Pink
- Purple
- Slate

8. Configure screen timeout/lock
Something we often configure with Microsoft Intune is the screen timeout and locking options. When we walk away from the device and no input is received, the device will lock after 5 minutes. This value can be changed in the script.
You can change this value in seconds on Line 15. The default is 5 minutes, or 300 seconds.
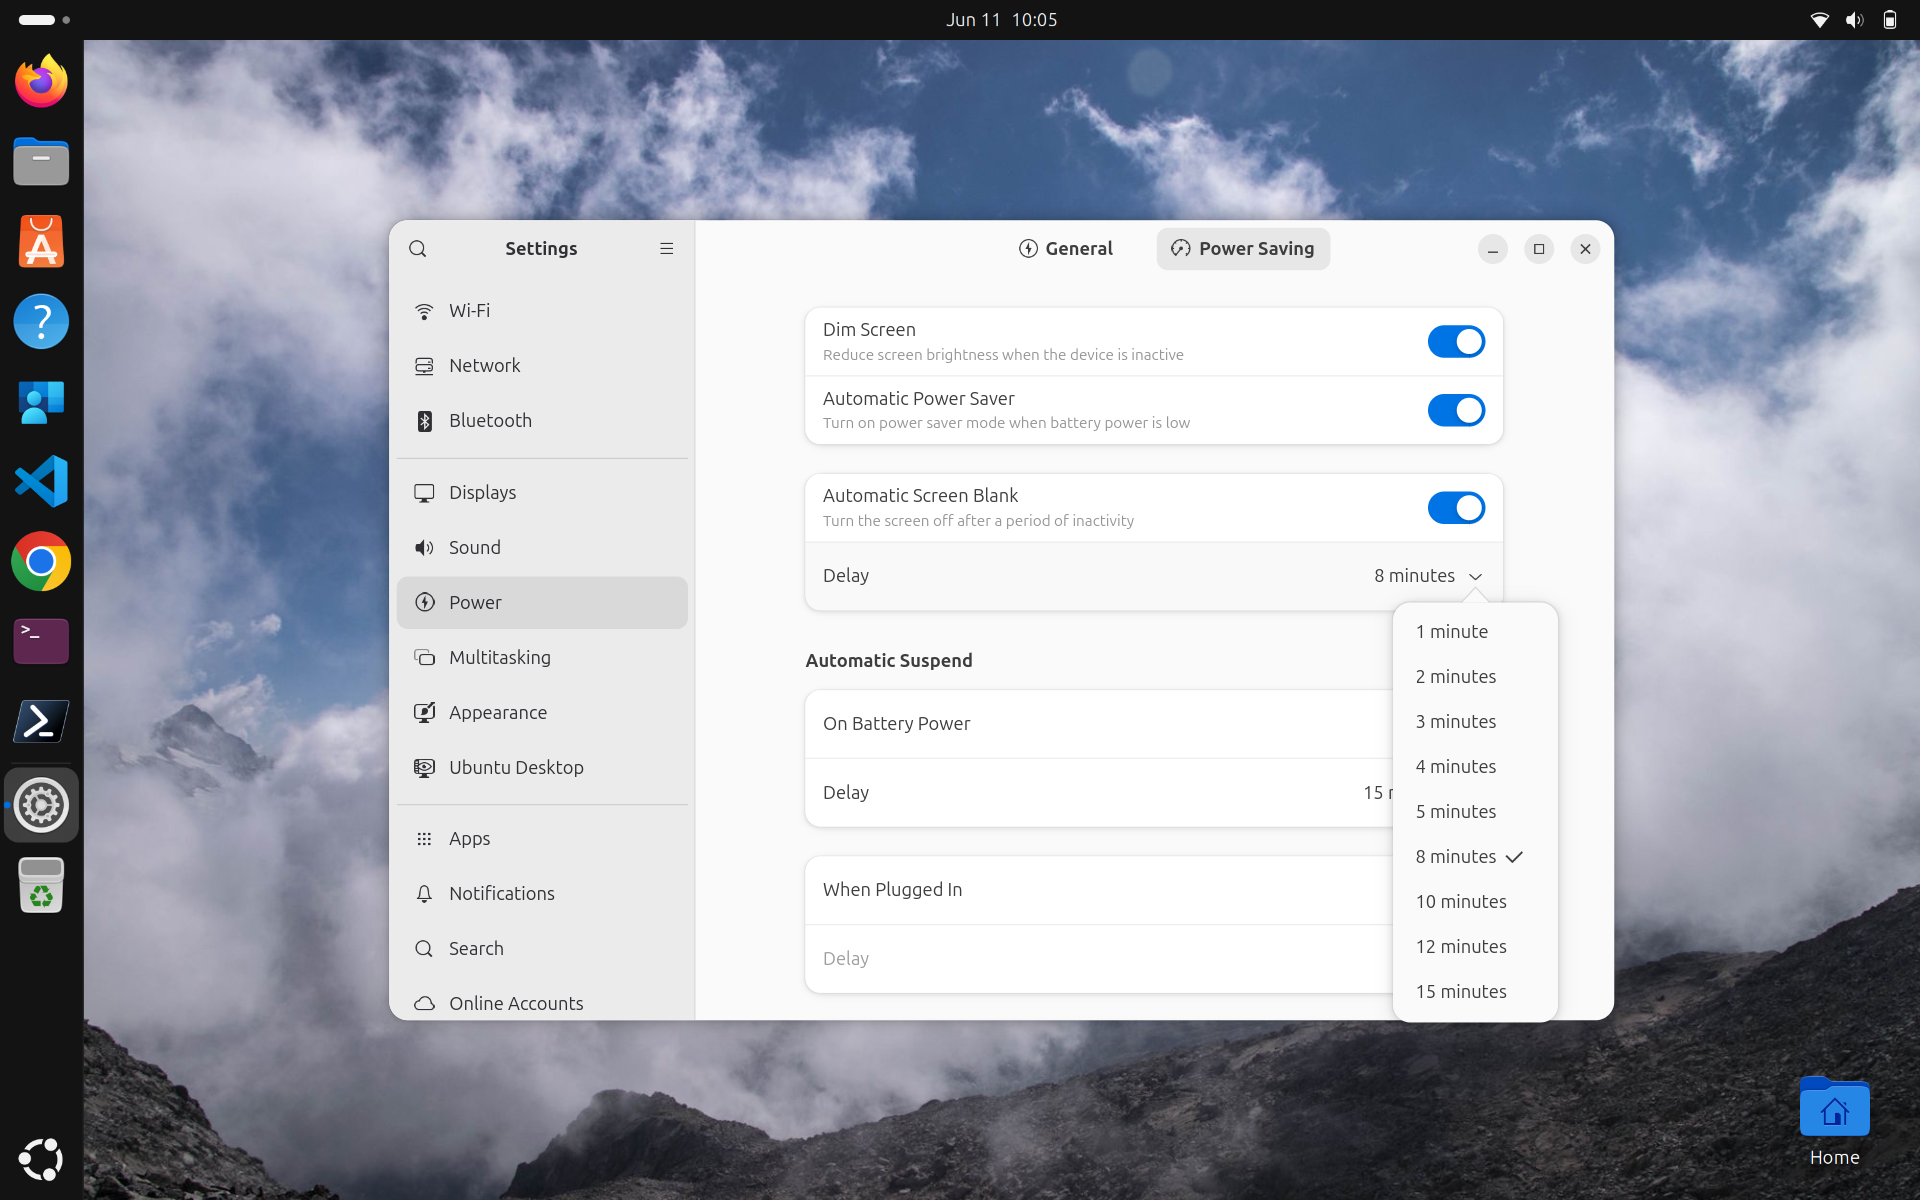
For demonstration purposes, I have set the timeout to 8 minutes, as 5 minutes was the default option.
9. Enable Automatic Security Updates
This script enables automatic security updates on an Ubuntu device. It installs unattended-upgrades, configures the system to check for package updates daily, and automatically installs security-related updates. It also removes unused dependencies and writes the output to a log file for troubleshooting. Automatic rebooting is disabled to prevent unexpected restarts, but a reboot time has already been configured in case this option is enabled later.
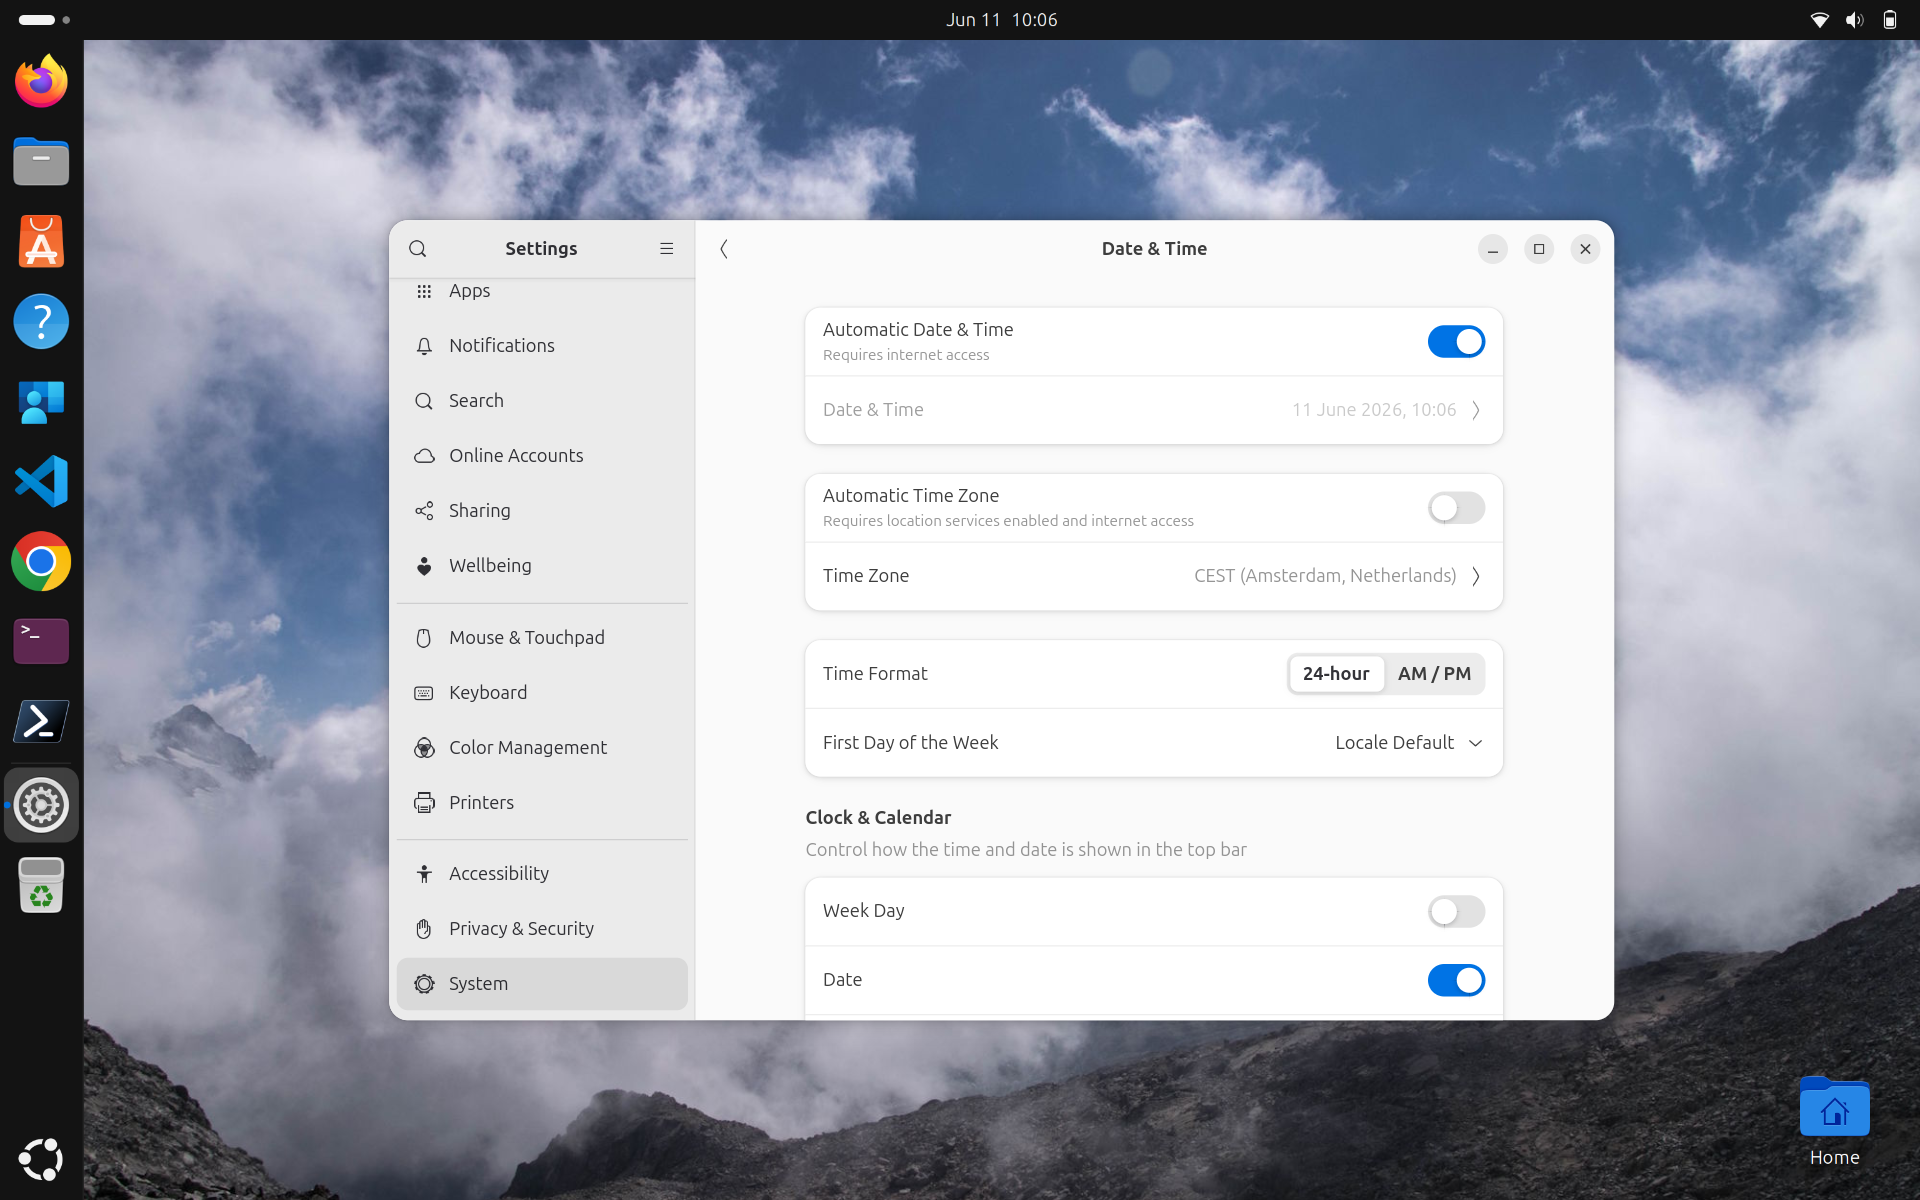
10. Set timezone/NTP
We can set the timezone and NTP server with this script. This ensures the time and date are synchronized with time servers on the internet and minimizes the risk of issues caused by time synchronization problems.
You can change the timezone on Line 16 of this script.
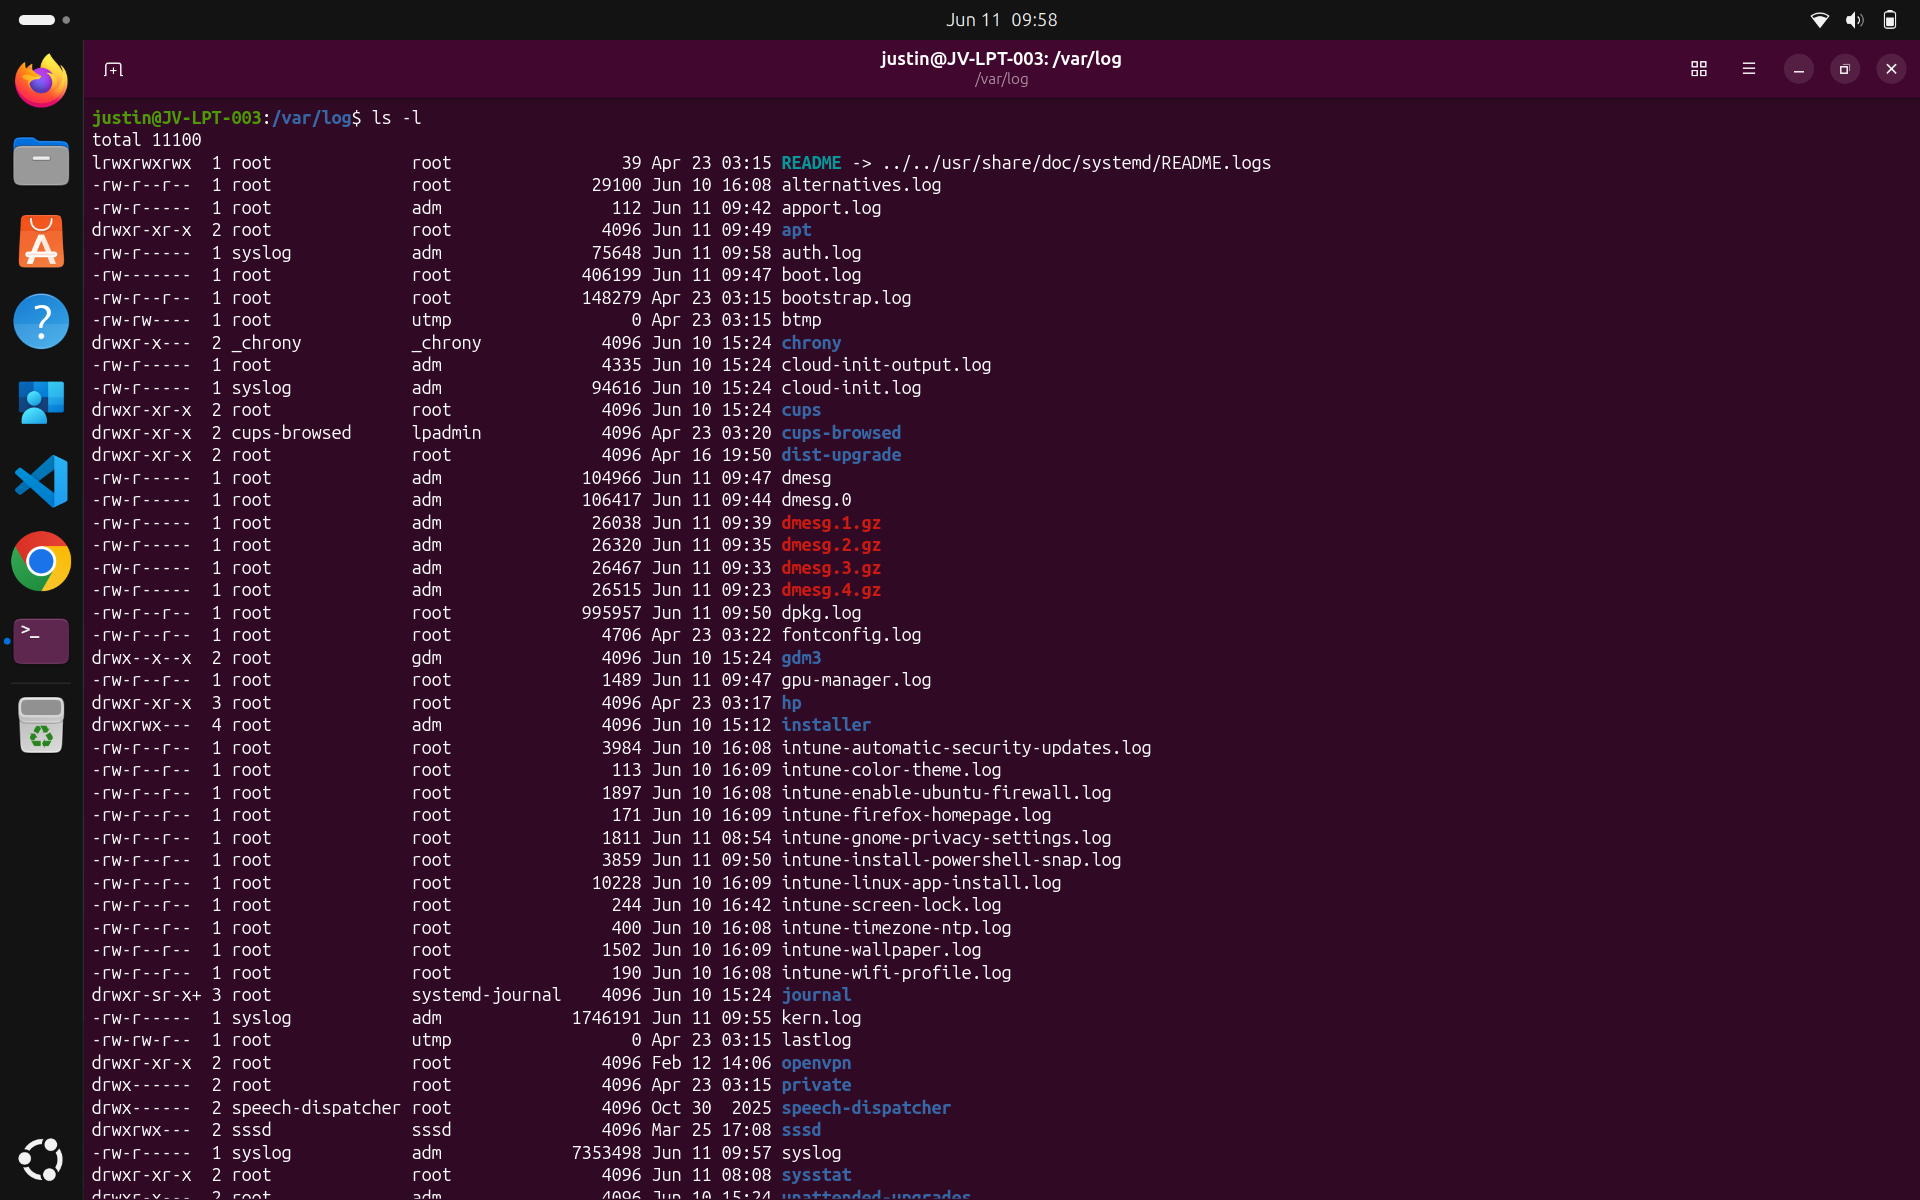
Troubleshooting
All scripts will write a log file to the /var/log folder. All scripts have been tested and are working on Ubuntu 26.04. However, if you encounter errors on your end, you can review the logs to identify the cause.
- /var/log
You can use these two built-in Ubuntu/Linux commands to review the contents:
- cat *filename.log (read)
- nano *filename.log (read/edit)
Downsides of Linux devices in Microsoft Intune
One of the downsides I find with Ubuntu devices in Intune is that users must confirm everything themselves by entering their password. When new scripts are uploaded and assigned, they see this window:
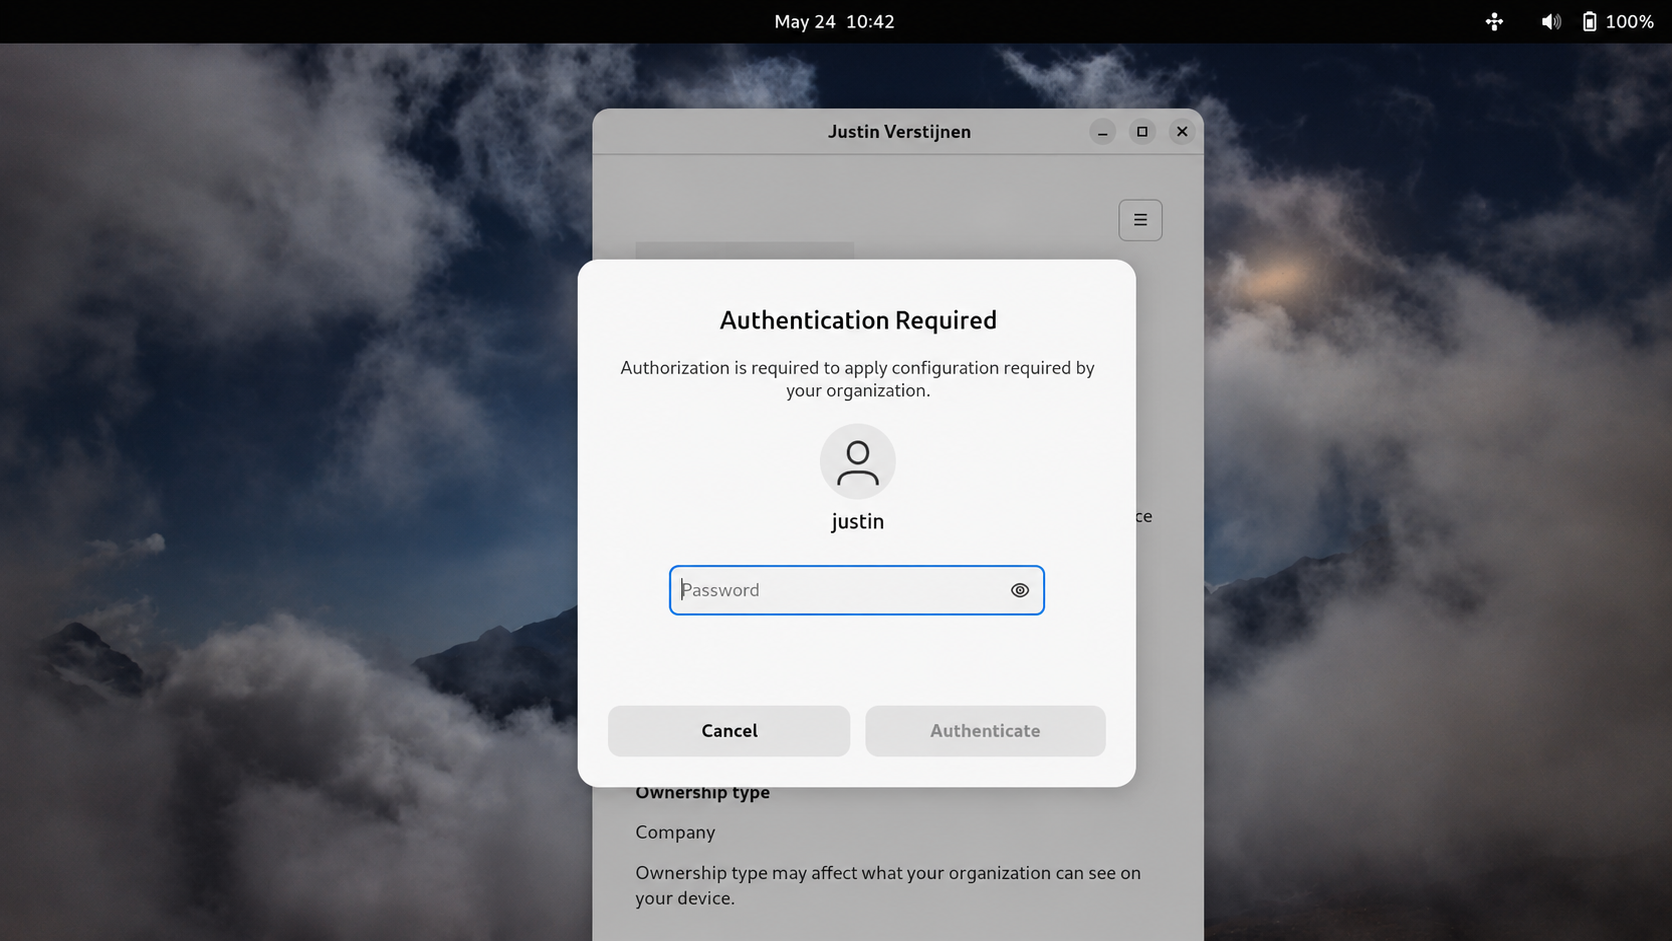
This is not a major problem, but it differs from device management on Windows devices. There, we can update policies and install applications without user interaction.
Another downside is that management is very limited. We cannot wipe devices from the portal and support is limited to Ubuntu only. Most people who use Linux distributions do not use only Ubuntu and may want more customization with other distros, but these are not yet supported.
Sources
These sources helped me with the writing and research for this post:
- https://learn.microsoft.com/en-us/intune/device-security/compliance/custom-settings
- https://learn.microsoft.com/en-us/intune/user-help/enrollment/enroll-linux
- https://learn.microsoft.com/en-us/intune/user-help/enrollment/enroll-linux#system-requirements
End of the page 🎉
You have reached the end of the page. You can navigate through other blog posts as well, share this post on X, LinkedIn and Reddit or return to the blog posts collection page. Thank you for visiting this post.
If you think something is wrong with this post or you want to know more, you can send me a message to one of my social profiles at: https://justinverstijnen.nl/about/
If you find this page and blog very useful and you want to leave a donation, you can use the button below to buy me a beer. Hosting and maintaining a website takes a lot of time and money. Thank you in advance and cheers :)

The terms and conditions apply to this post.