ARM templates and Azure VM + Script deployment
Categories:
6 minute read
In this post I will show some examples of deploying with ARM templates and also will show you how to deploy a PowerShell script to run directly after the deployment of an virtual machine. This further helps automating your tasks.
Requirements
- Around 30 minutes of your time
- An Azure subscription to deploy resources (if wanting to follow the guide)
- A Github account, Azure Storage account or other hosting option to publish Powershell scripts to URL
- Basic knowledge of Azure
What is ARM?
ARM stands for Azure Resource Manager and is the underlying API for everything you deploy, change and manage in the Azure Portal, Azure PowerShell and Azure CLI. A basic understanding of ARM is in this picture:

I will not go very deep into Azure Resource Manager, as you can better read this in the Microsoft site: https://learn.microsoft.com/en-us/azure/azure-resource-manager/management/overview
Creating copies of an virtual machine with ARM
Now ARM allows us to create our own templates for deploying resources by defining a resource first, and then by clicking this link on the last page, just before deployment:

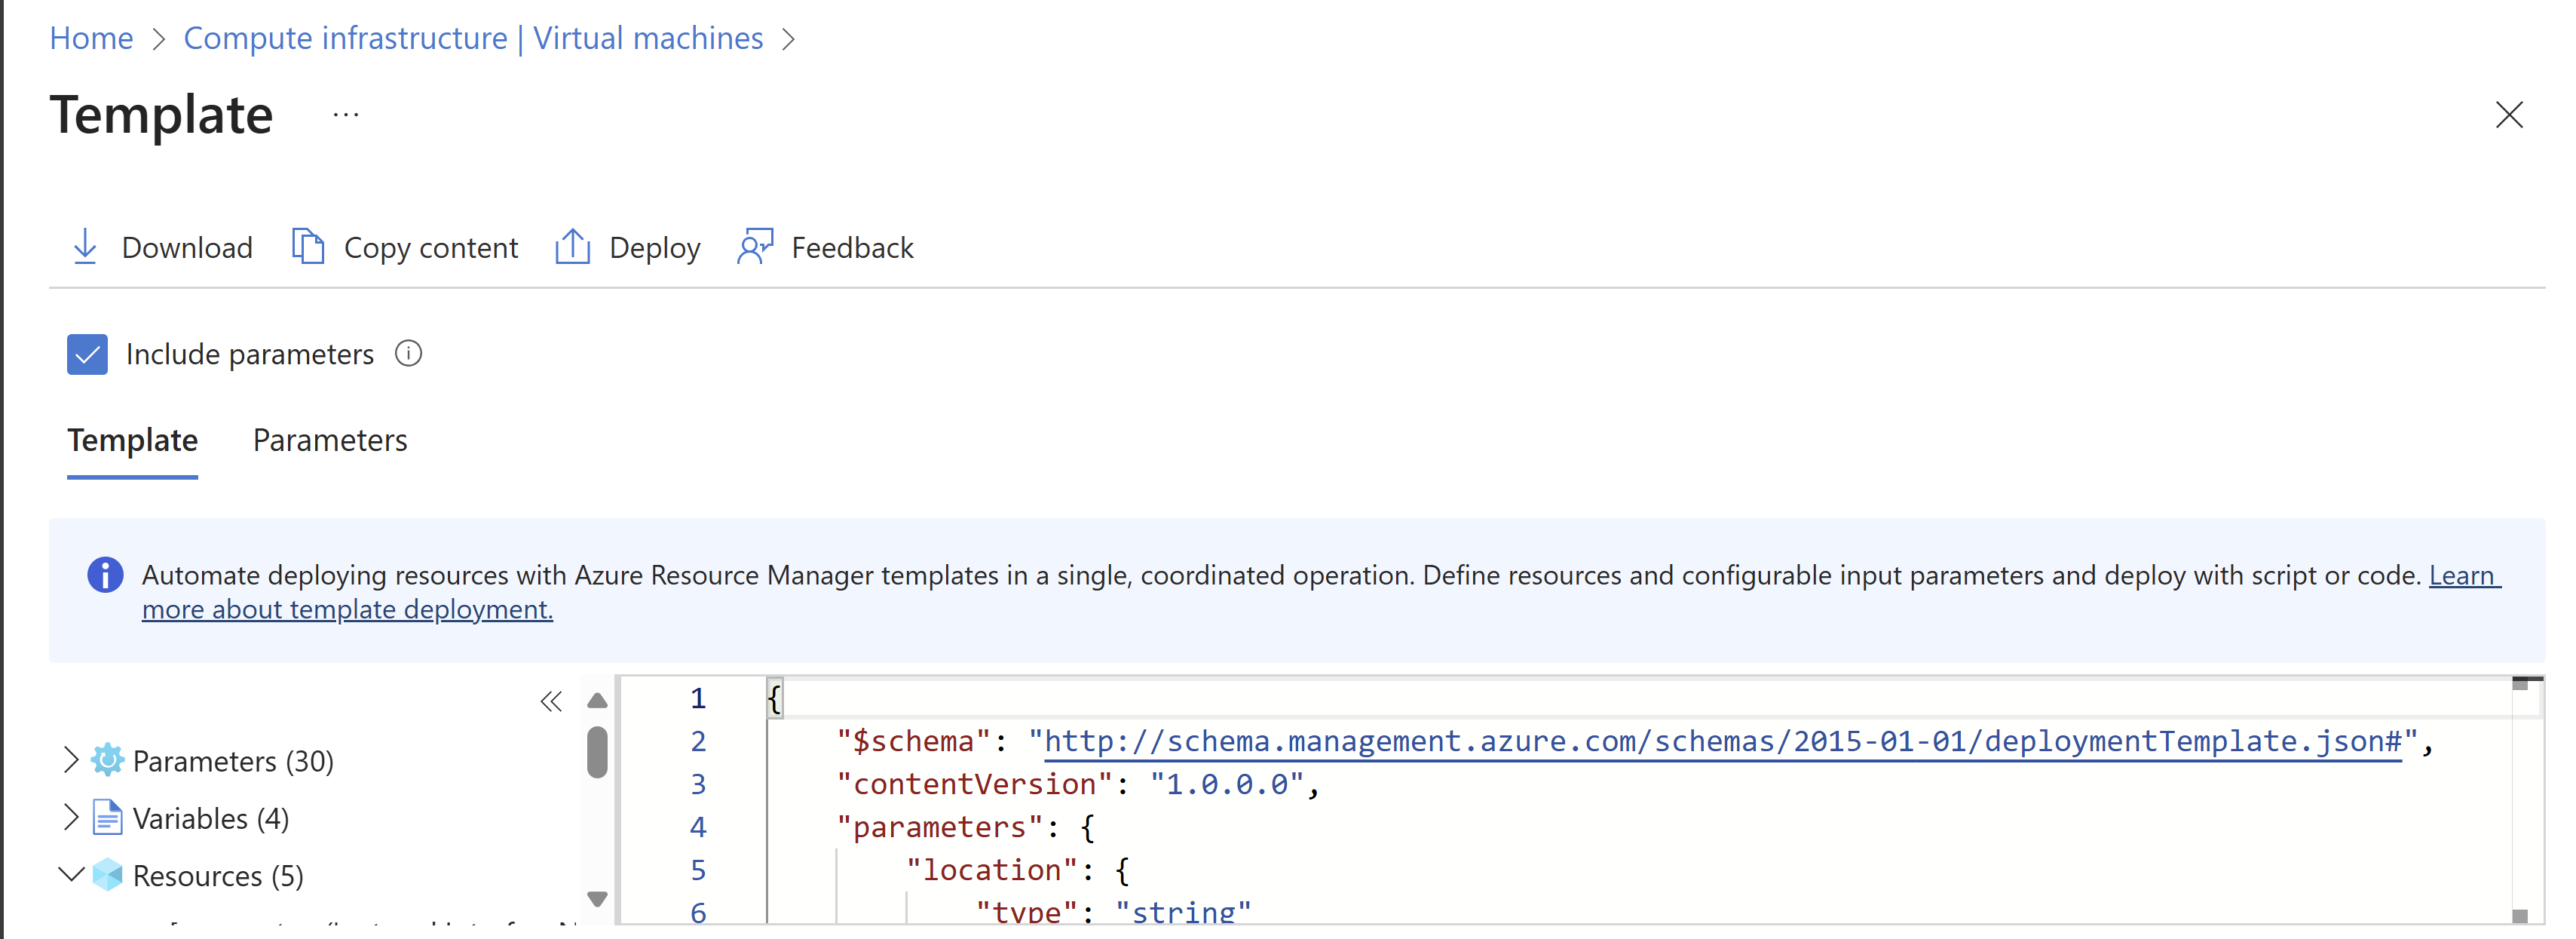
Then click “Download”.
This downloads a ZIP file with 2 files:
- Template.json
- This file contains what resources are going to deployed.
- Parameters.json
- This file contains the parameters of the resources are going to deployed like VM name, NIC name, NSG name etc.
These files can be changed easily to create duplicates and to deploy 5 similar VMs while minimizing effort and ensuring consistent VMs.
Changing ARM template parameters
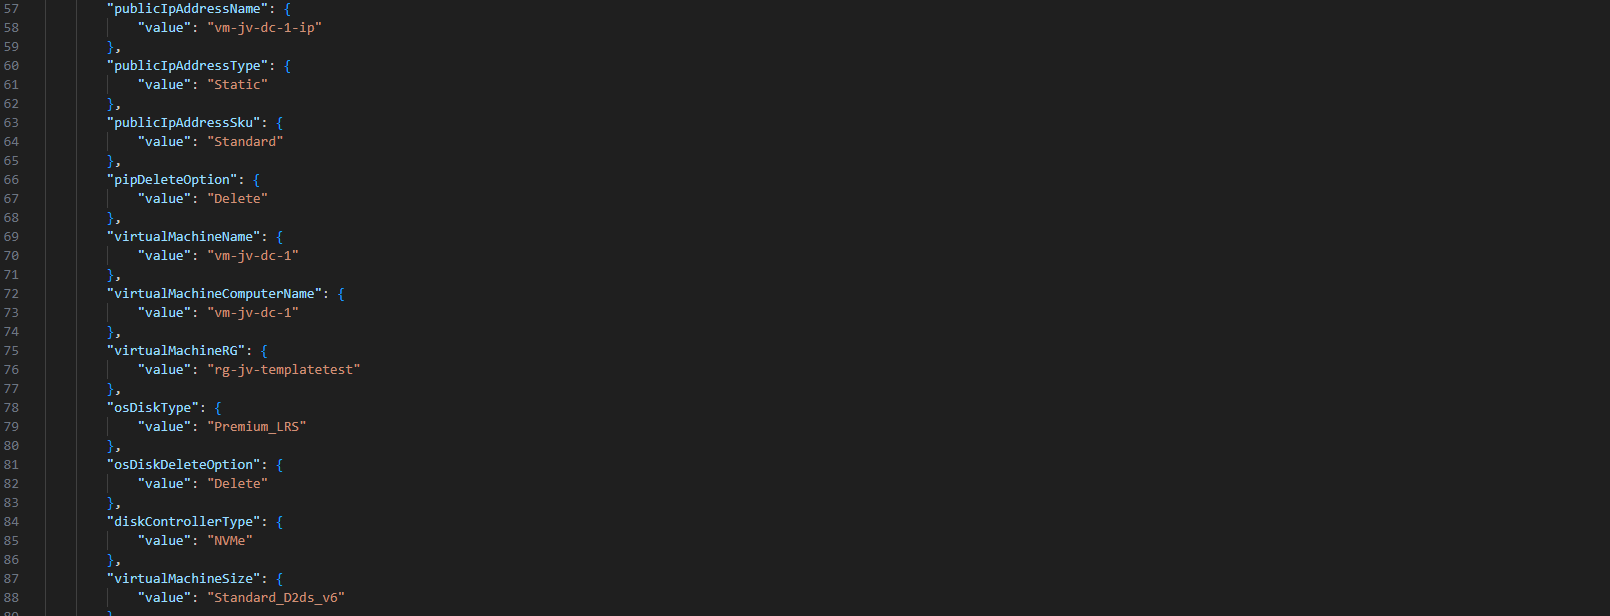
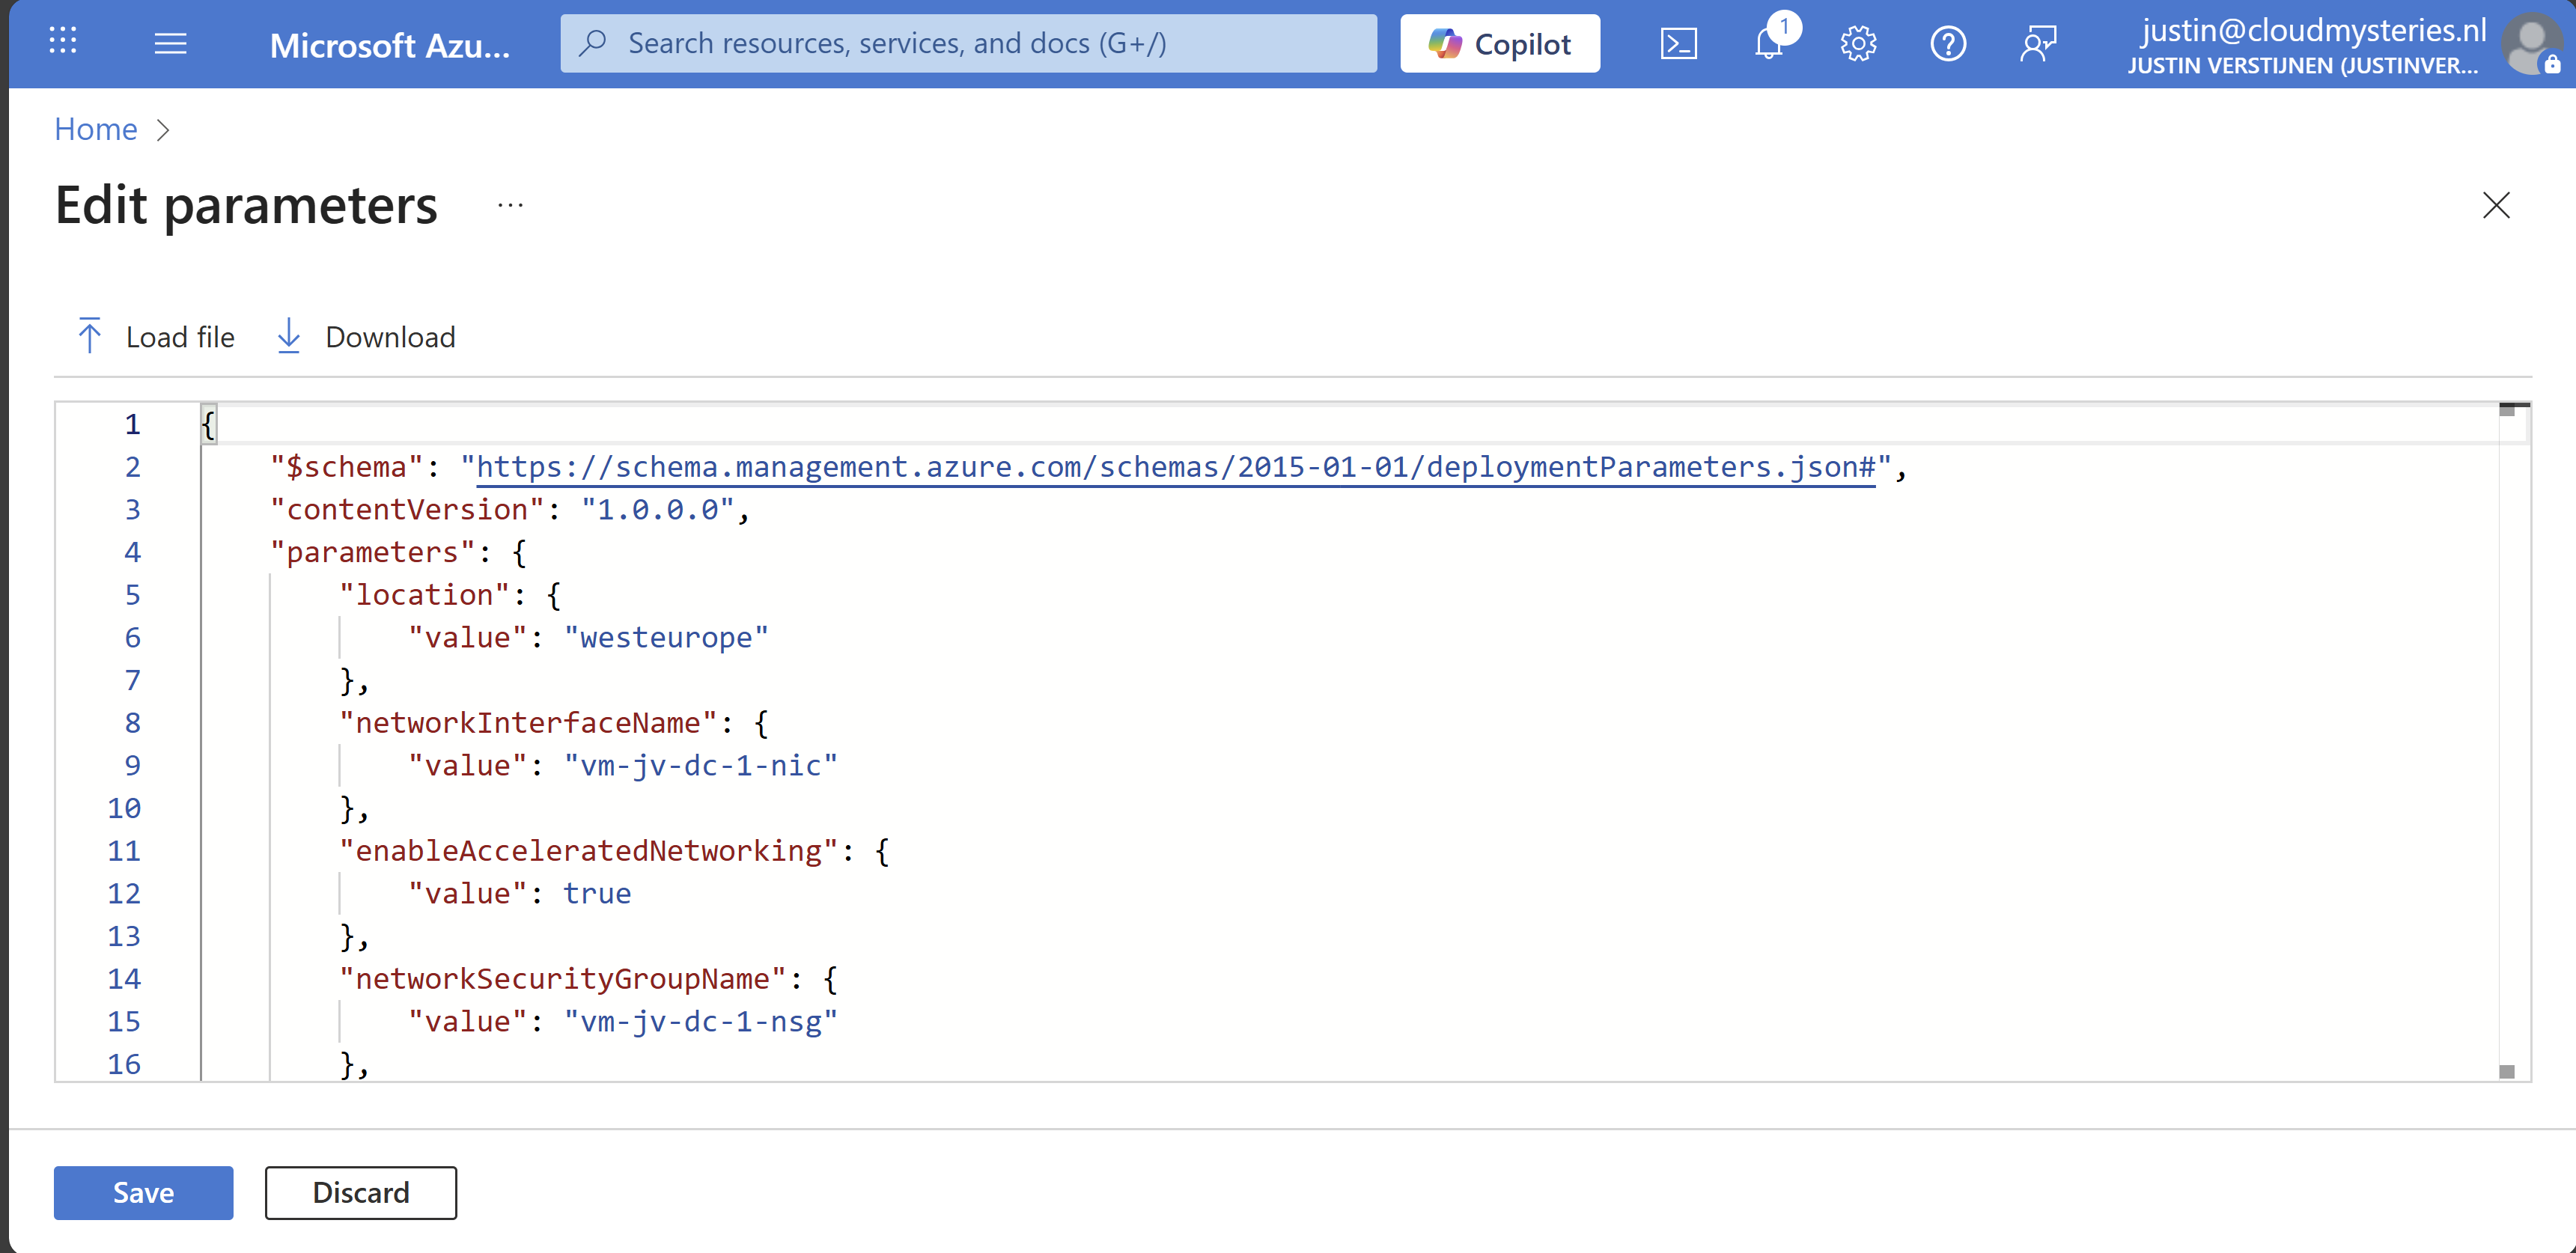
After creating your ARM template by defining the wizard and downloading the files, you can change the parameters.json file to change specific settings. This contains the naming of the resources, the region, your administrator and such:
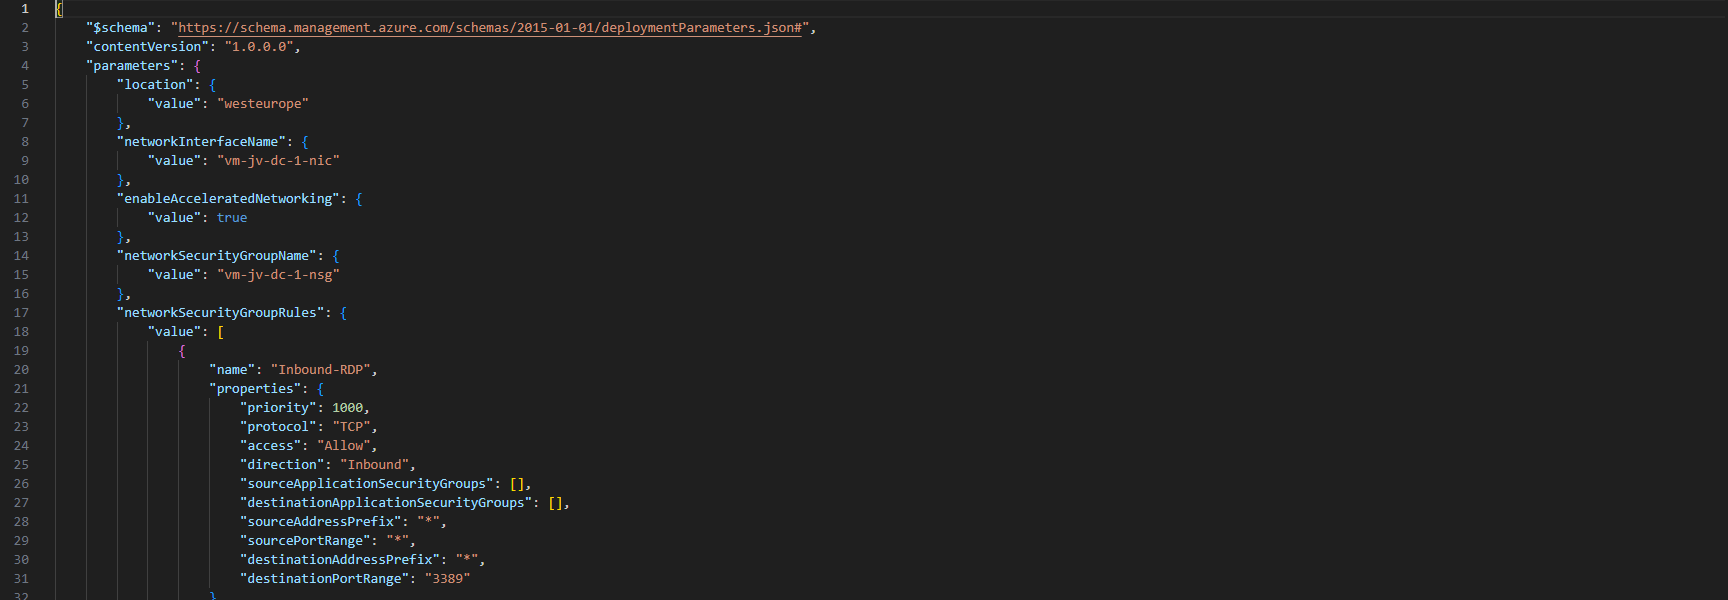
Ensure no templates contain the same names as that will instantly result in an error.
Deploying an ARM template using the Azure Portal
After you have changed your template and adjusted it to your needs, you can deploy it in the Azure Portal.
Open up the Azure Portal, and search for “Deploy a custom template”, and open that option.

Now you get on this page. Click on “Build your own template in the editor”:

You will get on this editor page now. Click on “Load file” to load our template.json file.
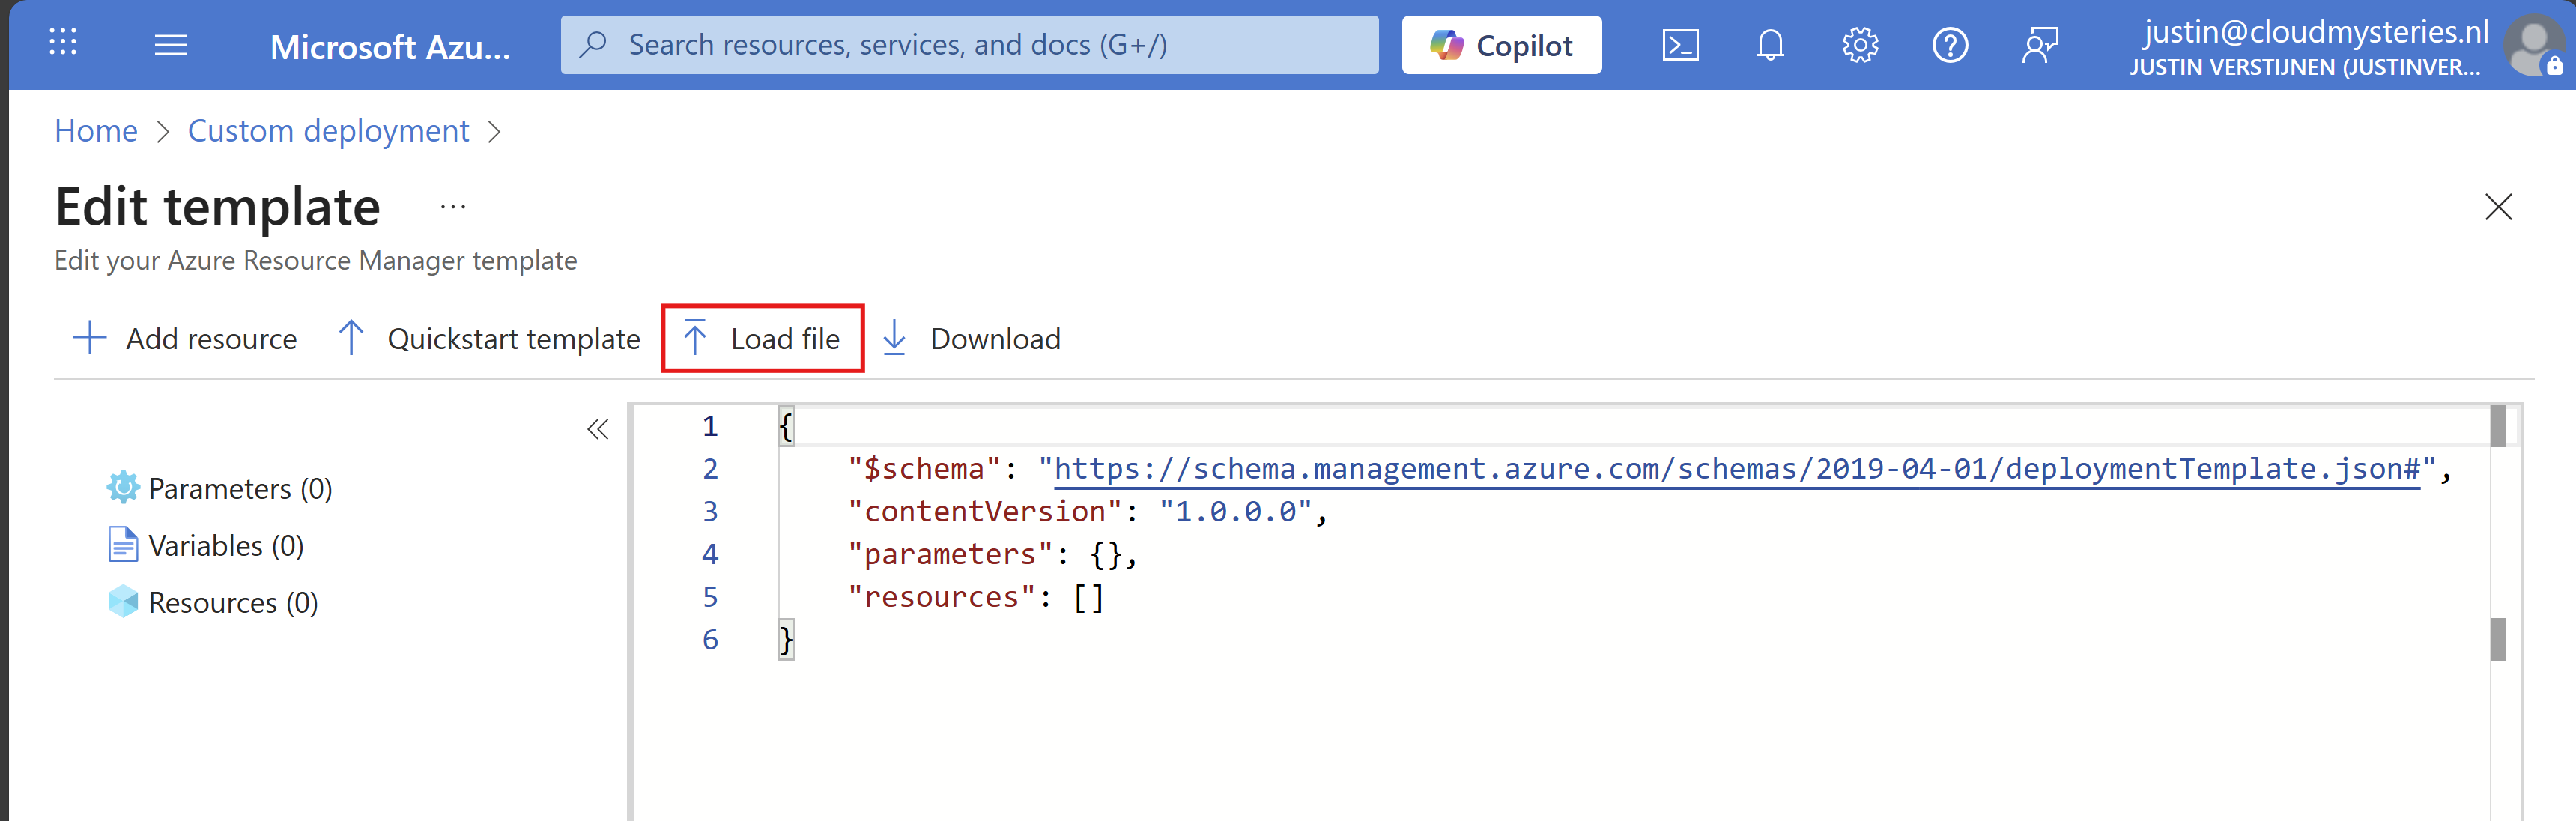
Now select the template.json file from your created and downloaded template.

It will now insert the template into the editor, and you can see on the left side what resource types are defined in the template:

Click on “Save”. Now we have to import the parameters file, otherwise all fields will be empty.
Click on “Edit parameters”, and we have to also upload the parameters.json file.
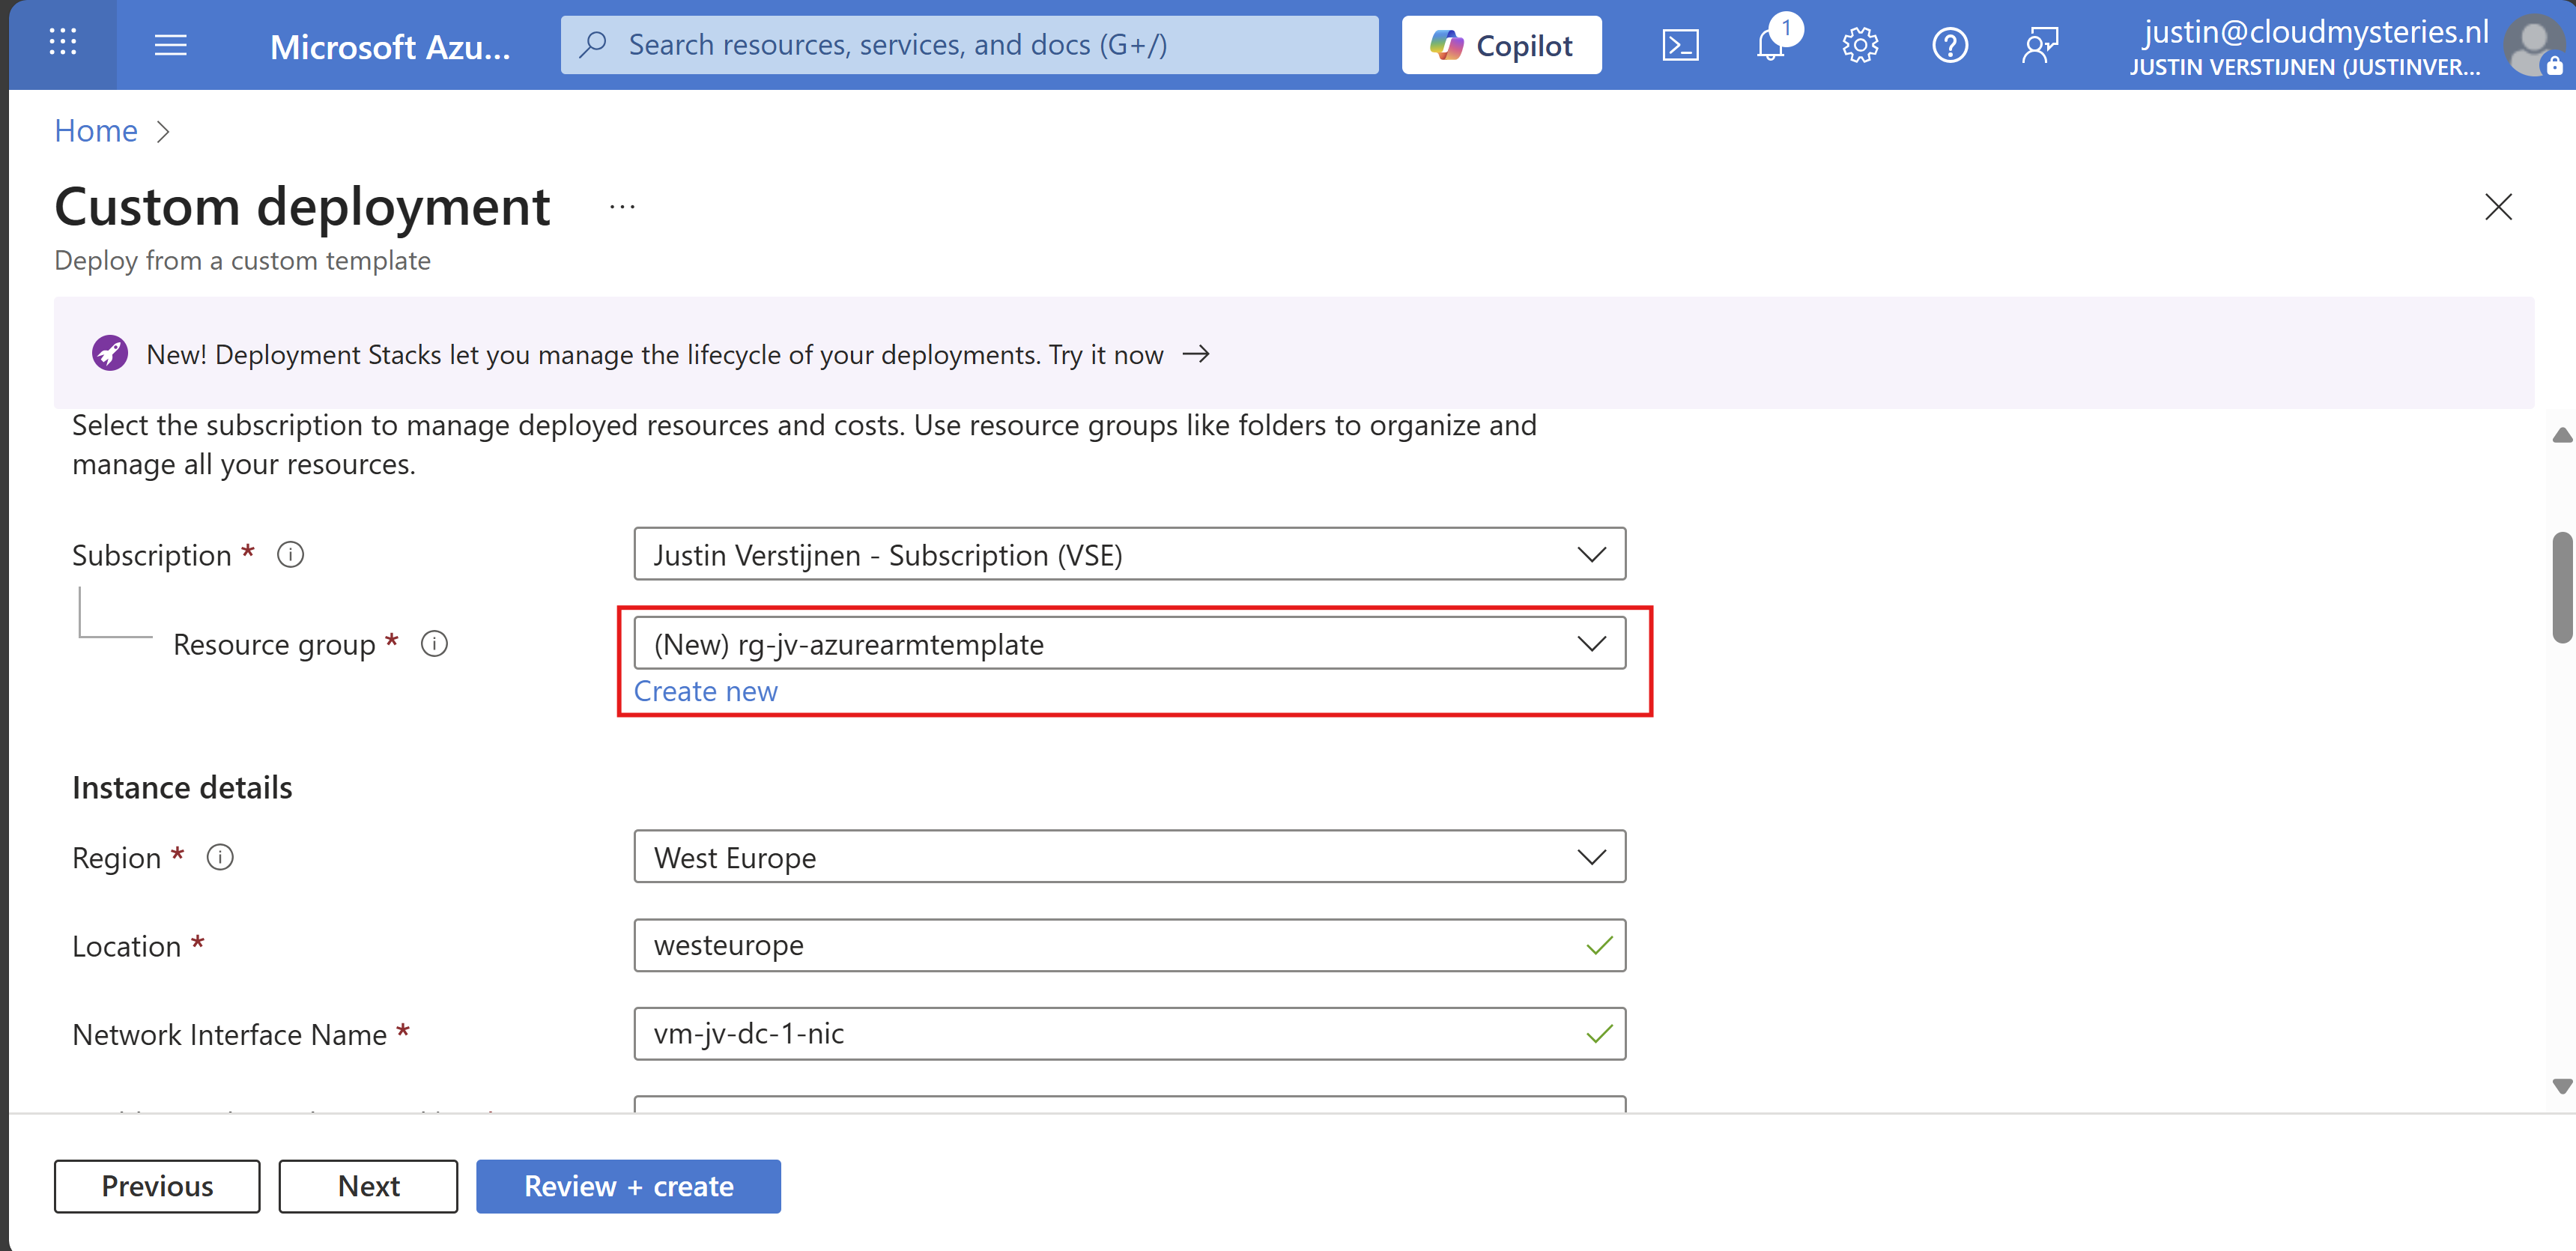
Click on “Save” and our template will be filled in for 85%. We only have to set the important information:
- Resource group
- Administrator password (as we don’t want this hardcoded in the template -> security)
Select your resource group to deploy all the resources in.
Then fill in your administrator password:
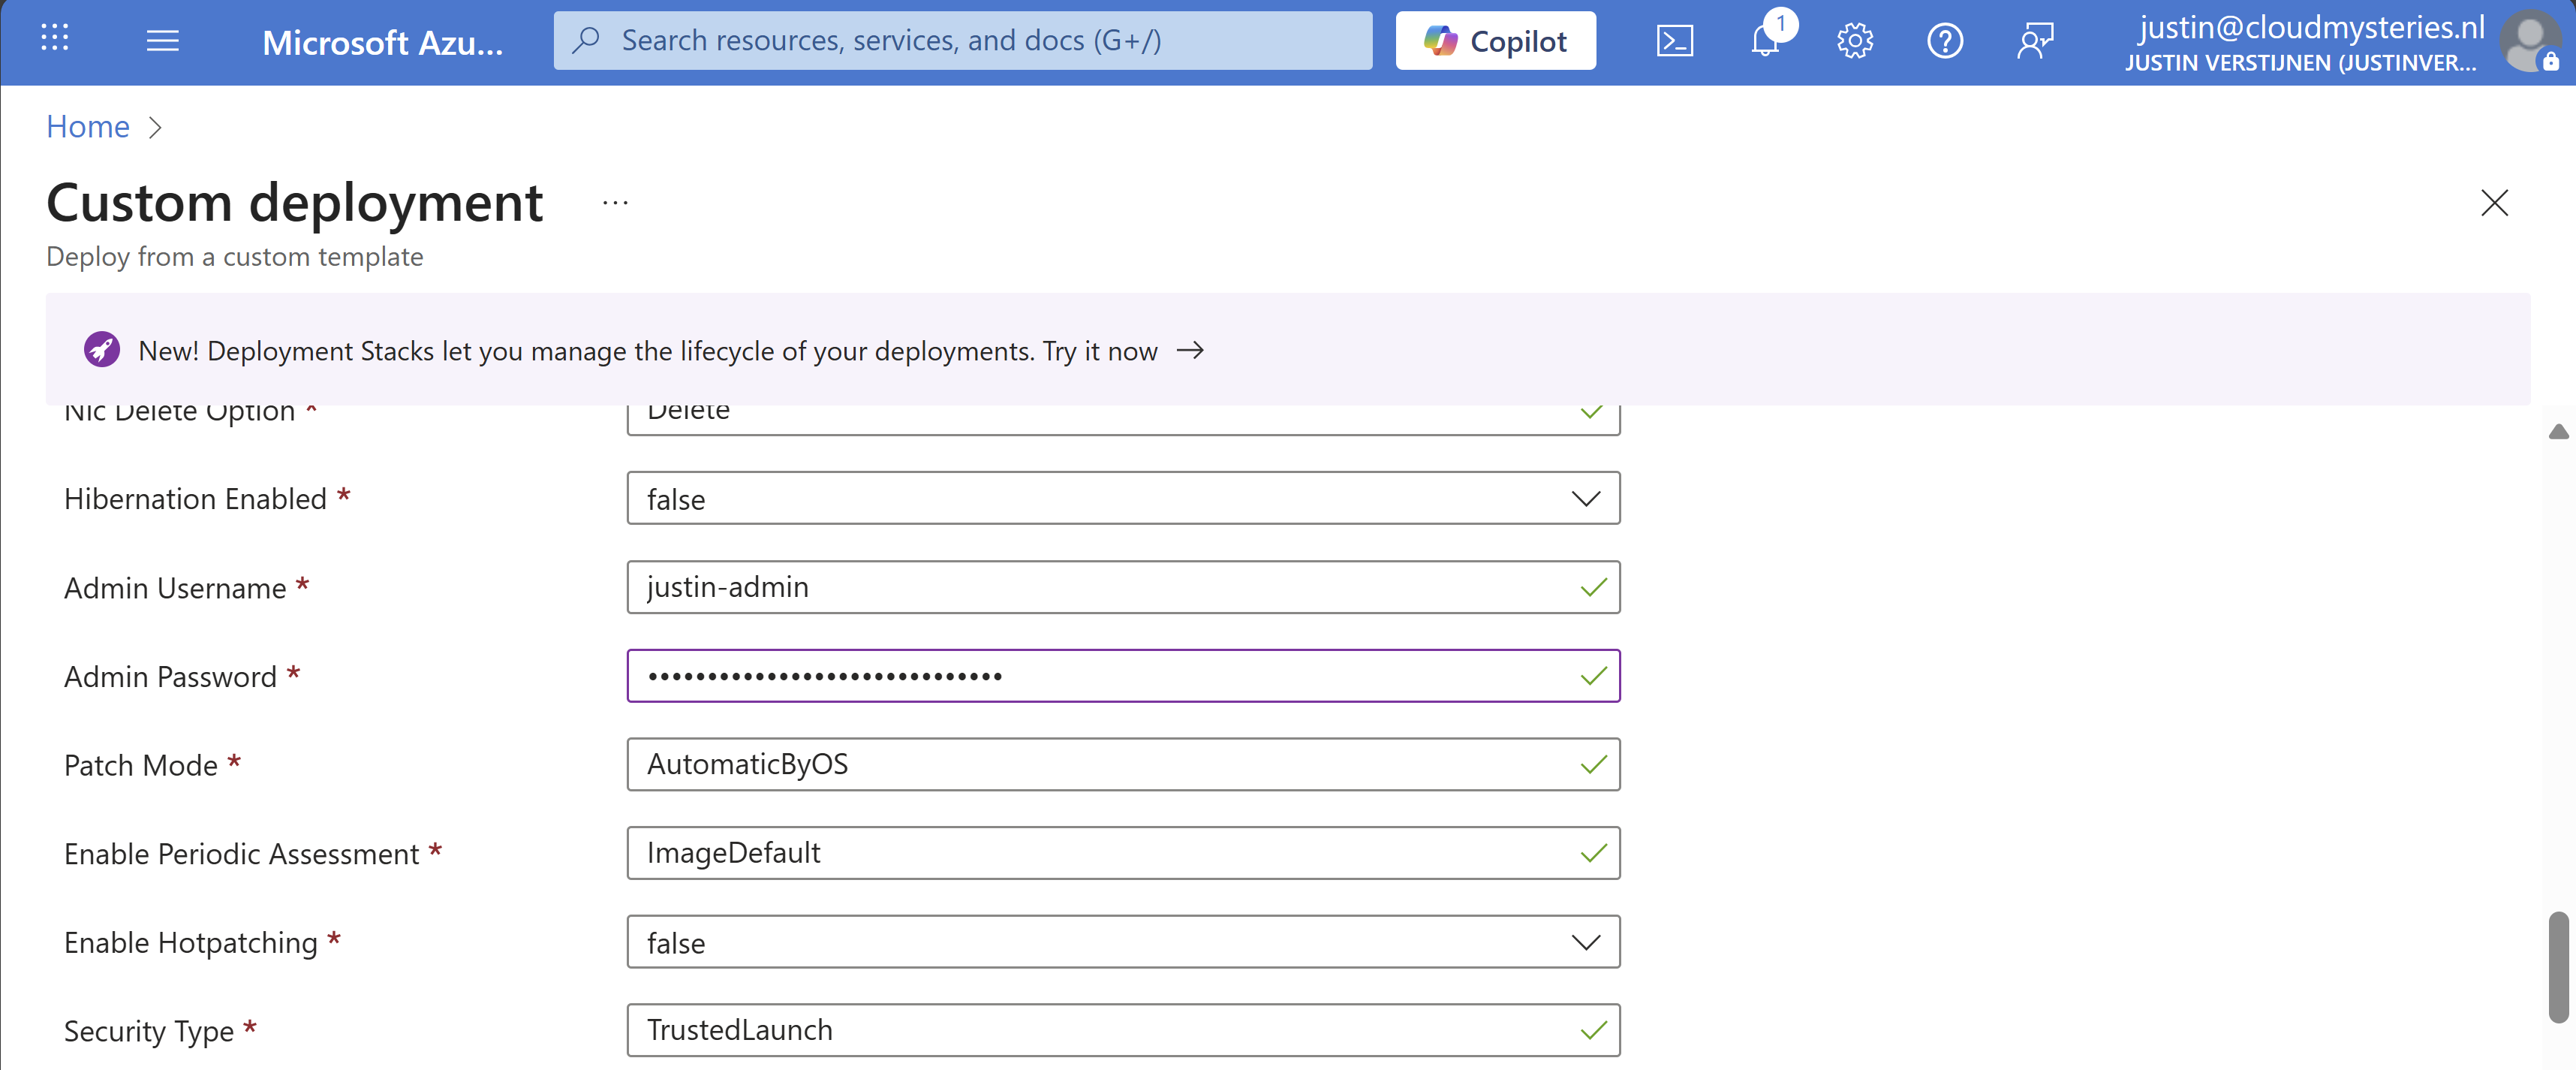
Review all of the settings and then advance to the deployment.
Now everything in your template will be deployed into Azure:
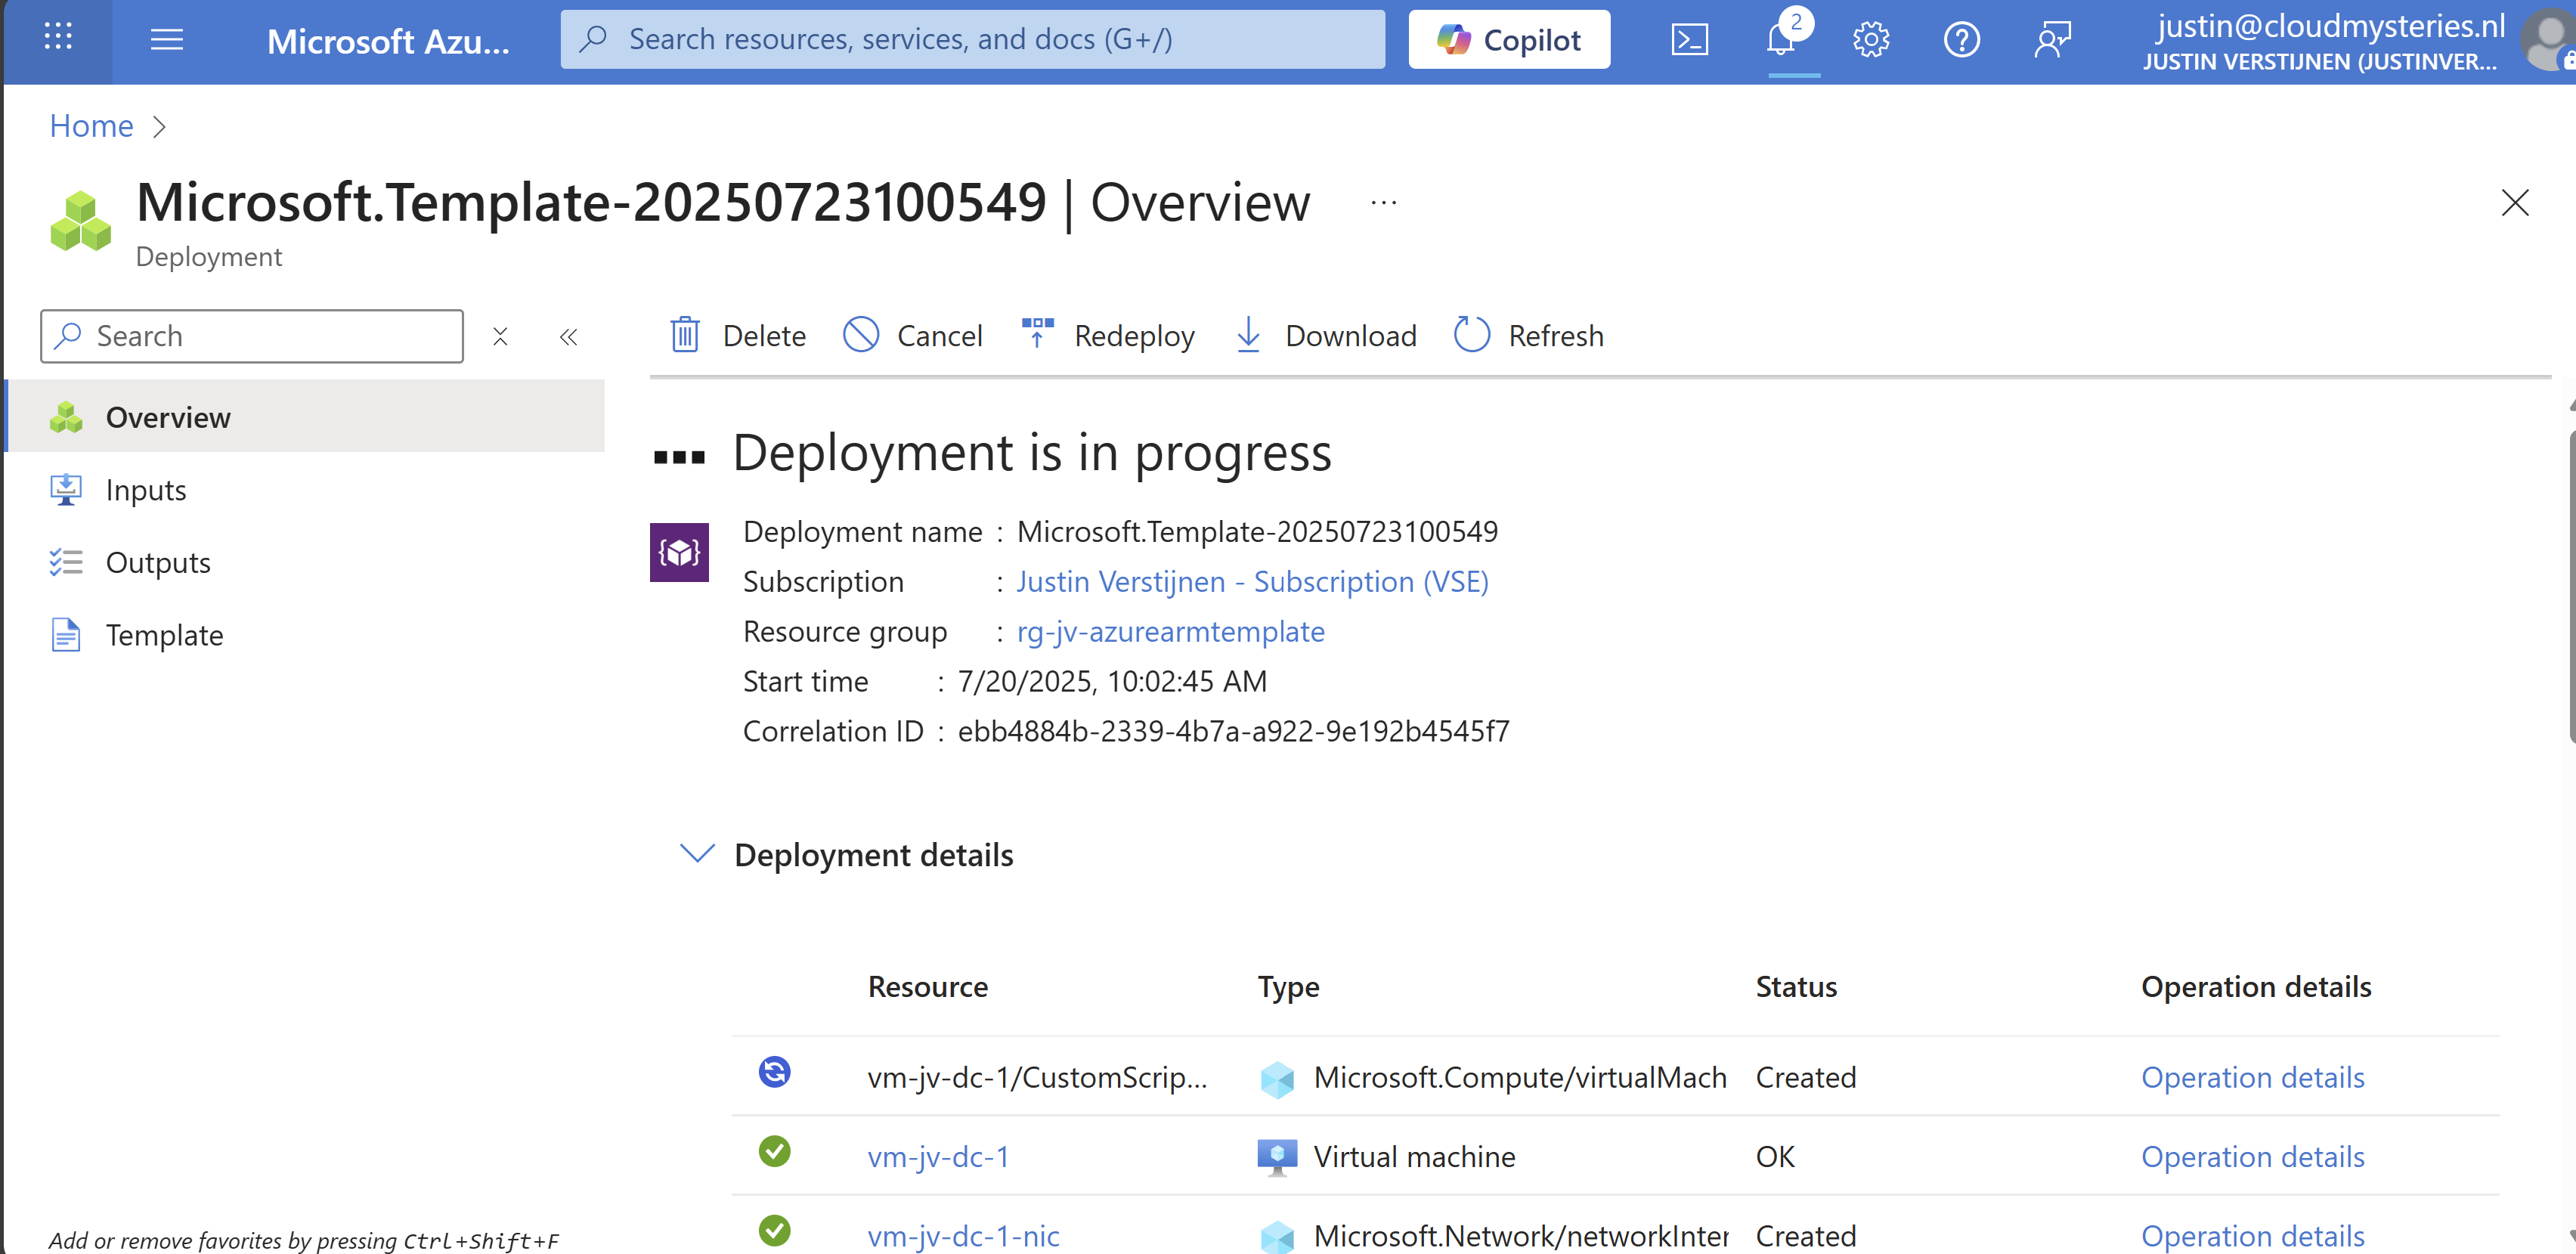
As you can see, you can repeat these steps if you need multiple similar virtual machines as we only need to load the files and change 2 settings. This saves a lot of time of everything in the normal VM wizard and this decreases human errors.
Add Powershell script to ARM template
We can also add a PowerShell script to an ARM template to directly run after deploying. Azure does this with an Custom Script Extenstion that will be automatically installed after deploying the VM. After installing the extension, the script will be running in the VM to change certain things.
I use a template to deploy an VM with Active Directory everytime I need an Active Directory to test certain things. So I have a modified version of my Windows Server initial installation script which also installs the Active Directory role and promotes the VM to my internal domain. This saves a lot of time configuring this by hand every time:

The Custom Script Extension block and monifying
We can add this Custom Script Extension block to our ARM template.json file:
{
  "type": "Microsoft.Compute/virtualMachines/extensions",
  "name": "[concat(parameters('virtualMachineName'), '/CustomScriptExtension')]",
  "apiVersion": "2021-03-01",
  "location": "[parameters('location')]",
  "dependsOn": [
    "[resourceId('Microsoft.Compute/virtualMachines', parameters('virtualMachineName'))]"
  ],
  "properties": {
    "publisher": "Microsoft.Compute",
    "type": "CustomScriptExtension",
    "typeHandlerVersion": "1.10",
    "autoUpgradeMinorVersion": true,
    "settings": {
      "fileUris": [
        "url to script"
      ]
    },
    "protectedSettings": {
      "commandToExecute": "powershell -ExecutionPolicy Unrestricted -Command ./script.ps1"
    }
  }
}
Then change the 2 parameters in the file to point it to your own script:
- fileUris: This is the public URL of your script (line 16)
- commandToExecute: This is the name of your script (line 20)


Placing the block into the existing ARM template
This block must be placed after the virtual machine, as the virtual machine must be running before we can run a script on it.

Search for the “Outputs” block and on the second line just above it, place a comma and hit Enter and on the new line paste the Custom Script Extension block. Watch this video as example where I show you how to do this:
Testing the custom script
After changing the template.json file, save it and then follow the custom template deployment step again of this guide to deploy the custom template which includes the PowerShell script. You will see it appear in the deployment after the virtual machine is deployed:
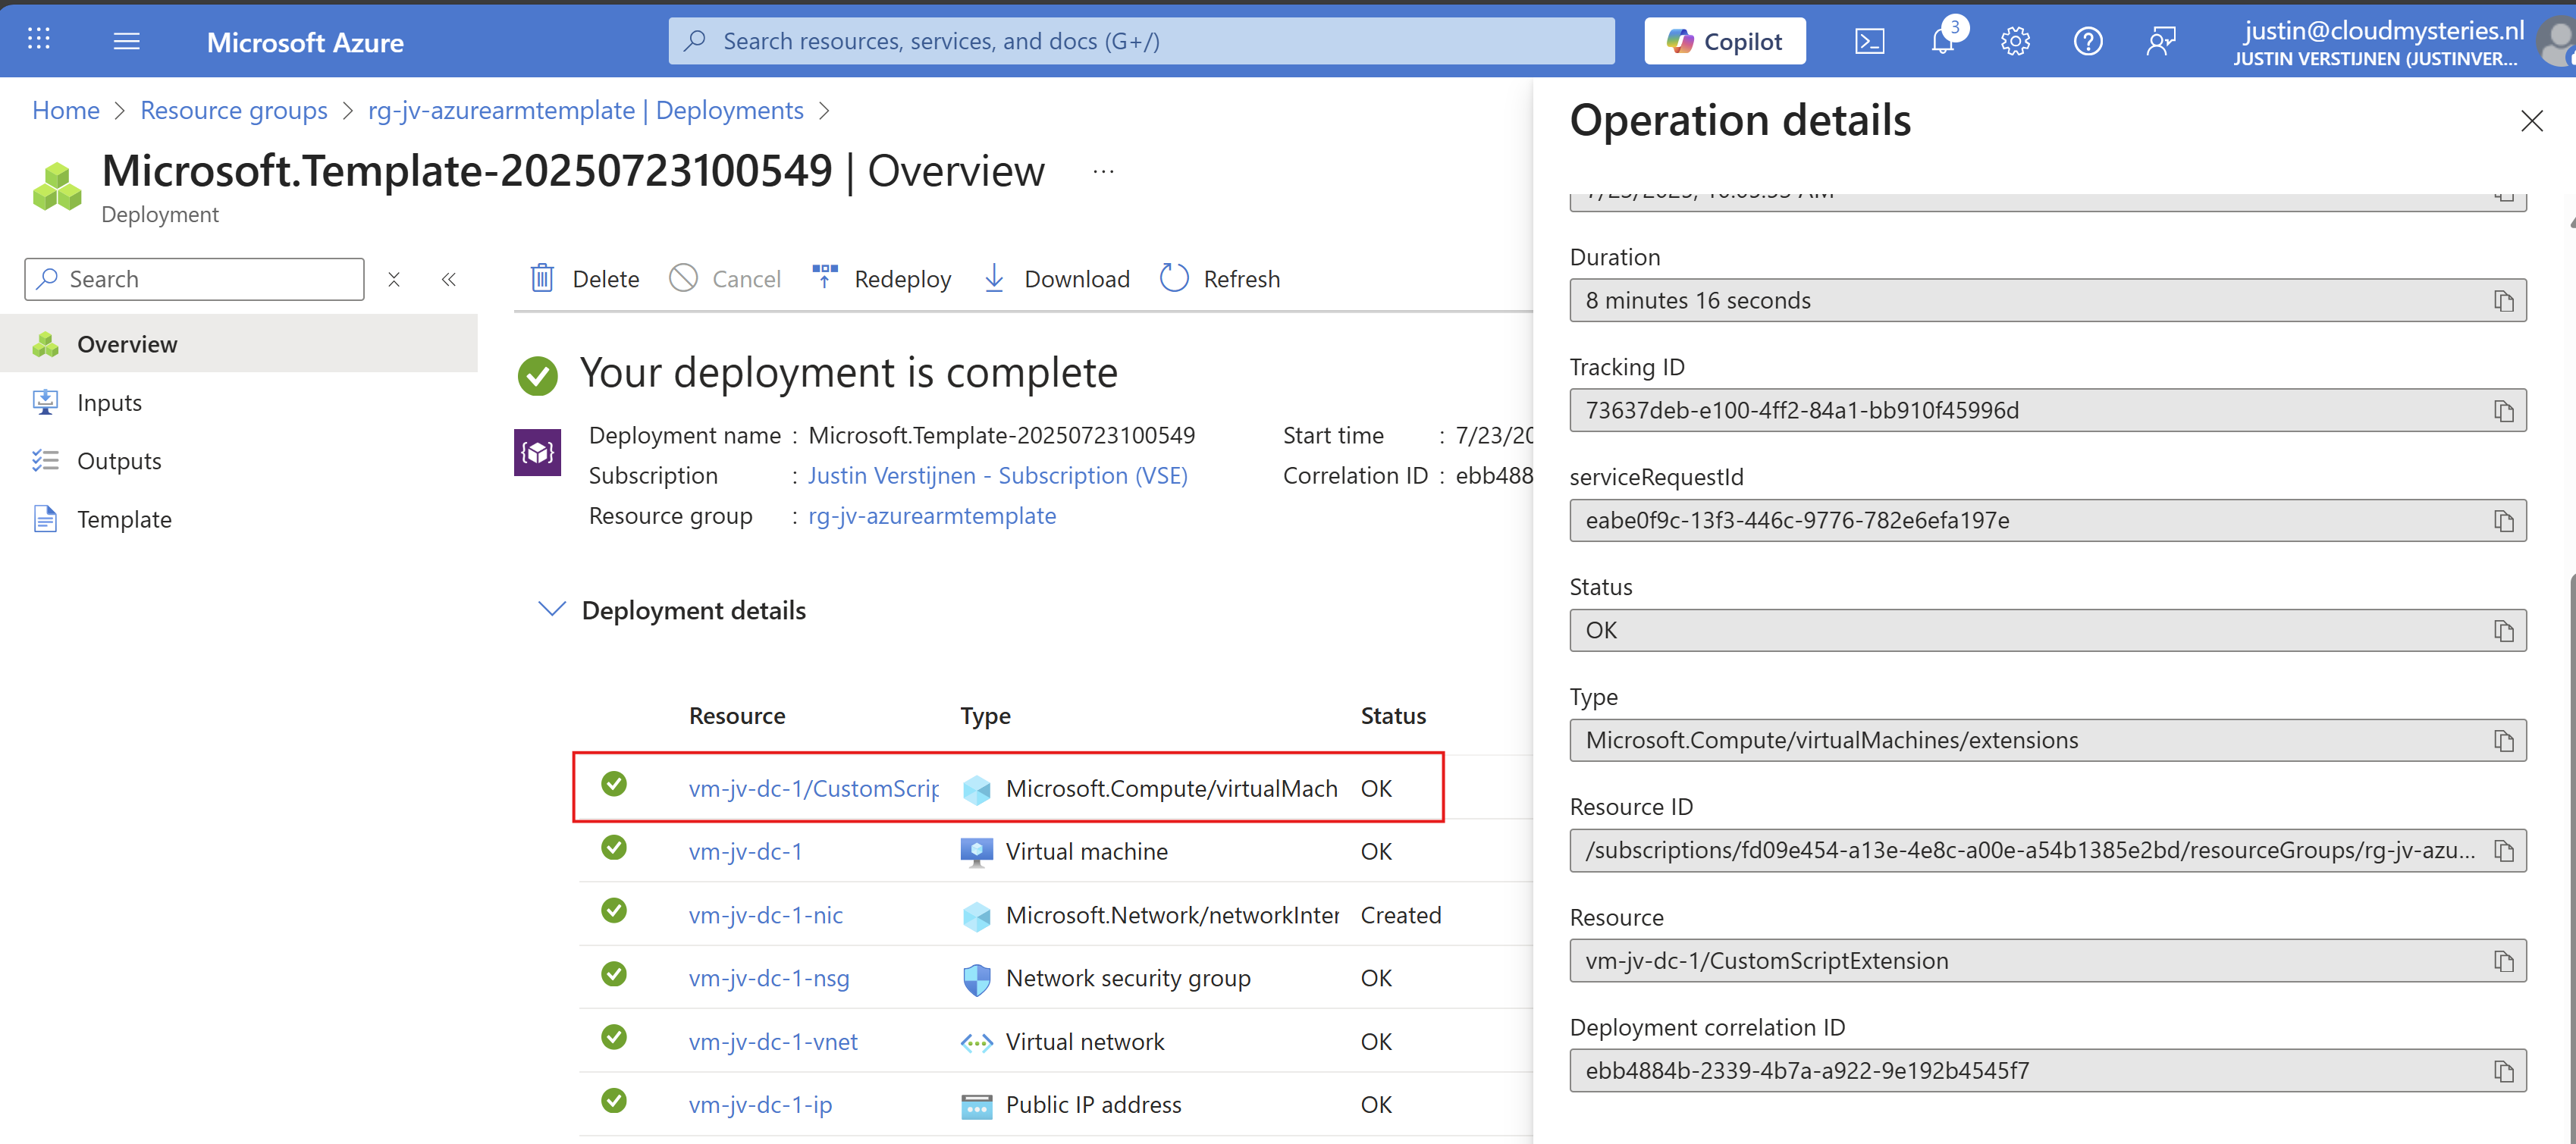
After the VM is deployed, I will login and check if the script has run:
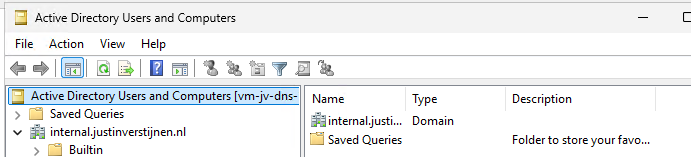
The domain has been succesfully installed with management tools and such. This is really cool and saves a lot of time.
Summary
ARM templates are an great way to deploy multiple instances of resources and with extra customization like running a PowerShell script afterwards. This is really helpful if you deploy machines for every blog post like I do to always have the same, empty configuration available in a few minutes. The whole proces now takes like 8 minutes but when configuring by hand, this will take up to 45 minutes.
ARM is a great step between deploying resources completely by hand and IaC solutions like Terraform and Bicep.
Thank you for visiting this webpage and I hope this was helpful.
Sources
These sources helped me by writing and research for this post;
- https://learn.microsoft.com/en-us/azure/azure-resource-manager/management/overview
- https://learn.microsoft.com/en-us/azure/virtual-machines/extensions/custom-script-windows
End of the page 🎉
You have reached the end of the page. You can navigate through other blog posts as well, share this post on X, LinkedIn and Reddit or return to the blog posts collection page. Thank you for visiting this post.
If you think something is wrong with this post or you want to know more, you can send me a message to one of my social profiles at: https://justinverstijnen.nl/about/
If you find this page and blog very useful and you want to leave a donation, you can use the button below to buy me a beer. Hosting and maintaining a website takes a lot of time and money. Thank you in advance and cheers :)

The terms and conditions apply to this post.