Automatically clean up inactive Entra ID devices using Azure Automation
Categories:
8 minute read
Requirements
- An Azure subscription
- PowerShell 7 installed
- Microsoft Graph PowerShell module installed
- Basic knowledge of PowerShell
- Basic knowledge of Microsoft Graph
- Around 30 minutes of your time
Azure Automation vs. Logic Apps
Azure Automation looks similar to Logic Apps. Personally, I think Azure Automation is better for more complex tasks. Logic Apps are very good for quickly creating smaller workflows by using connectors and predefined actions. However, you are more limited in customization. With Azure Automation you can fully design and test your own scripts and use custom PowerShell modules but also Python. This gives you much more flexibility and control.
How does Azure Automation work?
Azure Automation works by creating an Automation Account in Azure. This acts as a container where different runbooks can run.
The runbooks are the actual scripts or tasks which can run manually or based on a schedule.
In this guide we will use:
- An Automation Account
- A PowerShell runbook
- A Managed Identity
- Microsoft Graph permissions
- A schedule to run automation automatically
The script will check all Entra ID devices and delete devices that have been inactive for more than 180 days.
The scripts and description
I already created the preparation files and scripts which can be found here:
https://github.com/JustinVerstijnen/JV-AA-CleanEntraIDDevices/tree/main
Here are two scripts:
- Setup-script: This is the script needed for the setup of the automation account, only the first time after creating an Automation Account
- Clean-script: This is the script that runs on schedule
- The script connects to Microsoft Entra ID using the Microsoft Graph PowerShell module
- It looks for devices that have been inactive for more than 180 days based on their Last activity date shown in Entra ID
- Devices that do not have a Last activity / Last sign-in date are ignored and will not be disabled or deleted because the setting
$SkipDevicesWithoutLastSignIn = $trueis enabled - Hybrid Azure AD joined devices are skipped and will not be processed
- The script generates a list of stale devices that meet the criteria
- With the current setting (
$Action = "Report"), the script only creates a report and does not make any changes to devices - If the action is changed to Disable, the matching stale devices will be disabled
- If the action is changed to Delete, only devices that are already disabled can be deleted, providing an additional safety measure. This is the default option for now
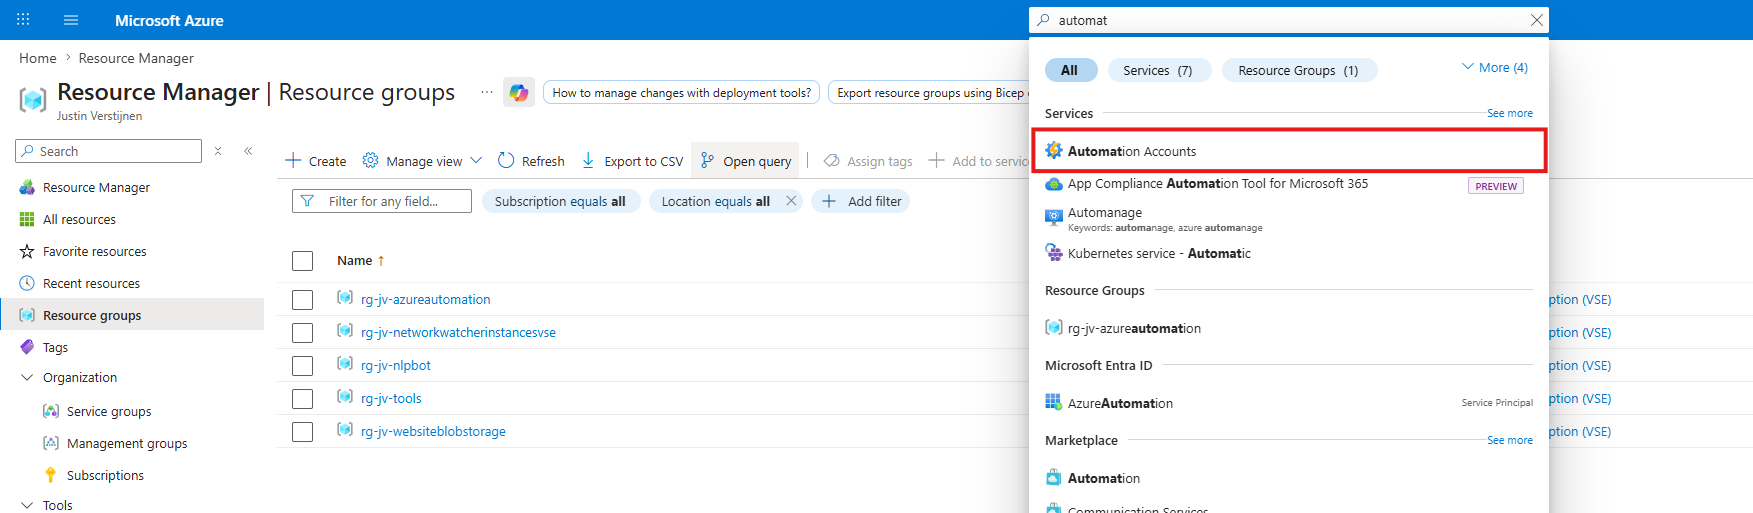
Step 1: Create an Automation Account:
Open the Azure Portal and navigate to: “Automation Accounts”. Then create a new Automation Account.
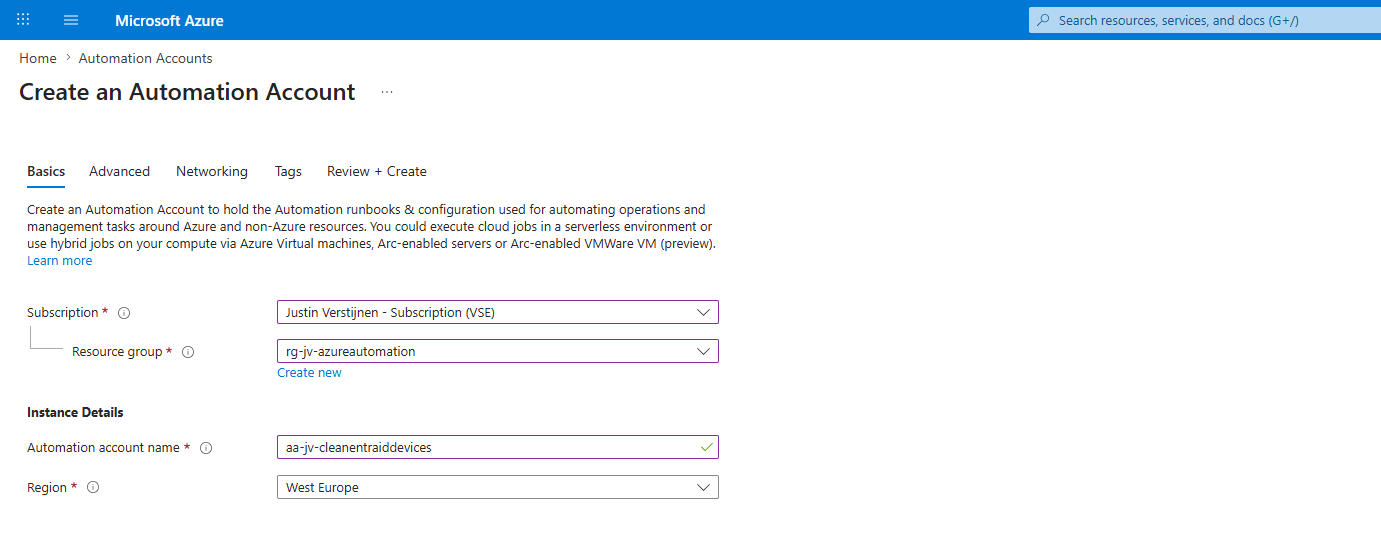
Give the Automation Account a name and place it in your desired resource group.
Then advance to the “Advanced” page.
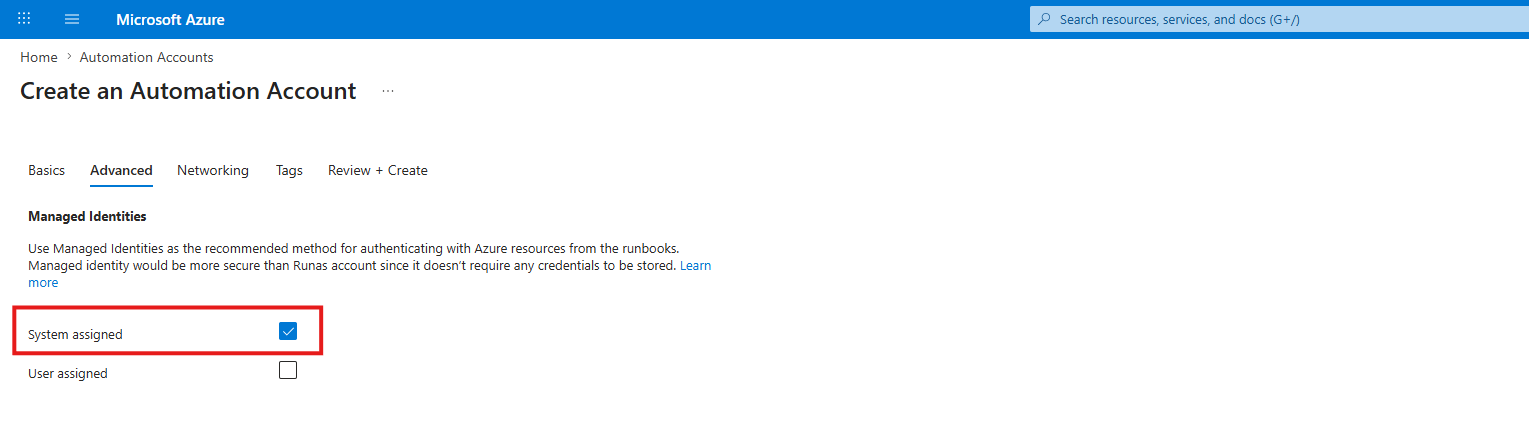
Here enable the “System assigned” identity option to enable an identity for the Automation Account.
Leave the rest of the wizard as-is and complete it to create the Automation Account.

Step 2: Configure the Managed Identity
Now we have to configure the managed identity for this solution to work. This is a sort of service account the script uses to gain least privileges and having access to your Entra ID from the Azure platform.
Go to your Automation Account, then open up “Identity” from the left:
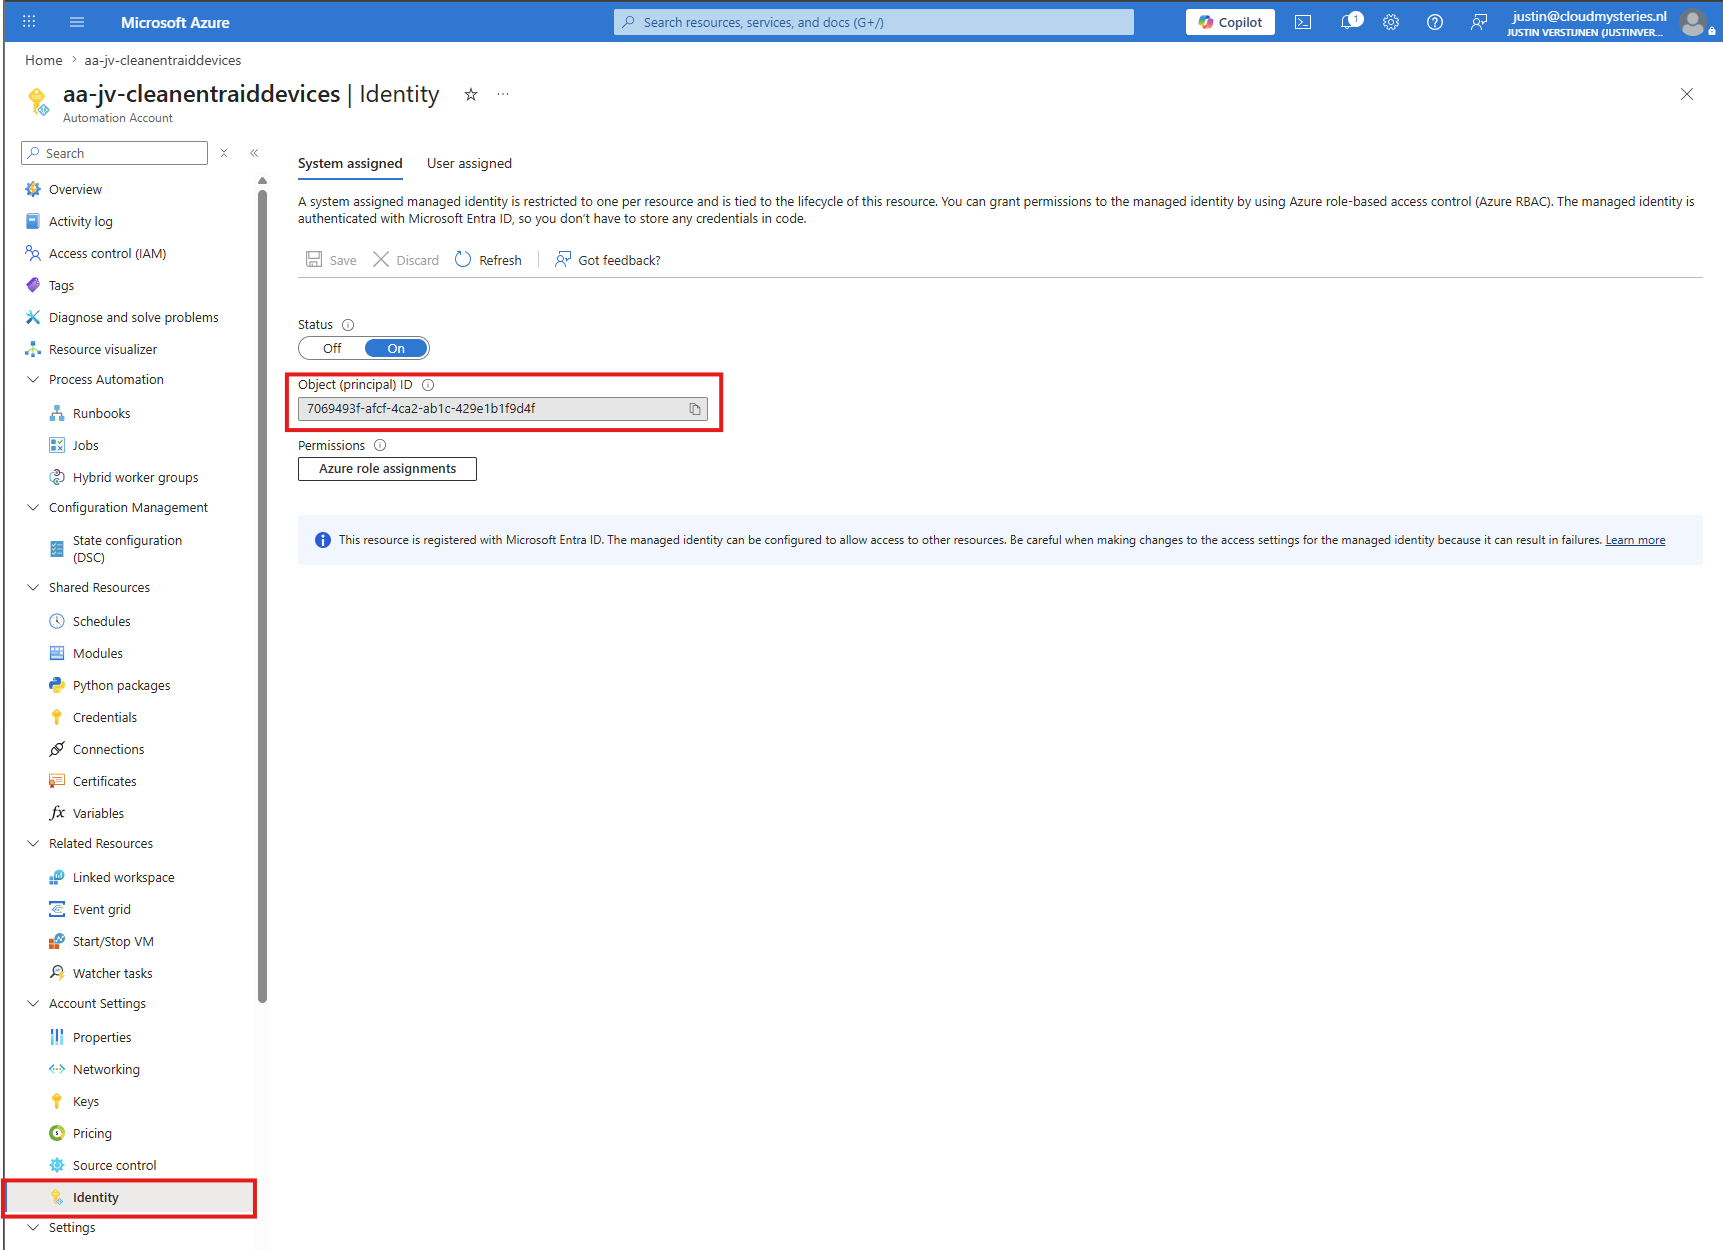
Here we must copy the Object ID of the Managed Identity, as we need this in our script to give the required permissions. As we need to provide permissions to a Service Principal, this must be done through PowerShell. A Managed Identity is not managed through the portal like a normal App Registration.
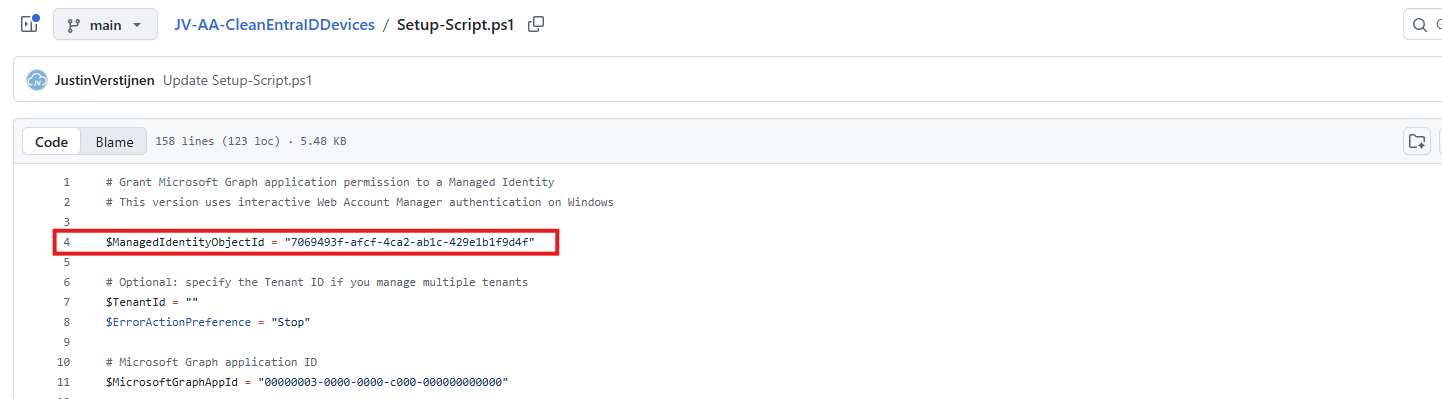
On the GitHub page, you can find the “Setup-Script.ps1”. Download this as we have to run it with PowerShell 7.
https://github.com/JustinVerstijnen/JV-AA-CleanEntraIDDevices/tree/main
Change the Managed Identity ID on line 4:
Now we can run the script in PowerShell 7 by executing it and then logging in to the tenant where you placed the automation account.
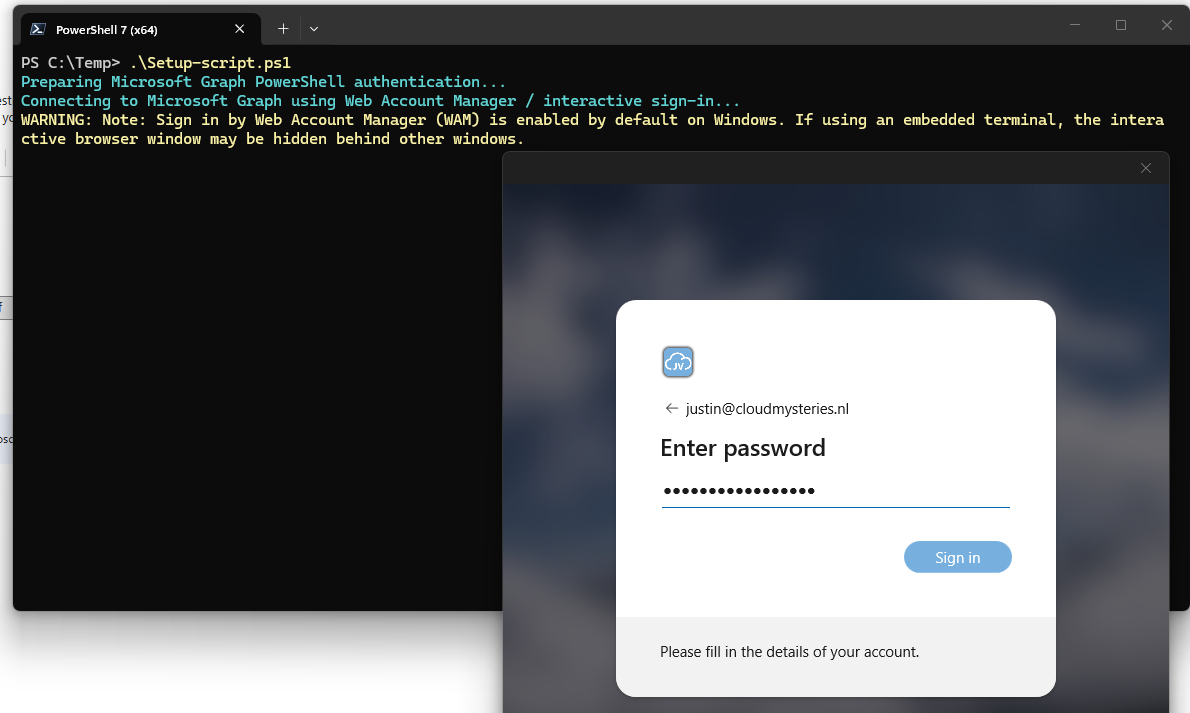
After logging in successfully, the correct permissions are assigned to the Managed Identity and the Automation Account can now be tested.
- Device.ReadWrite.All
Step 3: Install the needed modules
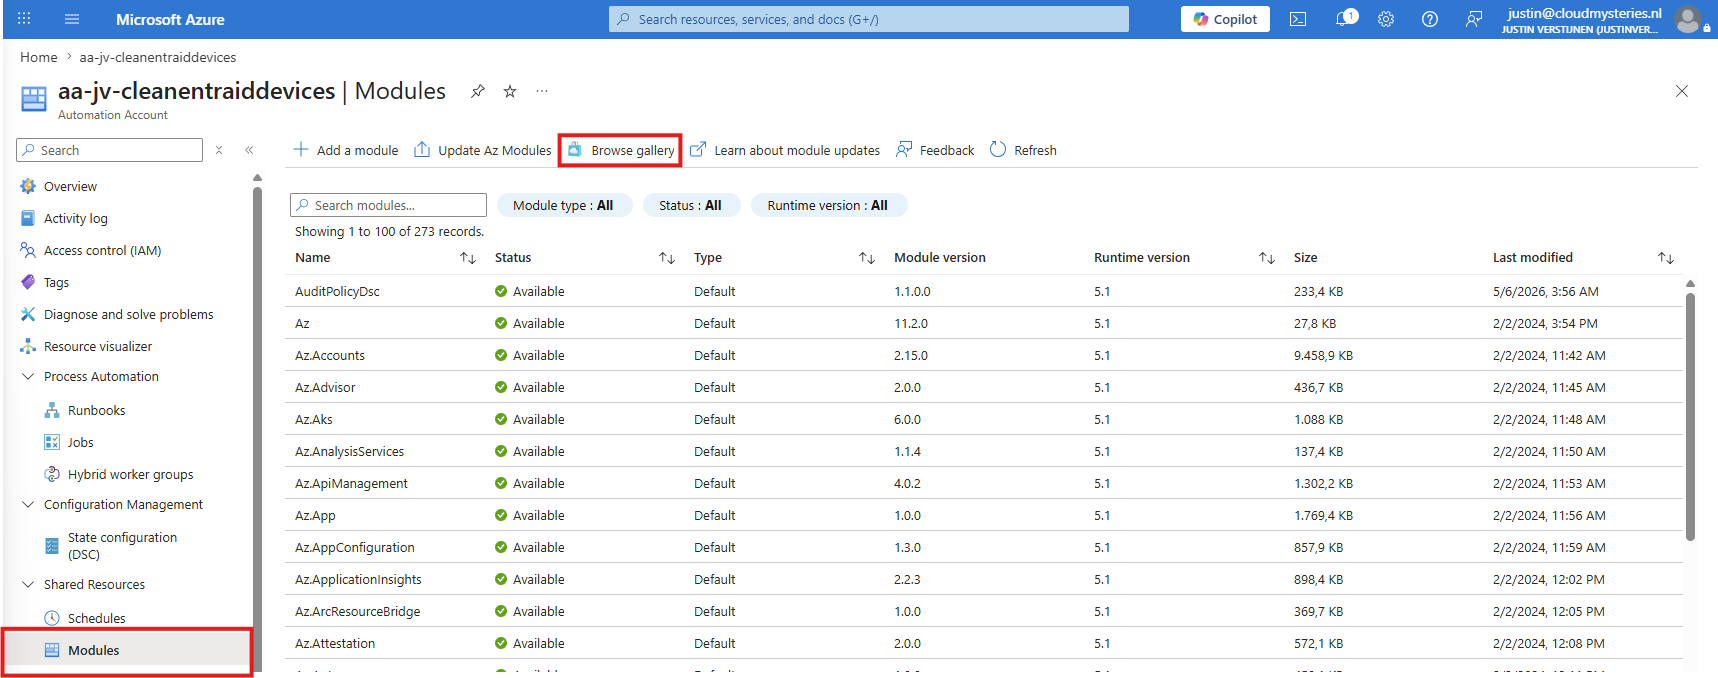
Now we have to install some PowerShell modules on our Automation Account. The script uses some modules which are not shipped by default on the Automation Account PowerShell runtime, but we can install this manually through the Azure Portal.
Navigate to the Automation Account in Azure and open up “Modules” from the left. From there, click on “Browse gallery” to add new PowerShell modules directly from the PowerShell Gallery into your Automation Account.
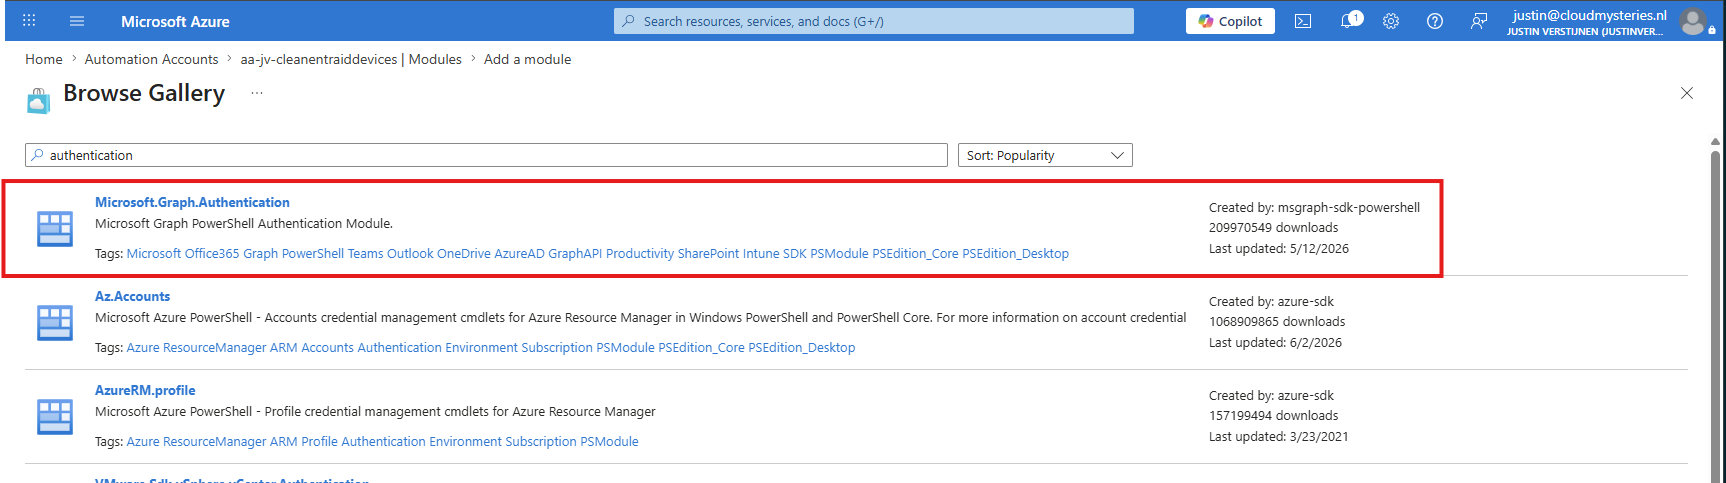
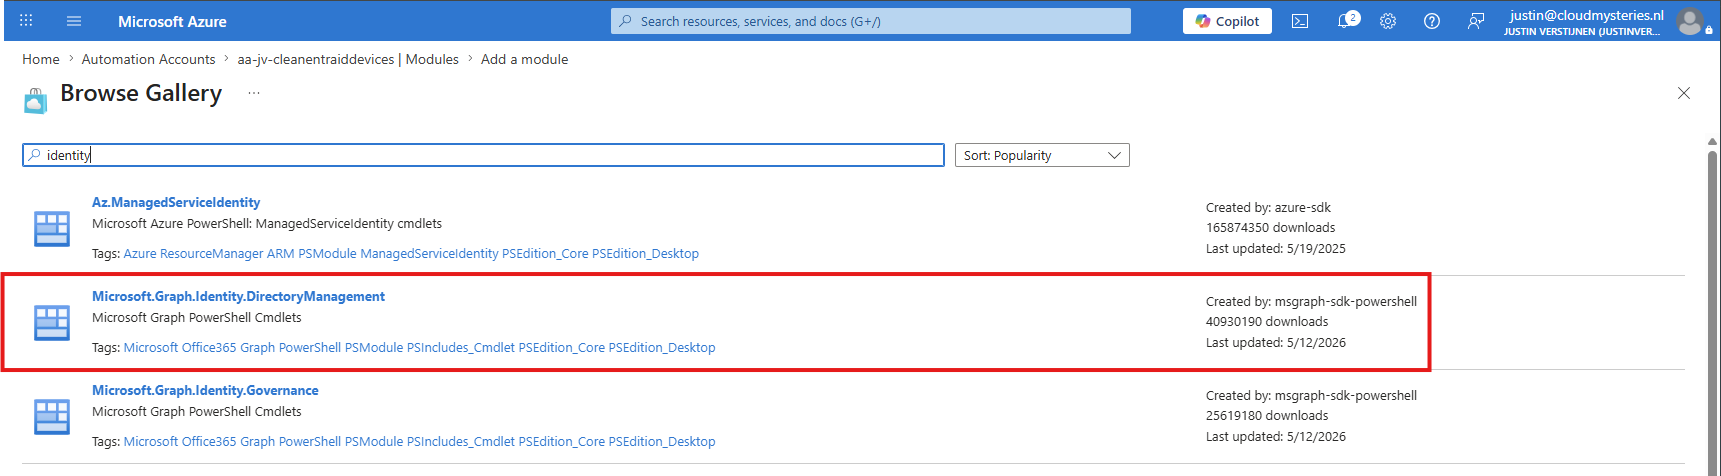
Here we need to install these two modules:
- Microsoft.Graph.Authentication
- Microsoft.Graph.Identity.DirectoryManagement
We can find them by searching for their names in the search bar:
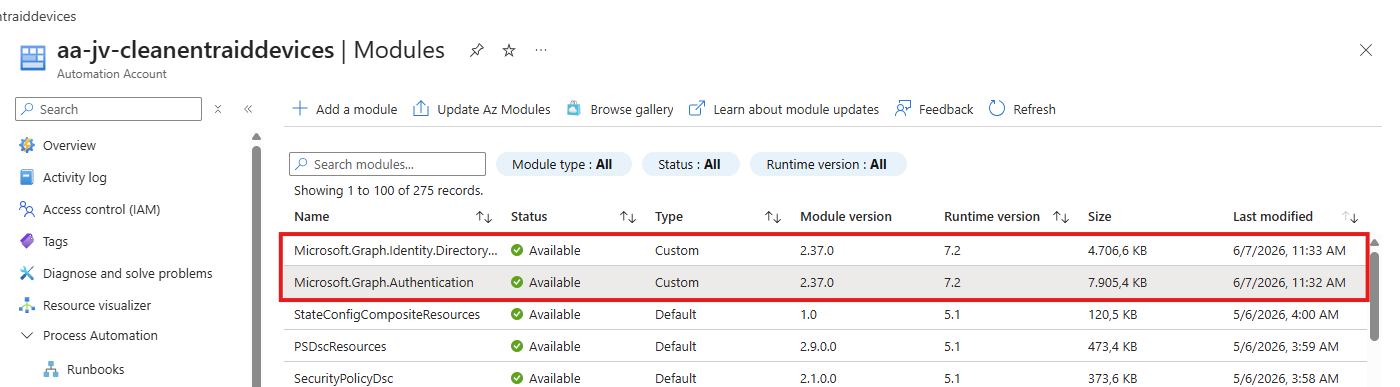
And then select the PowerShell 7.2 runtime version for both modules:

Then click “Next” to install the modules into the Automation Account. After a few minutes the modules should be ready to use:
Now we can proceed to Step 4 where we create the task itself.
Step 4: Create the PowerShell Runbook
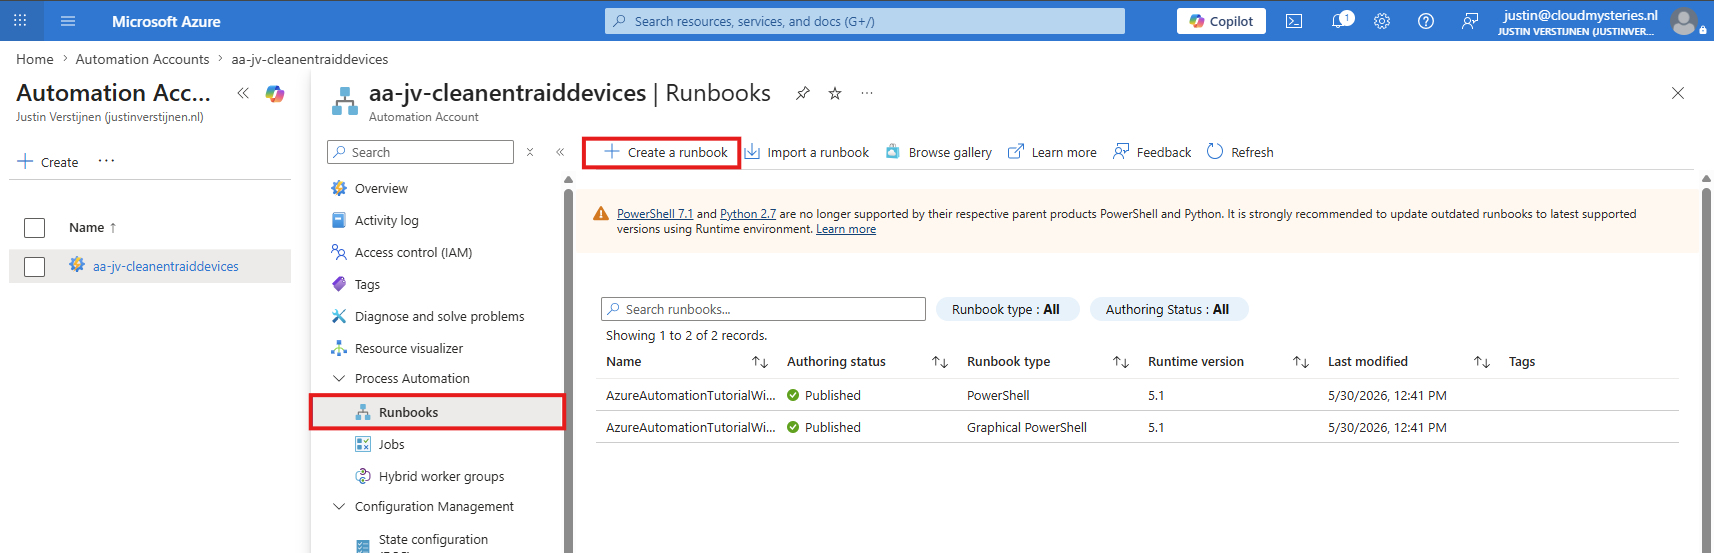
In this step we can create the PowerShell runbook itself. This is the task where the script is launched to clean the Entra ID devices. Navigate to your Automation Account and open up “Runbooks” from the left. From there, click on “+ Create a runbook” to create a new runbook with our desired settings.
Create a new Runbook by giving it a name and description and select these properties:
- Runbook type: PowerShell
- Runtime version : 7.2
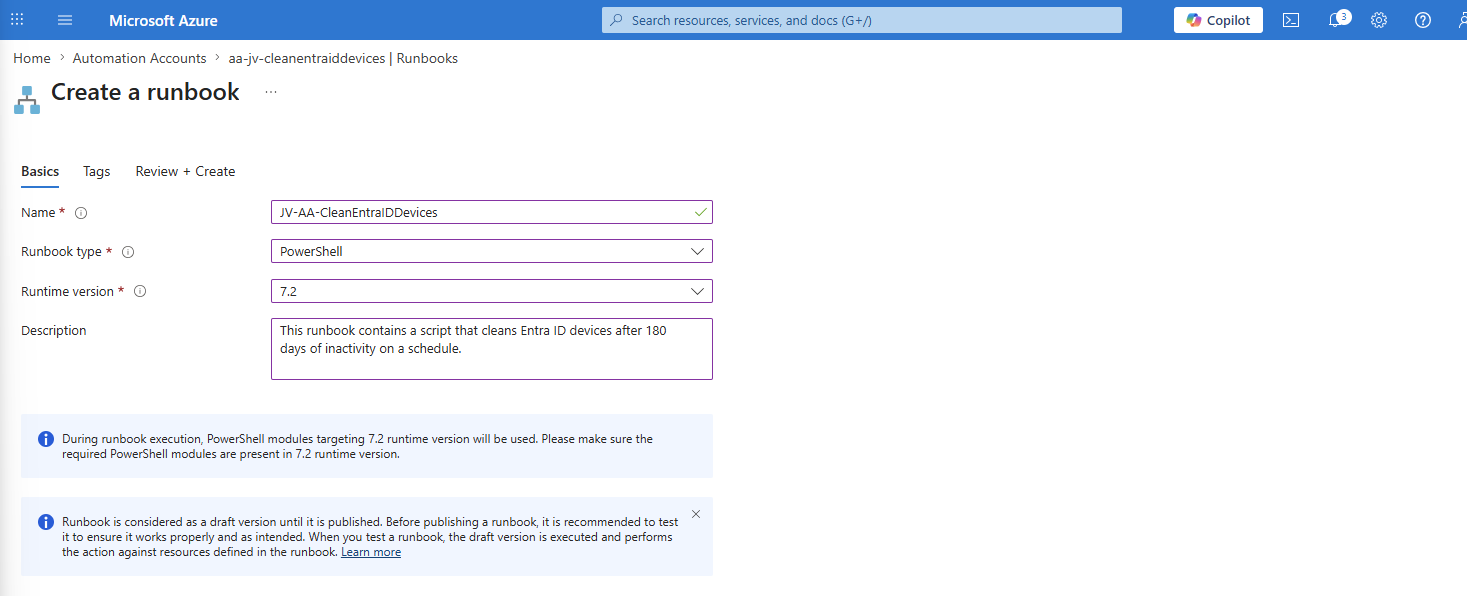
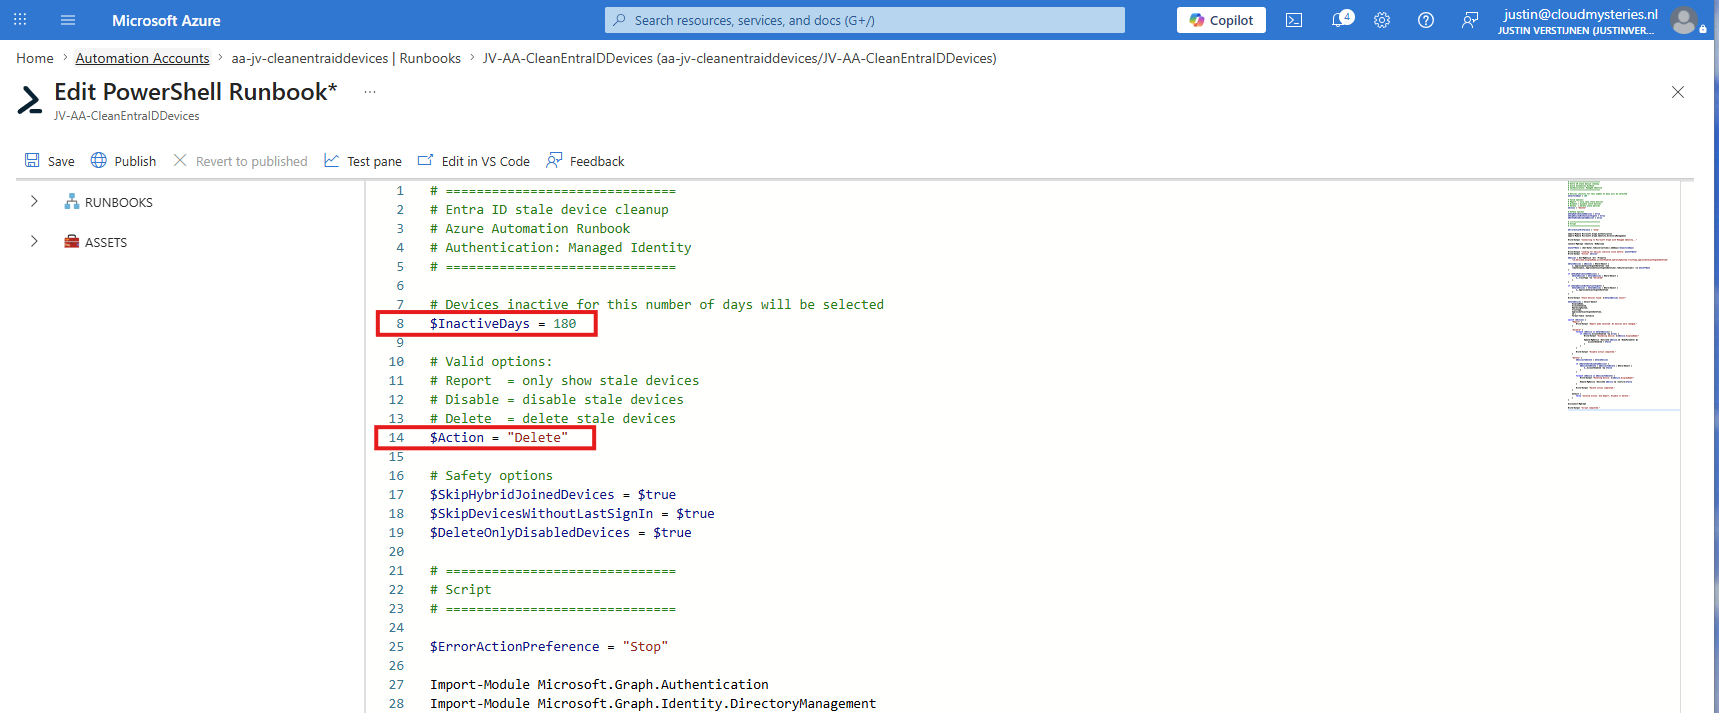
Then finish the create Runbook wizard. We will now be presented a online code editor where we can place the PowerShell script itself. Here paste the contents of the “Clean-scipt.ps1” file from the GitHub Repo:
Here we can change two parameters for the script based on your preferences:
- Line 8: The amount of days for a device to be inactive
- Line 14: The action, if it must only report or directly delete the devices
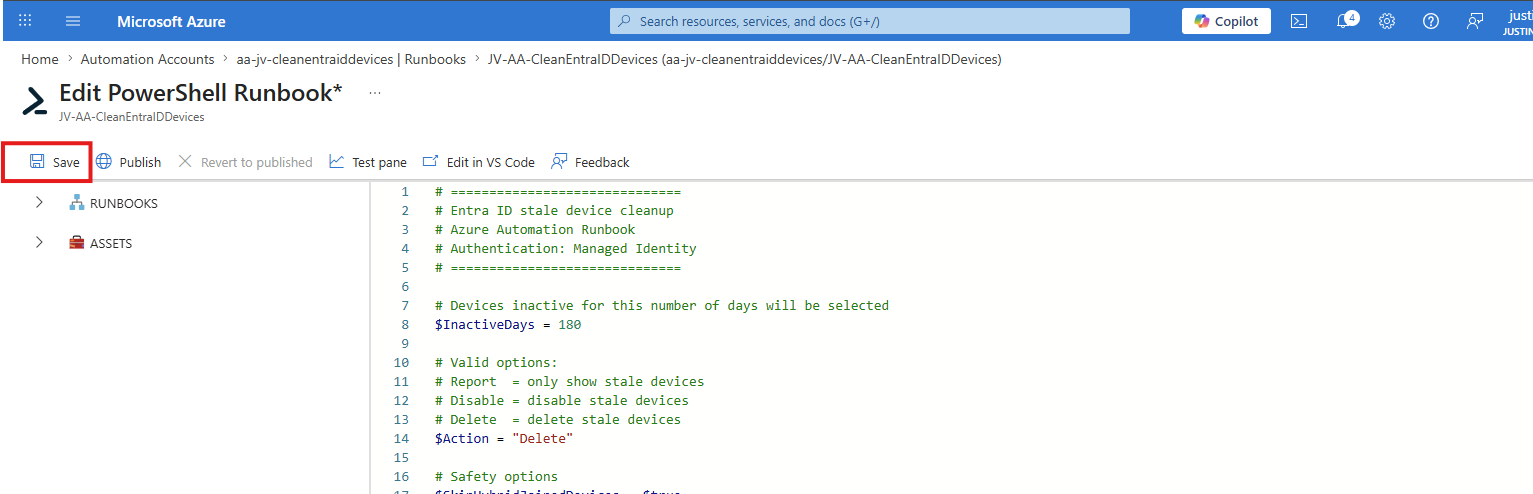
After you have changed the script to your preferences, save the script and then publish it to the Automation Account.
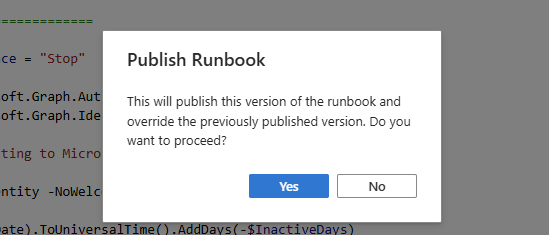
And then publish it by clicking “Publish”.
Step 5: Testing the Runbook script
Before we can fully automate the process, we must test the Runbook manually. We must verify if the script works and if we have configured the account, runbook and permissions correctly for the script to run unattended.
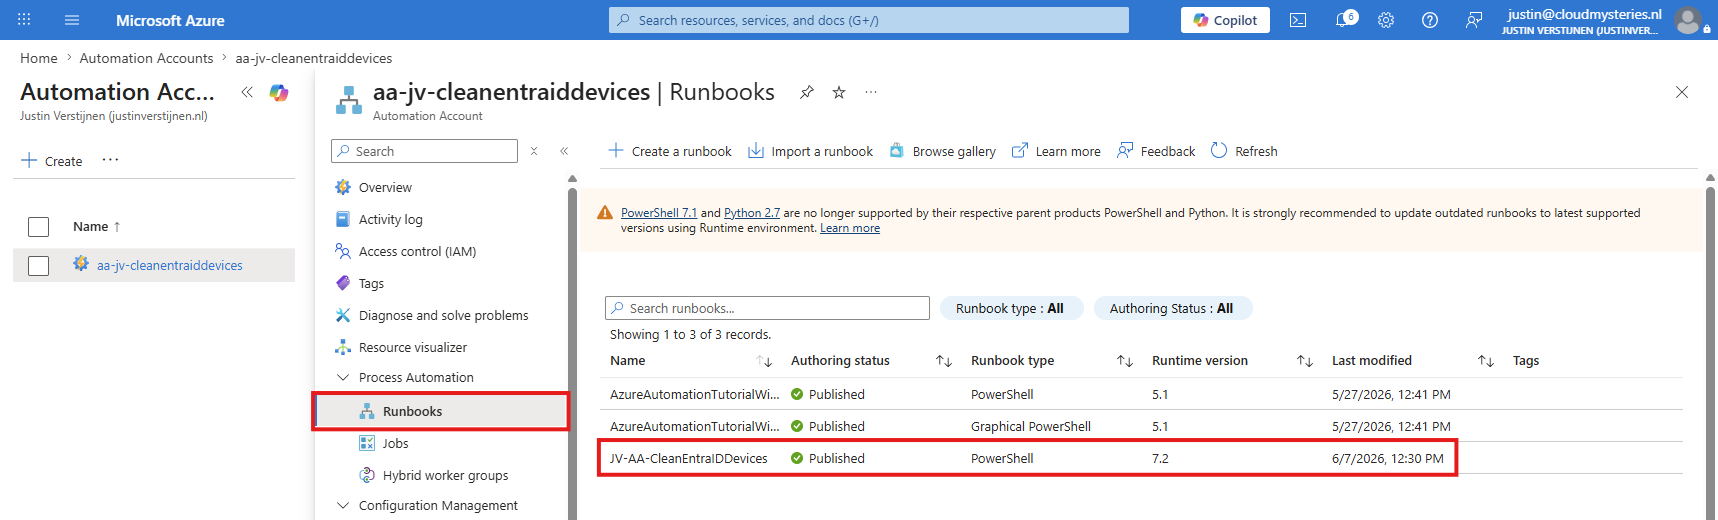
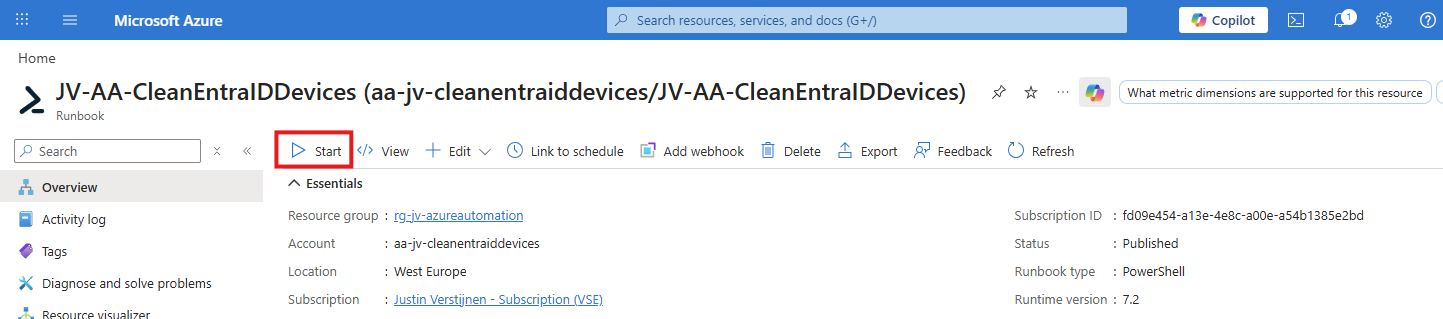
Open the Runbook from the Automation Account:
From there, start the Runbook manually by clicking the “Start” button:
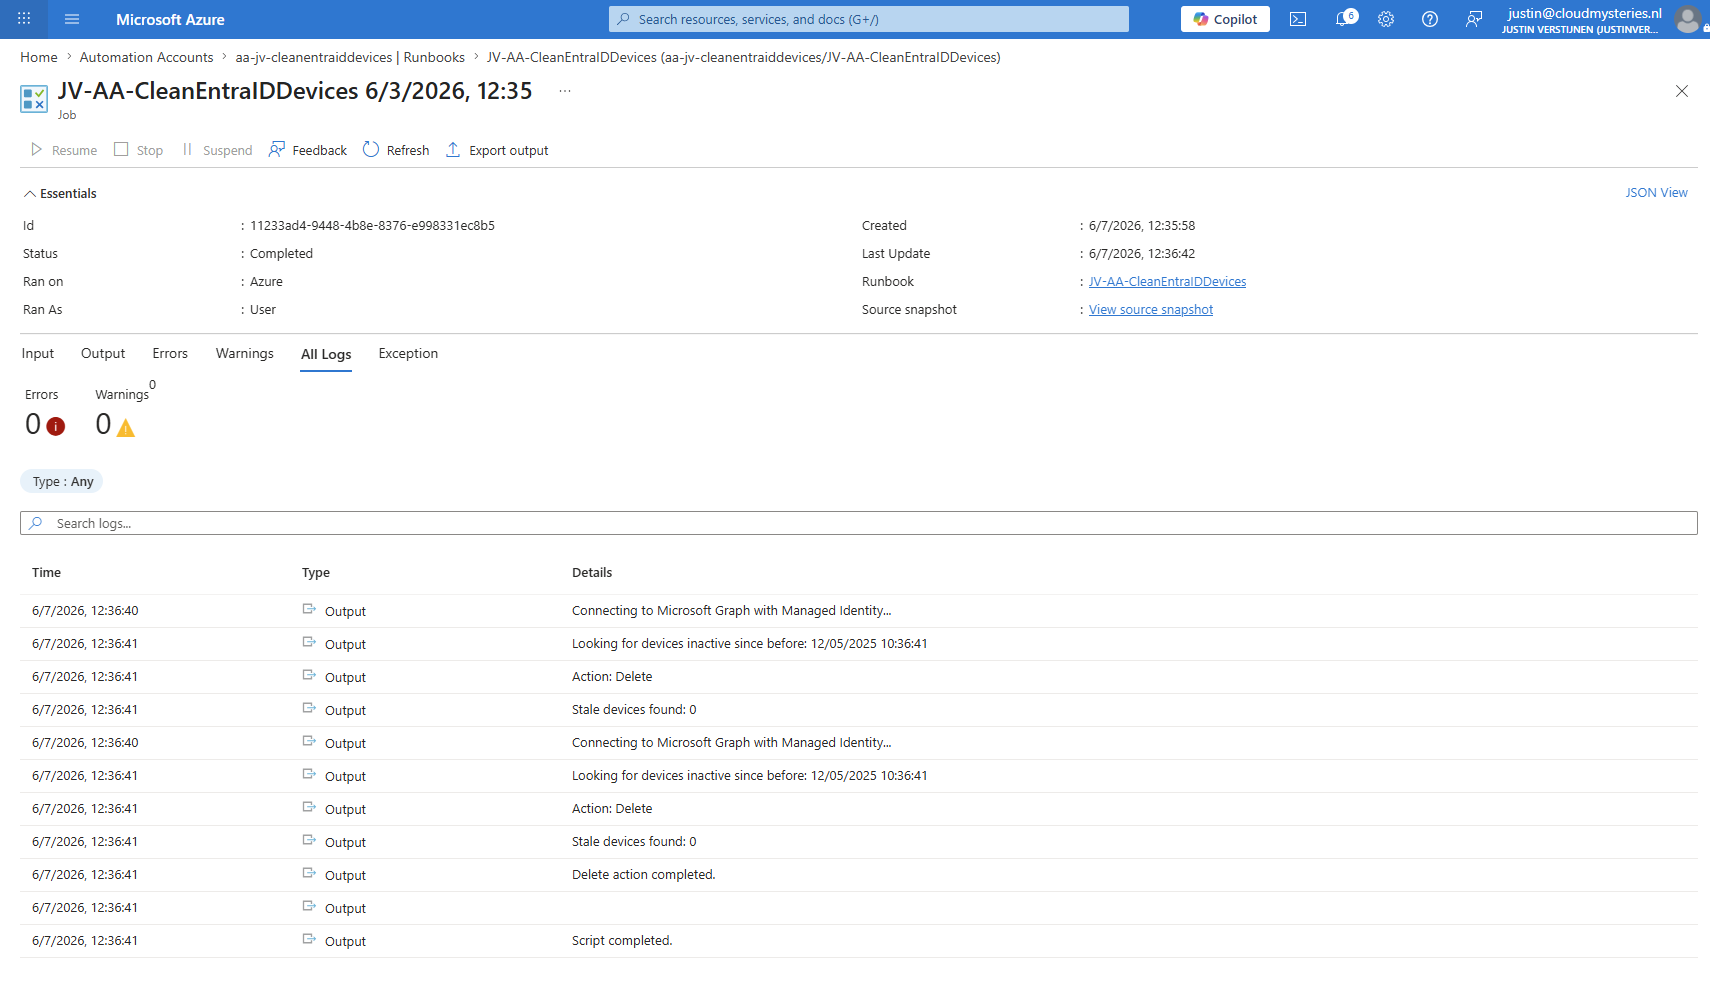
We will now be redirected to a new pane where we can check the state of the script:
- Input : This shows possible customizable parameters you gave the script (not applicable for this script)
- Output : This shows the output PowerShell gave just like how you get the information when performing the tasks manually
- Errors and Warnings : This shows possible errors and warnings during performing the script
- All logs : Here you can view a verbose-like view of the automation account
As you can see, the script has ran successfully:
On the “Output” tab, all devices that has been deleted with this task will be shown:
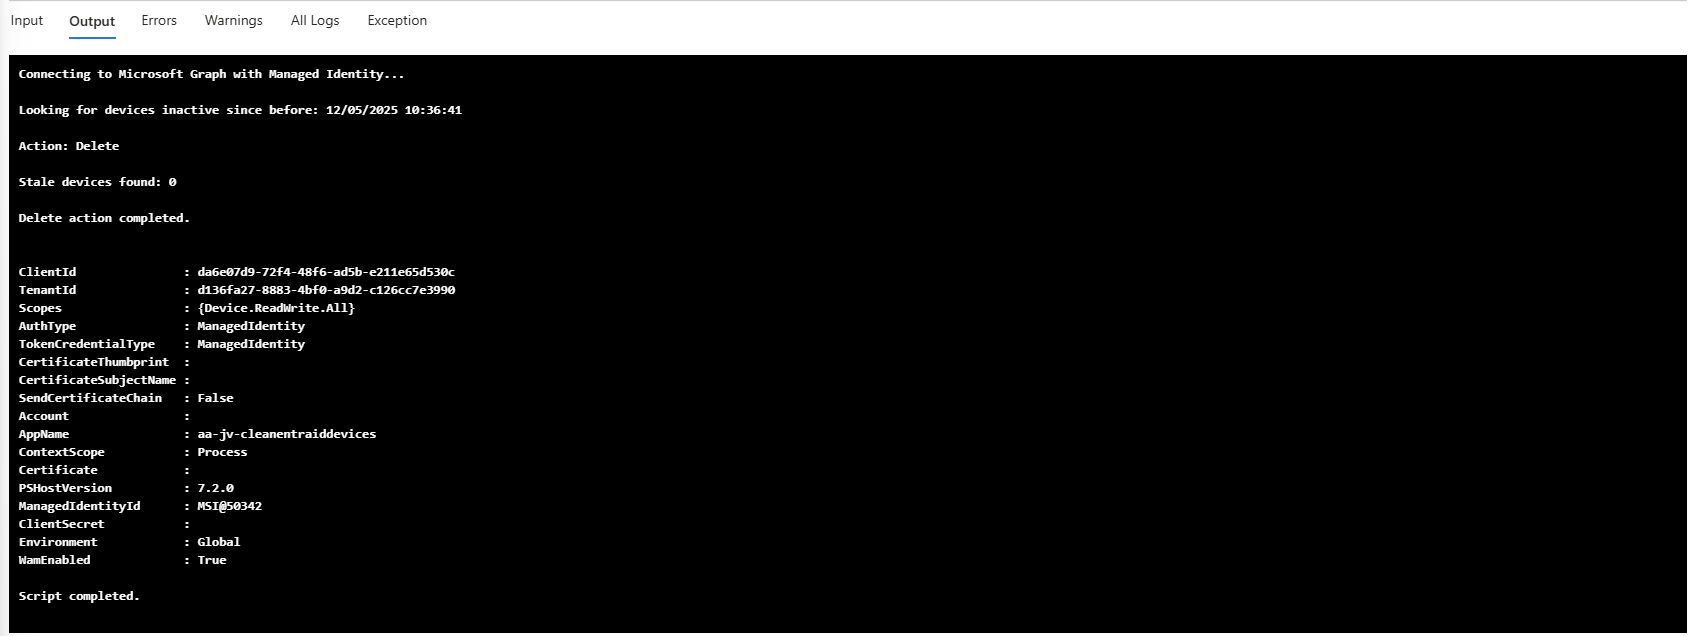
In this case, no stale/inactive devices are available which is being shown by PowerShell. Let’s try with 120 days:
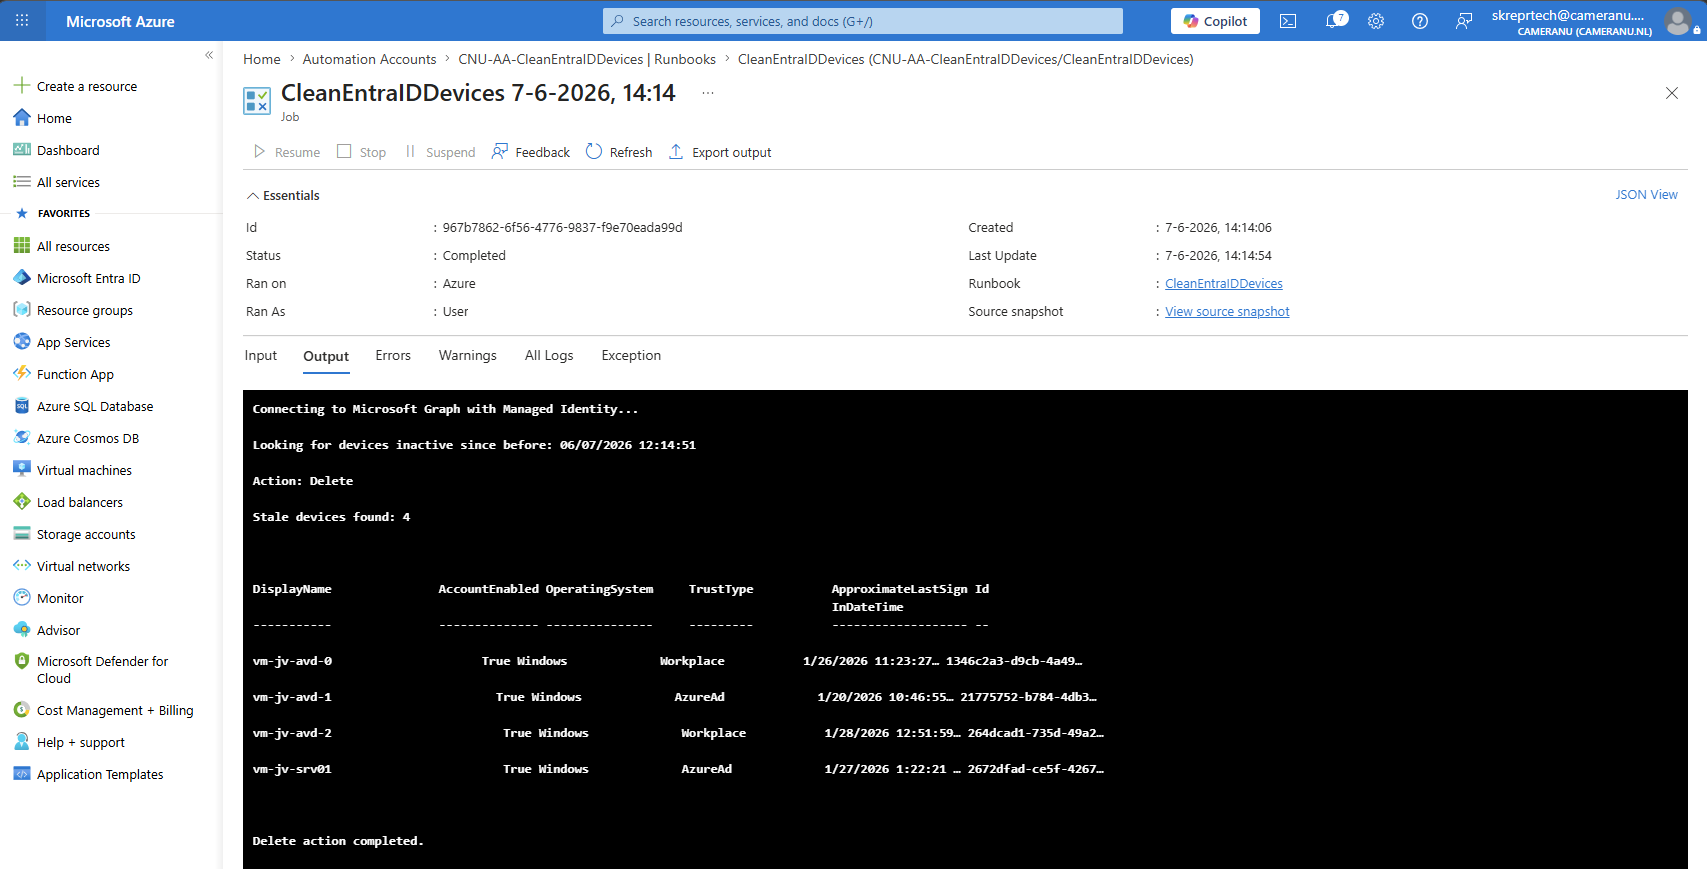
The script now deleted 4 stale devices.
Step 6: Create a schedule and link it to the Runbook
Once our test is completed successfully, we can schedule our script to perform this task on a schedule. As this task checks for devices inactive for 180 days, we can run this script once per month. This gives us a maximum of 30 days on top of the 180 days of the script. This can be changed to your preferences of course.
To create a schedule, navigate to the Automation Account and open up “Schedules” from the left:
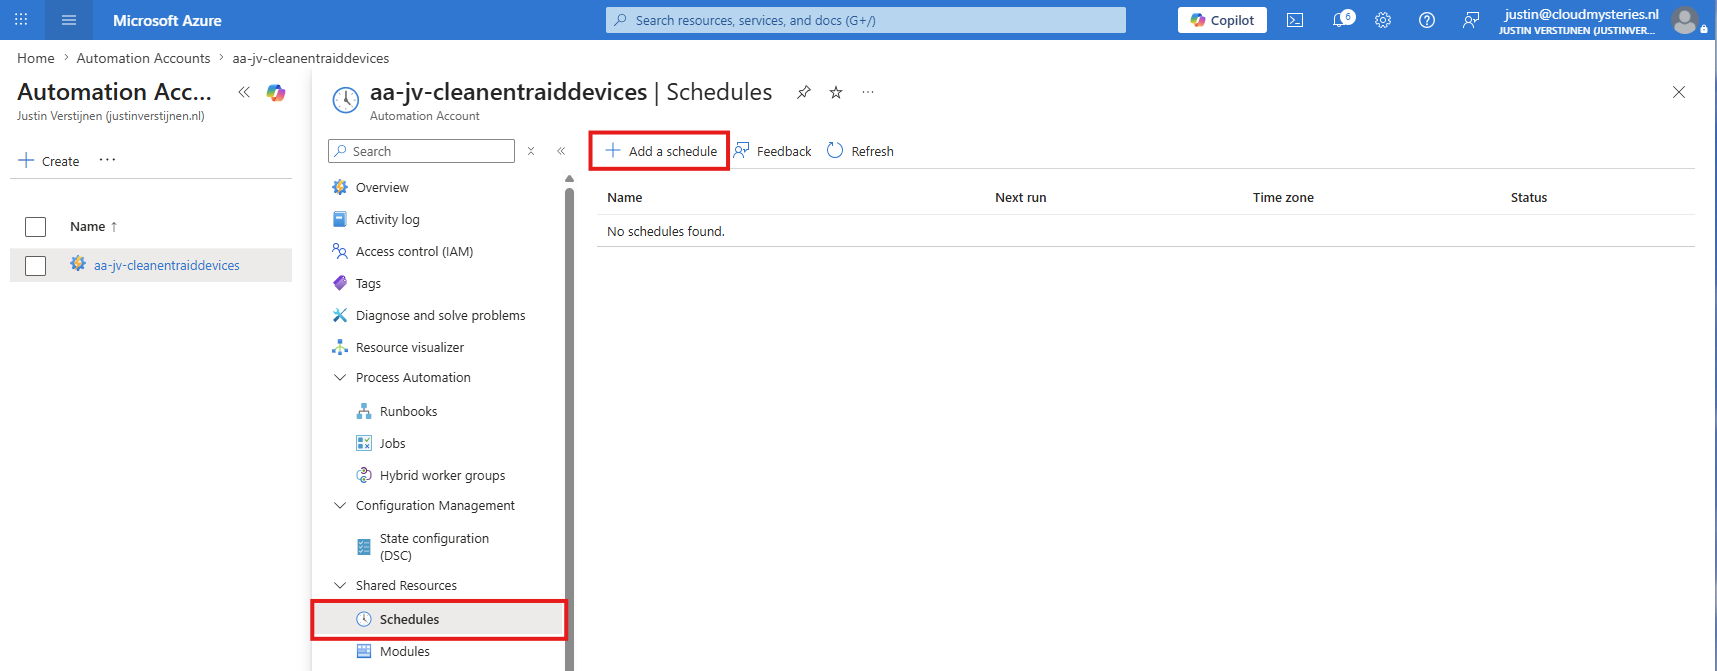
Then click on “+ Add a schedule” to add a new schedule. I will demonstrate a schedule for the first day of the month.
Give the schedule a name and description. Then configure the schedule to when you want the runbook/script to clean the devices. I have set the first day of the month at 3:00 AM, and set it to repeat every month.
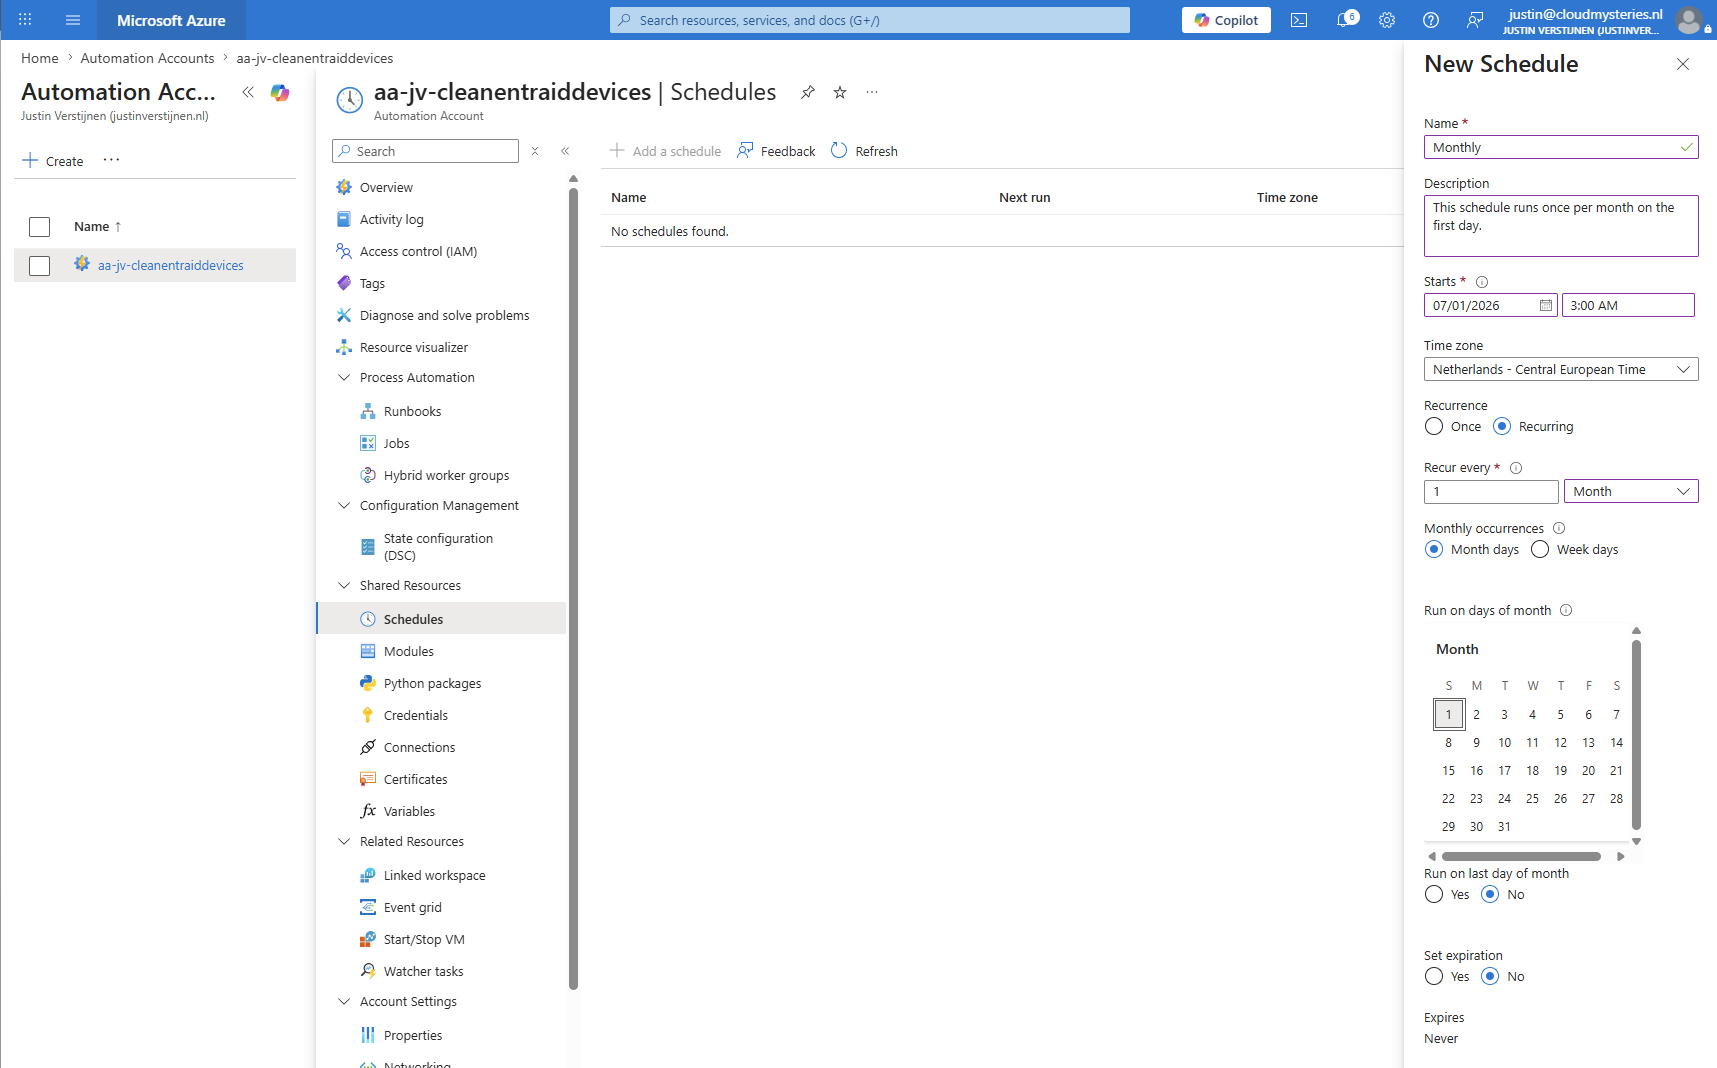
Then click “Create” to create the schedule. We must now link the schedule to the runbook, so the task will actually run on your configured schedule. Re-open the “Runbooks” from the Automation Account again and open up your created Runbook.
Click on “Link to schedule” in your Runbook.

From there select your just created schedule and save the configuration.
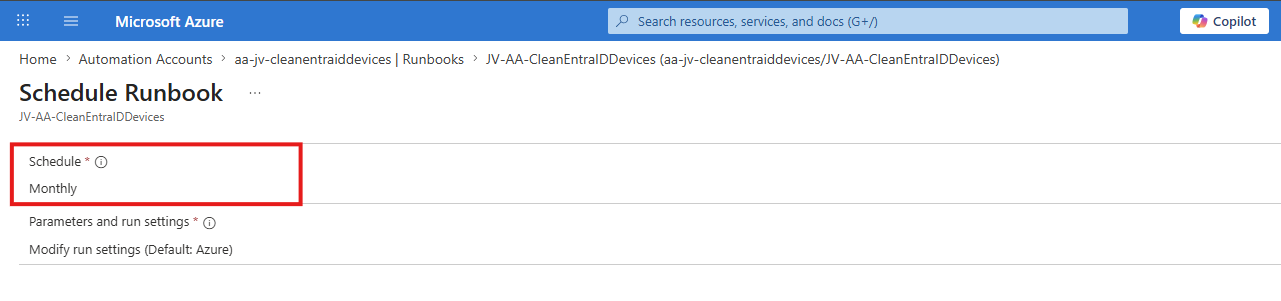
Then click “OK” to apply the configuration and set the runbook to run on a schedule. We are now done with the configuration work.
Knowledge check
This quiz needs JavaScript to show the questions and feedback.
Summary
Using Azure Automation together with Microsoft Graph is a powerful and clean way to automatically remove inactive Entra ID devices. Using Azure Automation for device cleanup provides several benefits:
- No servers required
- Fully automated process
- Uses Managed Identity instead of service accounts
- Easy to maintain
- Scalable
- Low operational overhead
Because the solution runs fully in Azure and uses Managed Identity authentication, there is no need for extra infrastructure or service accounts. This keeps the solution secure, modern and easy to maintain. Automatically deleting devices can have impact if devices are still in use. Before enabling automatic cleanup:
- Validate your inactivity period
- Exclude special devices if needed
- Test carefully
- Monitor logs regularly
180 days is often a safe balance for many environments, but of course every organization is different and in special cases, devices can be offline for 180+ days before coming online again.
Thank you for reading this post and I hope it was helpful!
Sources
These sources helped me by writing and research for this post;
- https://learn.microsoft.com/en-us/azure/automation/overview
- https://learn.microsoft.com/en-us/powershell/microsoftgraph/overview
- https://learn.microsoft.com/en-us/entra/identity/devices/manage-stale-devices
- https://github.com/JustinVerstijnen/JV-AA-CleanEntraIDDevices/tree/main
- https://learn.microsoft.com/en-us/azure/automation/enable-managed-identity-for-automation