Clean files on a schedule with Powershell script
Categories:
7 minute read
Sometimes in IT, we have software or solutions that need to to save temporary files in your filesystem. Let’s say, a feed with logs or CSV files that are saved, logs or back-ups like the Bartender software. The software itself doesn’t have a solution to clean up those files and after 2 years, the size can be massive.
To let this files clean on schedule I have created a Powershell script which cleans those files in specific folders after they are not modified in *specfied* days . You can define the folders and number of days at the parameters section of the script.
Note: Think out very carefully how long the retention must be. Deleting files is a irreverible action!
The clean script
The Powershell script for cleaning up files is on my GitHub page:
It starts with a parameter to define the amount of days you want to retain the files. It checks this at the last write time to the file.
After that, it defines the folders where it must check for files with no exclusion of file extensions. It removes all files and folders in the defined folders.
What does the script do?
The script is meant for cleaning specific files after X days. A great example of it in practice is if you have Bartender installed on a server. Bartender will every day save deleted database records to a file without it even bothering cleaning it up. After 2 years, such folder can be over 25GB’s. With this script, it only keeps 30 versions of the file. Assuming we have more retention on our backups, we don’t need any more than that.
The script works in this way:
- Ensuring it runs as Administrator
- Enable logging
- Saves a log file in the same directory with 5MB limit by default (can be adjusted to your needs)
- Searching for the files to be cleaned, which are older than the specified days
- Deleting the files and logging them for reference
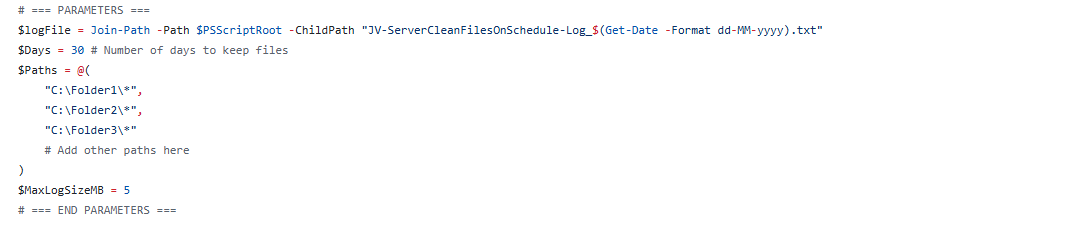
Script parameters for customization
At the beginning of the script, we can set some parameters for customization of the script. The rest of the script can be as-is to ensure it still runs.
I will refer to the line numbers of the script on GitHub:
- Line 14: Specify the number of days to keep files (typing 30 will keep files for 30 days)
- Line 15: Specify the paths. As this is an array, it must be comma-seperated except the last one. Keep this in mind. You can add as many folders as you want but be aware to not put in critical folders
- Line 21: Specify the maximum size of the log file. It will remove lines at the start of the file so the latest information is always available
Installing the clean script automatically
For installation with Task Scheduler I included an installation script that, by default, configures a task in the Windows Task Scheduler that runs it;
- Every first day of the month
- At hour 03:00
If these settings are great for you, you can leave them as-is.
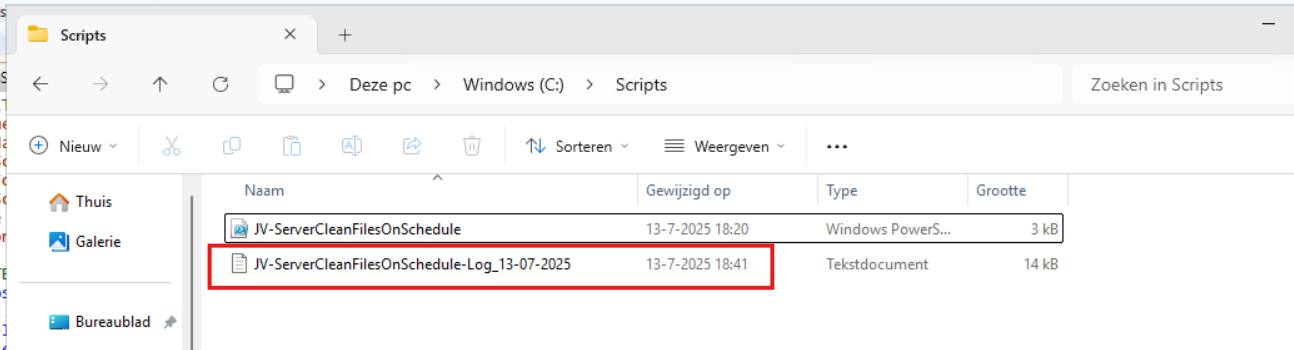
The Installation script creates a folder in C:\ named “Scripts” if not already there and places the cleaning script there.
Installation
Click on the blue button above. You now are on the Github page of the script.
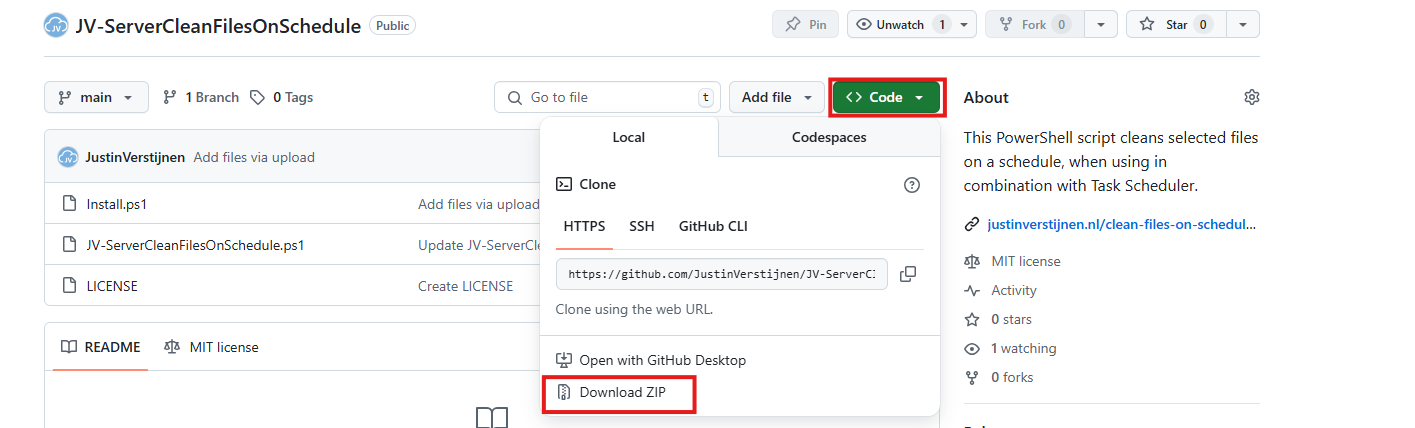
Click on “Code” and then “Download ZIP”.
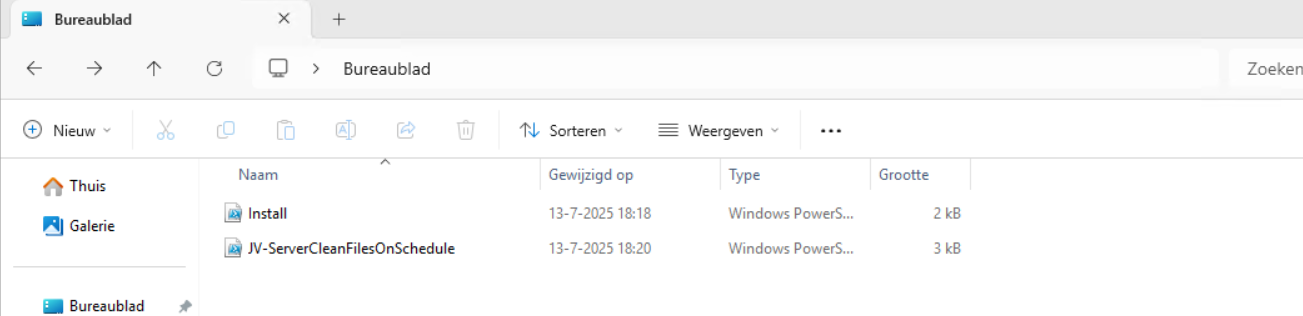
Then place the files on the server where you want to install the script.
Open Powershell ISE as administrator.
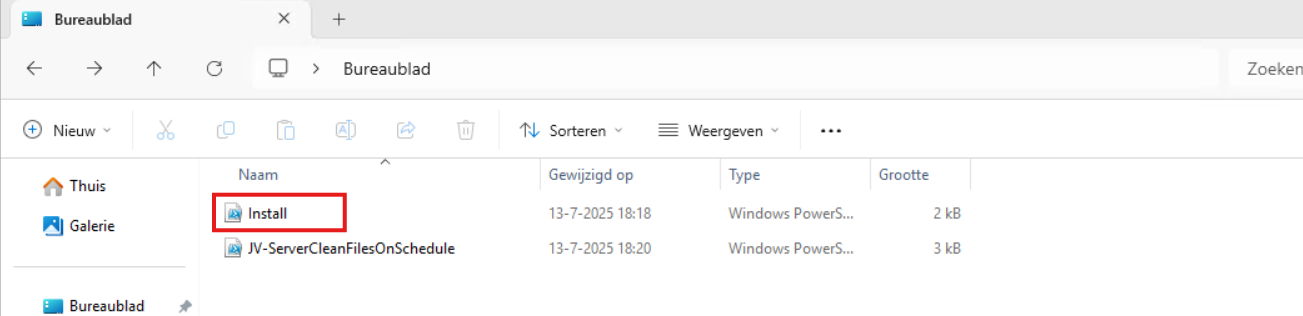
Now open the “Install” script.
Review it’s default settings and if you feel at home in PowerShell, review the rest of the script to understand what it does.
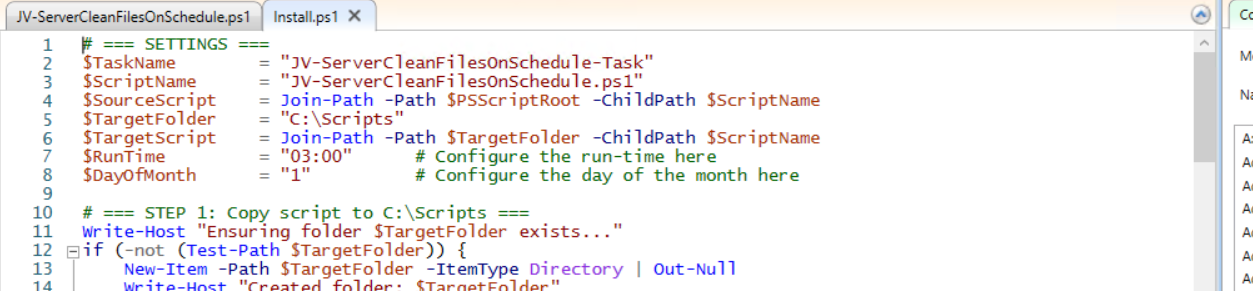
You can change the schedule very easily by changing the runtime: 0:00 till 23:59 and the day of month to specify the day number of the month (1-31).
After your schedule is ready, let’s ensure we temporarily bypass the Execution Policy by typing the command in the blue window below:
Set-ExecutionPolicy Unrestricted -Scope ProcessThis way the execution policy stays enabled but for this session only it’s been lowered. When you close the window, you have to type this again before be able to run scripts.
Execute the command, and when prompted to lower the policy, click Yes.
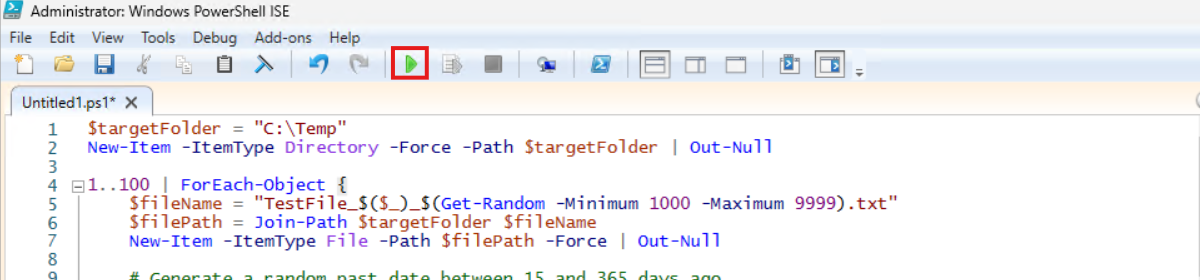
Now execute the Install script by clicking the green “Run” button:

After executing the script, we get the message that the task has been created succesfully:

Let’s check this in the Windows Task Scheduler:

As you can see, the script is succesfully installed to Task Scheduler. This ensures it runs every first of the month at 03:00 (or at your own defined schedule). Also, the script has been placed in C:\Scripts for a good overview of the scripts of the system.
Using the script manually/demonstration
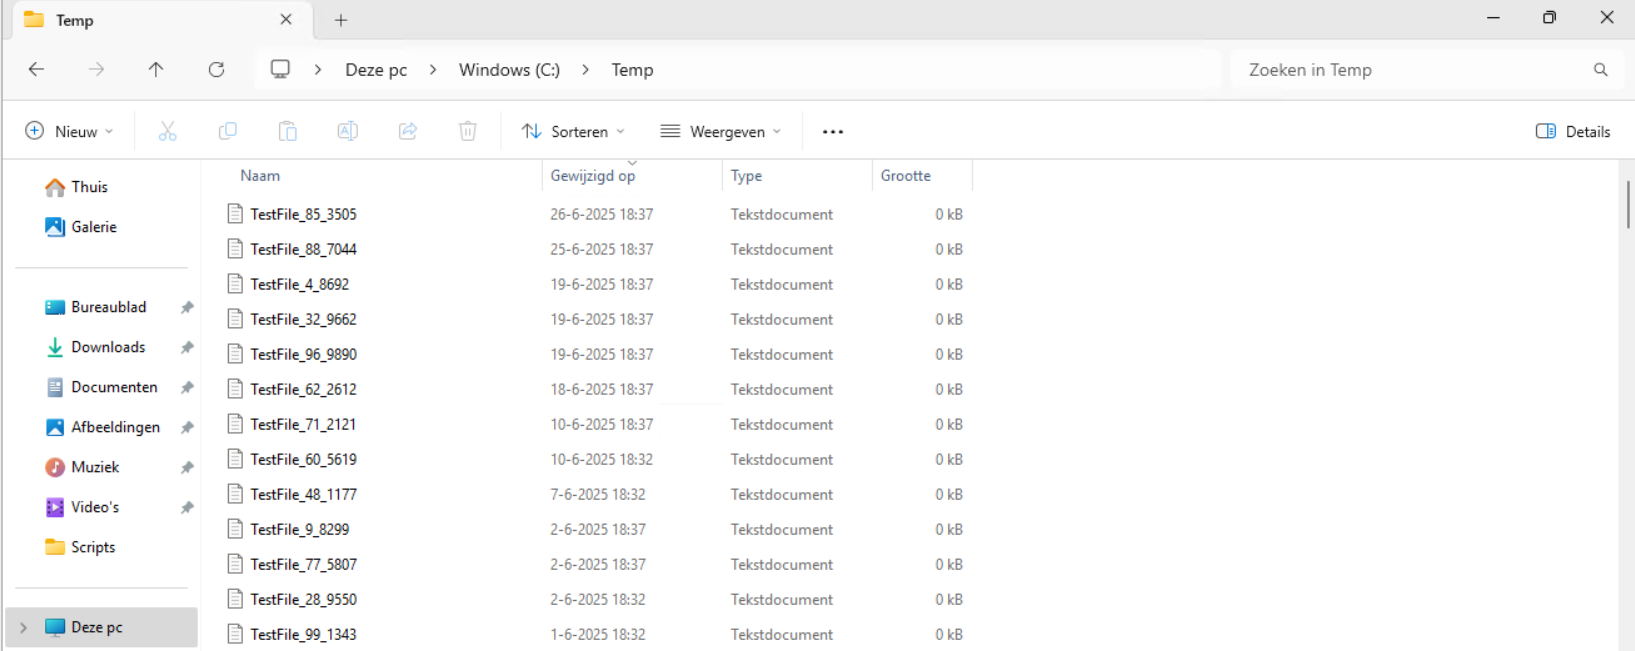
For demonstration of the clean script, I created a second, simple script that creates 100 dummy files in the C:\Temp directory. This with last write times between 15 and 365 days ago.
$targetFolder = "C:\Temp"
New-Item -ItemType Directory -Force -Path $targetFolder | Out-Null

1..100 | ForEach-Object {
    $fileName = "TestFile_$($_)_$(Get-Random -Minimum 1000 -Maximum 9999).txt"
    $filePath = Join-Path $targetFolder $fileName
    New-Item -ItemType File -Path $filePath -Force | Out-Null

    # Generate a random past date between 15 and 365 days ago
    $daysAgo = Get-Random -Minimum 15 -Maximum 365
    $randomDate = (Get-Date).AddDays(-$daysAgo)
    (Get-Item $filePath).LastWriteTime = $randomDate
    (Get-Item $filePath).CreationTime = $randomDate
}
After executing the script from my GitHub page, the files older than 30 days only must be removed while files between the 15 and 30 days must be retained.
Setting the PowerShell Execution Policy
Before we can run any of the scripts, we have to do a one-time bypass for the Powershell Execution Policy by typing the command in the blue window below:
Set-ExecutionPolicy Unrestricted -Scope ProcessThis way the execution policy stays enabled but for this session only it’s been lowered. When you close the window, you have to type this again before be able to run scripts.
Execute the command, and when prompted to lower the policy, click Yes.
Running the dummy files script
Now we can run the script itself by clicking the green “Play” button.
Now we have a folder with 100 files with random last write times:
If we would execute the cleanup script, only the files from 18-6-2025 and newer will be retained.
Review the parameters on line 12 to 20, change them to your needs and then execute the script. I have changed the Paths to C:\Temp only.

The script will now delete every file older than the specified days:

Let’s take a look at the folder:
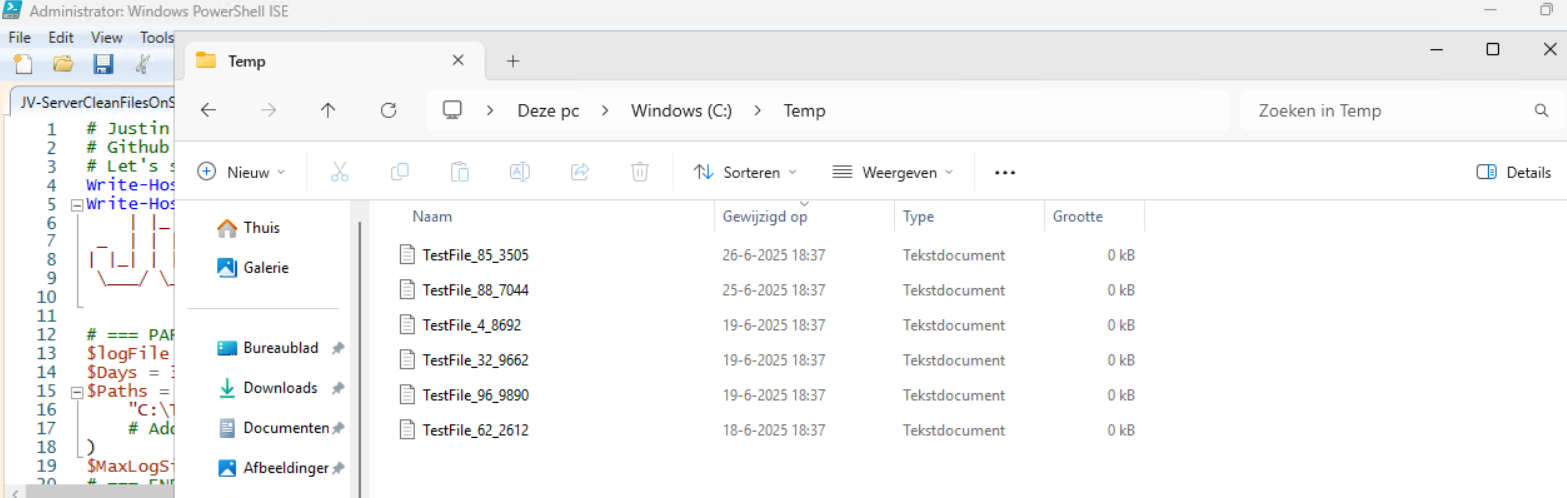
All cleared now and only versions younger than 30 days are retained.
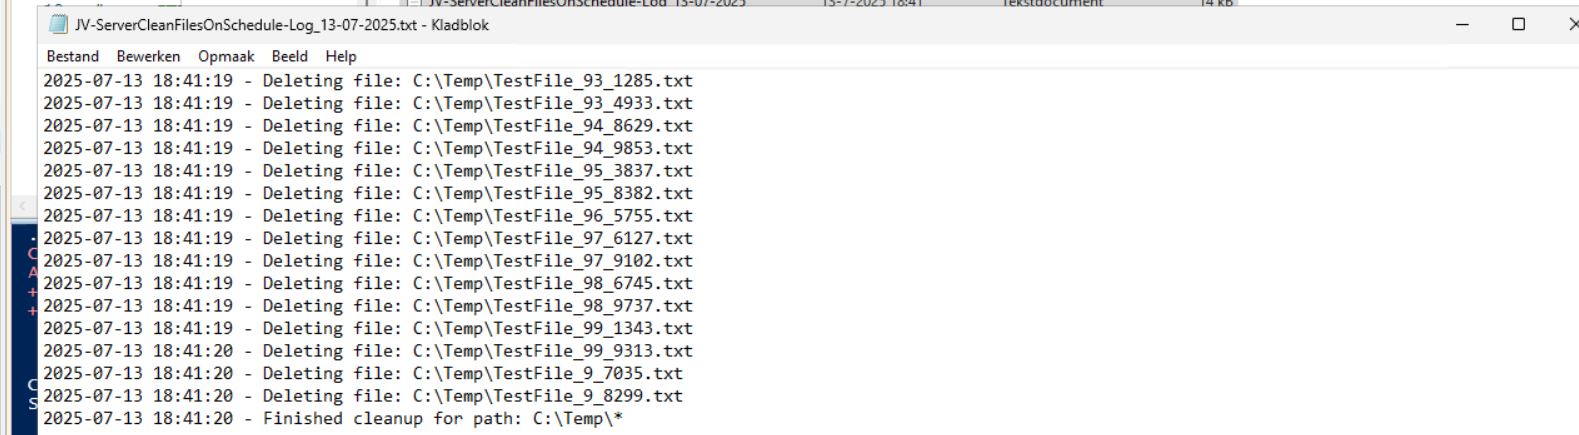
In the Script directory, a file is created, containing all the filenames it has removed:
Summary
This Powershell script can help cleaning up files in specific folders. mostly I use this for maintenance on servers where software is installed without proper retention settings of their temporary files. This script helps keeping your disks clean and indirectly improves the availability of your infrastructure.
Thank you for reading this guide and I hope this was helpful.
Sources
These sources helped me by writing and research for this post;
- https://learn.microsoft.com/en-us/powershell/module/microsoft.powershell.management/get-childitem?view=powershell-7.5
- https://learn.microsoft.com/en-us/powershell/scripting/learn/ps101/09-functions?view=powershell-7.5
End of the page 🎉
You have reached the end of the page. You can navigate through other blog posts as well, share this post on X, LinkedIn and Reddit or return to the blog posts collection page. Thank you for visiting this post.
If you think something is wrong with this post or you want to know more, you can send me a message to one of my social profiles at: https://justinverstijnen.nl/about/
If you find this page and blog very useful and you want to leave a donation, you can use the button below to buy me a beer. Hosting and maintaining a website takes a lot of time and money. Thank you in advance and cheers :)

The terms and conditions apply to this post.