Create AD users with on demand script
Categories:
4 minute read
Today I have a PowerShell script that creates users by asking the user what to fill in. This works by having a fully prepared “New-ADUser” command with all the properties filled in to have all users using the same attributes.
I will explain how this script works on this page.
The create AD users on demand script
For the fast pass, the script can be downloaded from my GitHub page:
The script described
The script is relatively easy and consists of 4 steps:
- Importing the modules needed
- Asking the user about on what details the user must be created
- Making everything ready, creates the user and adds him to the defined security groups
- Prints everything in the command window for a summary
Parameters and Attributes
The script contains a set of pre-defined attributes which you can change to your own settings:
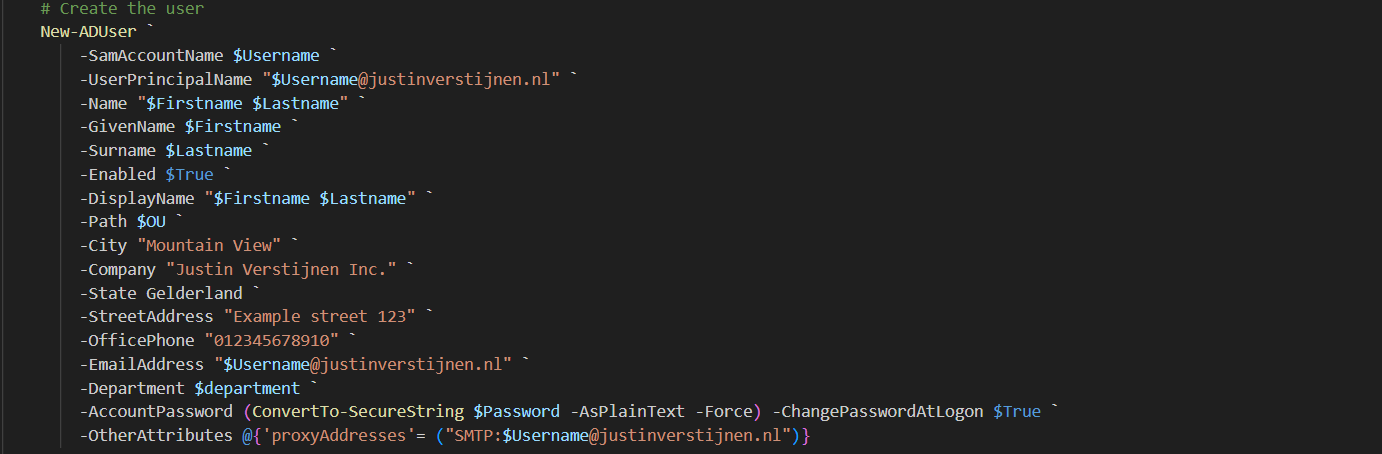
You can change all of these settings, but I advice you to not change any $variables because that will break the script.
On line 12 to 14, you have a parameter that specifies the OU to create the user in:

Change this to your own OU when using. You can find this by enabling the “Advanced Features” in the “View” menu and then going to the OU properties and the “Attributes”.
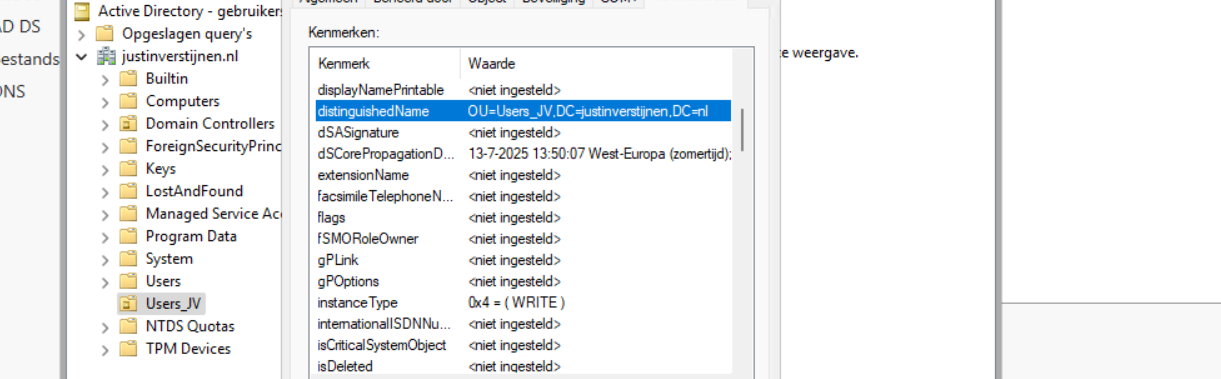
Search for the “DistinguishedName” attribute and copy that value.
Using the create AD users on demand script
To use my create ad users script, go to my GitHub page and download the script there:
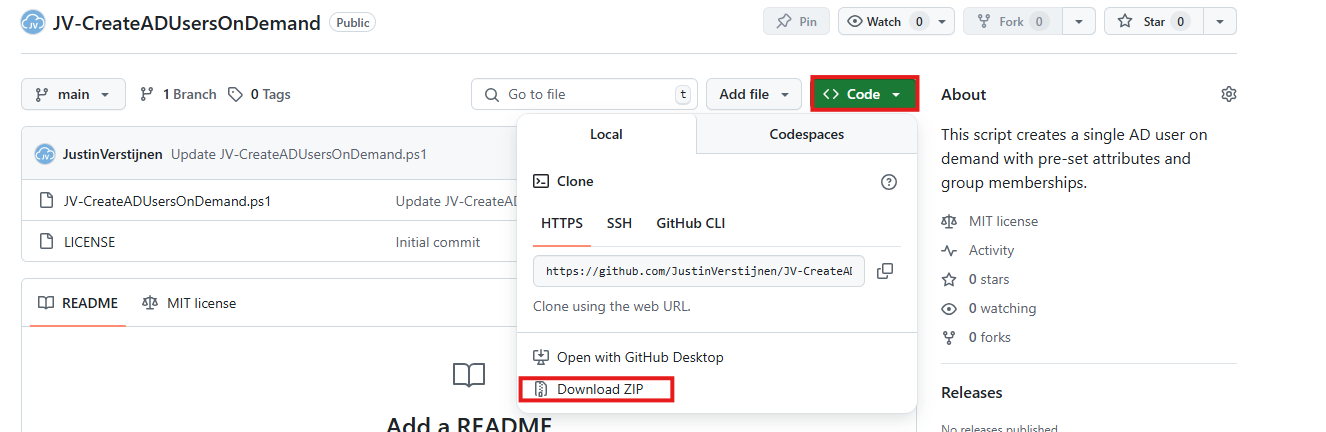
Click on “Code” and then on “Download ZIP”.
Then place the ZIP file on your Active Directory management server.
Open PowerShell ISE as Administrator:
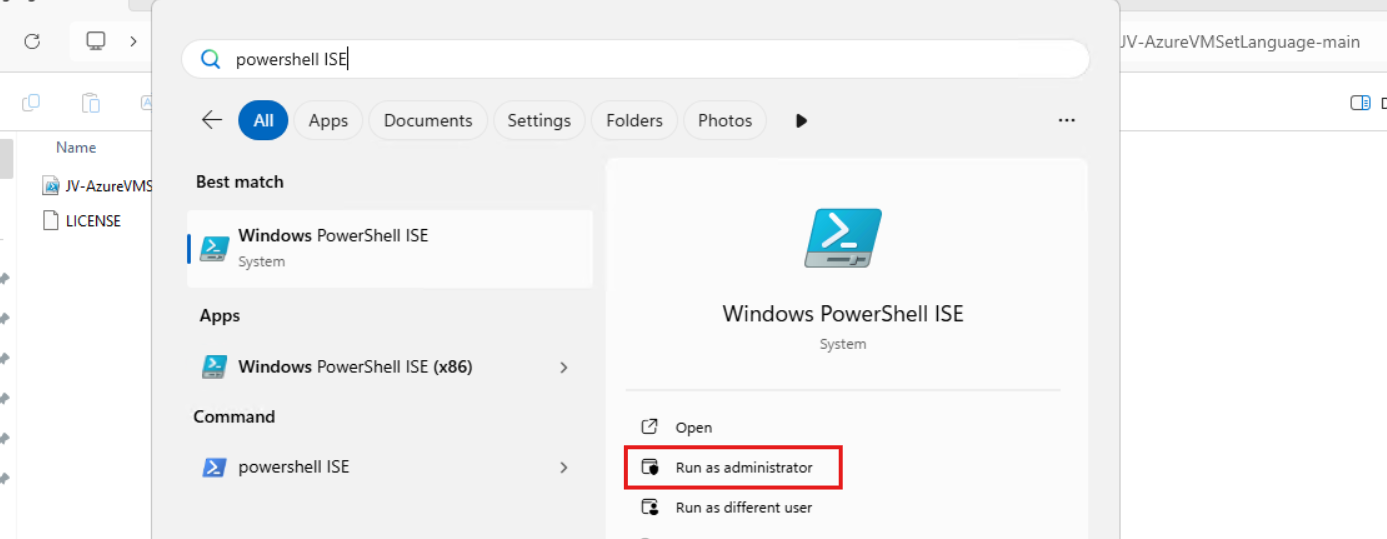
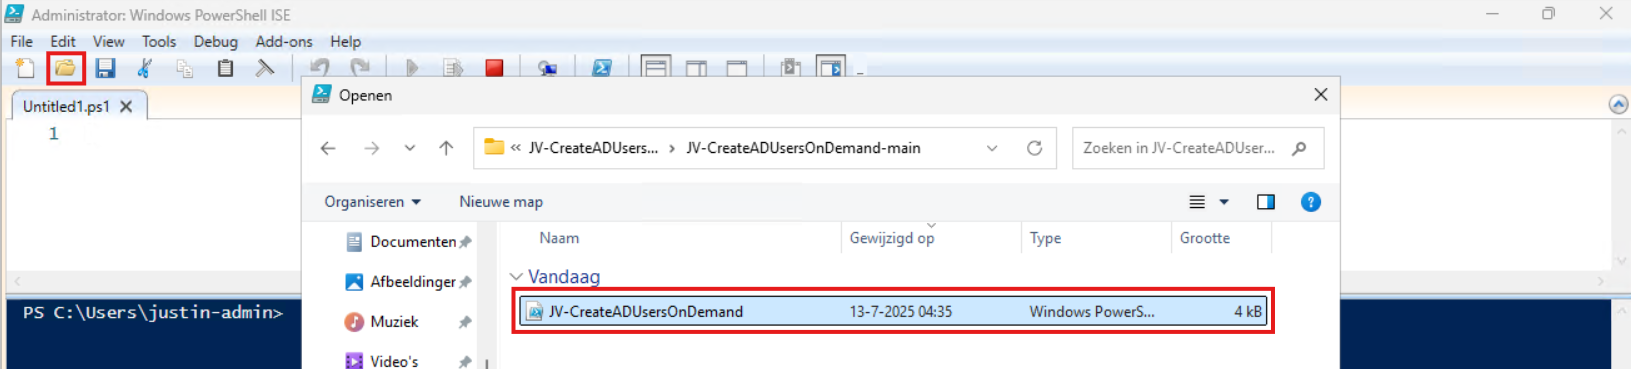
Verify your credentials if needed and then use the “Open” function of PowerShell ISE and open the script file:
Review:
- The parameters and set the correct OU (line 12 to 14)
- The attributes for the user (line 41 to 57)
Correct those if needed.
Before we can run the script, we have to do a one-time bypass for the Powershell Execution Policy by typing the command in the blue window below:
Set-ExecutionPolicy Unrestricted -Scope ProcessThis way the execution policy stays enabled but for this session only it’s been lowered. When you close the window, you have to type this again before be able to run scripts.
Execute the command, and when prompted to lower the policy, click Yes.
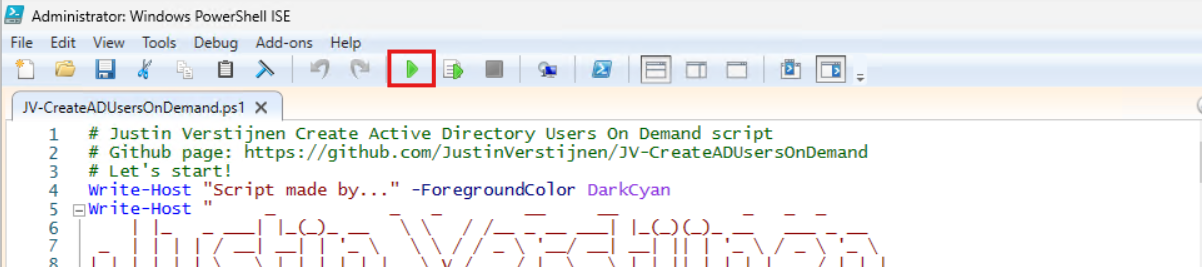
Now we can run the script itself by clicking the green “Play” button.
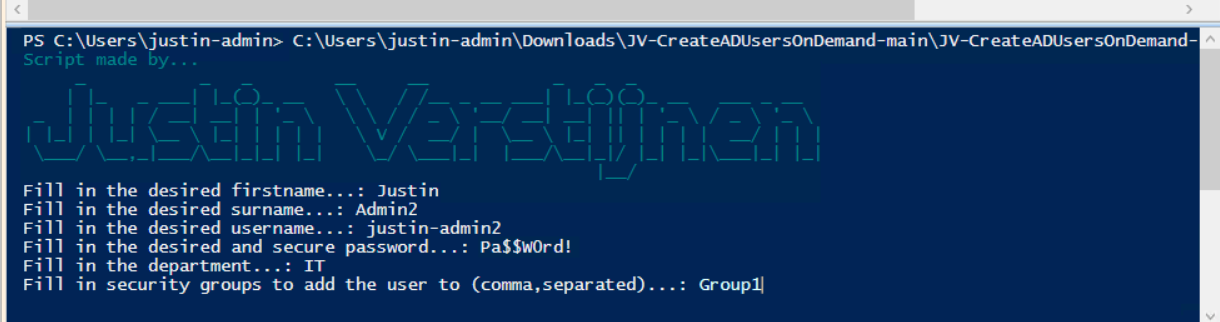
Now the script will ask the details for the user:
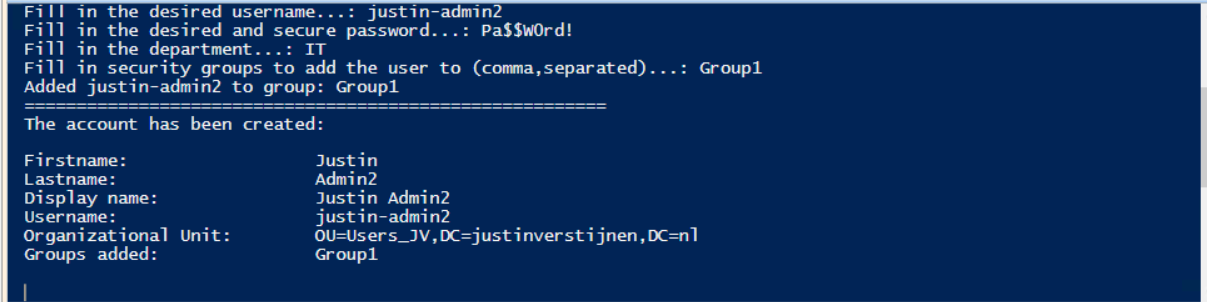
After filling this in and hit Enter, the user will be created almost instantly:
Now let’s take a look in the Active Directory Users and Computers snap-in (dsa.msc):
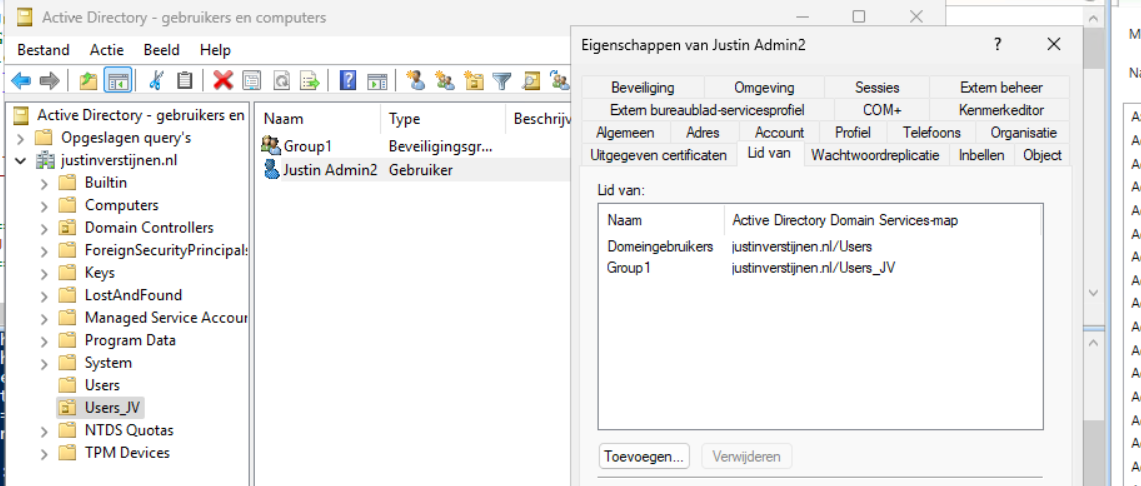
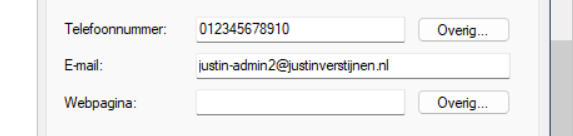
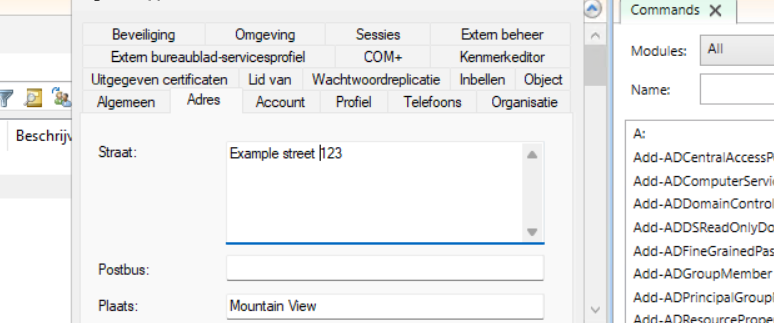
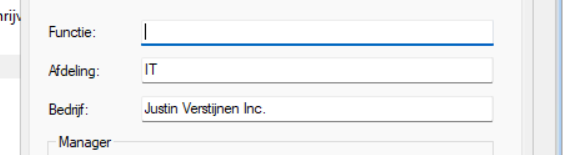
The user is succesfully created in the desired OU and Group1 has been added to the member of list. Also the extra attributes has been added to the user:
Summary
This script can ultimately be used when all users must be created in the same way. Let’s say, the emailaddress field must always be filled in, or the address or department. Those are steps that often will be skipped in real life. Using a pre-determined script will ensure this is always filled in.
Thank you for reading this post and I hope it is helpful.
Sources
These sources helped me by writing and research for this post;
End of the page 🎉
You have reached the end of the page. You can navigate through other blog posts as well, share this post on X, LinkedIn and Reddit or return to the blog posts collection page. Thank you for visiting this post.
If you find this page and blog very useful and you want to leave a donation, you can use the button below to buy me a beer. Hosting and maintaining a website takes a lot of time and money. Thank you in advance and cheers :)

The terms and conditions apply to this post.