Creating Static Web Apps on Azure the easy way
Categories:
6 minute read
Requirements
- Around 45 minutes of your time
- An account for Github (recommended)
- An Azure subscription to host your Static Web App
- Some basic knowledge of Azure
- A custom domain to link the web app to your domain
Introduction to Static Web Apps and Github
Before we dive into Static Web Apps and Github, I want to give a clear explaination of both the components that will help us achieving our goal, hosting a simple web app on Azure.
In Azure we create a Static Web App, which can be seen as your webserver. However, Azure does not provide an easy way to paste your HTML code in the server. That is where we use Github for. This process looks like this:
Everytime we commit/change our code in Github, the repository will automatically start a Workflow task which is created automatically. This takes around a minute depending of the size of your repository. It will then upload the code into the Static Web App and uses a deployment token/secret for it. After this is done, the updated page will be available in your Static Web App.
In this guide, we will create a simple and funny page, called https://beer.justinverstijnen.nl which points to our Static Web App and then shows a GIF of beer. Very simple demonstration of the possibilities of the Azure service. This guide is purely for the demonstration of the service and the process, and after it runs perfectly, you are free to use your own code.
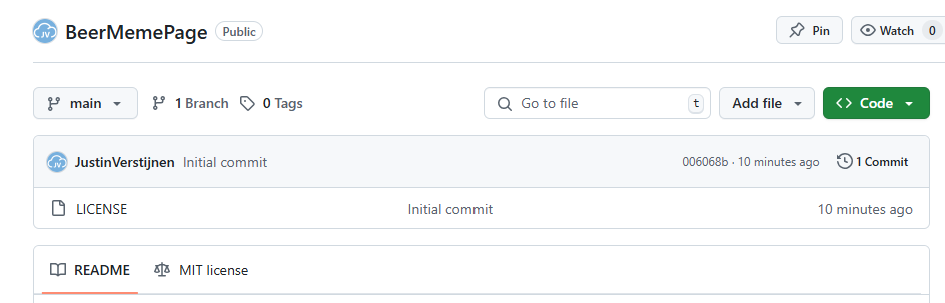
Create a Github account and repository
If you haven’t created your Github account, do this now. Go to https://github.com and sign up. This is really straight forward.
After creating and validating your account, create a new repository:
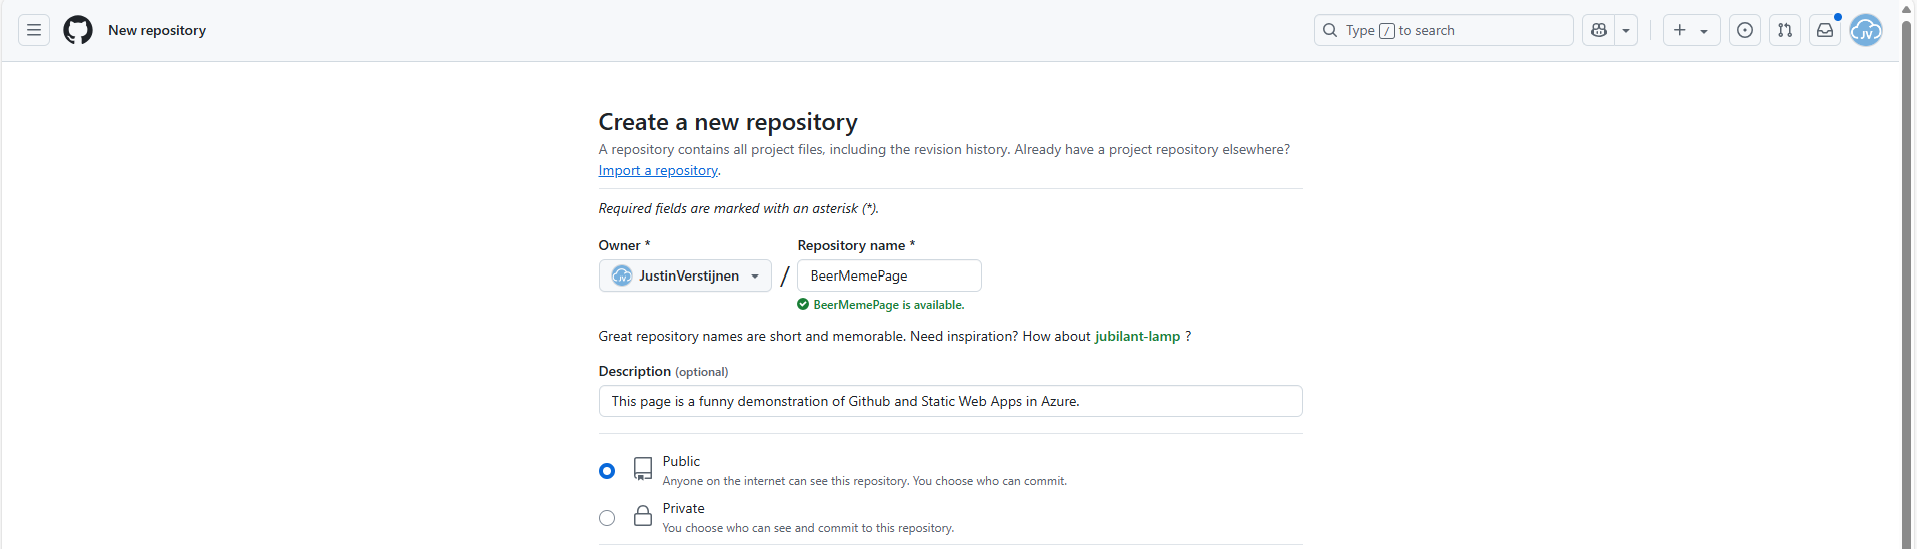
Give it a name, description and detemine if you want it to be public or private.
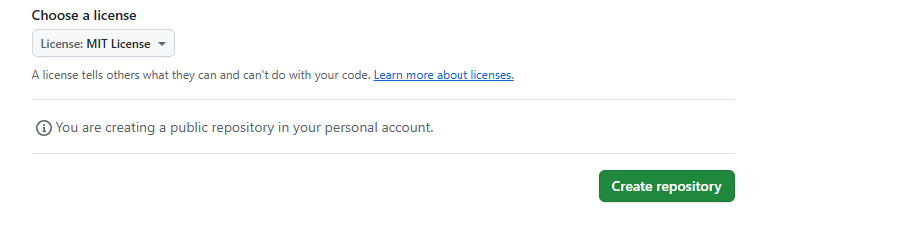
After that you have the option of choosing a license. I assigned the MIT license, which basically tells users that they are free to use my code. It isn’t that spectacular :)
Click on “Create repository” to create the repository and we are done with this step.
Upload the project files into Github
Now we have our repository ready, we can upload the already finished files from the project page: https://github.com/JustinVerstijnen/BeerMemePage
Click on “Code”.
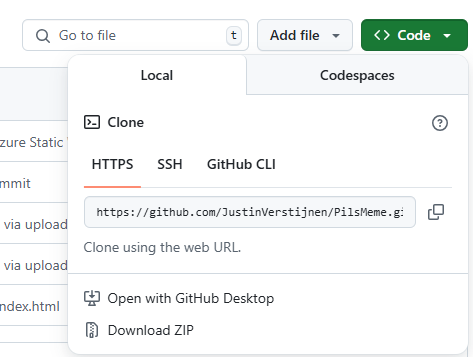
Click on “Download ZIP”.
This downloads my complete project which contains all needed files to build the page in your own repository.
Unzip the file and then go to your own repository to upload the files.
Click on “Add file” and then on “Upload files”.
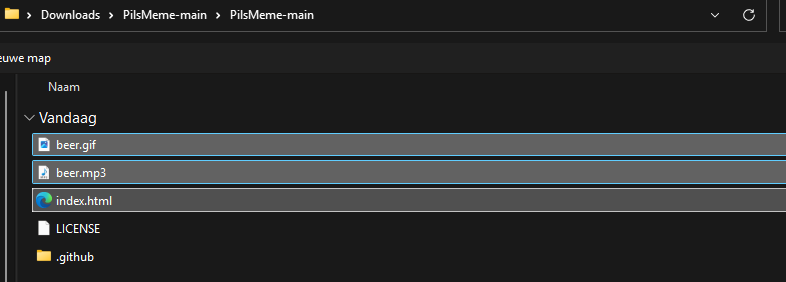
Select these files only;
- Beer.gif
- Beer.wav
- Index.html
The other 2 files will be generated by Github and Azure for your project.
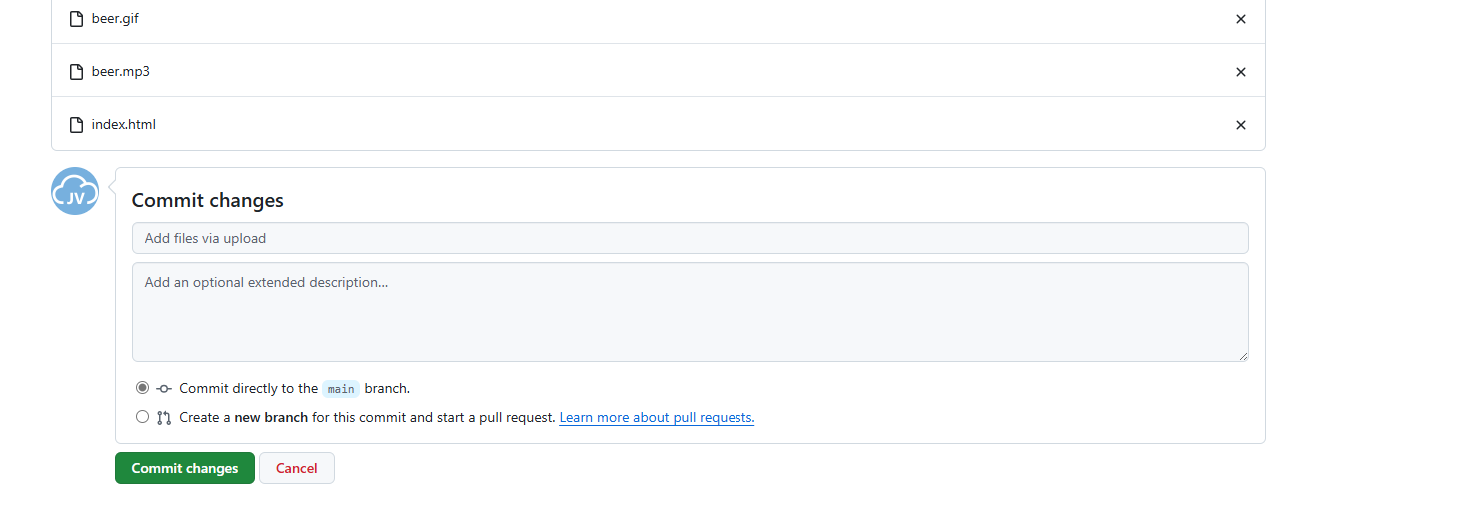
Commit (save) the changes to the repository.
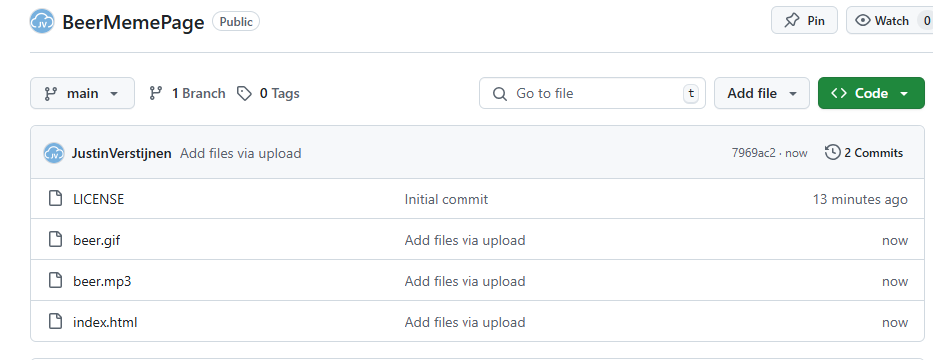
Now our repository is ready to deploy.
Create a Static Web App in Azure
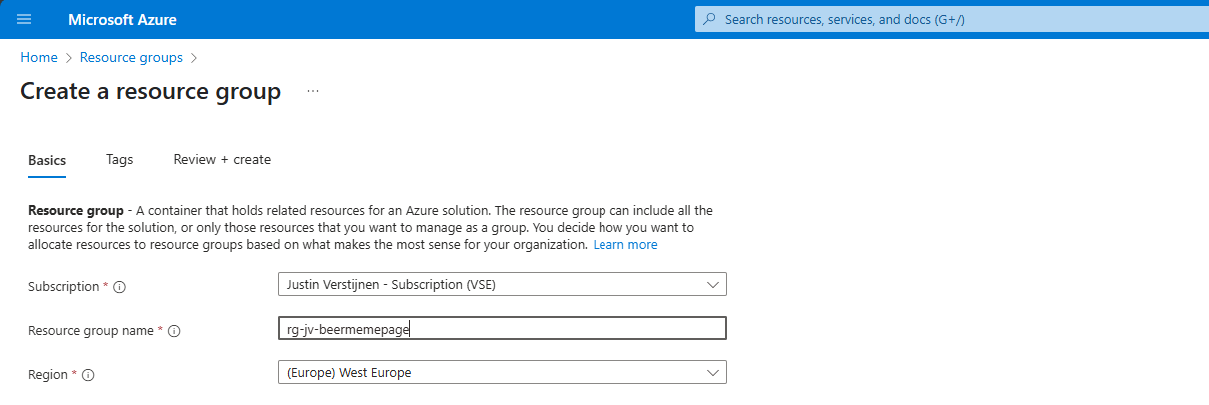
Now we can head to Azure, and create a new resource group for our Beer meme page project:
Finish the wizard and then head to “Static Web Apps”.
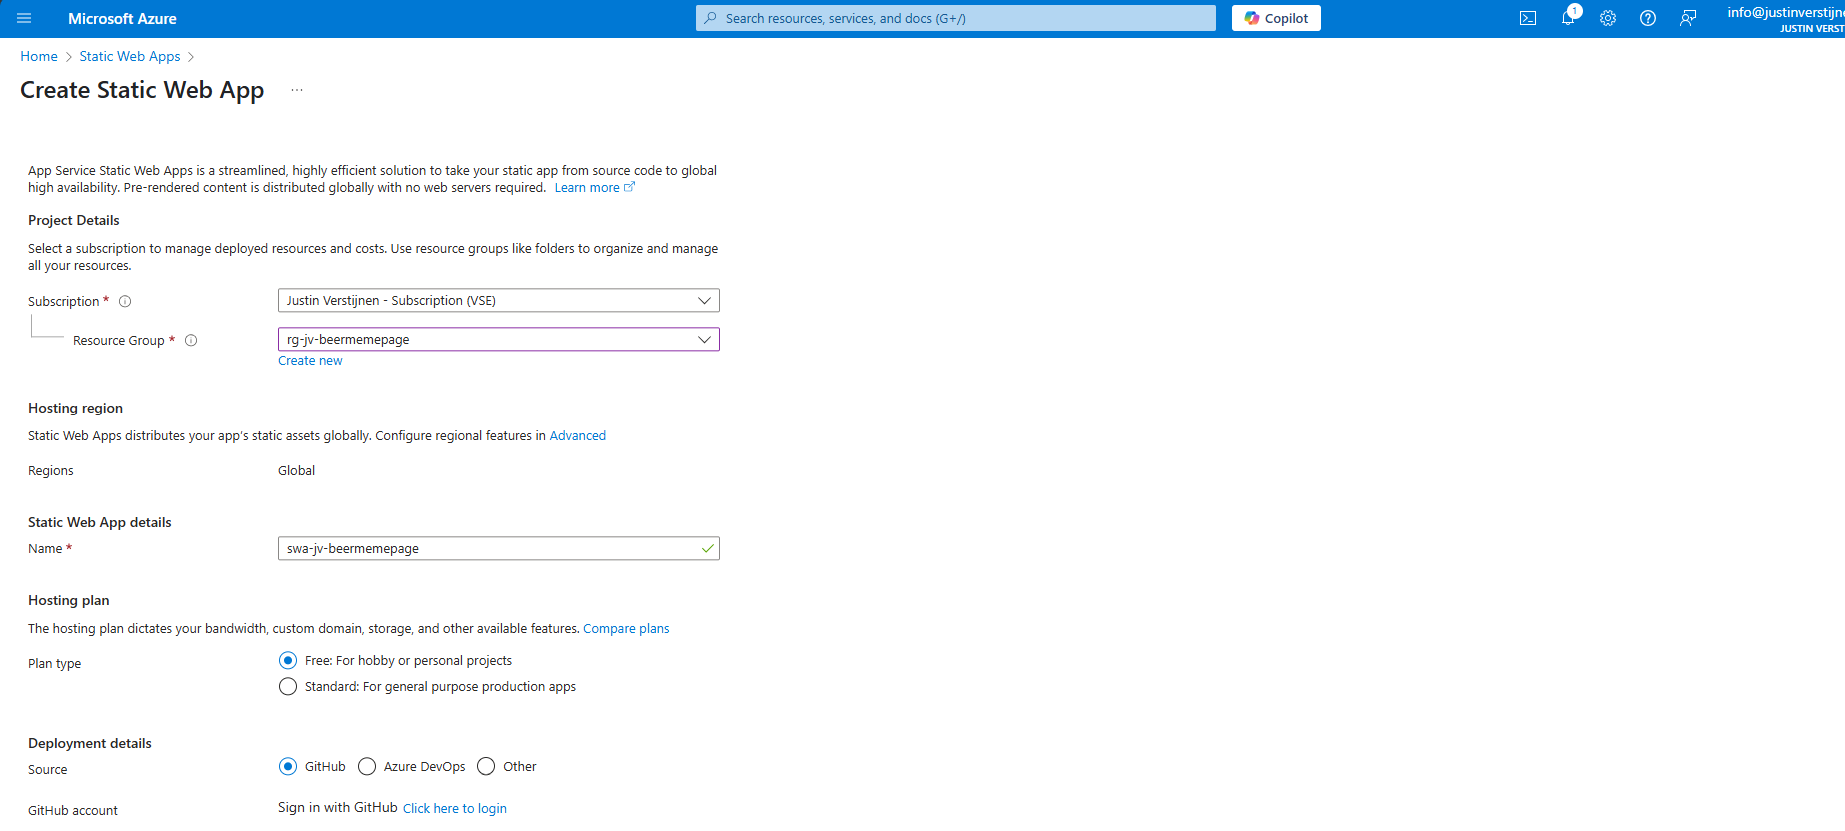
Place the web app into your freshly created resource group and give it a name.
Then I selected the “Free” plan, because for this guide I dont need the additional options.
For Deployment details, select GitHub, which is the default option. Click on “Click here to login” to link your Github account to your Azure account.
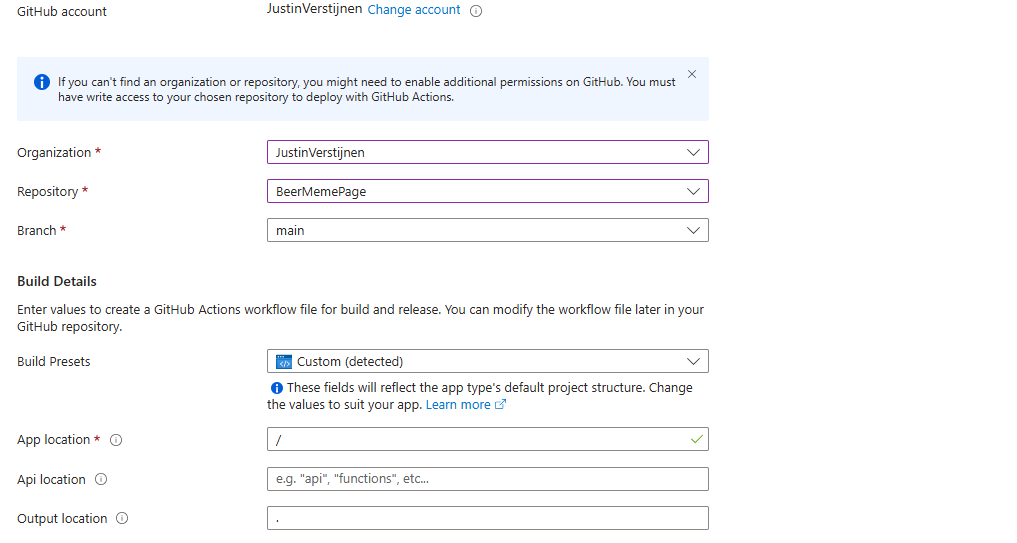
Select the right Organization and Repository. The other fields will be filled in automatically and can be left as they are.
You can advance to create the web app. There is nothing more that we need to configure for this page. Finish the creation of the Static Web App and wait for a few minutes for Azure and Github completing the actions and uploading your website assets to Azure. This takes around 3 minutes.
Check the deployment of your page
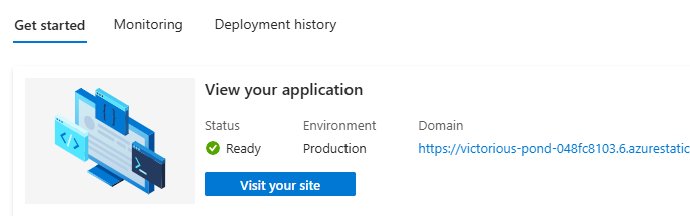
After the SWA deployment in Azure is done and having patience for a few minutes, we can test our website. Go to the created resource and click on “Visit your site”:
This brings up our page:

Click anywhere on the gif to let the audio play. Autoplay on visit only is not possible due to browser SPAM restrictions.
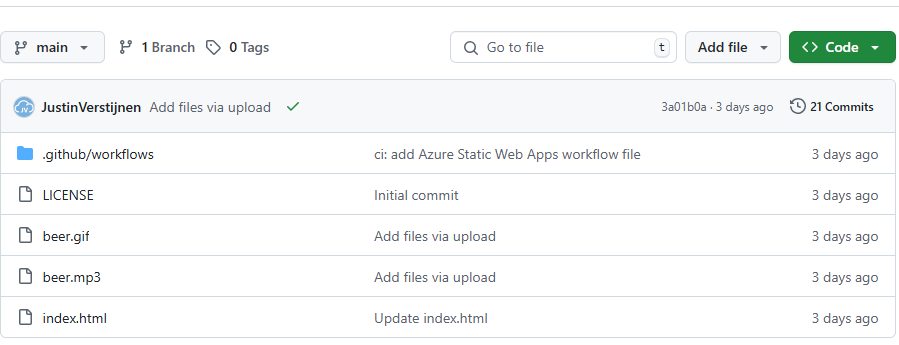
After deployment we can see in Github that a .github folder is created:
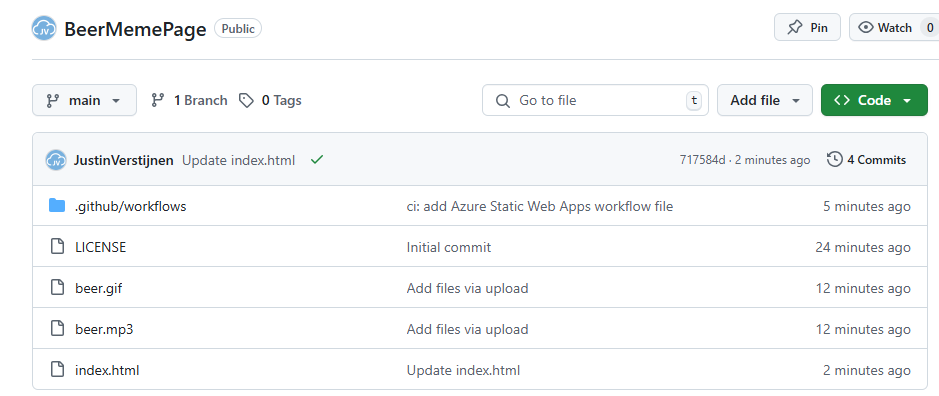
This contains a file that deploys the files into the Azure Static Web App (SWA) automatically after commiting anything. You can view the statis in the grey bar above the files. A green check means that everything is succesfully deployed to Azure.
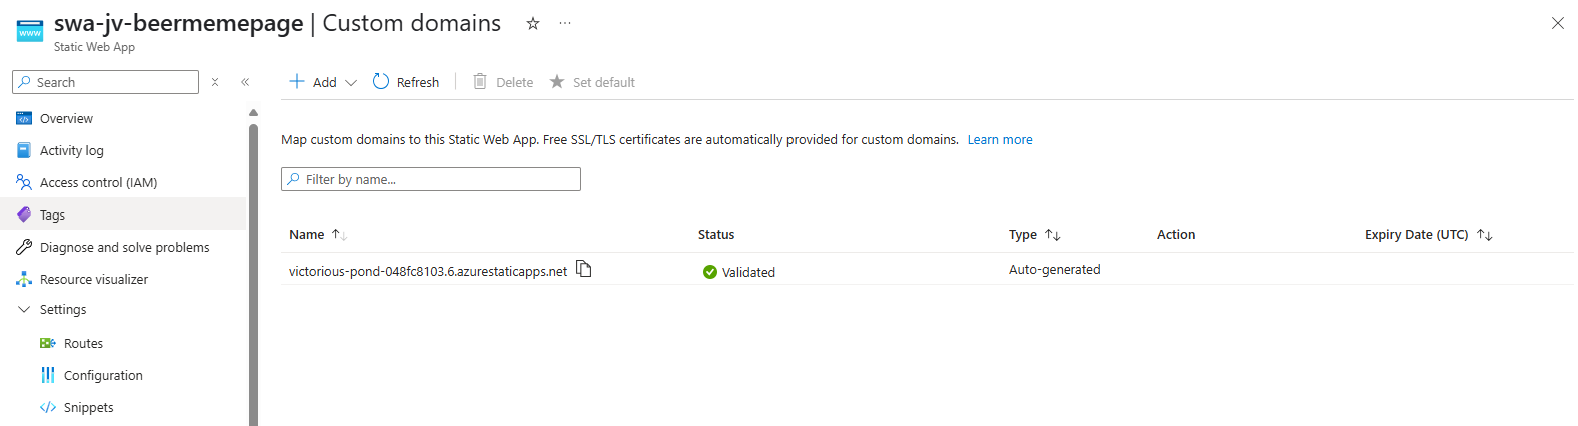
Create a custom domain name
Now that we are done with the deployment, we still have to create our cool beer.justinverstijnen.nl domain name that redirects to the static web app. We don’t want to fill in the complete Azure page when showing it to our friends, right?
In Azure, go to the Static web app and open the options menu “custom domains”
Click on “Add” to add your domain name.
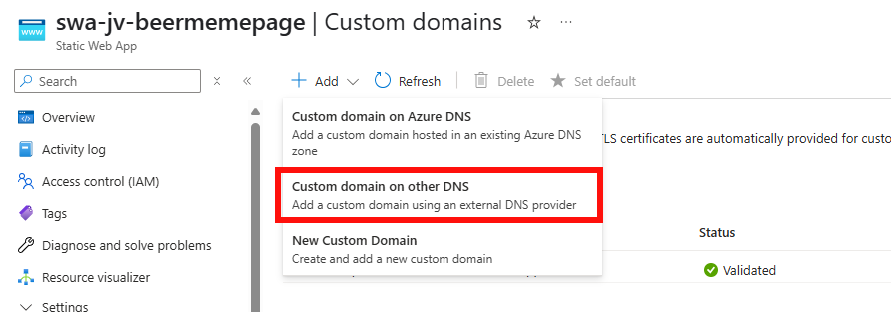
Then select “Custom domain on other DNS” if you use a external DNS provider.
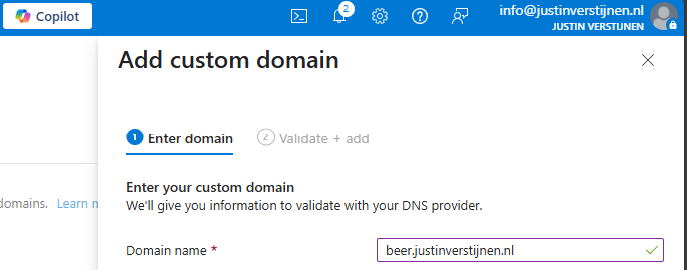
Fill in your desired domain name, and we have to validate now that we actually own this domain.
My advice is to use the CNAME option, as this is the way we forward to the static web app afterwards. This enables us to validate and redirect with one record only (instead of a verification TXT and a CNAME)
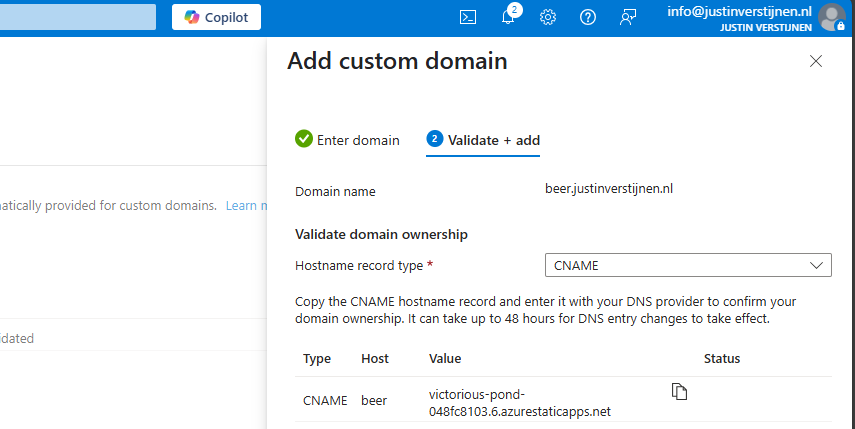
Create a CNAME record on your DNS hosting called “beer” with the value.

End the value of the CNAME record with a “.” dot because it is an external domain.
If you use a higher level domain, like justinverstijnen.nl, your DNS host may require you to create a ALIAS record instead of a CNAME record.
Save the record, wait for 2 minutes and click “Validate” in Azure to validate your CNAME record. This process is mostly done within 5 minutes, but it can take up to 48 hours.
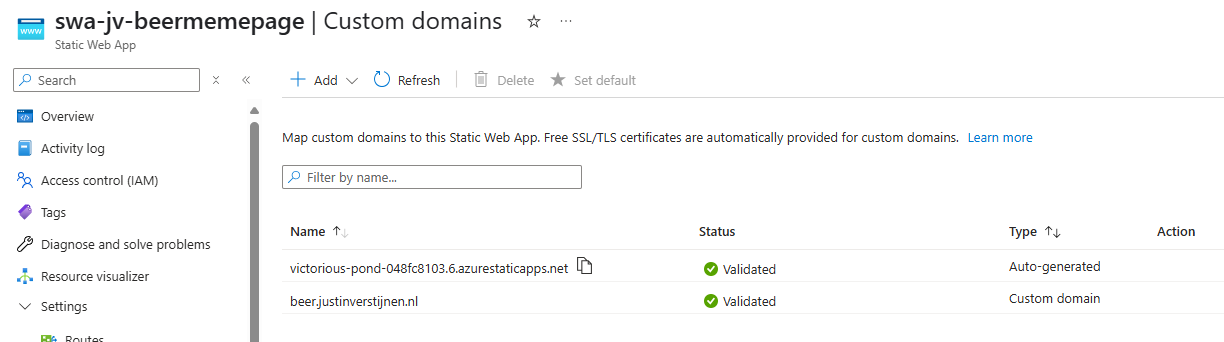
The custom domain is added. Let’s test this:
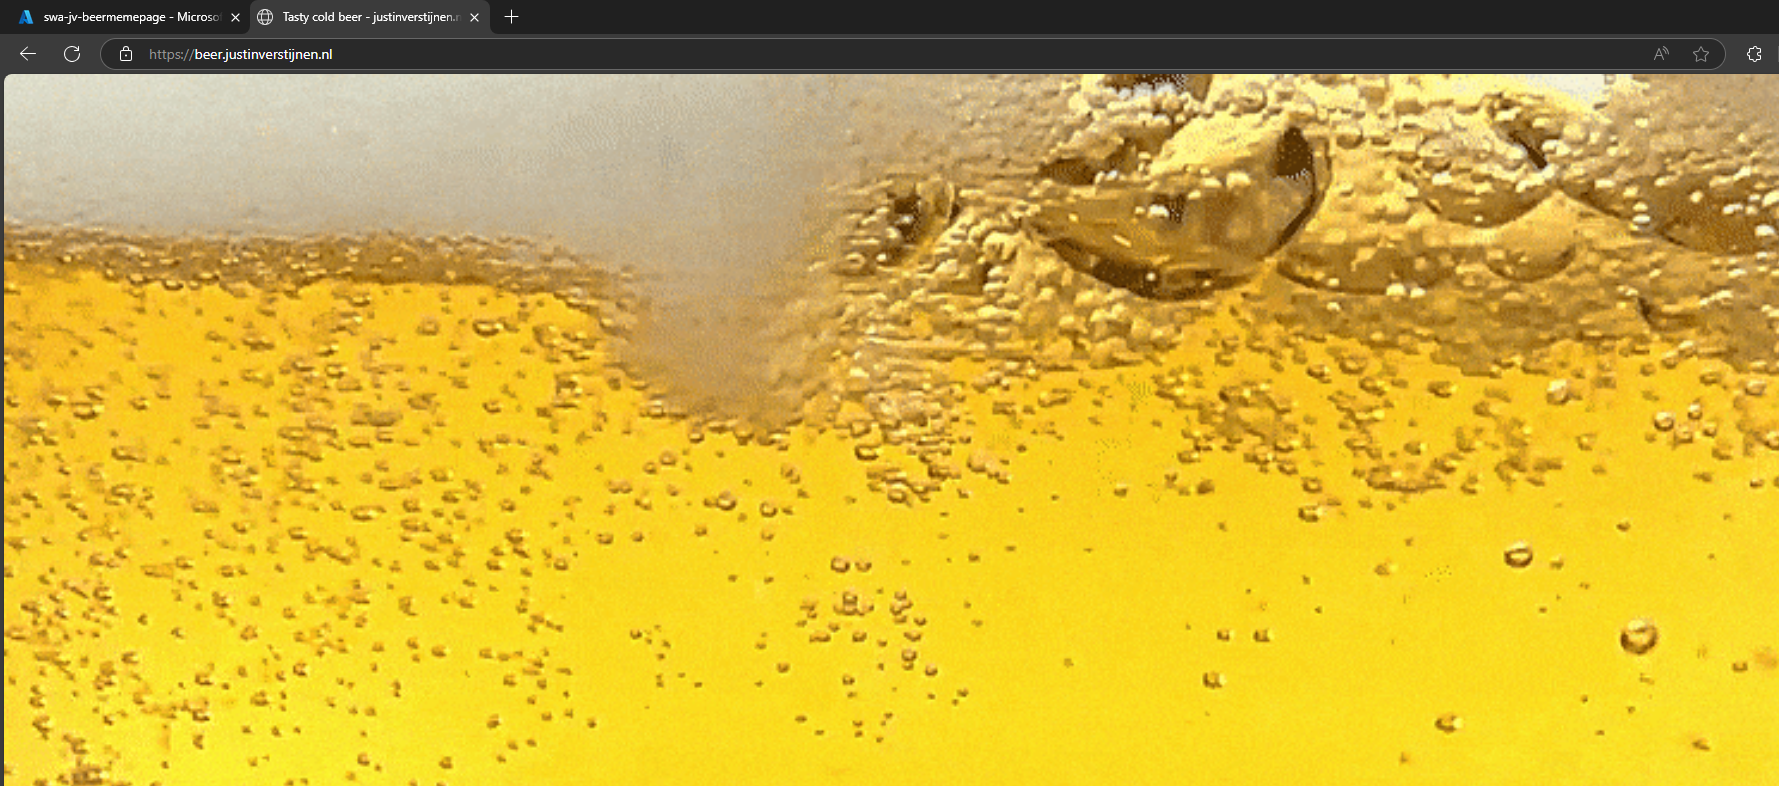
Great, it works perfectly. Cheers :)
The most great thing is that everything is handled by Azure; from deployment -> to SSL certificate so the customer deploys such sites without any major problems.
Knowledge check
Knowledge check
This quiz needs JavaScript to show the questions and feedback.
Summary
Azure Static Web Apps are a great way of hosting your simple webpages. They can be used for a variety of things. Management of the SWA instance is done in Azure, management of the code through Github.
Thank you for reading this guide and I hope it was helpful.
End of the page 🎉
You have reached the end of the page. You can navigate through other blog posts as well, share this post on X, LinkedIn and Reddit or return to the blog posts collection page. Thank you for visiting this post.
If you think something is wrong with this post or you want to know more, you can send me a message to one of my social profiles at: https://justinverstijnen.nl/about/
If you find this page and blog very useful and you want to leave a donation, you can use the button below to buy me a beer. Hosting and maintaining a website takes a lot of time and money. Thank you in advance and cheers :)

The terms and conditions apply to this post.