Disk cleaning script on Windows Azure VMs
Categories:
6 minute read
On Windows Servers, a critical point is maintaining the disk space. If a disk fills up to the end, several errors can occur and impacting the end-users experience of your applications. Something we definitely not want.
To help reducing this chance, I have created a PowerShell script that cleans up your server using built in tools of Windows. In this post, I will explain what the script does, how to install it and how to use it.
Where do download this script?
For the fast pass, my script can be downloaded here:
What does the disk cleanup script do?
The script I have made focusses primarily on cleaning up some folders we don’t need for the server to work. This consists of:
- Windows Update download cache of already installed updates
- TEMP folders
- Unused drivers
- Unused Event logs
- Google Chrome browsing cache
- Microsoft Edge browsing cache
- Recycle bins
The script itself has 6 steps:
- Ensuring it runs as Administrator
- Enable logging
- Saves a log file in the same directory and with 100KB limit
- Running Windows Cleanmgr-tool
- Simulating the Cleanmgr tool for all other local drives
- Deleting unused device drivers
- Removing cache for Chrome and Edge
- Rebooting the server.
How to install the Disk cleaning script Automatically
For installation with Task Scheduler I included an installation script that, by default, configures a task in the Windows Task Scheduler that runs it;
- Every first day of the month
- At hour 03:00
If these settings are great for you, you can leave them as-is.
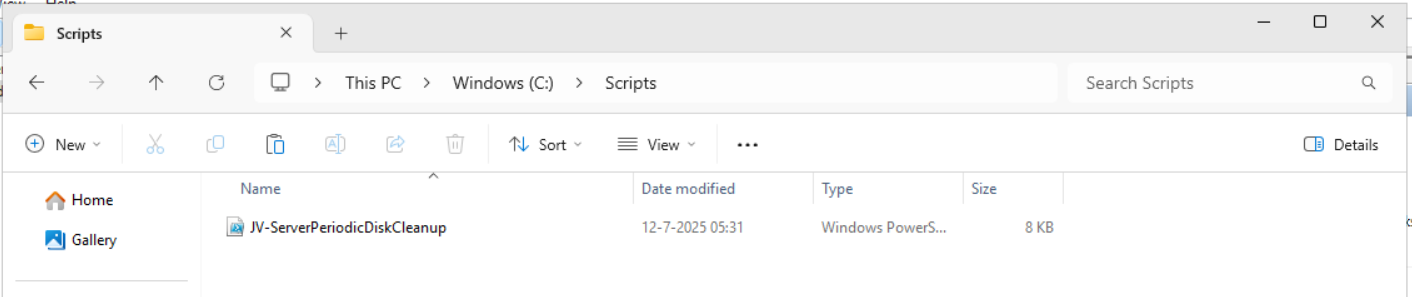
The Installation script creates a folder in C:\ named “Scripts” if not already there and places the cleaning script there.
Installation
Click on the blue button above. You now are on the Github page of the script.
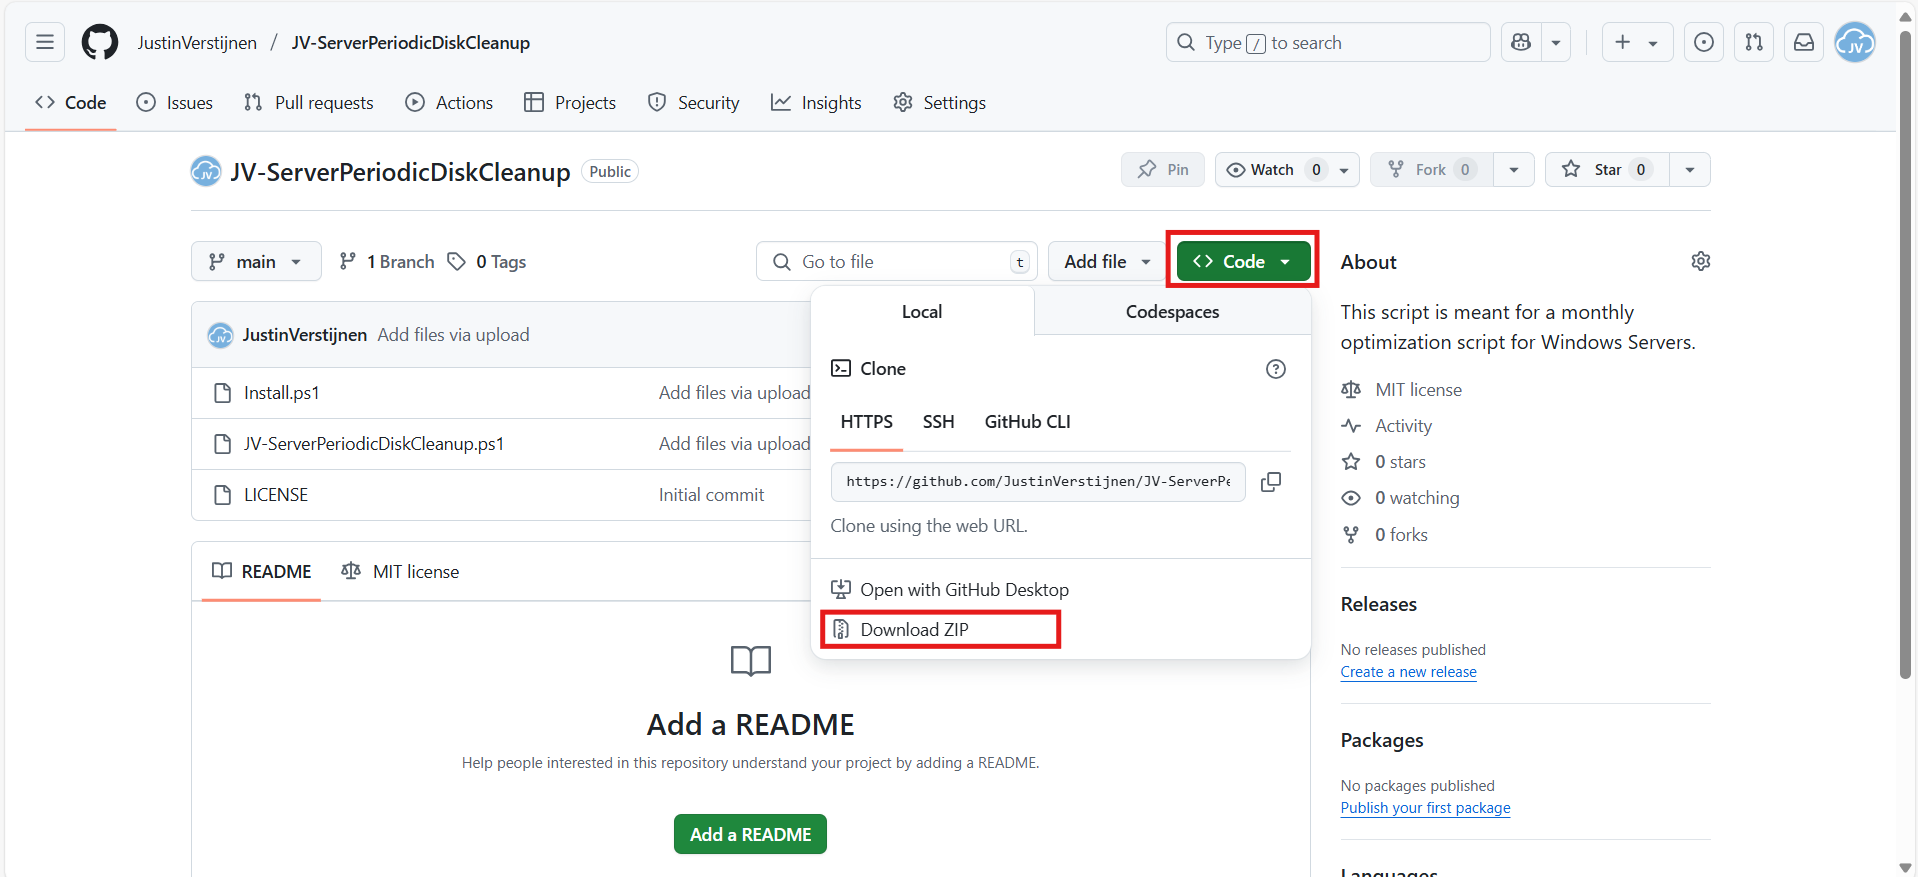
Click on “Code” and then “Download ZIP”.
Now place the files on the server where you want to install the script.
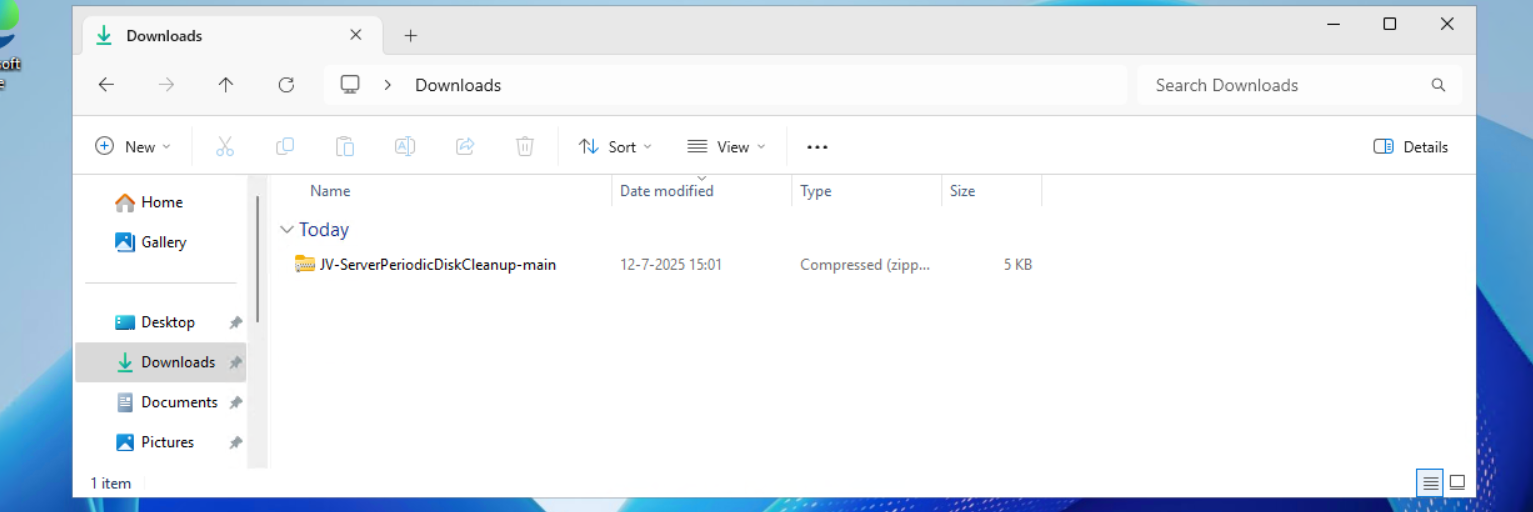
Unzip the file and then we can run the “Install” script. This must be run as administrator and temporarily without Execution Policy.
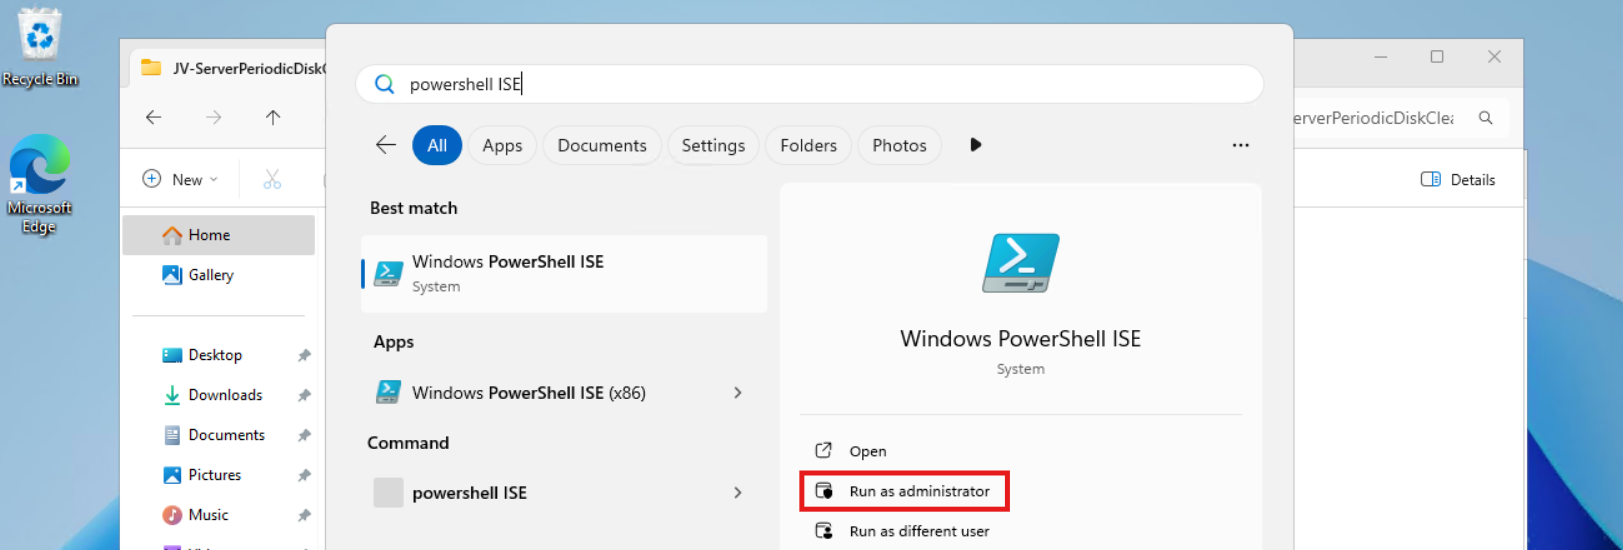
Open Powershell ISE as administrator.
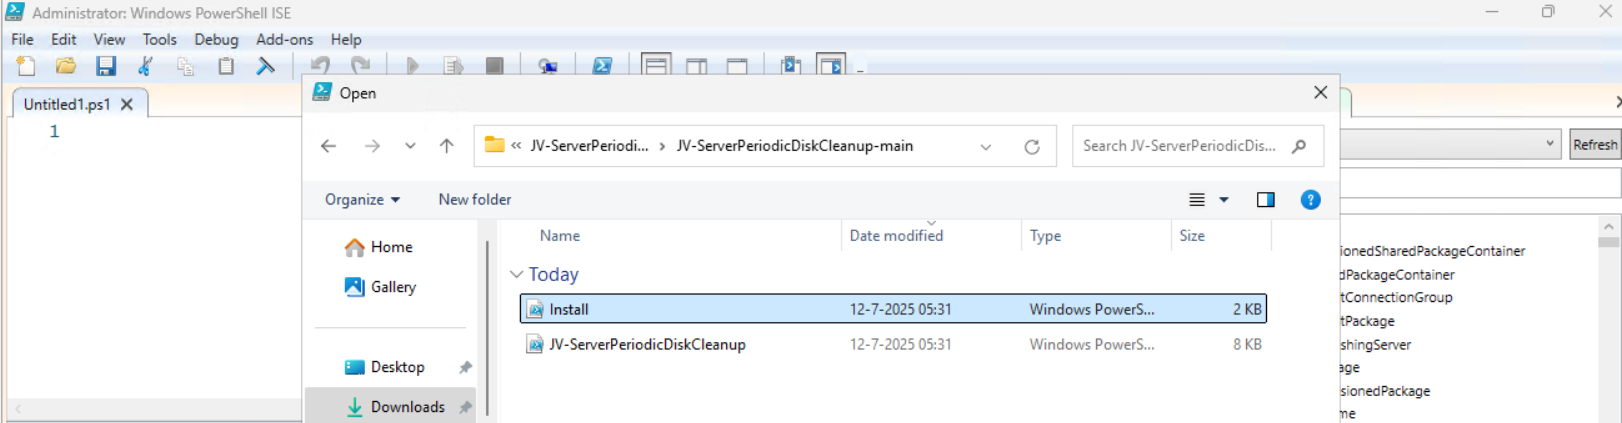
Now open the “Install” script.
Review it’s default settings and if you feel at home in PowerShell, review the rest of the script to understand what it does.
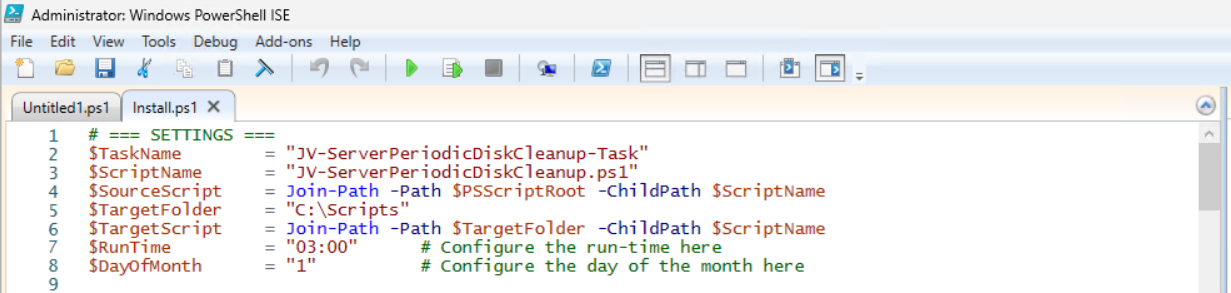
You can change the schedule very easily by changing the runtime: 0:00 till 23:59 and the day of month to specify the day number of the month (1-31).
After your schedule is ready, let’s ensure we temporarily bypass the Execution Policy by typing the command in the blue window below:
Set-ExecutionPolicy Unrestricted -Scope ProcessThis way the execution policy stays enabled but for this session only it’s been lowered. When you close the window, you have to type this again before be able to run scripts.
Execute the command, and when prompted to lower the policy, click Yes.

Now execute the Install script by clicking the green “Run” button:

After executing the script, we get the message that the task has been created succesfully:

Let’s check this in the Windows Task Scheduler:
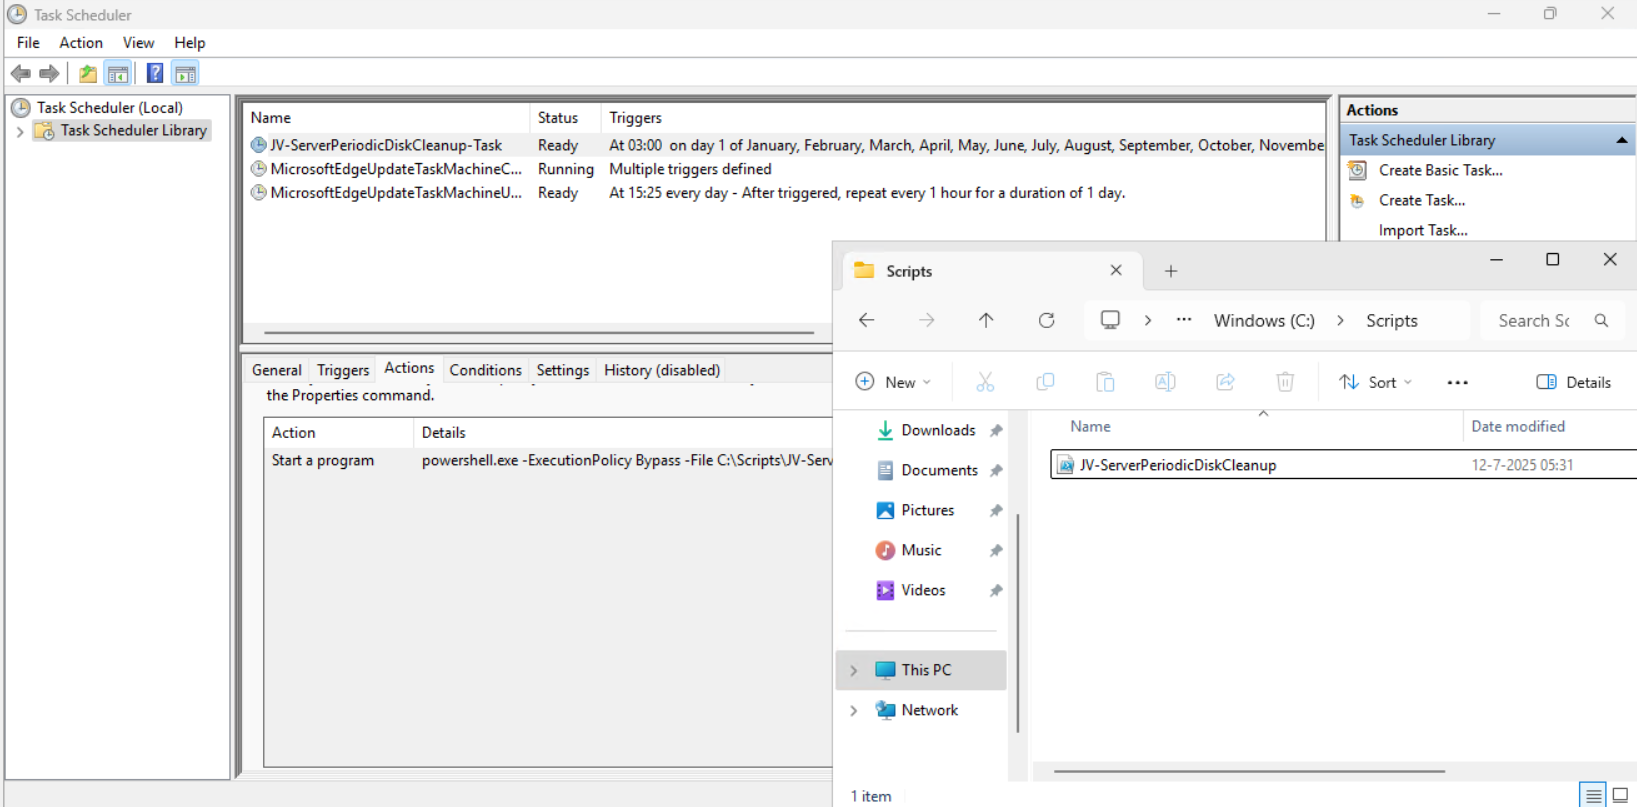
As you can see, the script is succesfully installed to Task Scheduler. This ensures it runs every first of the month at 03:00 (or at your own defined schedule). Also, the script has been places in C:\Scripts for a good overview of the scripts of the system.
How to install the Disk cleaning script manually
If you want to define your own schedule and script location, it can be better to install the script yourself or only using it when you need it.
Click on the blue Download button at the beginning of the page.
Click on “Code” and then “Download ZIP”.
Then place the ZIP file on the server where you want to install the disk cleanup script.
Move the script to the right location
Select the script and place it in your preferred location. My advice is to not install this in a user profile, but in a location accessible for all users. Like C:\Scripts.
I have placed the scipt into the correct folder. If you also want the script to run on a schedule, open up the “Task Scheduler” (taskschd.msc).
Creating the scheduled task
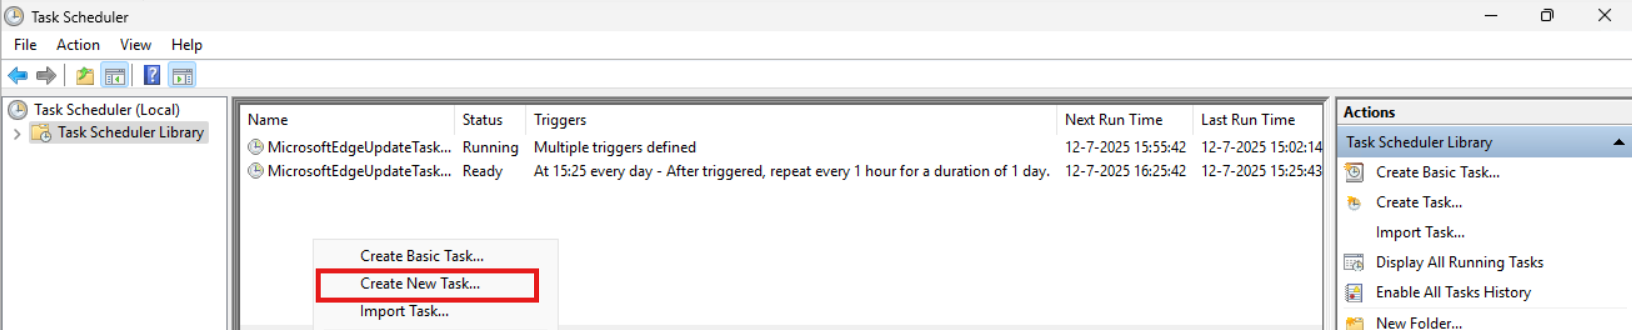
Do a “Right-mouse click” on the empty space and click on “Create New Task…”.
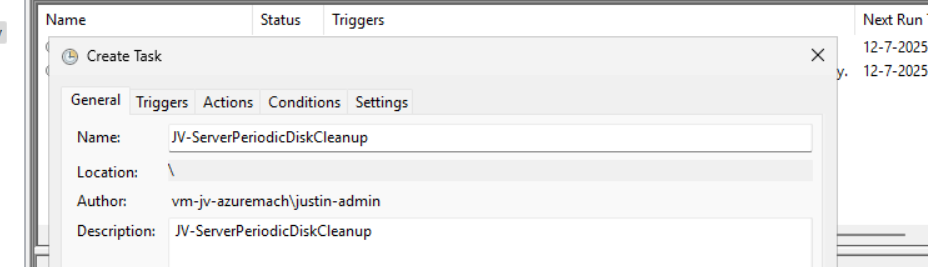
Give the task a name and description that alings with your documentation.
Then change the user to “SYSTEM” to run this in SYSTEM context for the highest privileges:
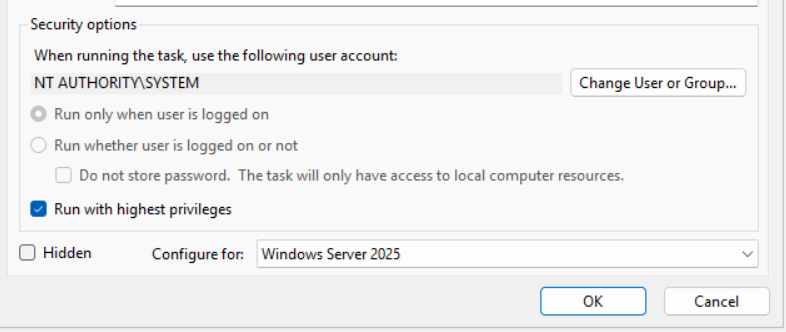
Then check the “Run with highest privileges” and select the highest OS possible in the “Configure for” dropdown menu.
Configure script trigger
Go to the “Triggers” tab and add a new trigger.
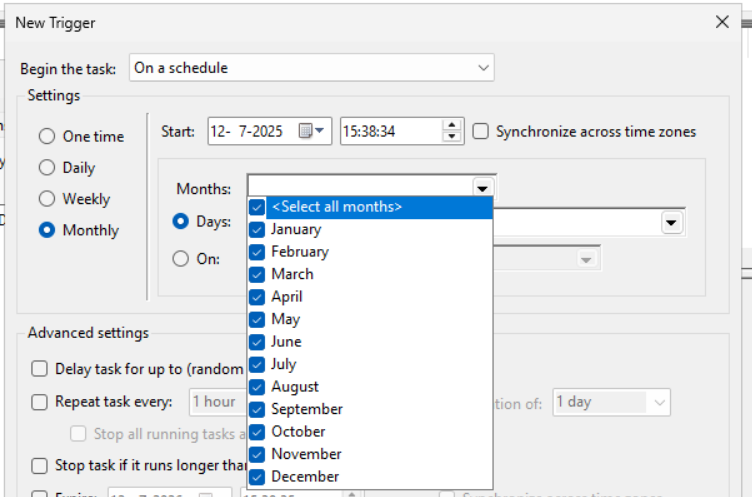
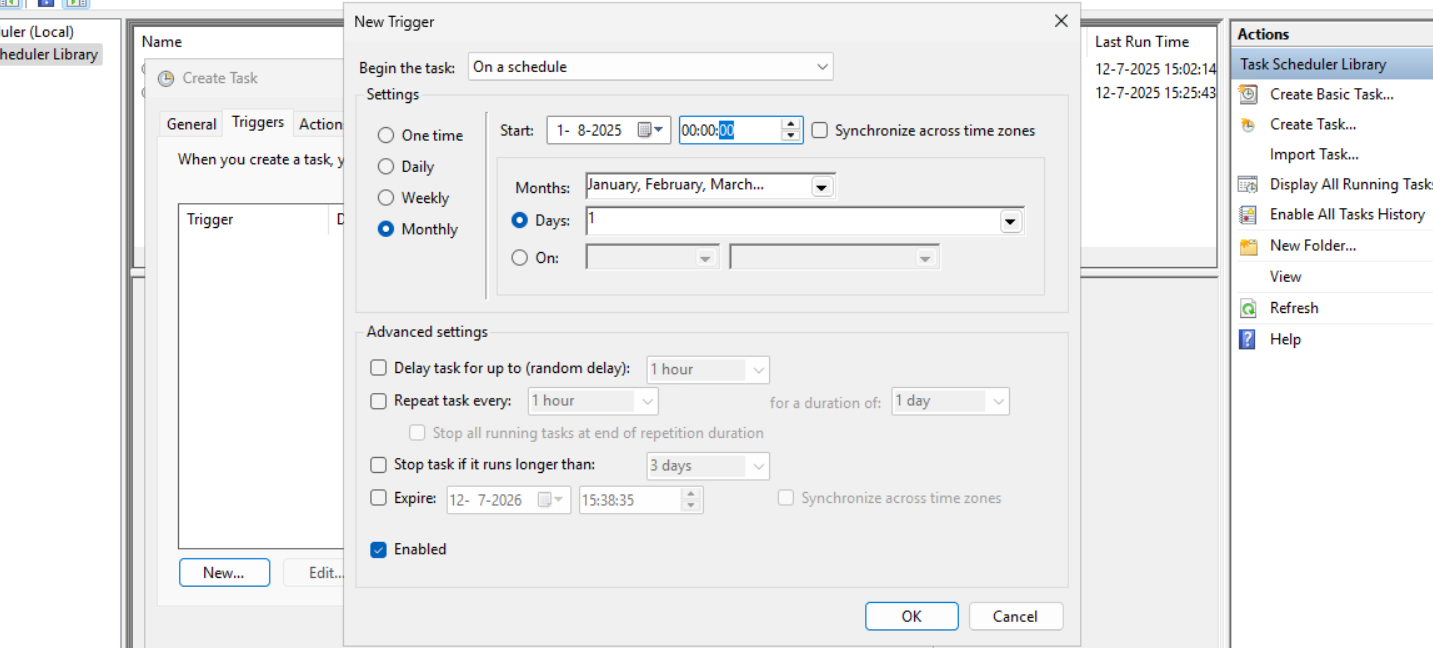
Select “Monthly” and select all months. Then change the “Days” field to 1 to run it on the first day.
You can defer from this schedule if your environment needs that. This is just an example.
Now the page looks like this:
Configure script action
Click “OK” and go to the “Actions” tab. Create a new action.
In the “Program/Script” field, type in the following:
powershell.exeIn the “Add arguments (optional):” field, type in the following:
-ExecutionPolicy Bypass -File C:\Scripts\JV-ServerPeriodicDiskCleanup.ps1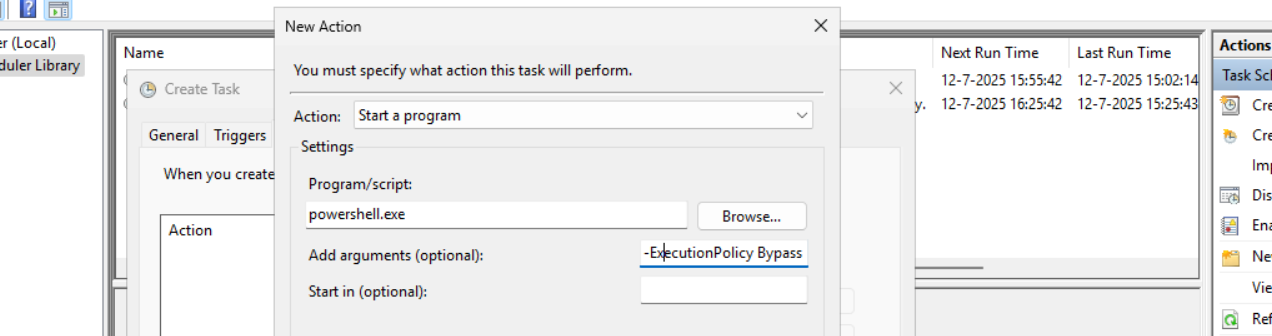
Now click on “OK” twice to create the task.
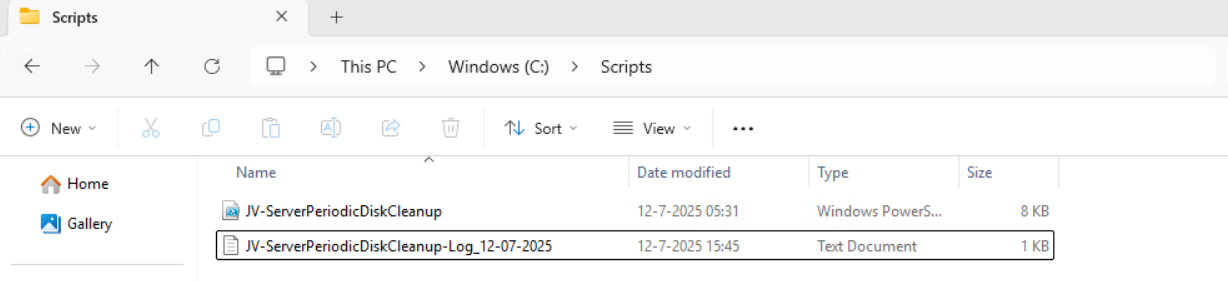
Testing the task
Now we can manually run the task to ensure it runs on a schedule too. Right click the task and click on “Run” to start the task.

As we can see, the script runs succesfully as it still runs after 30 seconds. This means the task and permissions are correct.

The script can take up to several hours when cleaning everything, depending on the server size.
In the folder of the script, a log file is created:
Summary
I think it’s a great way to use scripts like these once per month on your server. We can better be pro-actively cleaning up our servers than waiting till some issue occurs. However, my advice is to not run this script too often. Once or twice per month is good enough.
We IT guys’ work is to minimize disruptions and ensure end users don’t need to call us. If we IT guys are completely invisible and users think: “What are those guys even doing?”, then we do your jobs correctly.
Thank you for reading this post and I hope it was helpful.
Sources
These sources helped me by writing and research for this post;
End of the page 🎉
You have reached the end of the page. You can navigate through other blog posts as well, share this post on X, LinkedIn and Reddit or return to the blog posts collection page. Thank you for visiting this post.
If you find this page and blog very useful and you want to leave a donation, you can use the button below to buy me a beer. Hosting and maintaining a website takes a lot of time and money. Thank you in advance and cheers :)

The terms and conditions apply to this post.