Getting started with Terraform
Terraform described
Terraform is a framework built by Hashicorp that lets you manage cloud infrastructure for Azure and Amazon Web Services using text files only. This does it by talking with the Azure Resource Manager API, the underlying system that manages Azure Environments, Azure CLI and Azure PowerShell.
Terraform code is declarative code, which means you describe the desired end result instead of writing every step the system needs to take, like you would often do in a PowerShell script. In this case, we tell ARM to create a Virtual Machine with the name, IP address, and other settings we specify. It is a bit like telling a chef which dish you want and which ingredients to use, and then letting the chef prepare it for you.
In simple words:
- You write what you want (for example: “make a server, with a IP linked and a NSG”).
- Terraform creates a “plan” to show what it will do before touching your cloud environment
- Then Terraform applies the plan using Azure CLI to build (or change) the Azure resources according to your plan
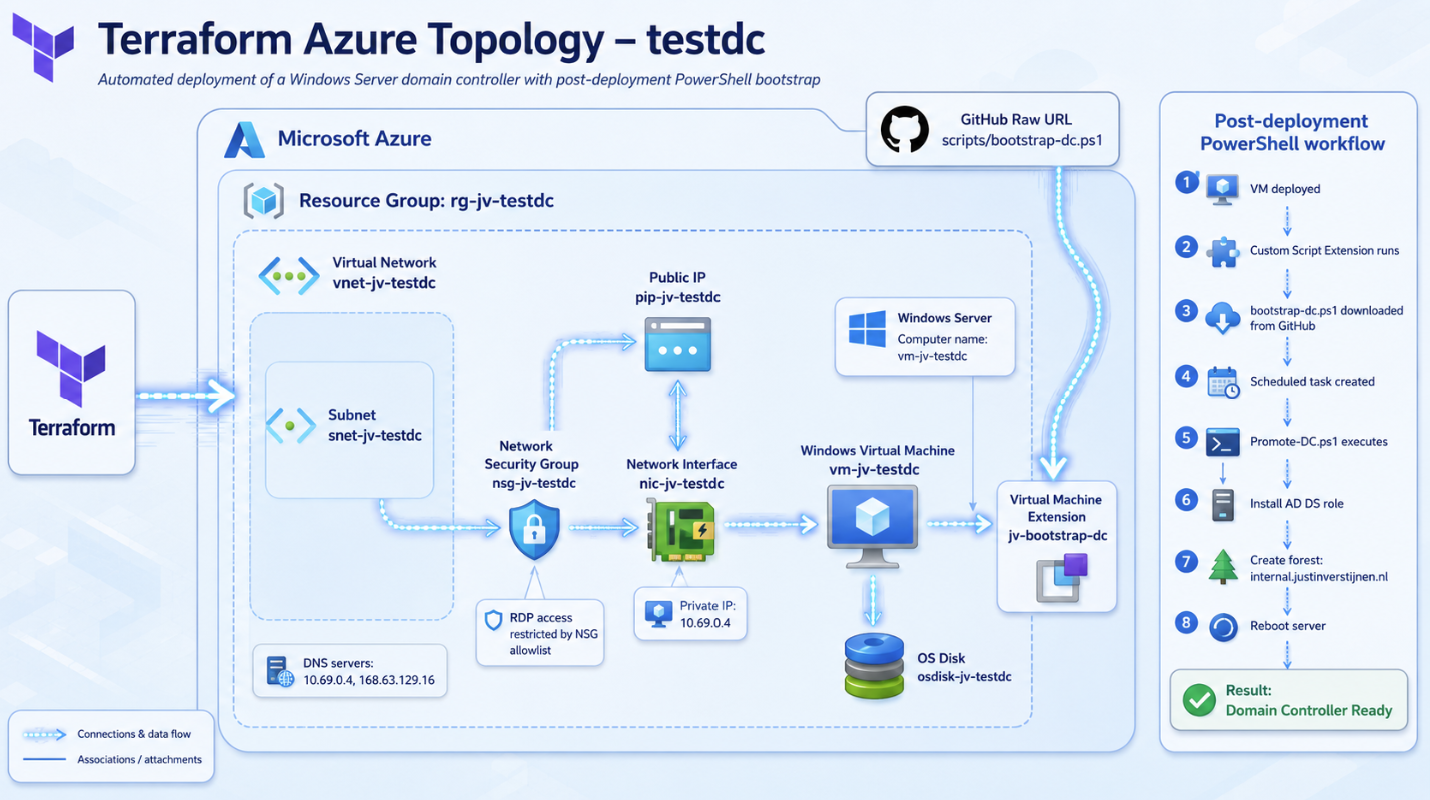
The topology of the resources we will deploy in this guide is:
| Resource type | Resource name |
|---|---|
| Resource group | rg-jv- |
| OS disk | osdisk-jv- |
| VNET | vnet-jv- |
| NIC | nic-jv- |
| Public IP | pip-jv- |
| NSG | nsg-jv- |
| VM | vm-jv- |
After the resources are deployed, a PowerShell script is executed in the VM to install the Active Directory role and to configure it.
In this guide, I will show how to install Terraform, prepare your Azure login, start using Terraform and run a single server Terraform setup I have made with the needed dependencies and security.
Requirements
- Around 30 minutes of your time
- Moderate knowledge of Azure and PowerShell
- Basic knowledge of Terraform and Infrastructure as Code
- Visual Studio Code
- Terraform
- Azure CLI
Step 1: Installation of Terraform
In this step, I will install Terraform on my local computer. First, go to the official Terraform installation page.
https://developer.hashicorp.com/terraform/install
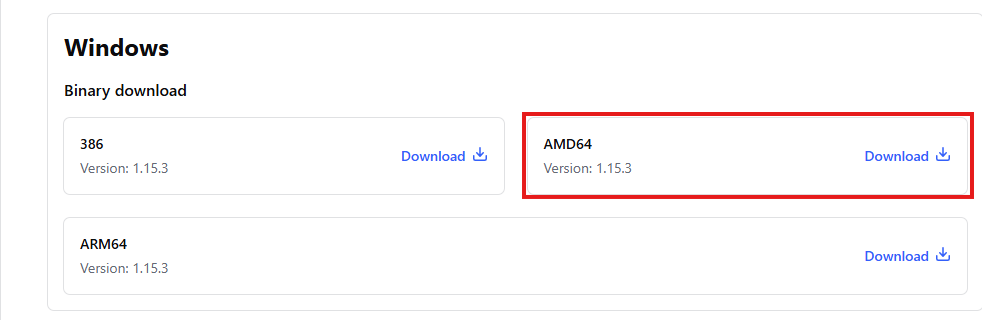
On this Terraform installation page, download the Windows version of Terraform.
After downloading the ZIP file, extract the file. Inside the ZIP file you will find the terraform.exe file. For this guide, I place the Terraform binary in the folder below. Create the folder below if it does not already exist.
- C:\Tools\Terraform
Then place terraform.exe inside this folder.
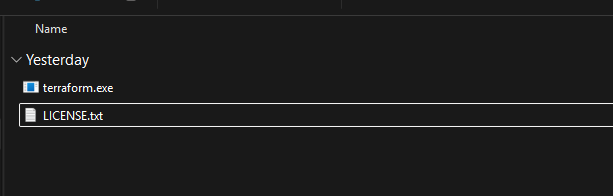
Now Terraform is installed on the computer, but Windows still needs to know where it can find terraform.exe.
To make this work from every PowerShell window, I add the Terraform folder to the Windows user Path. If you have a other location, change the location.
$terraformlocation = "C:\Tools\Terraform"
$userPath = [Environment]::GetEnvironmentVariable("Path", "User")

if ($userPath -notlike "*$terraformlocation*") {
    [Environment]::SetEnvironmentVariable("Path", "$userPath;$terraformlocation", "User")
}
This action sets the variable in the Windows known variables. This is similar to this GUI option.
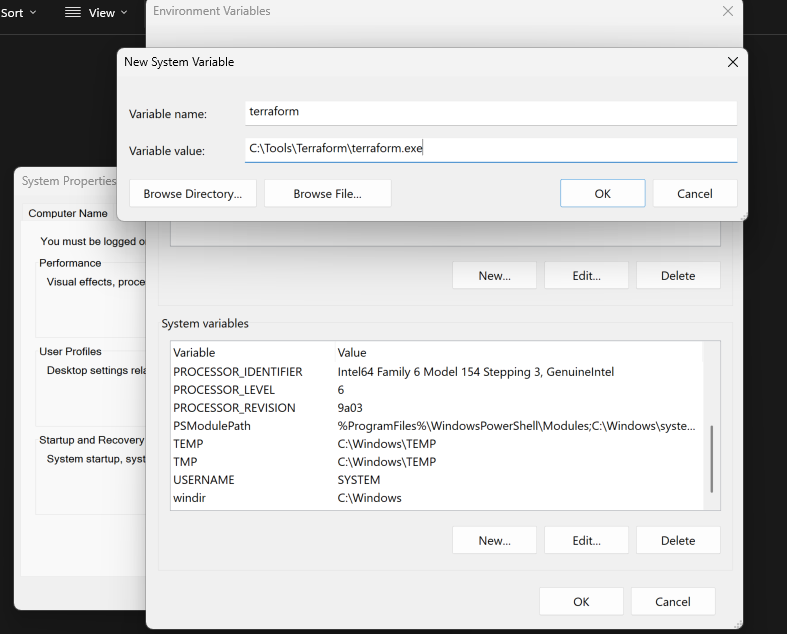
After changing the Path, close all open PowerShell and Visual Studio Code windows. Then open a new PowerShell window and check if Terraform is working:
terraform -versionIf Terraform is installed correctly, the Terraform version will be shown in the terminal.
PS C:\Users\InfoJustinVerstijnen> terraform -version
Terraform v1.15.2
on windows_amd64
Terraform is now installed and ready to use.
Step 2: Installation of Azure CLI
We can now install the Azure CLI shell if not already installed, as Terraform needs a way to authenticate to Microsoft Azure. The most easy way to install Azure CLI is through with winget.
Open PowerShell as Administrator and run the command below:
winget install --exact --id Microsoft.AzureCLI
The installation can take some time, so please have a little patience. This process can take up to 15 minutes.
After the installation is completed, close all open PowerShell and Visual Studio Code windows. This is needed so Windows can reload the new environment variables and initializing the commands needed.
Then open a new PowerShell window and check if Azure CLI is working:
az versionIf Azure CLI is installed correctly, the Azure CLI version information will be shown in the terminal.
PS C:\Users\InfoJustinVerstijnen> az version
{
  "azure-cli": "2.86.0",
  "azure-cli-core": "2.86.0",
  "azure-cli-telemetry": "1.1.0",
  "extensions": {
    "account": "0.2.5",
    "logic": "1.1.0"
  }
}
Azure CLI is now also installed and ready to use.
Step 3: Downloading my Single Server Terraform setup
For the ease of this guide, I have a full template available that deploys the resources as stated in the description at the top of the page. We only need to change some variables to your likings.
Go to my GitHub repository to download the simple 1 server setup:
Download Terraform setup from GitHub
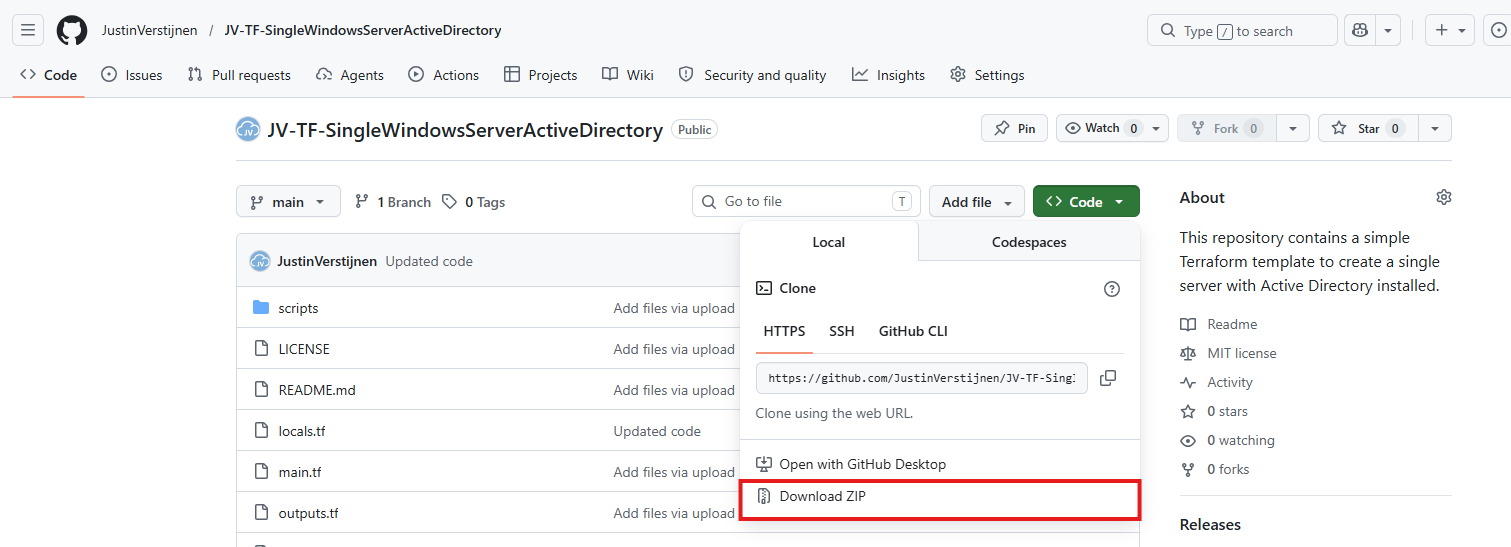
Click on “Code” and click Download ZIP and place it on your computer on a known place. This folder contains the Terraform setup, with some preconfigured files. For this guide we only need to change information in the terraform.tfvars file.
In the ZIP file we can find 9 files which all have their own purpose:
| File name | Contains |
|---|---|
| scripts/bootstrap-dc.ps1 | The after deployment PowerShell script |
| LICENSE | The license of the GitHub Repo |
| README.md | The instructions of the repo, superseded if you follow this guide |
| locals.tf | The naming scheme of the deployment |
| main.tf | The resources which all will be deployed using the set variables. We can see this as the full recipe |
| outputs.tf | The outputs like names of resources |
| terraform.tfvars | The project specific variables which we can configure to our likings |
| variables.tf | All possible renameable fields |
| versions.tf | All versions of dependencies |
Now we are ready to change the project to your likings.
Step 4: Changing the project variables
In the file terraform.tfvars, you can change the project variables. This file is where you set values like names, IP addresses, and other settings for your deployment. Review everything before saving.
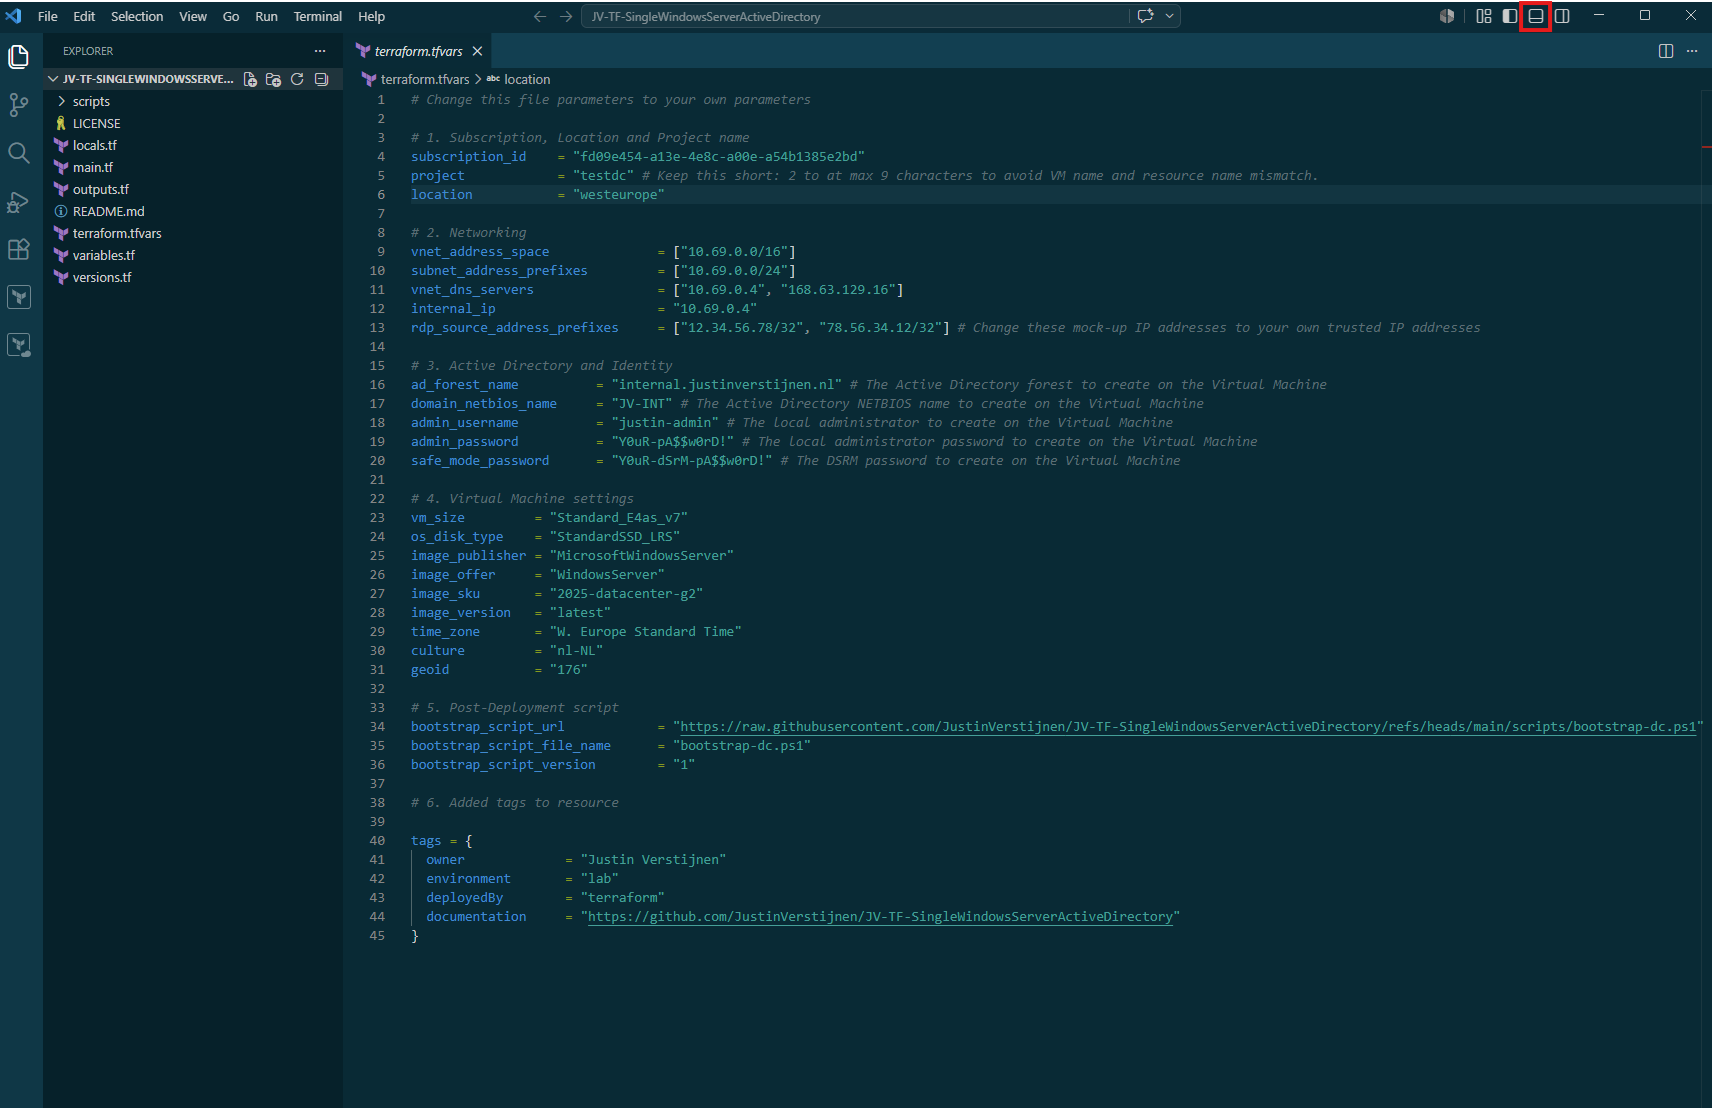
Change the information to your likings. The things you are required to change are:
- Line 4: Subscription ID
- Line 5: Project name
- Line 13: Your IP address for whitelisting purposes
- Line 16, 17, 18, 19, 20: Your Active Directory details
After changing this information, save the file and we are now ready to go.
Step 5: Deploying the Terraform project
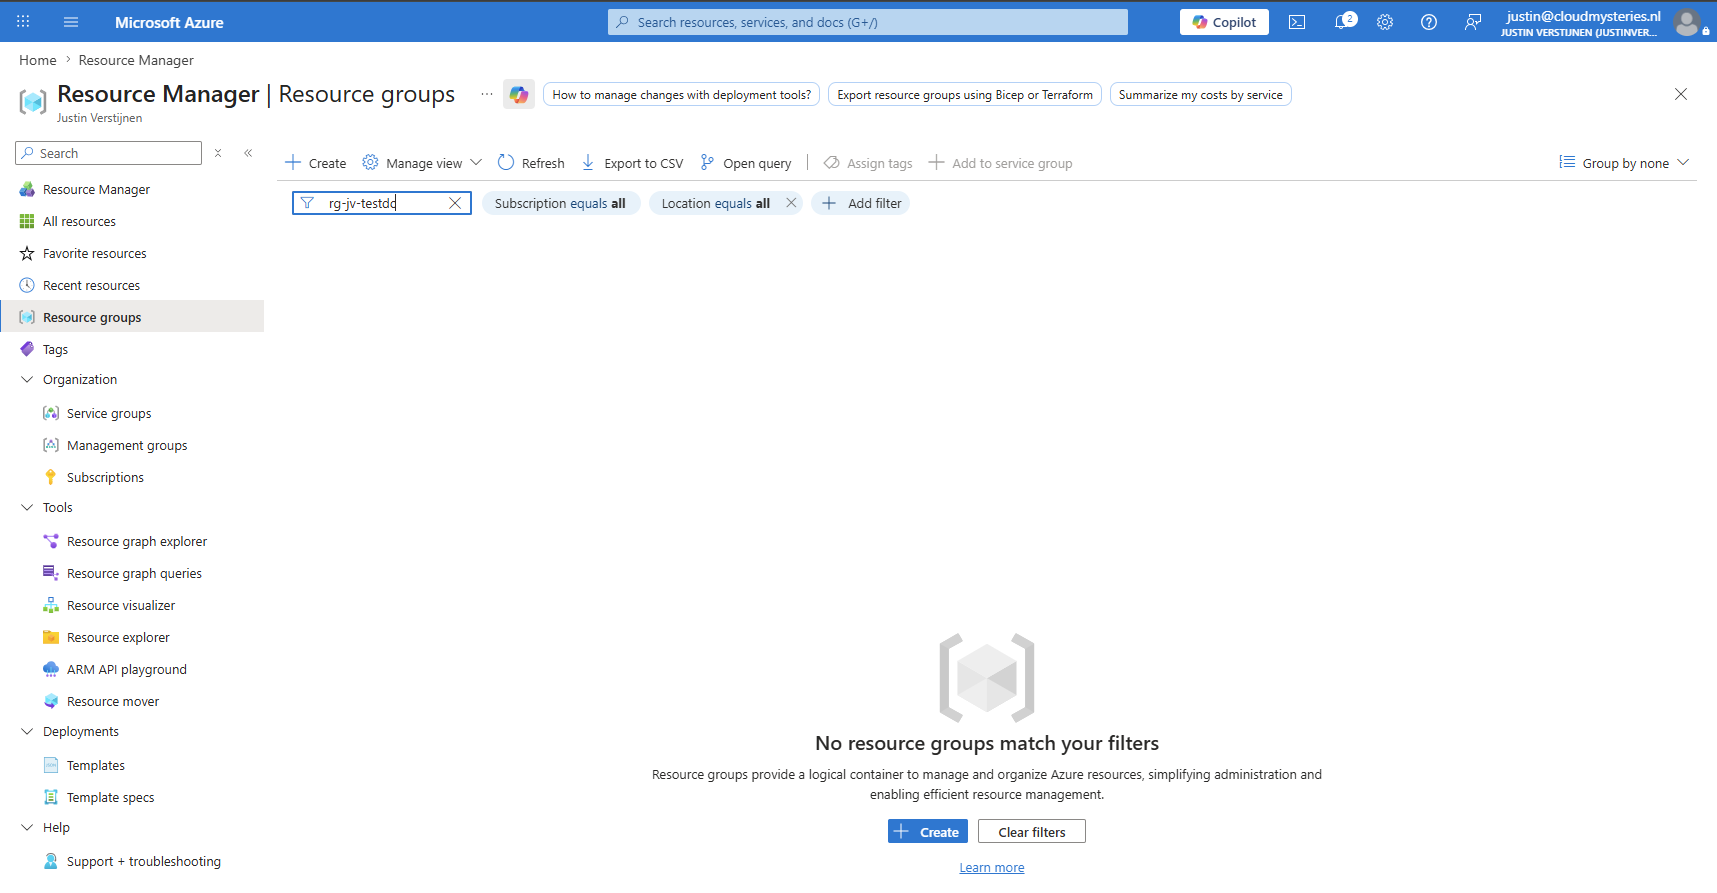
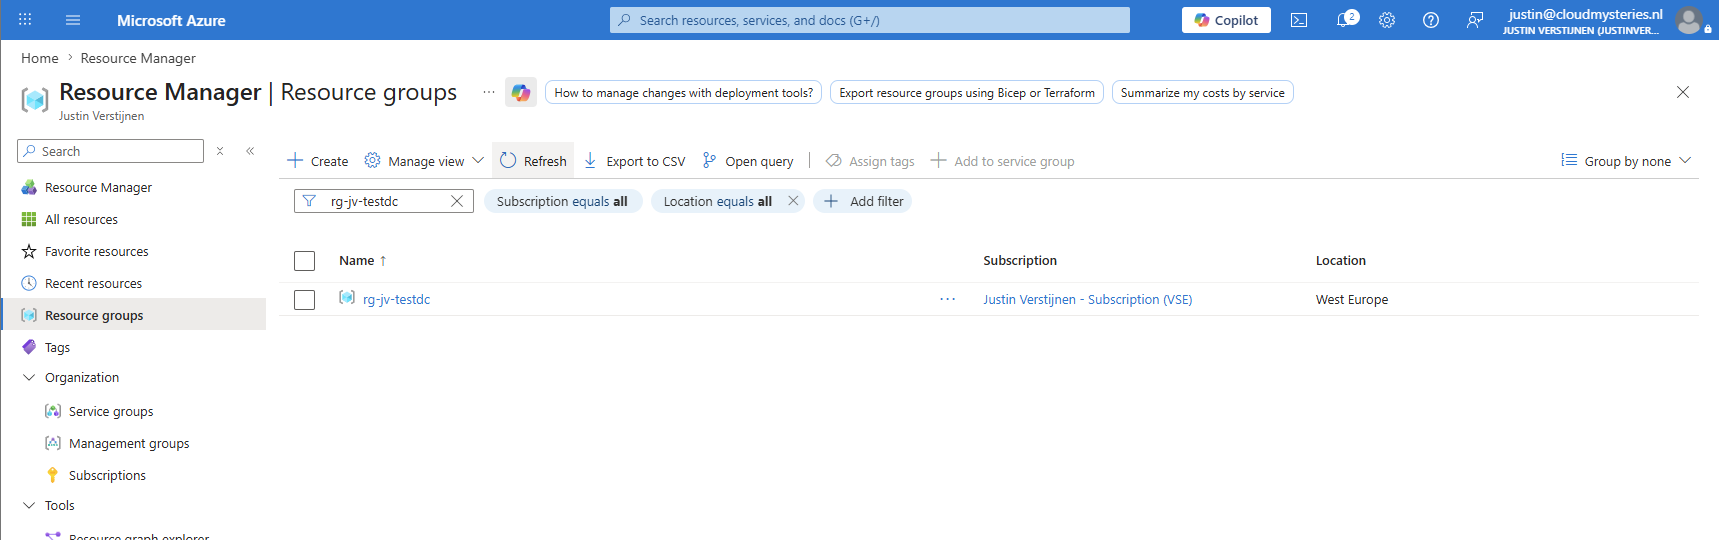
Now we are finally ready to deploy our Terraform project to Azure. We will login to Azure CLI and then prepare Terraform for the deployment. In my Azure Environment, nothing is available using the projects’ names:
Let’s sign in to Azure CLI using this command:
az loginThen login to your Azure account where the deployment must be done. Also be sure to perform the additional verification steps.
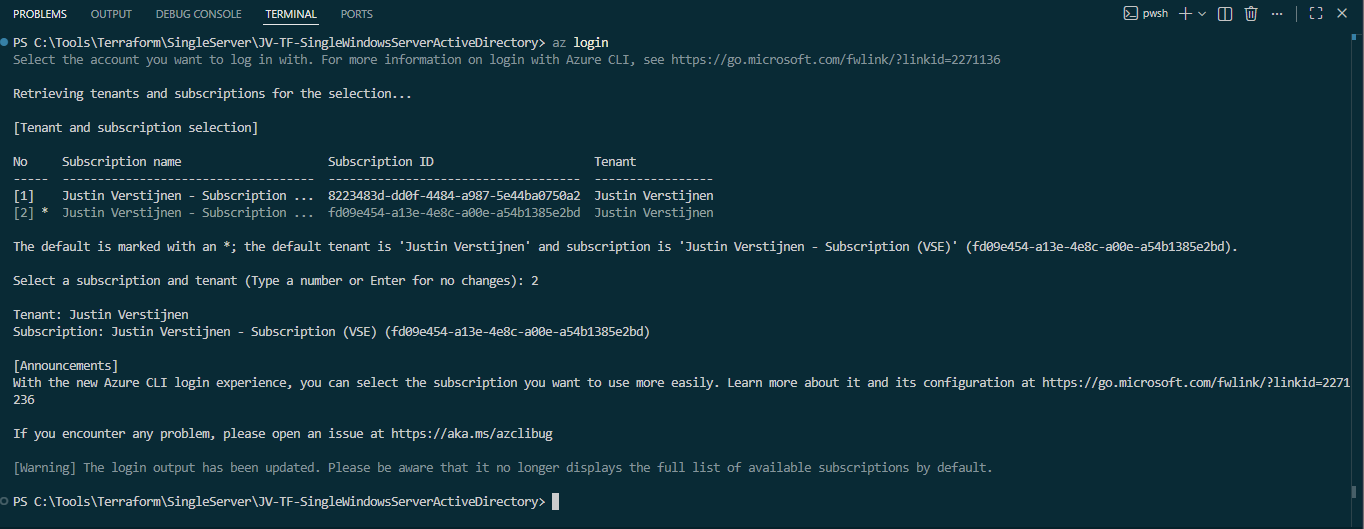
After that, Azure CLI can ask for additional information like the subscription you want to deploy the resources into. If you no have already done so, copy the Subscription ID and paste this into line 4 of the terraform.tfvars file.
Now navigate to the folder of your Terraform project in Visual Studio Code terminal.
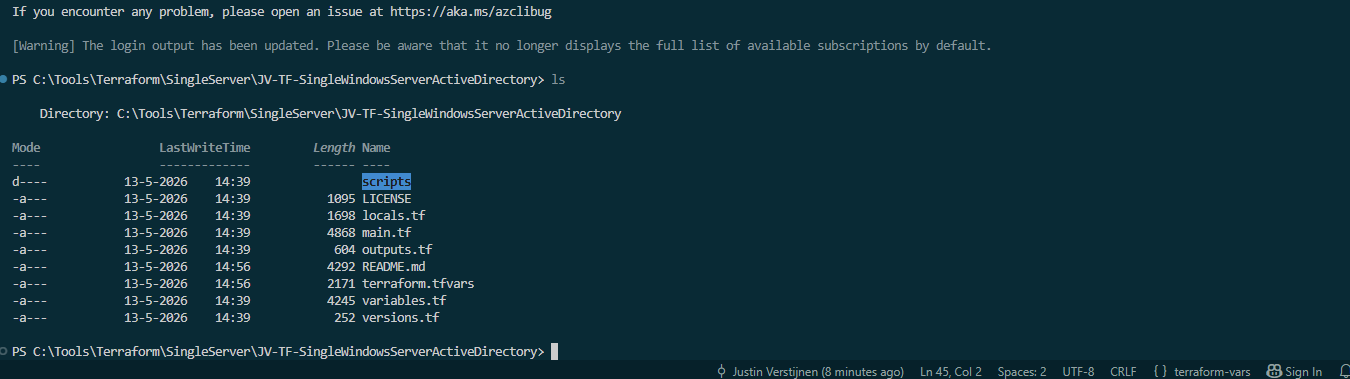
Then we can perform these commands:
terraform init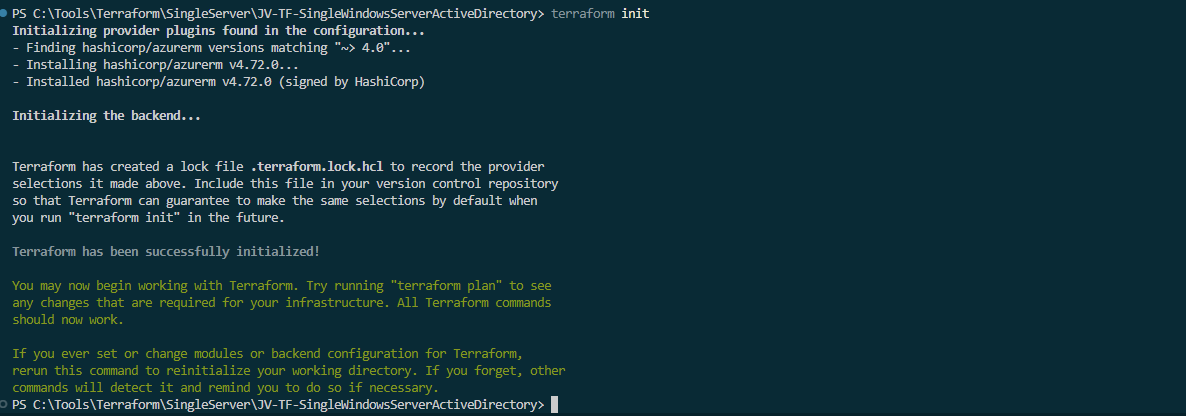
Now Terraform is initialized, creating some temporary files. Then validate the configuration:
terraform validate
After validation with zero errors, create a plan. This command (Terraform plan) creates a file that shows what will be added to the Azure Environment.
terraform plan -out main.tfplan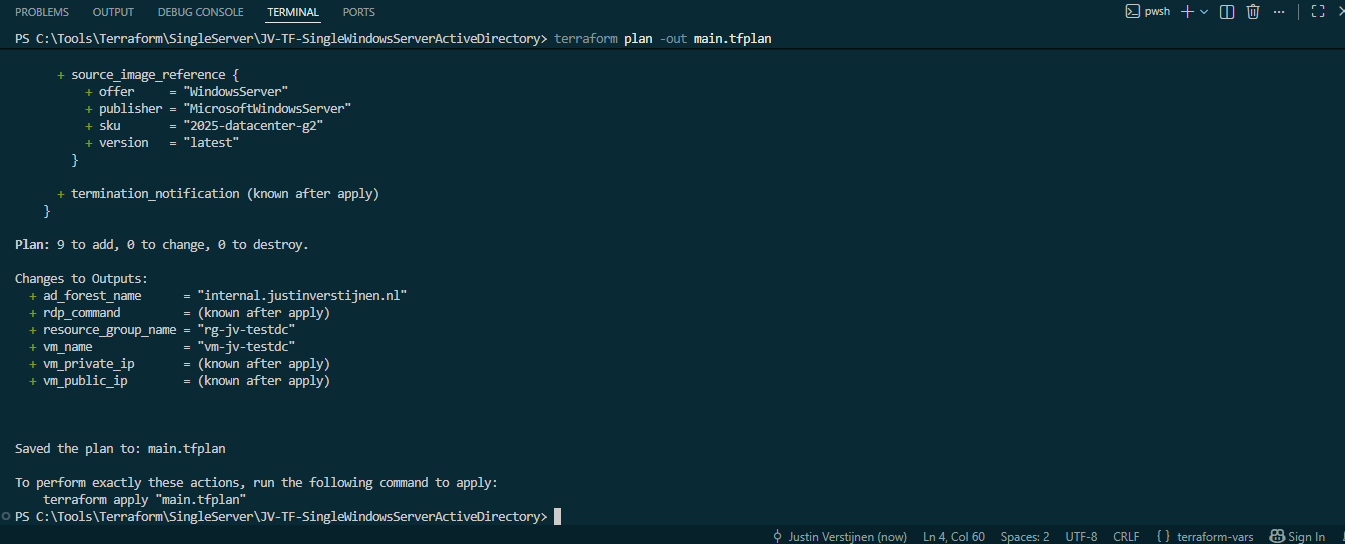
Finally, apply the plan:
terraform apply main.tfplanTerraform will now start the full deployment based on your Terraform variables and plan.
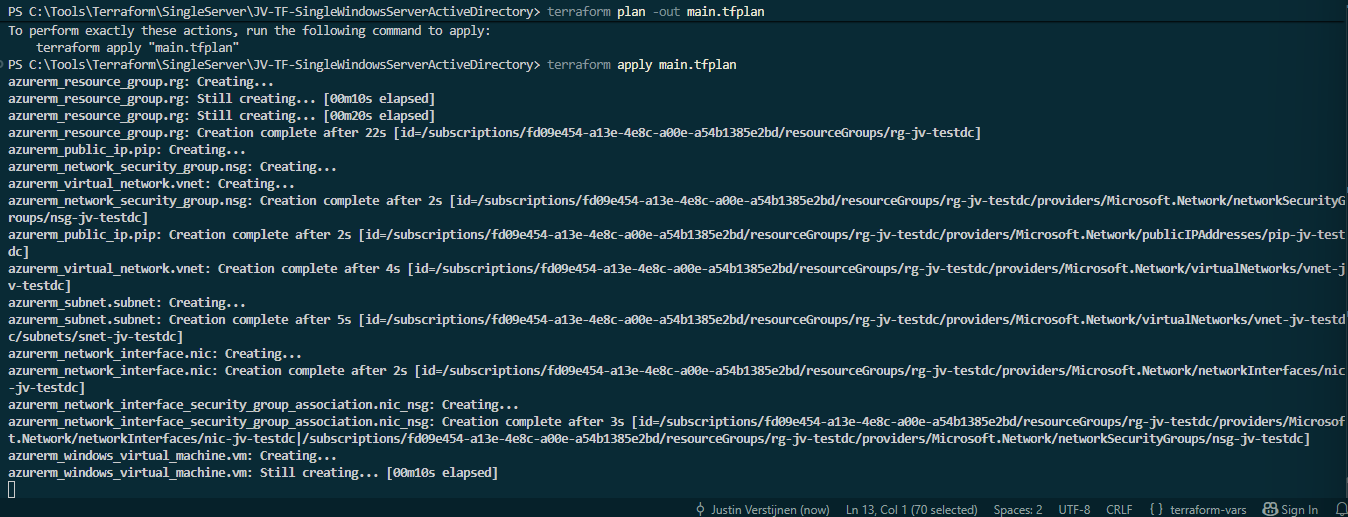
Now the complete deployment will be executed and built in Azure. In the Terminal Window you can review the status. The complete deployment will take around 5 minutes.
After some seconds, still in deployment, we can already see the resource group being created:
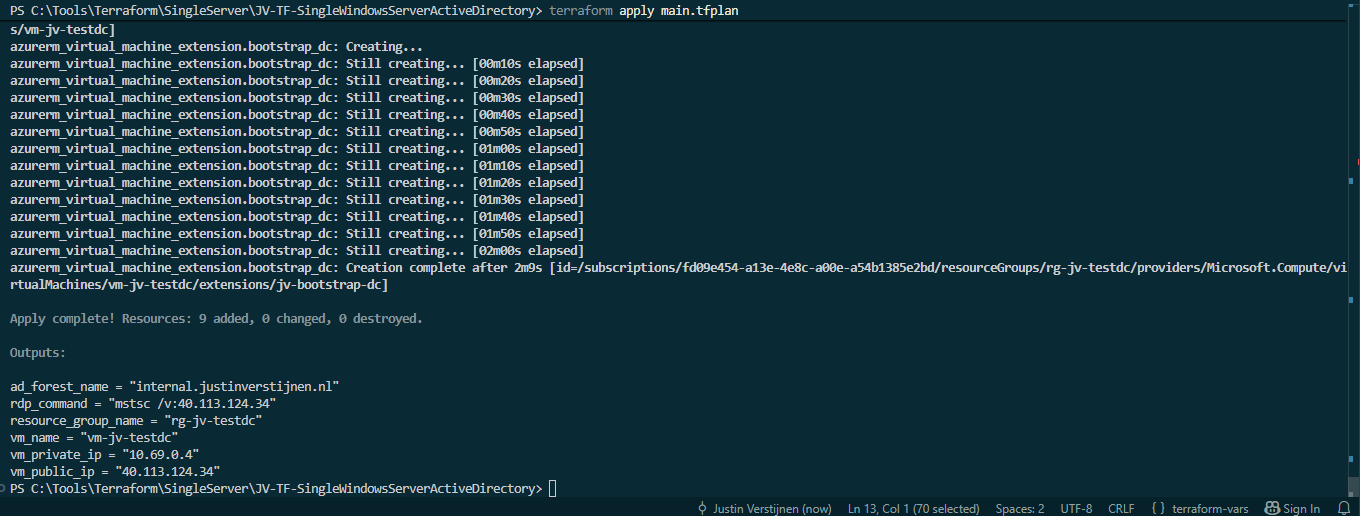
After around 5 minutes, Terraform will inform us that the deployment is finished, giving us information about what has been done, like the IP address to connect with RDP.
If you need to remove all the resources Terraform created, you can run:
terraform destroy -auto-approveThis willautomatically destroy every resource created by the Terraform plan, skipping the extra approval step.
Step 6: The results
After terraform apply finishes, Terraform has built the resources defined in the Terraform setup. In my case, this took around 5-6 minutes and after that, the virtual machine will be restarted to apply the Active Directory installation. Let’s check the results:
- check the output shown by Terraform in your terminal, and
- check the Azure resources in the Azure Portal for the resource group that was created/used by this Terraform setup
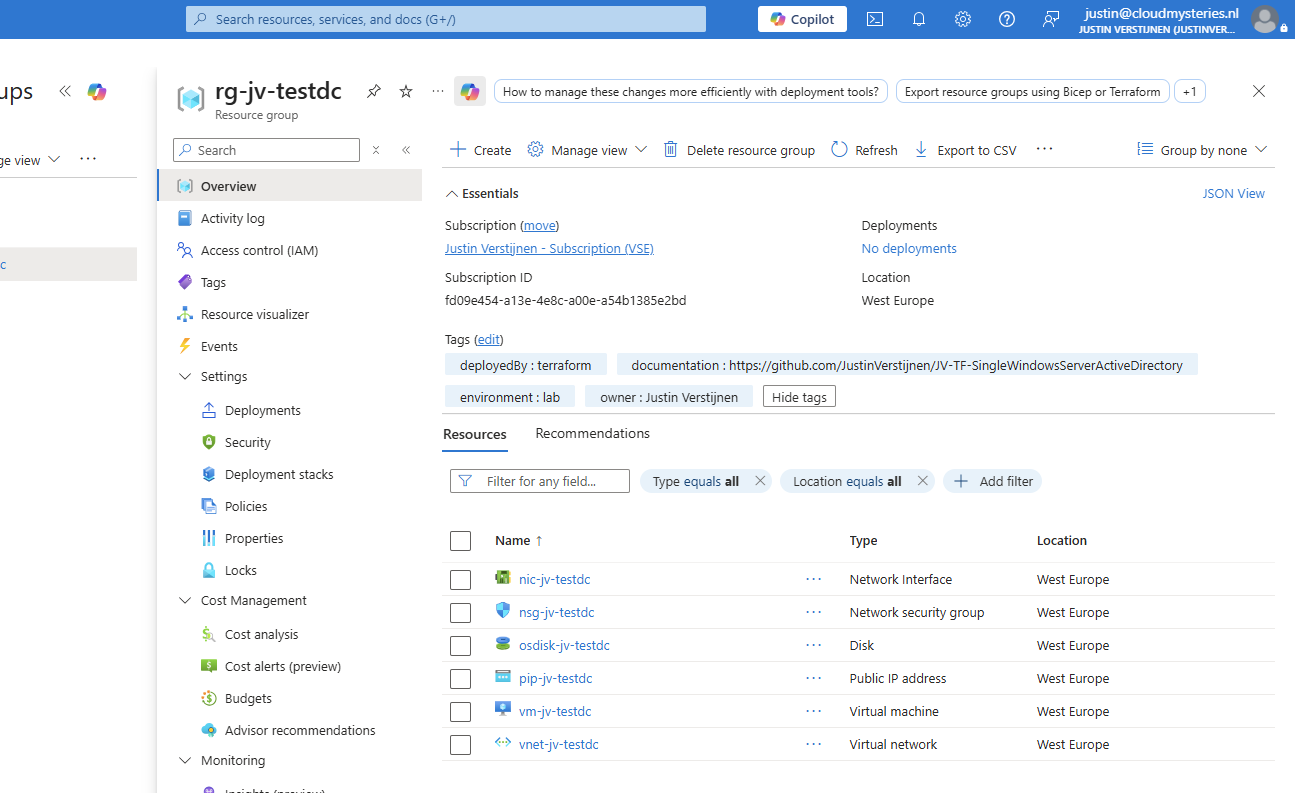
This is the newly created resource group for example. All dependent resources are created.
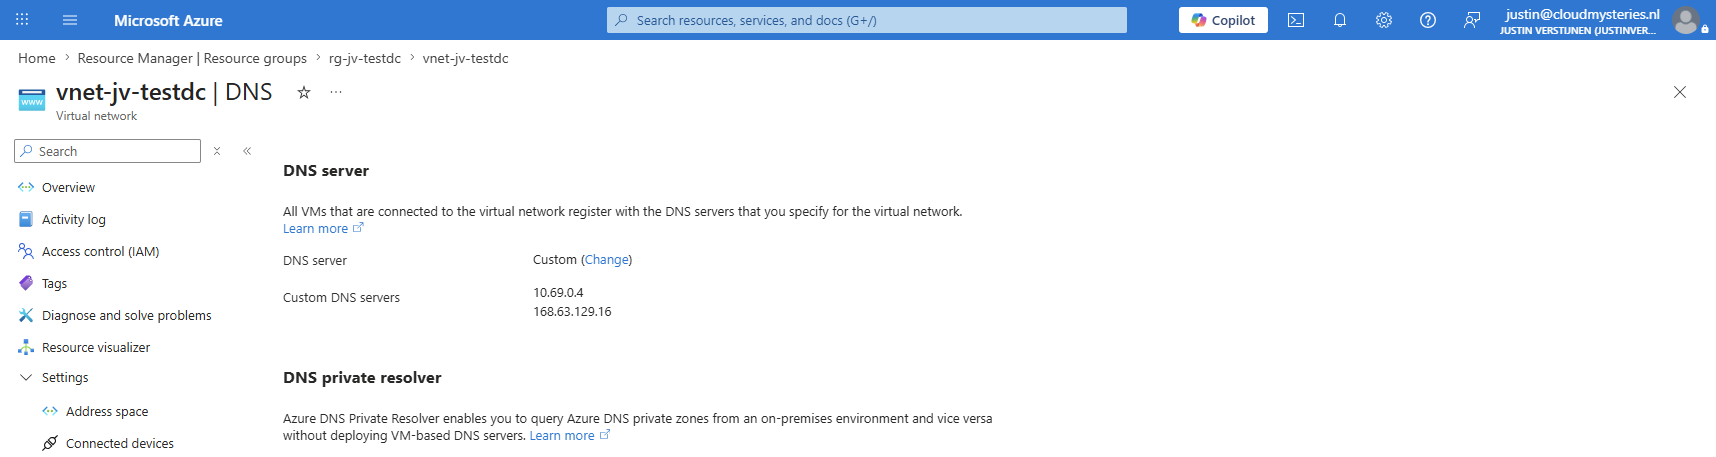
And in the VNET, the DNS server is also changed to get new servers into the DNS/Active Directory of the created servers.
And in the VM, everything is configured according to plan:
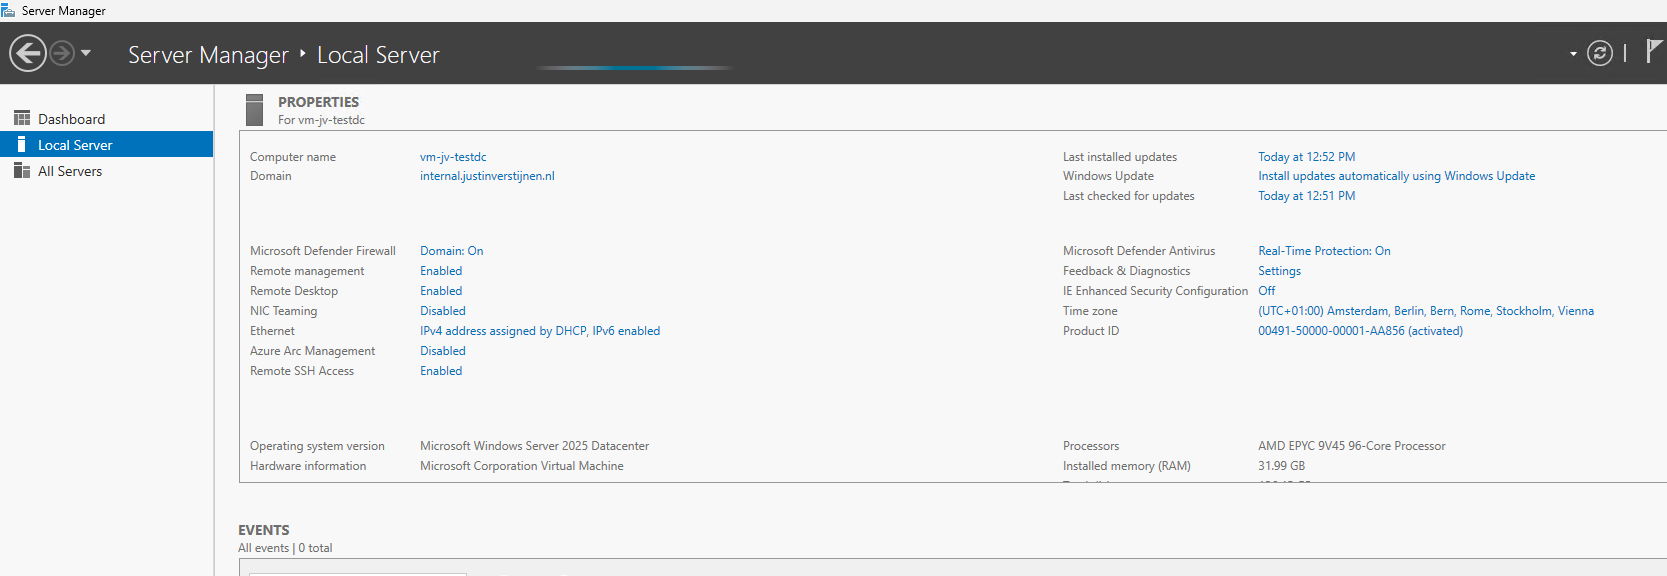
Pretty cool and much faster and more according to plan than deploying everything by hand.
Step 7: Changes to Terraform project (optional)
If you change something in the Terraform setup (for example in terraform.tfvars), you can update Azure again by running these commands:
terraform plan -out main.tfplan
terraform apply main.tfplan
Terraform will compare what it wants (new plan) with what already exists, and then apply the changes.
If you want to remove everything completely, use the terraform destroy command first.
terraform destroy -auto-approveKnowledge check
This quiz needs JavaScript to show the questions and feedback.
Summary
Terraform helps you deploy Azure resources in a repeatable way using Infrastructure as Code. With the steps above, you installed Terraform and Azure CLI, prepared your settings in terraform.tfvars, then used terraform init, terraform validate, terraform plan, and terraform apply to deploy your single server setup. This structured format follows the same blog layout pattern from my post template.
The advantages of Terraform are fast deployment, modular setup in code, and easy scalable deployment.
Thank you for reading this post and I hope it was helpful!
These sources helped me by writing and research for this post;
End of the page 🎉
You have reached the end of the page. You can navigate through other blog posts as well, share this post on X, LinkedIn and Reddit or return to the blog posts collection page. Thank you for visiting this post.
Support the blog
