How to monitor your Active Directory with Defender for Identity
Categories:
11 minute read
Requirements
- An Microsoft 365 tenant
- A traditional Active Directory (AD DS) environment which meets the system requirements and is Server 2016+
- A license that has Defender for Identity included, like;
- Enterprise Mobility & Security E5
- E5 or E5 security add-on
- Standalone Defender for Identity license
- F5 Security add-on with F1 or F3 license already in place
- Source: https://learn.microsoft.com/en-us/defender-for-identity/deploy/prerequisites#licensing-requirements
- Around 60 minutes of your time
- A drink of your choice
What is Microsoft Defender for Identity (MDI)?
Microsoft Defender for Identity (MDI for short) is a comprehensive security and monitoring tool which is part of the Microsoft XDR suite that defends your Windows Server-based Active Directory (AD DS). This does it by installing agents on every domain controller and so monitoring every authentication request.
What does it monitor?
It monitors every authentication request that happens on the Active Directory like:
- A user logging in to a workstation
- A user requesting a shared printer and driver from a printserver
- A user requesting access to a fileshare
What types of attacks can be mitigated by MDI?
Microsoft Defender for Identity (MDI) can mitigate some special attacks such as;
- Insider attacks
- Suspicious user activities like brute forcing credentials
- Lateral movement attacks
- Active Directory user/group scanning
Starting with Microsoft Defender for Identity
When starting with Defender for Identity, it is possible to start a free 3-month trial of the service. You get 25 user licenses with this trial so you can test this with a pilot group. My advice is to use this on high-sensitive users, like users with local administrator rights or such.
You can get this one-time trial through the Microsoft 365 marketplace by looking up Defender for Identity:
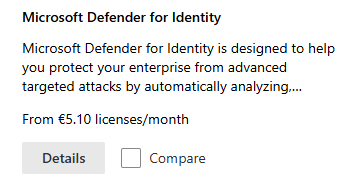
After that, if you are eligible for a trial, you can get it by clicking on “Details” and then on “Start Trial”.
In my environment, I have assigned the license to my user:

After starting the trial or purchasing the right licenses, please log out of the tenant and log back in. This will make sure all of the required options are available in your environment.
Installing the sensors
To use the Defender for Identity service we have to install a sensor application on every domain controller. This sensor sits between the online Defender for Identity service and your local server/Active Directory. A sort of connector to push the event logs and warnings to the cloud so we can view all our Defender related alerts in one single pane of glass.
You can find the sensors in the Microsoft Security admin center by going to “https://security.microsoft.com”.
There you can open one of the settings for Defender for Identity by going to Settings -> Identities.
If this is your first Defender service in the Microsoft 365 tenant, the following message will appear:
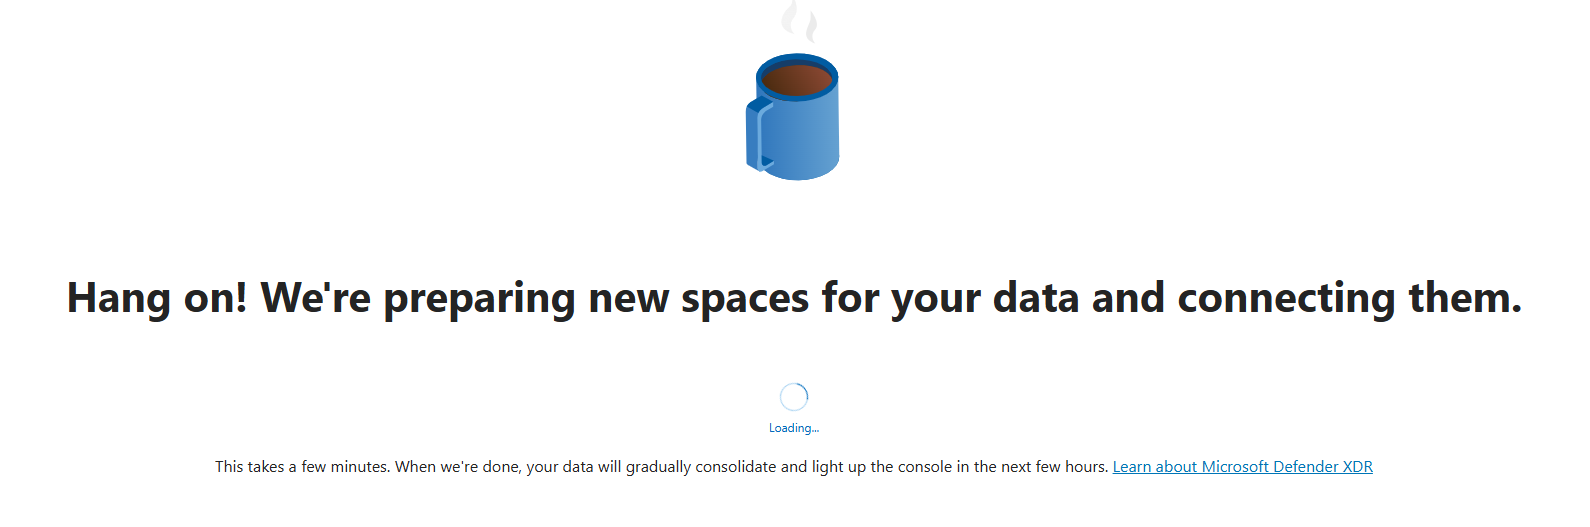
This can take up to 15 minutes.
After the mandatory coffee break we have access to the right settings. Again, go to Settings -> Identities if not already there.
Download the sensor here by clicking “Add sensor”.
If your environment already has its servers joined to Microsoft Defender, there is a new option available that automatically onboards the server (Blue). In our case, we did not have joined the server, so we choose the classic sensor installation (Grey) here:
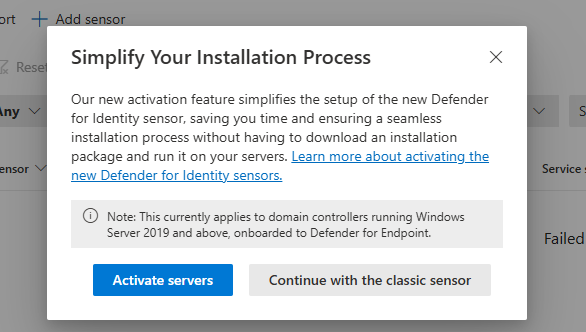
After clicking on the classic sensor installation, we get the following window:
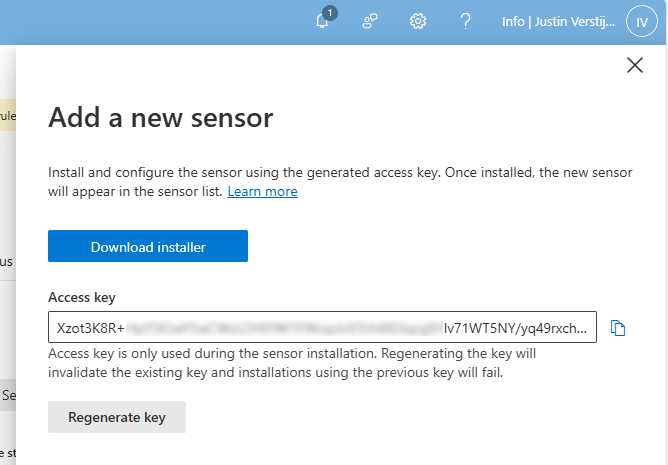
Here we get the right installer file and an access key. We have to install this sensor on every domain controller for full coverage and fill in the access key. This way the server knows exactly to which of the billions of Microsoft 365 tenants the data must be sent and simultaneously acts like a password.
Download the installer and place it on the target server(s).
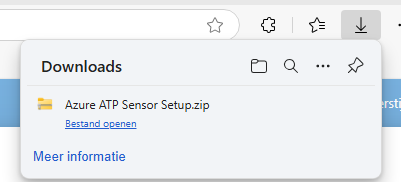
Extract the .zip file.
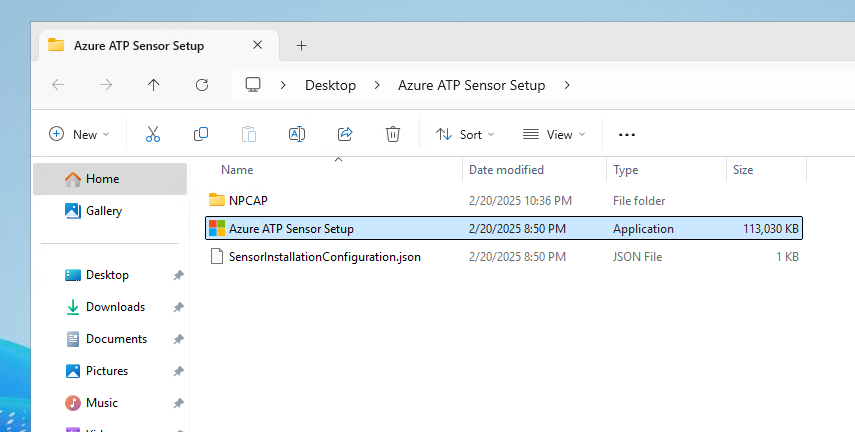
We find 3 files in the .zip file, run the setup.

Select your preferred language and click on “Next”.
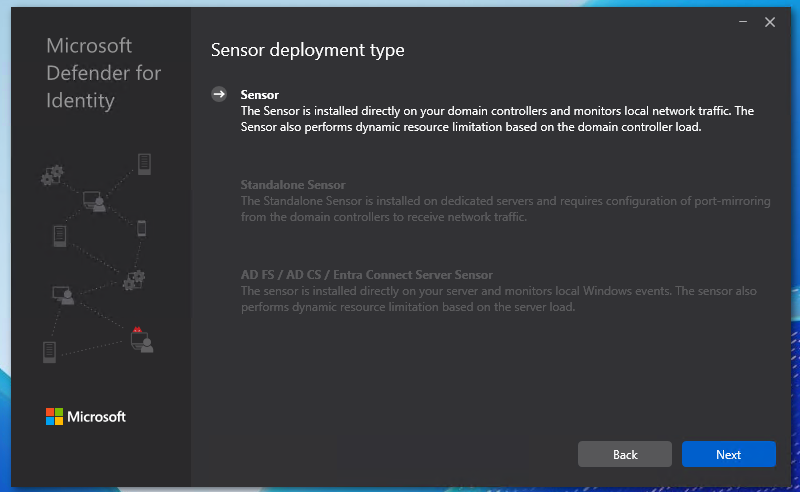
We have 3 deployment types:
- Sensor: This type is directly installed on domain controllers
- Standalone sensor: This is a dedicated monitoring/sniffing server which is in your network, recommended if company policy disallows software installation on Domain Controllers.
- It does requiring port-mirroring of the domain controllers to capture traffic.
- Entra Connect Server: Install the software on the Entra Connect server
I chose the option “Sensor” because my environment only has one server to do the installation and is a demo environment.
Choose your preferred deployment type and click next.

Here we have to paste the access key we copied from the Security portal.
Paste the key into the “Access Key” field and click “Install”.
It will install and configure the software now:
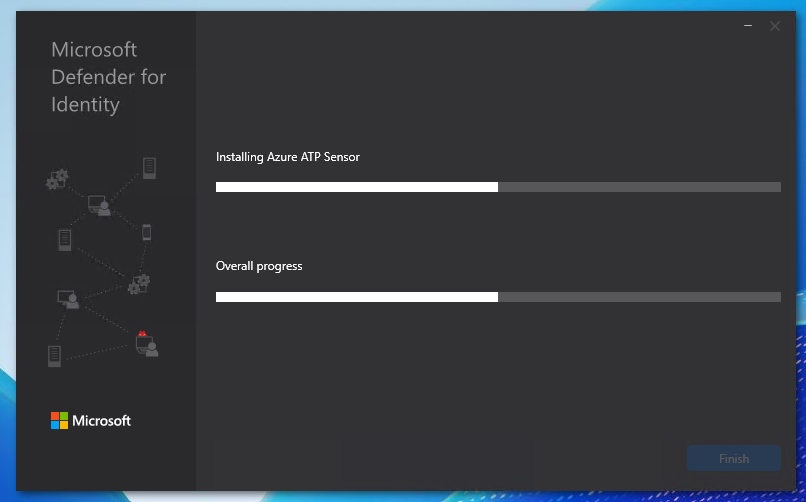
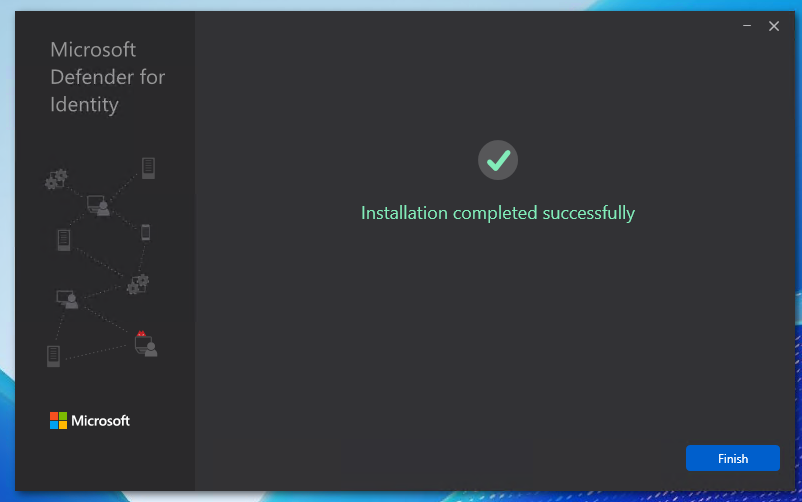
After a minute or 5, the software is installed succesfully:
Configuring the MDI sensor
After succesfully installing the sensor, we can now find the sensor in the Security portal. Again, go to the Security portal, then to Settings -> Identities.
Now the sensor is active, but we have to do some post-installation steps to make the sensor fully working.
Click on the sensor to review all settings and information:
We can edit the configuration of the sensor by clicking on the blue “Manage sensor” button. Also, we have to do 2 tasks for extra auditing which I will explain step by step.
First, click on the “Manage Sensor” button.
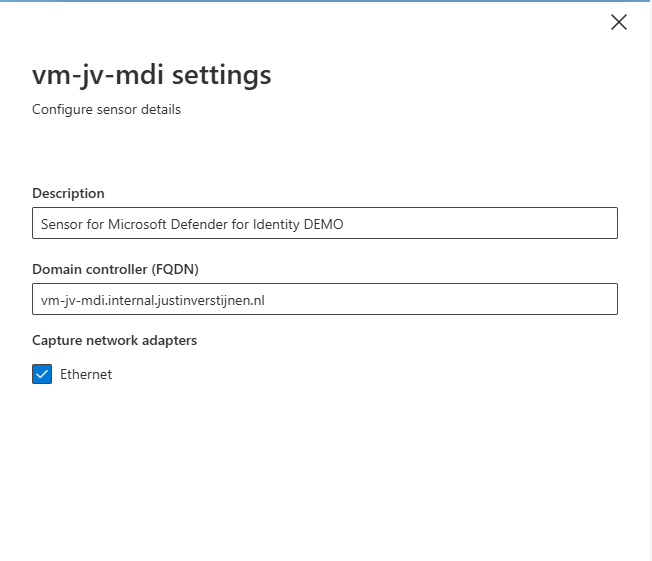
We can configure the network interfaces where the server must capture the information. This can be usefull if your network consists of multiple VLANs.
Also we can give the sensor a description which my advice is to always do.
Hit “Save” to save the settings.
It is also possible to enable “Delayed Update” for sensors. This works like Update Rings, where you can delay updates to reduce system load and not rolling out updates on all your sensors at the same time. Delayed Updates will be installed on sensors after 72 hours.
Prepare your Active Directory to use Defender for Identity
Now we have to do three post-installation steps for our domain. The good part is, that they have to be done once and will affect all the servers.
Post installation 1: Enable NTLM Auditing
Before we can fully use MDI, we must configure NTLM Auditing. This means that all authentication methods on the domain controllers will be audited. This is disabled by default to save computing power and storage.
Source: https://aka.ms/mdi/ntlmevents
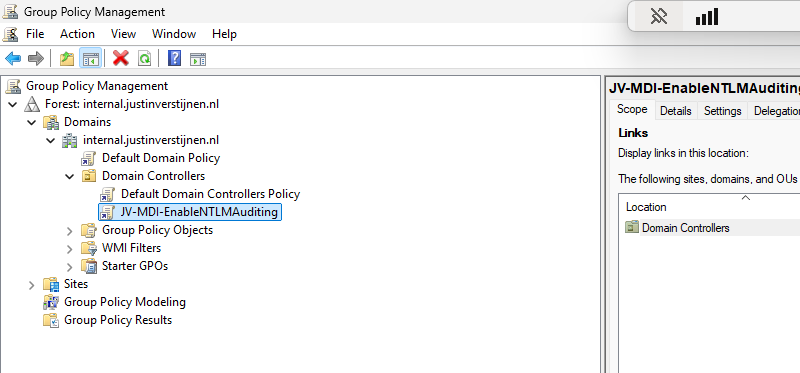
In my opinion, the best way to enable this is through Group Policy. Open the Group Policy Management tool on your server (gpmc.msc).
I created a new Group Policy on the OU of “Domain Controllers”. This is great to do, because all domain controllers in this domain will be placed here automatically and benefit from the settings we made here.
Edit the group policy to configure NTLM Auditing.
Go to Computer Configuration -> Policies -> Windows Settings -> Security Settings -> Local Policies -> Security Options
Here we have to change 3 settings:
| Setting name | Required option |
| Network security: Restrict NTLM: Outgoing NTLM traffic to remote servers | Audit all |
| Network security: Restrict NTLM: Audit NTLM authentication in this domain | Enable all |
| Network security: Restrict NTLM: Audit Incoming NTLM Traffic | Enable auditing for all accounts |
Change the settings like I did below:
Please review the settings before changing them, it can be easy to pick the wrong one.
Post installation 2: Enable AD Advanced Auditing
The second step is to enable Advanced Auditing for AD. We have to add some settings to the group policy we made in the first post-installation step.
Go to Group Policy Management (gpmc.msc) and edit our freshly made GPO:
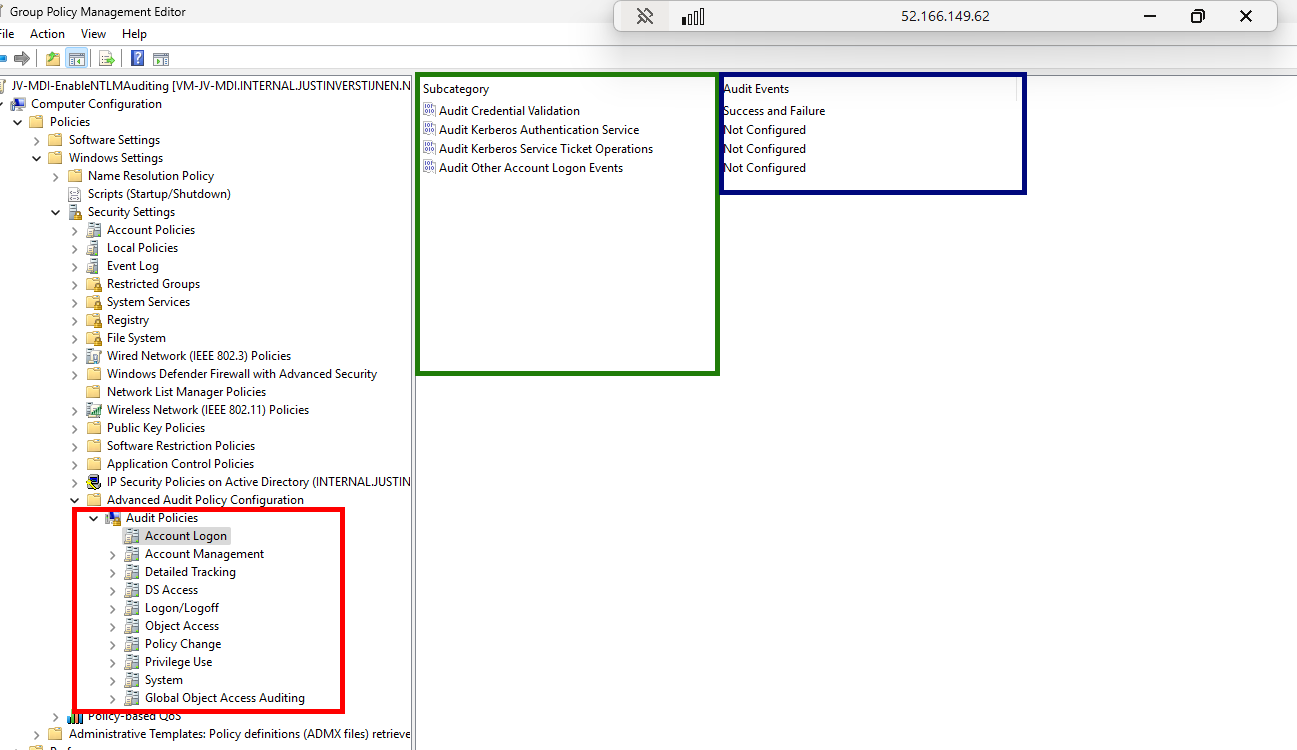
Go to Computer Configuration -> Policies -> Windows Settings -> Security Settings -> Advanced Audit Policy Configuration -> Audit Policies -> Account Logon
Now we have to make changes in several policy categories, where we enable auditing events. By default they are all disabled to save compute power but to monitor any suspicious behaviour, we want them to be collected.
Change all of the audit policies below to the desired option. Take a look at the image below the table to exactly know where to find what option.
| Policy category (Red) | Setting name (green) | Required option (Blue) |
| Account Logon | Audit Credential Validation | Success and Failure |
| Account Management | Audit Computer Account Management | Success and Failure |
| Account Management | Audit Distribution Group Management | Success and Failure |
| Account Management | Audit Security Group Management | Success and Failure |
| Account Management | Audit User Account Management | Success and Failure |
| DS Access | Audit Directory Service Changes | Success and Failure |
| DS Access | Audit Directory Service Access | Success and Failure |
| System | Audit Security System Extension | Success and Failure |
To check which event IDs are enabled with this settings, check out the Microsoft page.
After you set all the Audit Policies, we can close the Group Policy Management console. Then we can restart the server to make all changes made in the policies effective.
After the restart, we want to check if the policies are active. We can check this with Powershell with one simple command:
auditpol.exe /get /category:*You then get the output of all the live audit policies that are active on the system:
System audit policy
Category/Subcategory                      Setting
System
  Security System Extension               Success and Failure
  System Integrity                        No Auditing
  IPsec Driver                            No Auditing
  Other System Events                     No Auditing
  Security State Change                   No Auditing
Account Management
  Computer Account Management             Success and Failure
  Security Group Management               Success and Failure
  Distribution Group Management           Success and Failure
  Application Group Management            No Auditing
  Other Account Management Events         No Auditing
  User Account Management                 Success and Failure
DS Access
  Directory Service Access                Success and Failure
  Directory Service Changes               Success and Failure
  Directory Service Replication           No Auditing
  Detailed Directory Service Replication  No Auditing
Account Logon
  Kerberos Service Ticket Operations      No Auditing
  Other Account Logon Events              No Auditing
  Kerberos Authentication Service         No Auditing
  Credential Validation                   Success and Failure
*Overview shortened to save screen space.
If your settings matches with the settings above, then you correctly configured the auditing policies!
Post installation 3: Enable domain object auditing
The third and last post installation task is to enable domain object auditing. This will enable event IDs 4662 and audits every change in Active Directory like creating, changing or deleting users, groups, computers and all other AD objects.
We can enable this in the Active Directory Users and Computers (dsa.msc) console:
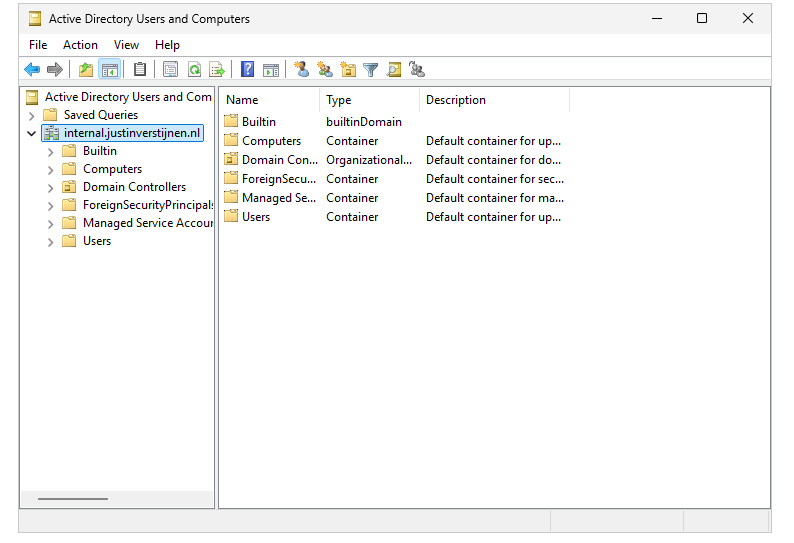
First, we have to enable the “Advanced Features” by clicking on “View” in the menu bar and then clicking “Advanced Features”.
Then right click the domain you want to enable object auditing and click on “Properties”
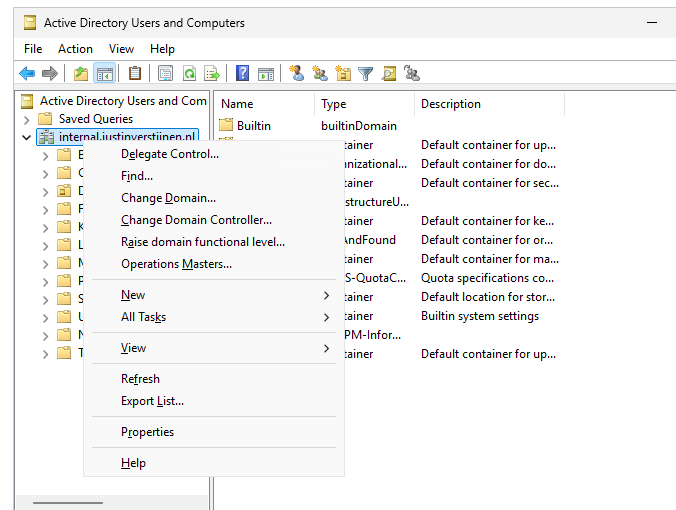
Then click on the tab “Security” and then the “Advanced” button.
Now we get a huge pile of permissions and assignments:
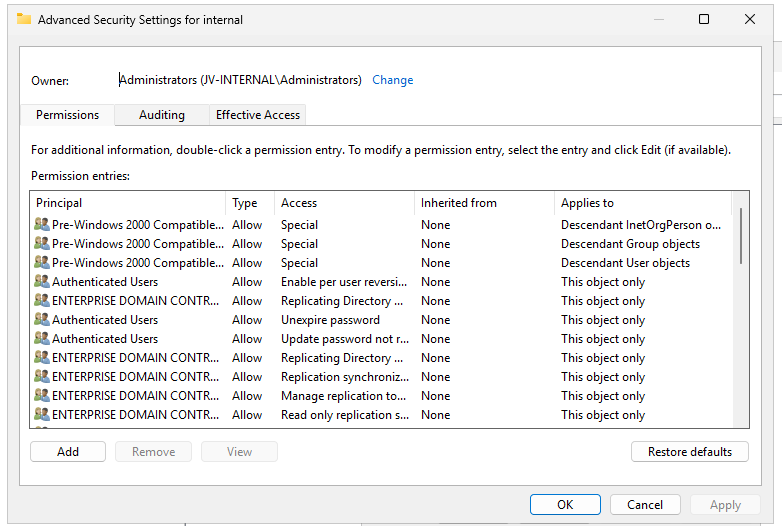
Click on the “Auditing” tab.
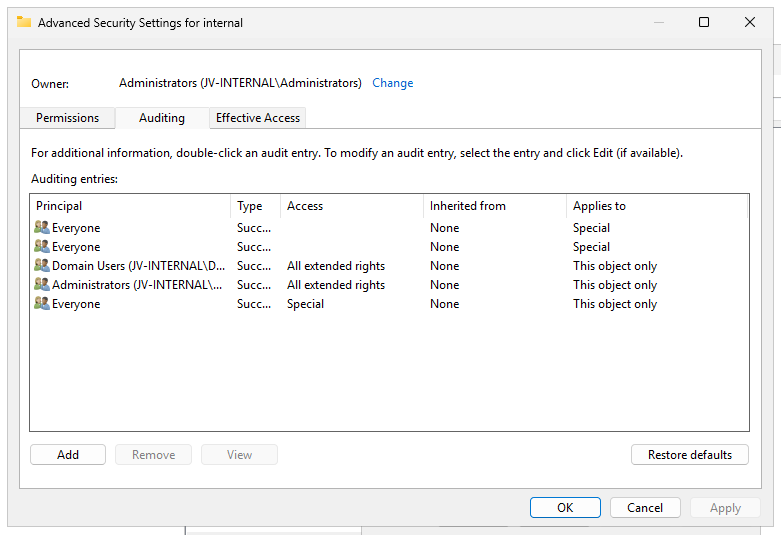
We have to add permissions for auditing here. Click on the “Add” button, and then on “Select a principal”.
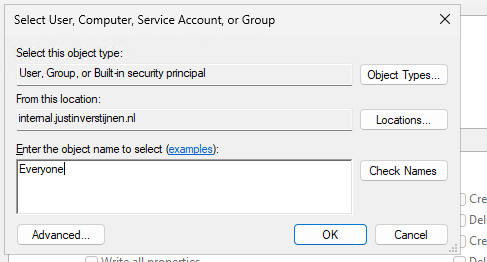
Type “Everyone” and hit “OK”.
Selecting the “Everyone” principal may seem unsecure, but means we collect changes done by every user.
Now we get a pile of permissions:
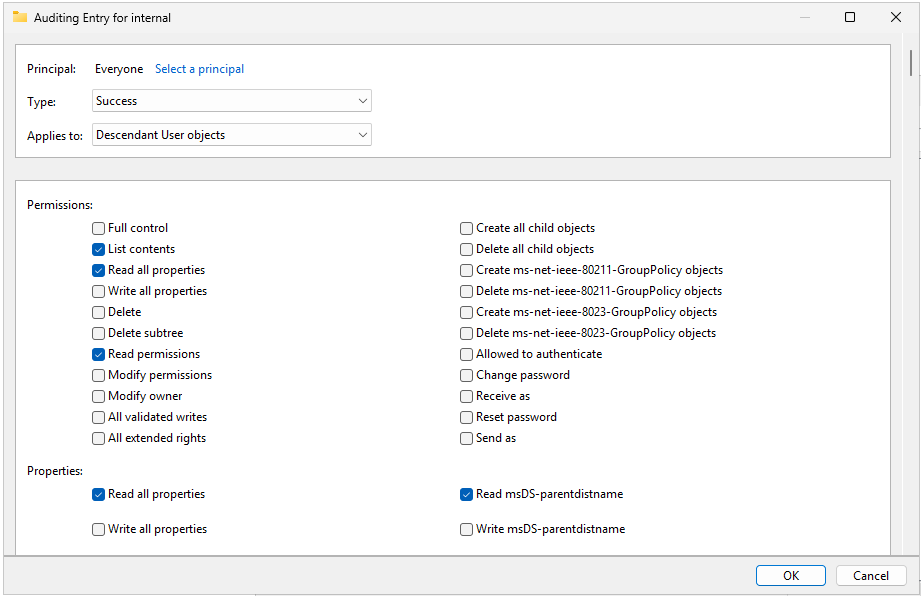
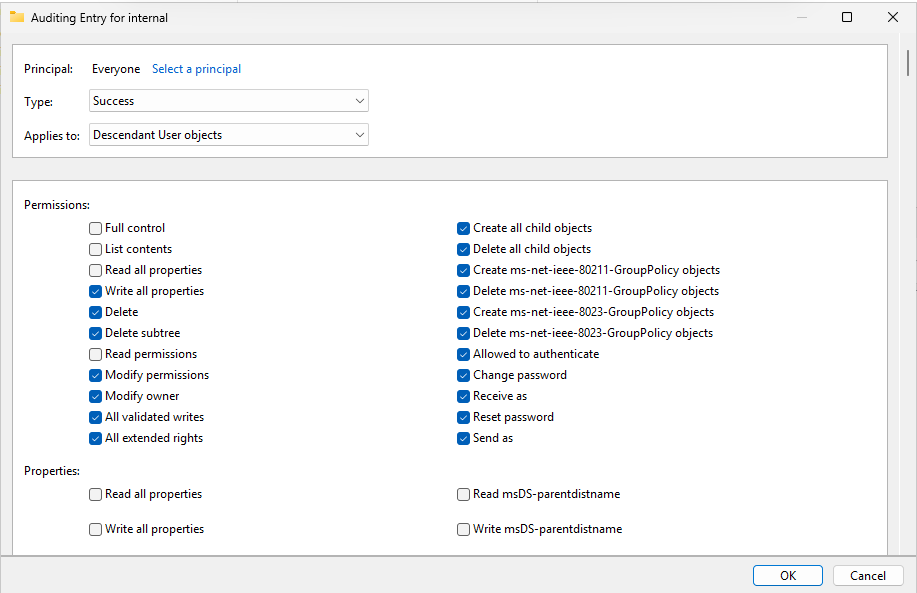
We have to select “Type” and set it to “Success” and then the Applies to: “Decendant User objects” like I have done in the picture above.
Now we have to scroll down to the “Clear all” button and hit it to make everything empty.
Then click “Full Control” and deselect the following permissions:
- List contents
- Read all properties
- Read permissions
This should be the outcome:
We have to repeat the steps for the following categories:
- Descendant Group Objects
- Descendant Computer Objects
- Descendant msDS-GroupManagedServiceAccount Objects
- Descendant msDS-ManagedServiceAccount Objects
Start with the Clear all button and then finish like you have done with the Decendant User objects.
After selecting the right permissions, click “OK”, then “Apply” and “OK” to apply the permisions.
Now we are done with all Active Directory side configuration.
Final check
After performing all post installation tasks, the sensor will be on the “Healthy” status in the portal and all health issues are gone:
This means the service is up and running and ready for monitoring and so spying for any malicious activity.
Summary
Defender for Identity is a great solution and monitoring tool for any malicious behaviour in your Active Directory. It is not limited to on-premises, it also can run on domain controllers in Azure, like I did for this DEMO.
Next up, we are going to simulate some malicious behaviour to check if the service can detect and warn us about it. Refer this guide: https://justinverstijnen.nl/penetration-testing-defender-for-identity-and-active-directory
End of the page 🎉
You have reached the end of the page. You can navigate through other blog posts as well, share this post on X, LinkedIn and Reddit or return to the blog posts collection page. Thank you for visiting this post.
If you think something is wrong with this post or you want to know more, you can send me a message to one of my social profiles at: https://justinverstijnen.nl/about/
If you find this page and blog very useful and you want to leave a donation, you can use the button below to buy me a beer. Hosting and maintaining a website takes a lot of time and money. Thank you in advance and cheers :)

The terms and conditions apply to this post.