In-Place upgrade to Windows Server 2025 on Azure
Categories:
8 minute read
Once every 3 to 4 years you want to be on the last version of Windows Server because of new features and of course to have the latest security updates. These security updates are the most important these days.
When having your server hosted on Microsoft Azure, this proces can look a bit complicated but it is relatively easy to upgrade your Windows Server to the last version, and I will explain how to on this page.
Because Windows Server 2025 is now out for almost a year and runs really stable, we will focus in this post on upgrading from 2022 to Windows Server 2025. If you don’t use Azure, you can exclude steps 2 and 3 but the rest of the guide still tells you how to upgrade on other systems like Amazon/Google or on-premise/virtualization.
Requirements
- The Azure Powershell module
- A machine running an older version of Windows Server to upgrade
- A backup to succesfully roll back to in case of emergency
- 45 minutes to 2 hours of your time
The process described
We will perform the upgrade by having a eligible server, and we will create an upgrade media for it. Then we will assign this upgrade media to the server, which will effectively put in the ISO. Then we can perform the upgrade from the guest OS itself and wait for around an hour.
Recommended is before you start, to perform this task in a maintenance window and to have a full server backup. Upgrading Windows Server isnt always a full waterproof process and errors will always occur if not having a plan b.
You’ll be happy to have followed my advice on this one if this goes wrong.
Step 1: Determine your upgrade-path
When you are planning an upgrade, it is good to determine your upgrade path beforehand. CHeck your current version and check which version you want to upgrade to.
The golden rule is that you can skip 1 version at a time. When you want to run Windows Server 2022 and you want to reach this in 1 upgrade, your minimum version is Windows Server 2016. To check all supported upgrade paths, check out the following table:
| Upgrade Path | Windows Server 2012 R2 | Windows Server 2016 | Windows Server 2019 | Windows Server 2022 | Windows Server 2025 |
|---|---|---|---|---|---|
| Windows Server 2012 | Yes | Yes | - | - | - |
| Windows Server 2012 R2 | - | Yes | Yes | - | - |
| Windows Server 2016 | - | - | Yes | Yes | - |
| Windows Server 2019 | - | - | - | Yes | Yes |
| Windows Server 2022 | - | - | - | - | Yes |
Horizontal: To Vertical: From
For more information about the supported upgrade paths, check this official Microsoft page: https://learn.microsoft.com/en-us/windows-server/get-started/upgrade-overview#which-version-of-windows-server-should-i-upgrade-to
Step 2: Create upgrade media in Microsoft Azure
When you have a virtual machine ready and you have determined your upgrade path, we have to create an upgrade media in Azure. We need to have a ISO with the new Windows Server version to start the upgrade.
To create this media, first login into Azure Powershell by using the following command;
Connect-AzAccountLog in with your Azure credentials which needs to have sufficient rights in the target resource group. This should be at least Contributor or use a custom role.
Select a subscription if needed:

Then after logging in succesfully, we need to execute a script to create a upgrade disk. This can be done through this script:
# -------- PARAMETERS --------
$resourceGroup = "rg-jv-upgrade2025"
$location = "WestEurope"
$zone = ""
$diskName = "WindowsServer2025UpgradeDisk"

# Target version: server2025Upgrade, server2022Upgrade, server2019Upgrade, server2016Upgrade or server2012Upgrade
$sku = "server2025Upgrade"

#--------END PARAMETERS --------
$publisher = "MicrosoftWindowsServer"
$offer = "WindowsServerUpgrade"
$managedDiskSKU = "Standard_LRS"

$versions = Get-AzVMImage -PublisherName $publisher -Location $location -Offer $offer -Skus $sku | sort-object -Descending {[version] $_.Version	}
$latestString = $versions[0].Version

$image = Get-AzVMImage -Location $location `
                       -PublisherName $publisher `
                       -Offer $offer `
                       -Skus $sku `
                       -Version $latestString

if (-not (Get-AzResourceGroup -Name $resourceGroup -ErrorAction SilentlyContinue)) {
    New-AzResourceGroup -Name $resourceGroup -Location $location
}

if ($zone){
    $diskConfig = New-AzDiskConfig -SkuName $managedDiskSKU `
                                   -CreateOption FromImage `
                                   -Zone $zone `
                                   -Location $location
} else {
    $diskConfig = New-AzDiskConfig -SkuName $managedDiskSKU `
                                   -CreateOption FromImage `
                                   -Location $location
}

Set-AzDiskImageReference -Disk $diskConfig -Id $image.Id -Lun 0

New-AzDisk -ResourceGroupName $resourceGroup `
           -DiskName $diskName `
           -Disk $diskConfig
Or download the script from GitHub:
View the script on my GitHub page
On line 8 of the script, you can decide which version of Windows Server to upgrade to. Refer to the table in step 1 before choosing your version. Then perform the script.
After the script has run successfully, I will give a summary of the performed action:
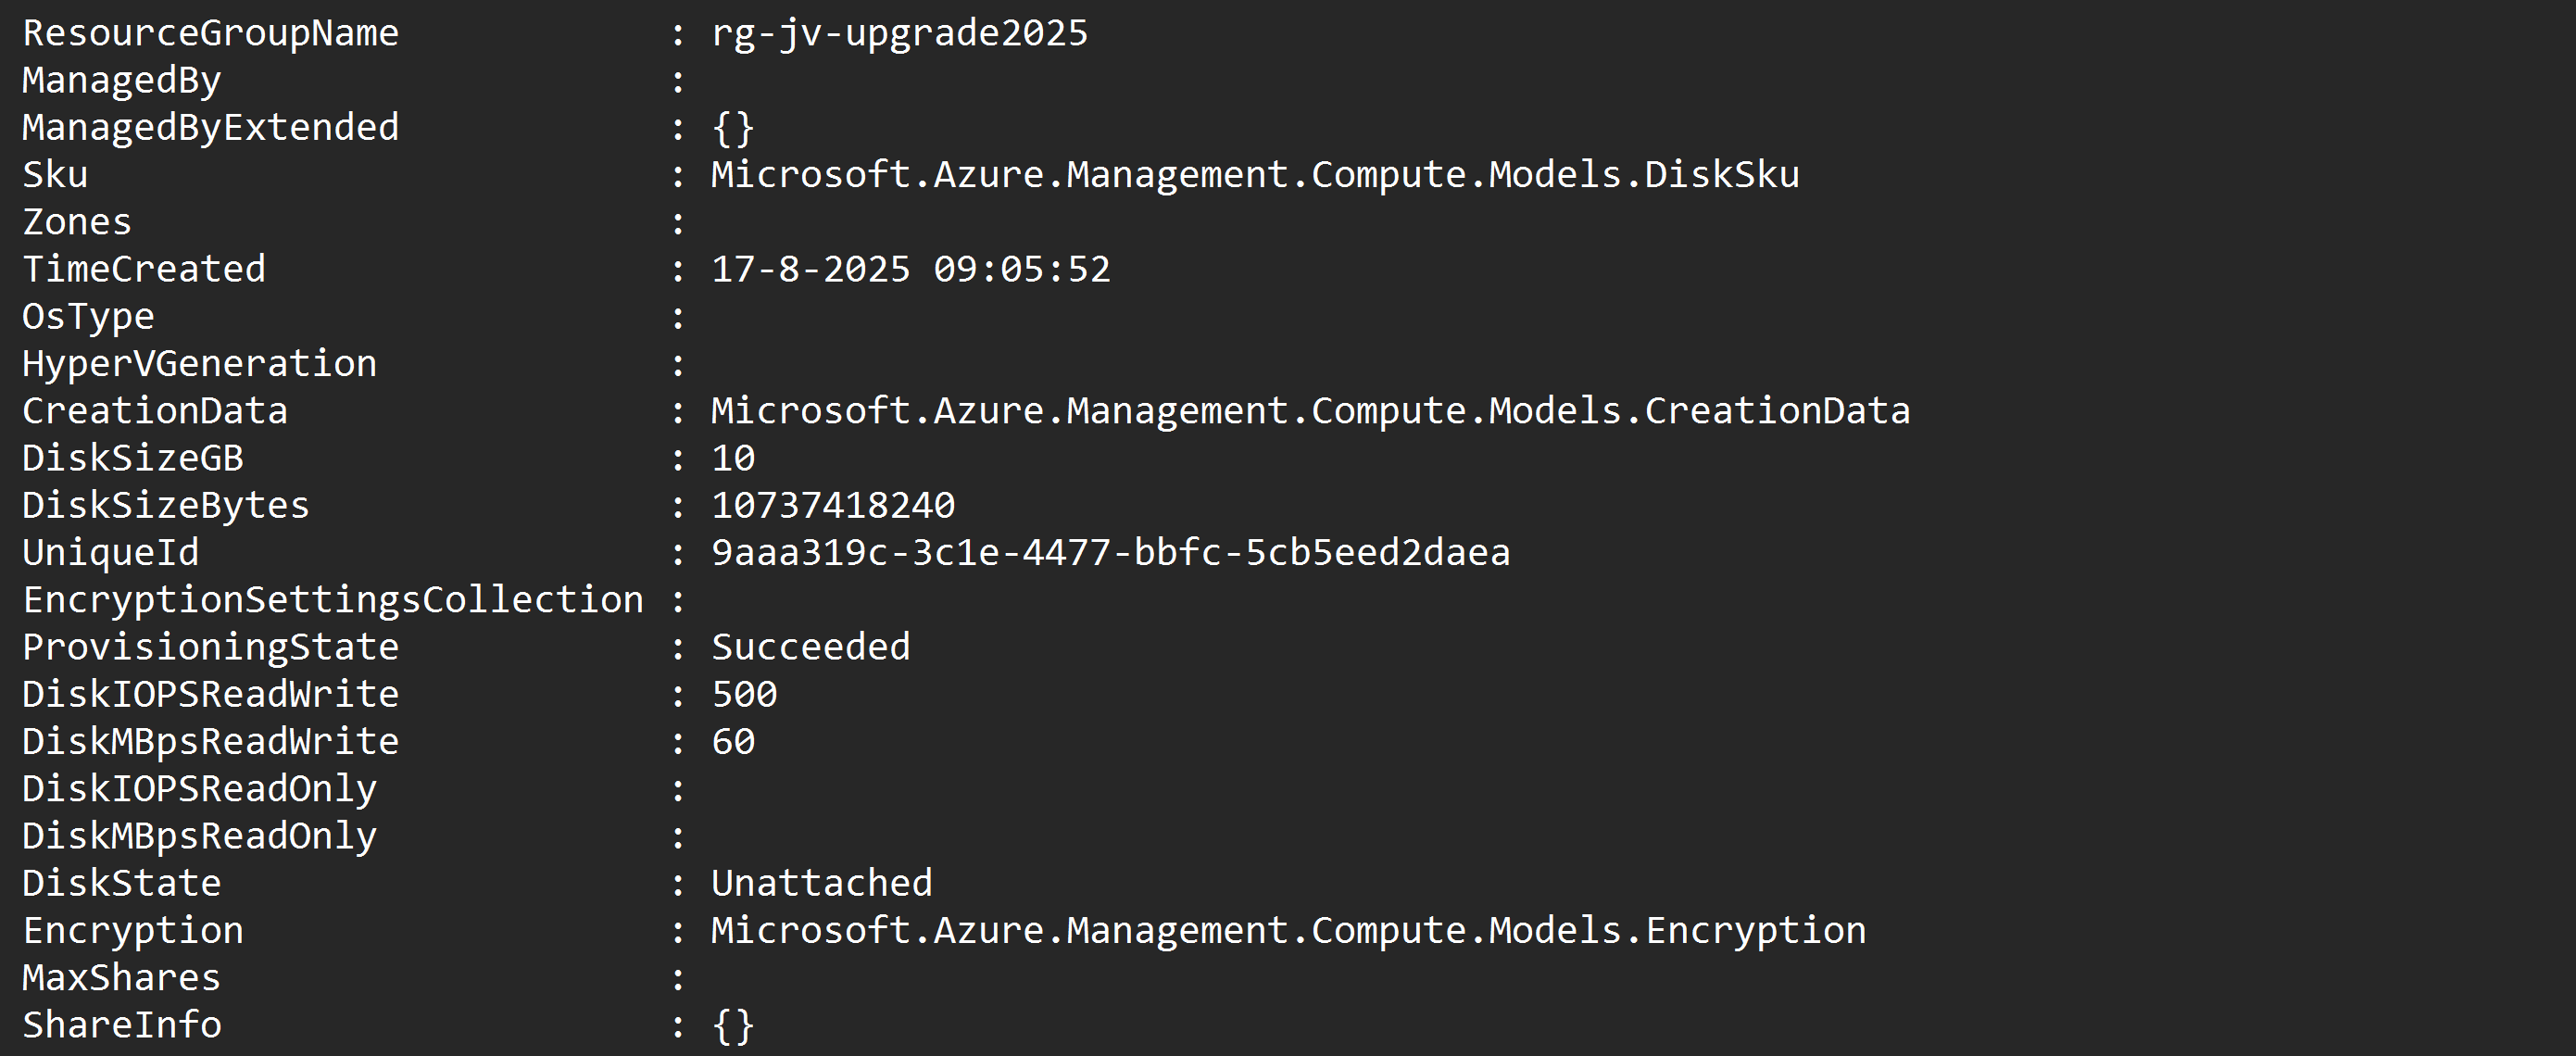
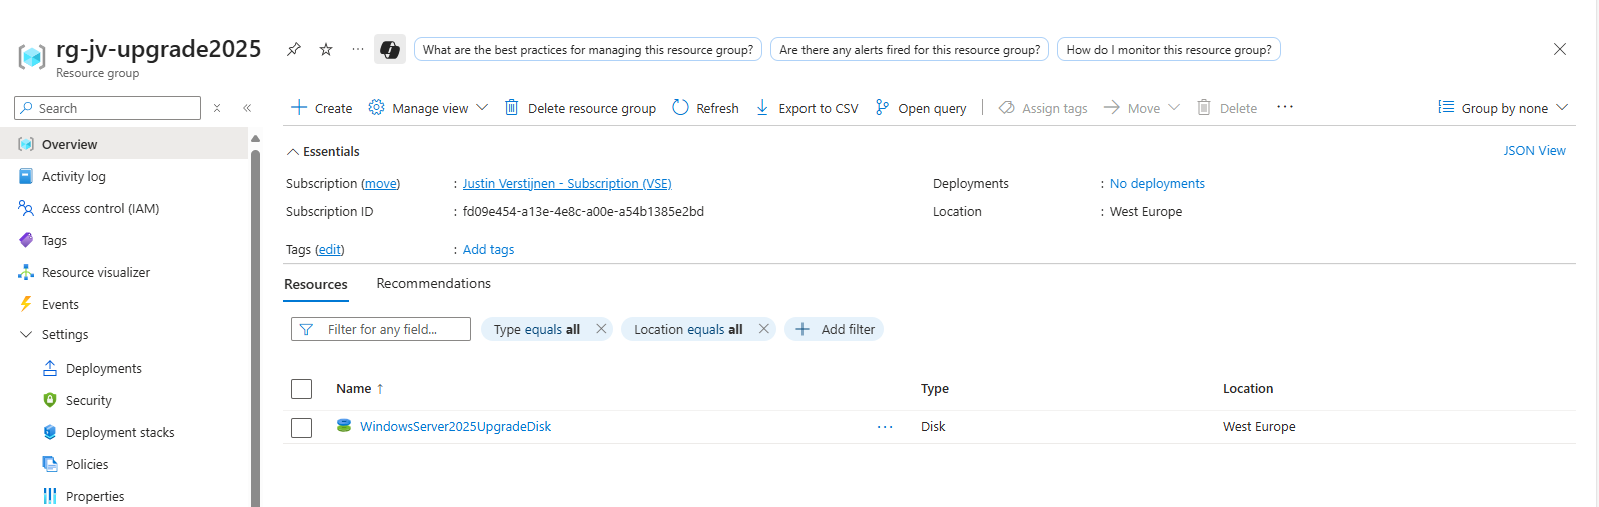
After running the script in the Azure Powershell window, the disk is available in the Azure Portal:
Step 3: Assign upgrade media to VM
After creating the upgrade media we have to assign it to the virtual machine we want to upgrade. You can do this in the Azure Portal by going to the virtual machine. After that, hit Disks.
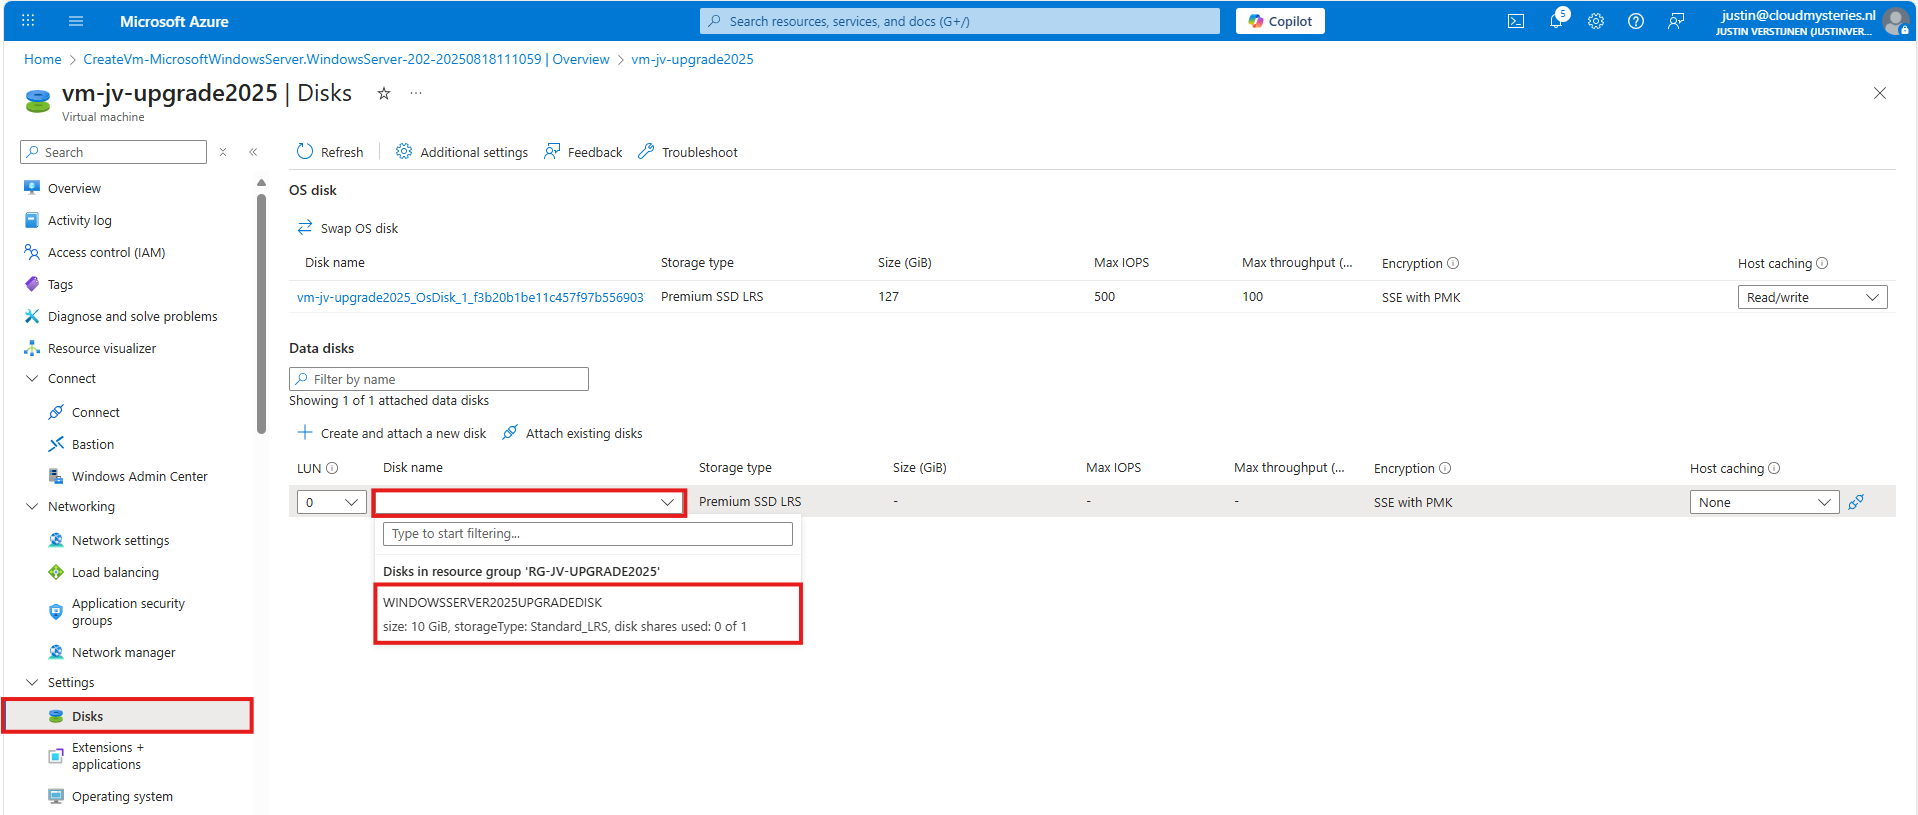
Then select to attach an existing disk, and select the upgrade media you have created through Powershell.
Note: The disk and virtual machine have to be in the same resource group to be attached.
Step 4: Start upgrade of Windows Server
Now we have prepared our environment for the upgrade of Windows Server, we can start the upgrade itself. For the purpose of this guide, I have quickly spun up a Windows Server 2022 machine to upgrade this to Windows Server 2025.
Login into the virtual machine and let’s do some pre-upgrade checks:
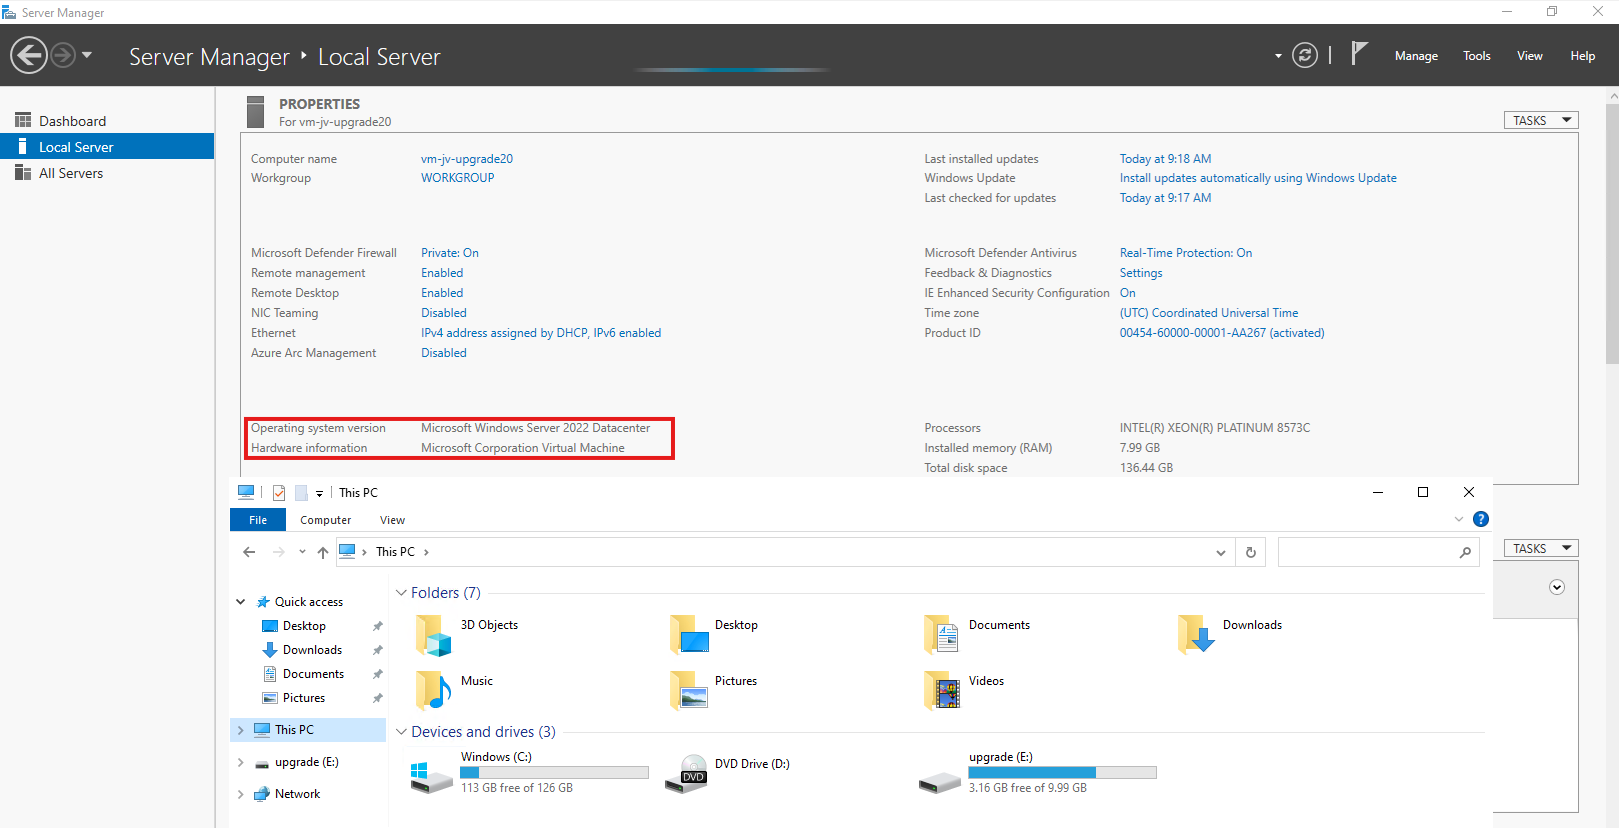
As you can see, the machine is on Windows Server 2022 Datacenter and we have enough disk space to perform this action. Now we can perform the upgrade through Windows Explorer, and then going to the upgrade disk we just created and assigned:
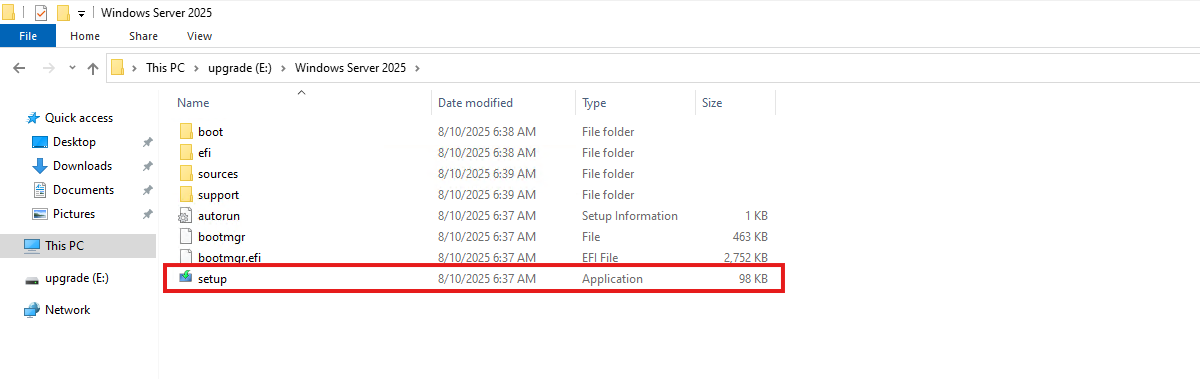
When the volume is not available in Windows Explorer, you first have to initialize the disk in Disk Management (diskmgmt.msc) in Windows. Then it will be available.
Open the volume upgrade and start setup.exe. The starup will take about 2 minutes.
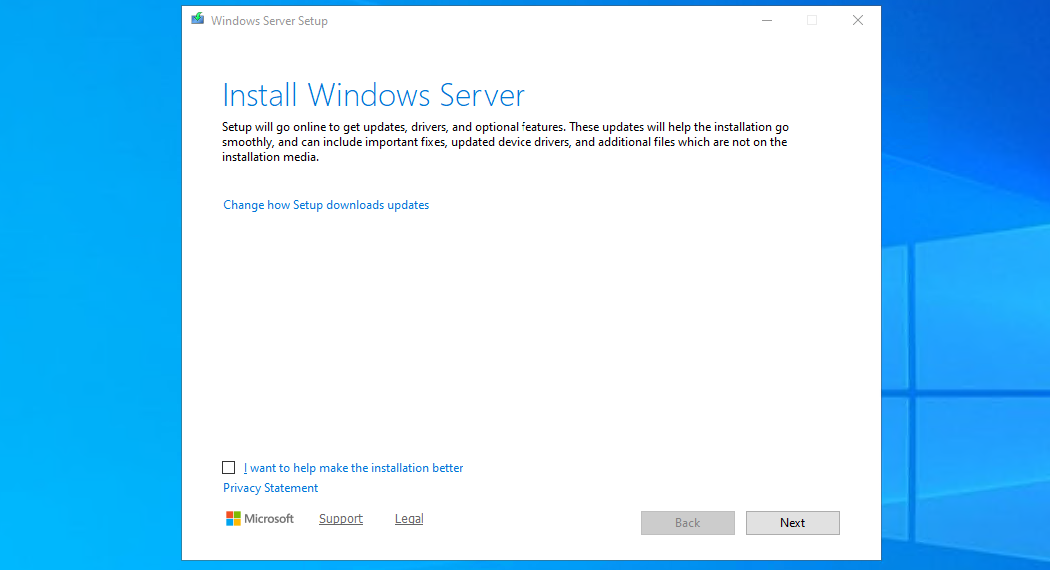
Click “Next”. Then there will be a short break of around 30 seconds for searching for updates.
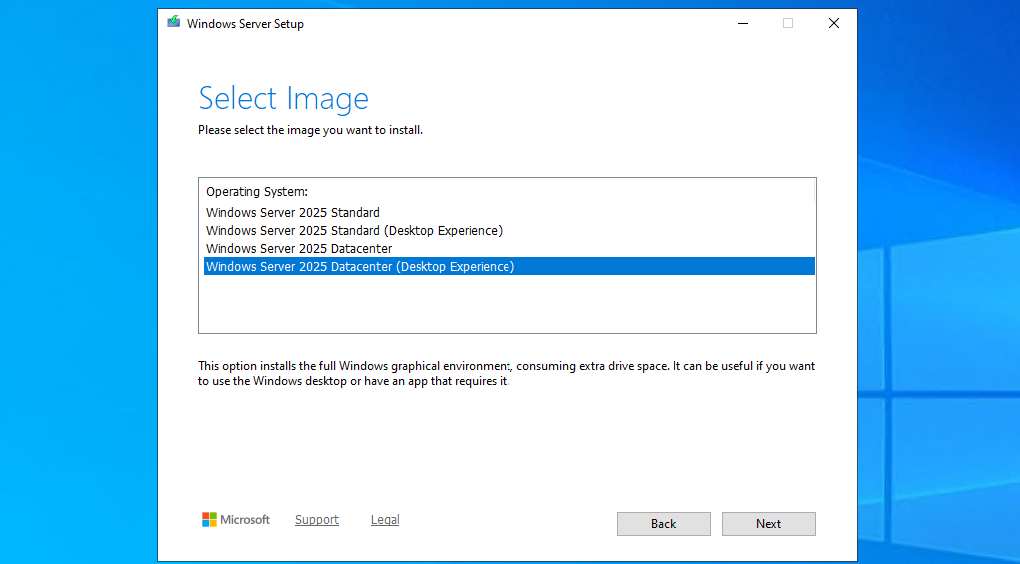
Then select you preferred version. Note that the default option is to install without graphical environment/Desktop Experience. Set this to your preferred version and click “Next”.
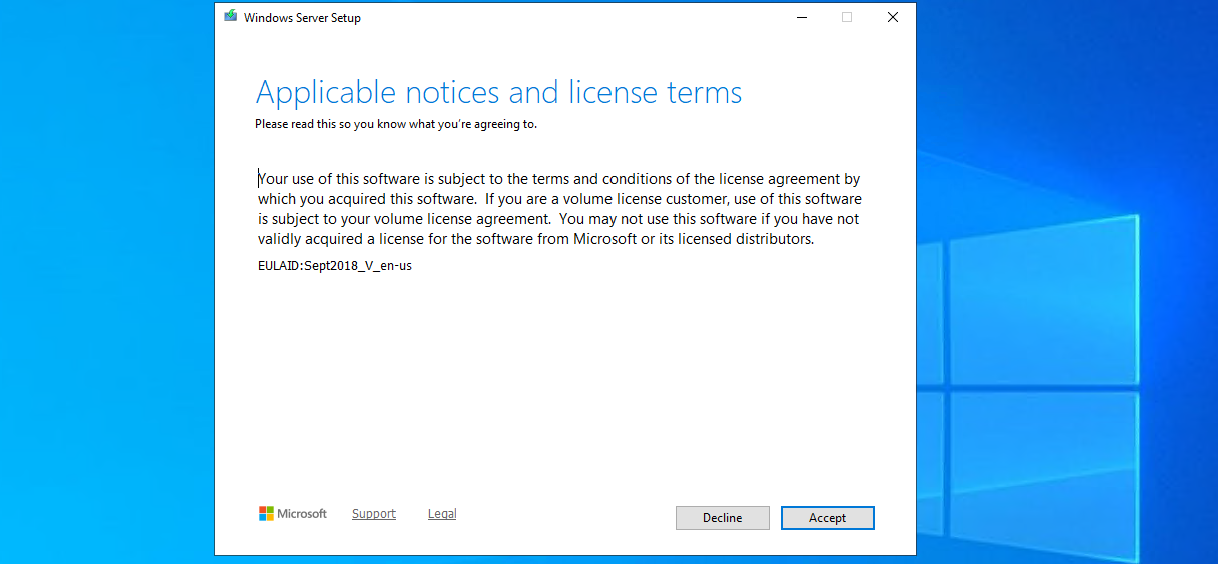
Ofcourse we have read those. Click Accept.
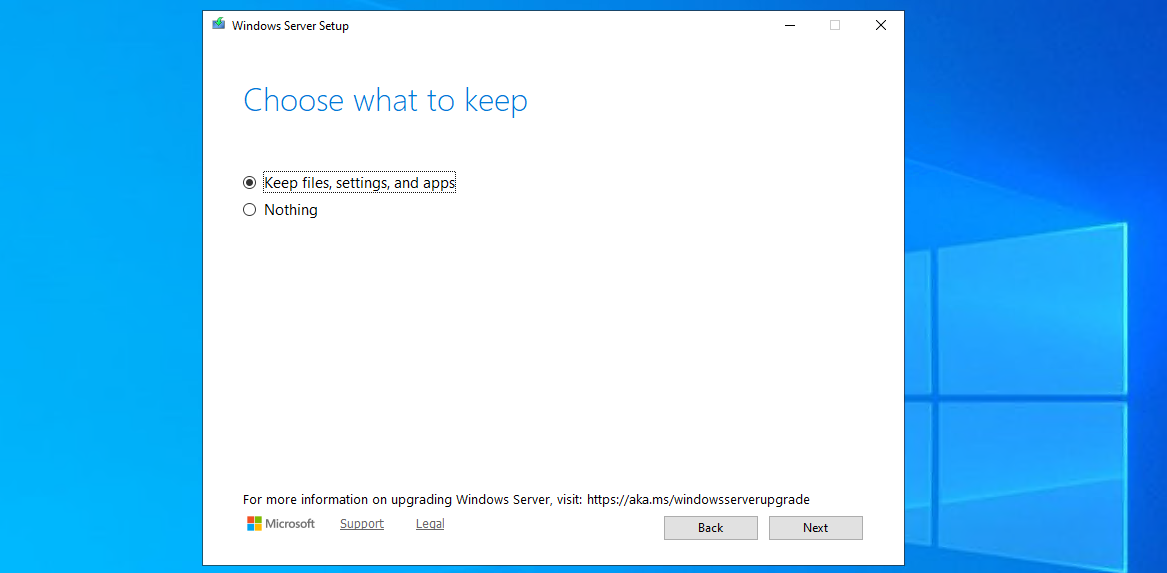
Choose here to keep files, settings and apps to make it an in-place upgrade. Click “Next”. There will be another short break of some minutes for the setup to download some updates.
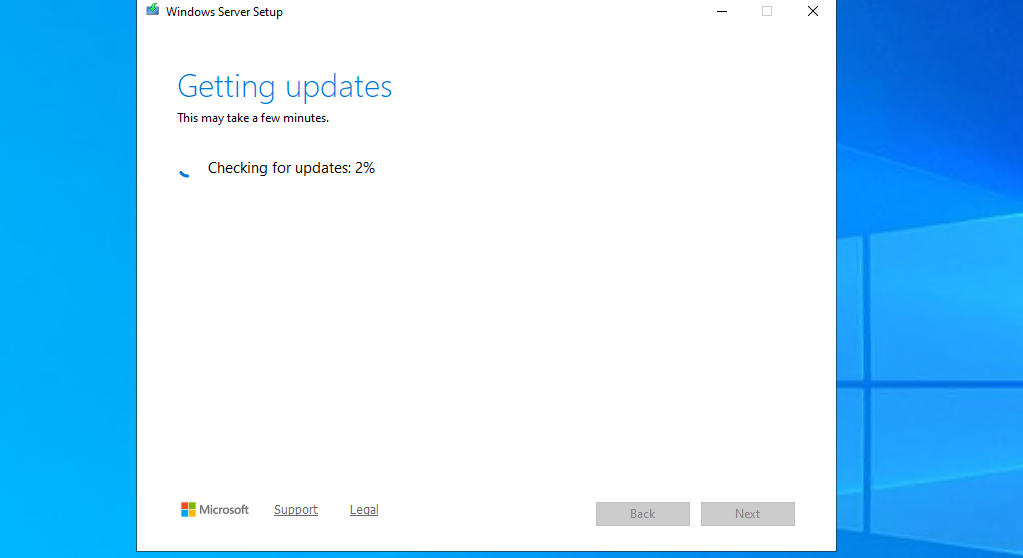
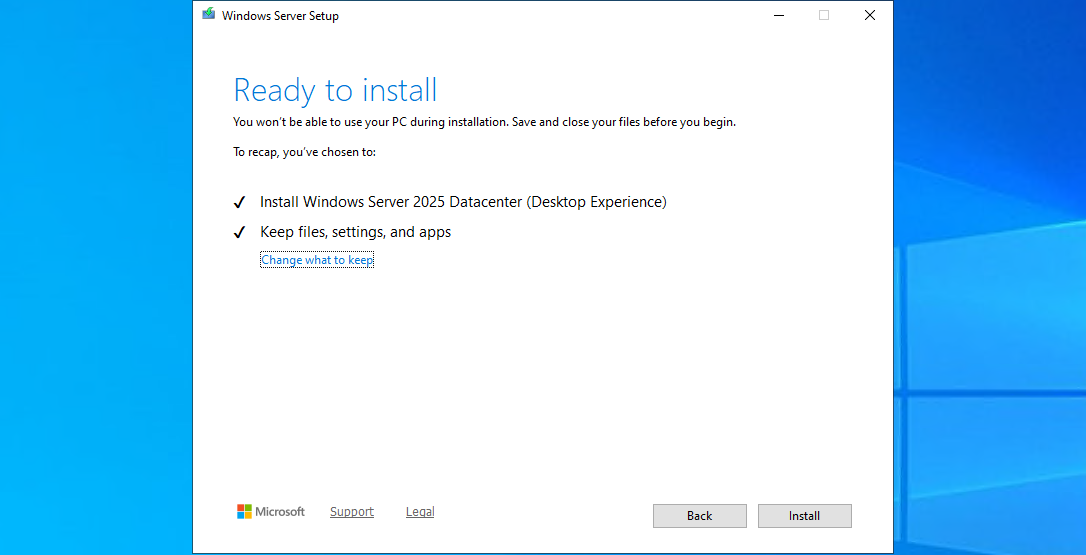
This process can take 45 minutes up to 2 hours, depending on the workload and the size of the virtual machine. Have a little patience during this upgrade.
Step 5: Check status during upgrade
After the machine will restart, RDP connection will be lost. However, you can check the status of the upgrade using the Azure Portal.
Go to the virtual machine you are upgrading, and go to: “Boot diagnostics”
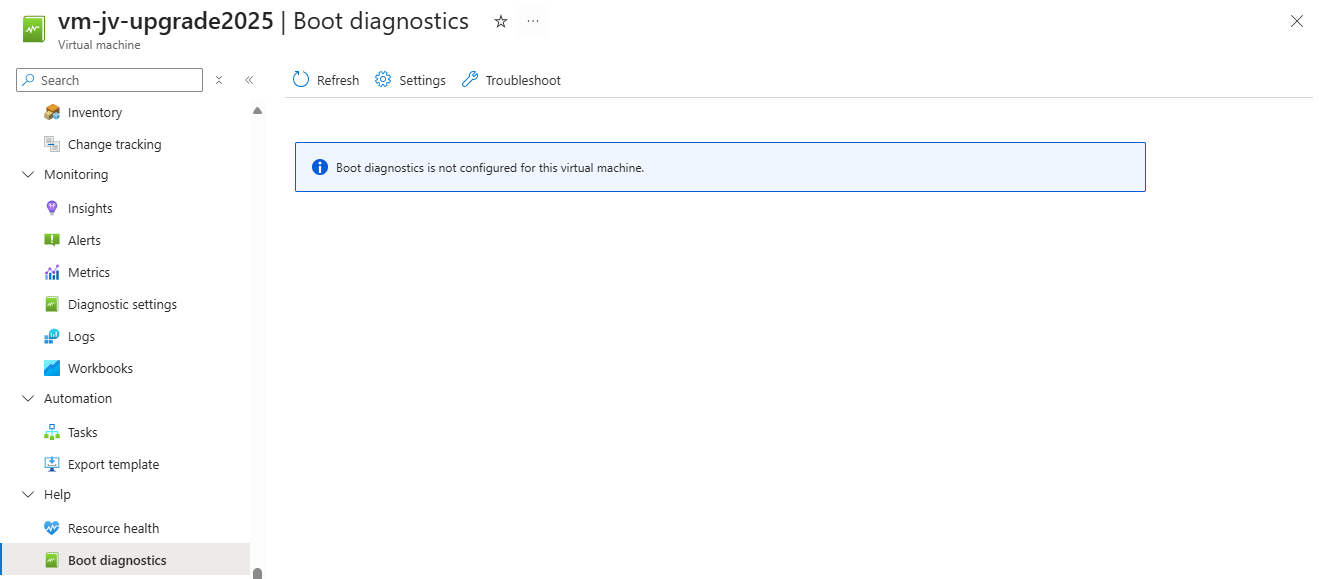
Then configure this for the time being if not already done. Click on “Settings”.
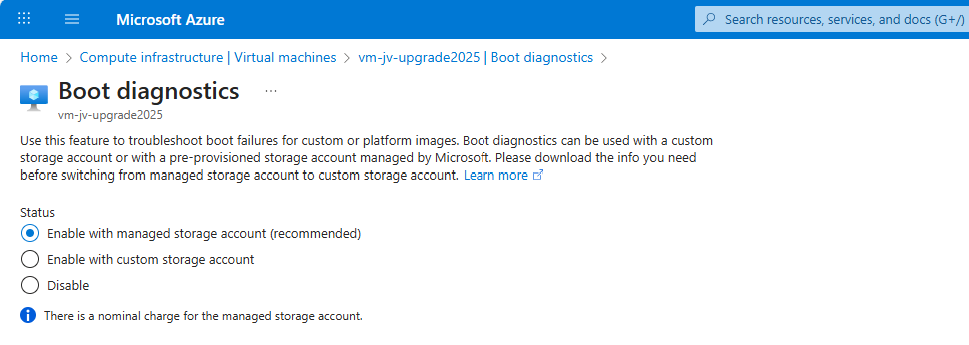
By default, select a managed storage account. If you use a custom storage account for this purpose, select the custom option and then your custom storage account.
We can check the status in the Azure Portal after the OS has restarted.
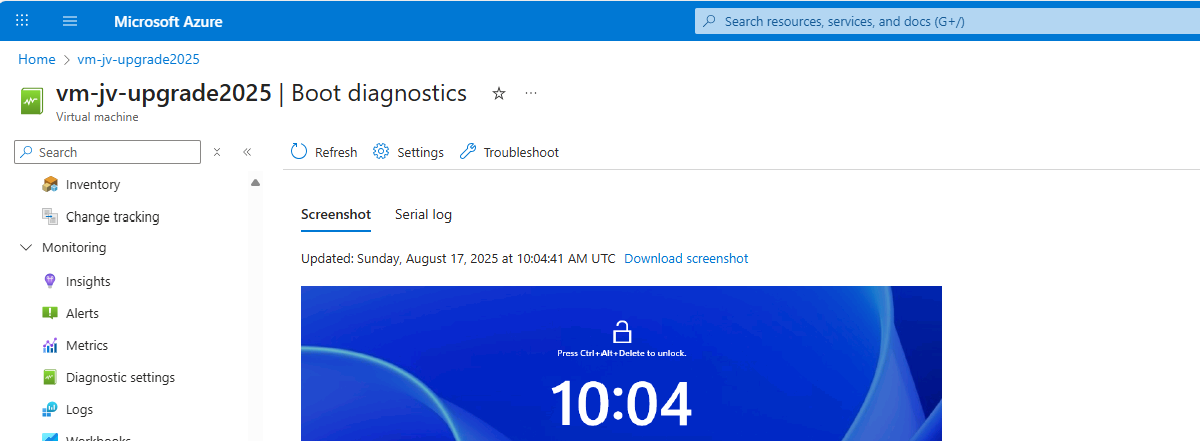
The upgrade went very fast in my case, within 30 minutes.
Step 6: After upgrading checks
After the upgrade process is completed I can recommend you to test the update before going into production. Every change in a machine can alter the working of the machine, especially in production workloads.
A checklist I can recommend for testing is:
- Check all Services for 3rd party applications
- Check if all disks and volumes are present in disk management
- Check all processes
- Check an application client side (like CRM/ERP/SQL)
- Check event logs in the virtual machine for possible errors
After these things are checked and no error occured, then the upgrade has been succeeded.
Summary
Upgrading a Windows Server to Server 2025 on Azure is relatively easy, although it can be somewhat challenging when starting out. It is no more than creating a upgrade disk, link to the machine and starting the upgrade like before with on-premises solutions.
The only downside is that Microsoft does not support upgrading Windows Server Azure Editions (ServerTurbine) yet, we are waiting with high hopes for this. Upgrading only works on the default Windows Server versions:
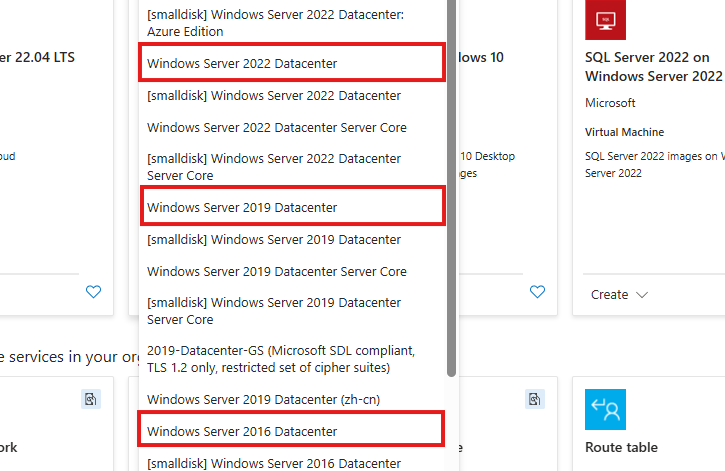
Thank you for reading ths guide and I hope it helped you out upgrading your server to the latest and most secured version.
Sources
These sources helped me by writing and research for this post;
End of the page 🎉
You have reached the end of the page. You can navigate through other blog posts as well, share this post on X, LinkedIn and Reddit or return to the blog posts collection page. Thank you for visiting this post.
If you think something is wrong with this post or you want to know more, you can send me a message to one of my social profiles at: https://justinverstijnen.nl/about/
If you find this page and blog very useful and you want to leave a donation, you can use the button below to buy me a beer. Hosting and maintaining a website takes a lot of time and money. Thank you in advance and cheers :)

The terms and conditions apply to this post.