Microsoft Secure Score - Data
Categories:
6 minute read
Before we begin
I collected all the options of the Microsoft Entra ID Identity Secure Score on this page, and we will address them all. I also added some industry-accepted options which are not in the secure score framework but are really helpful in avoiding or minimizing attacks in your environment.
You can use all options, or only use a subset of the options. This is up to you :)
Remember, having a secure score of 100% doesn’t mean 100% security. This only means you are using 100% of the security toolbox.
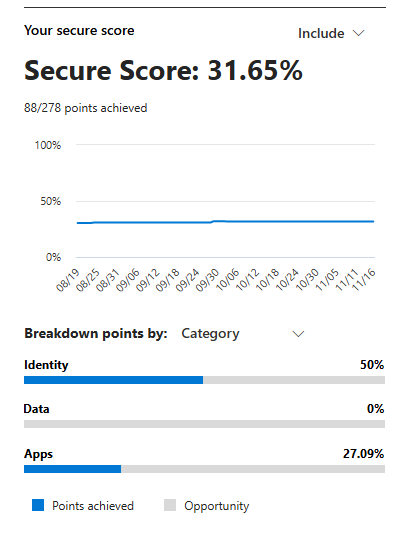
Starting this page, my Secure Score overview is this:
The Data pillar recommendations
Let’s check first which requirements we have to address. Go to https://security.microsoft.com/securescore and select the Data recommendations only:

This gives us these four recommendation we must address:
- Data #1: Ensure DLP policies are enabled
- Data #2: Publish M365 sensitivity label data classification policies
- Data #3: Extend M365 sensitivity labeling to assets in Microsoft Purview data map
- Data #4: Ensure that Auto-labeling data classification policies are set up and used
Let’s solve them step-by-step.
Data #1: Ensure DLP policies are enabled
Data Loss Prevention (DLP) policies help prevent sensitive information from being shared outside your organization or used improperly. Examples of using DLP are to forbid sending creditcard information, personal information or to notify users of the potential data they sent, creating a little extra awareness.
To create and enable an DLP policy, let’s open the Purview Compliance Portal (https://purview.microsoft.com).
Then navigate to Data loss prevention:
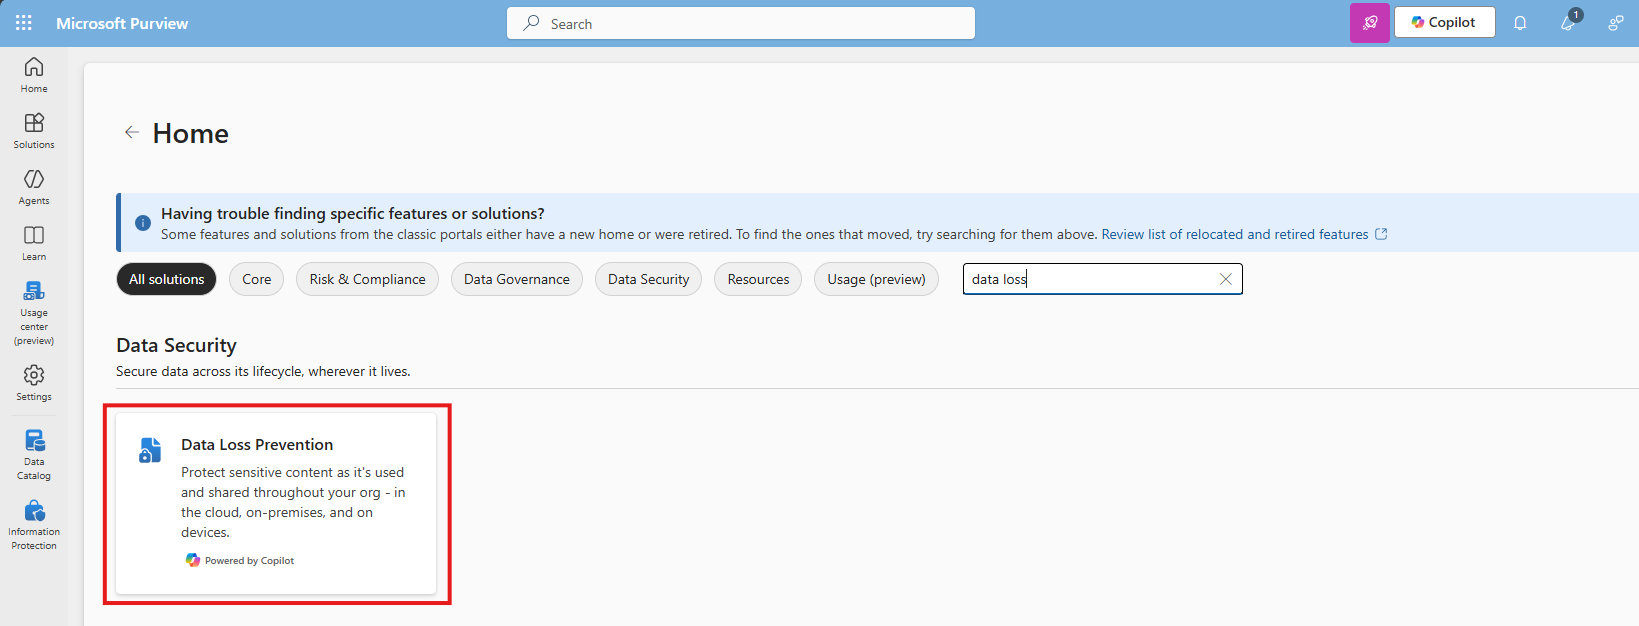
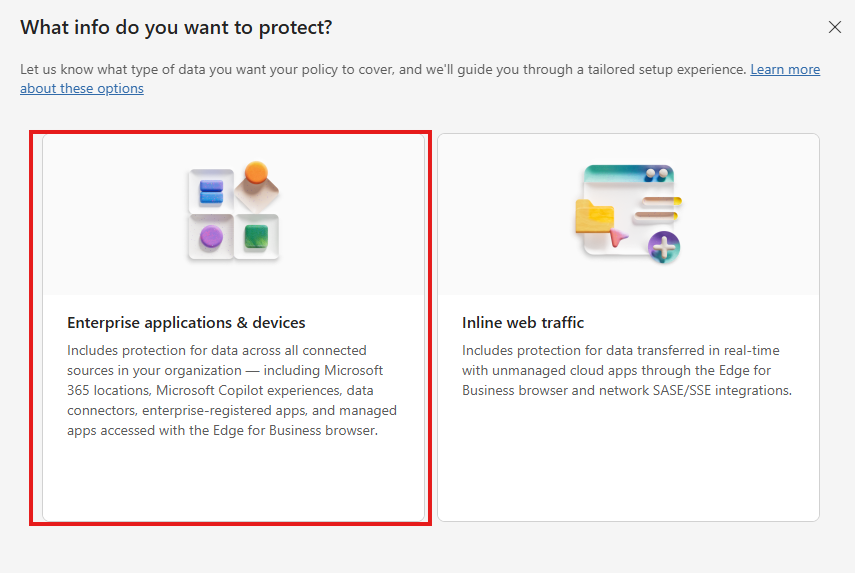
Click “+ Create policy” to create a new DLP policy.

Choose the option “Enterprise & devices”
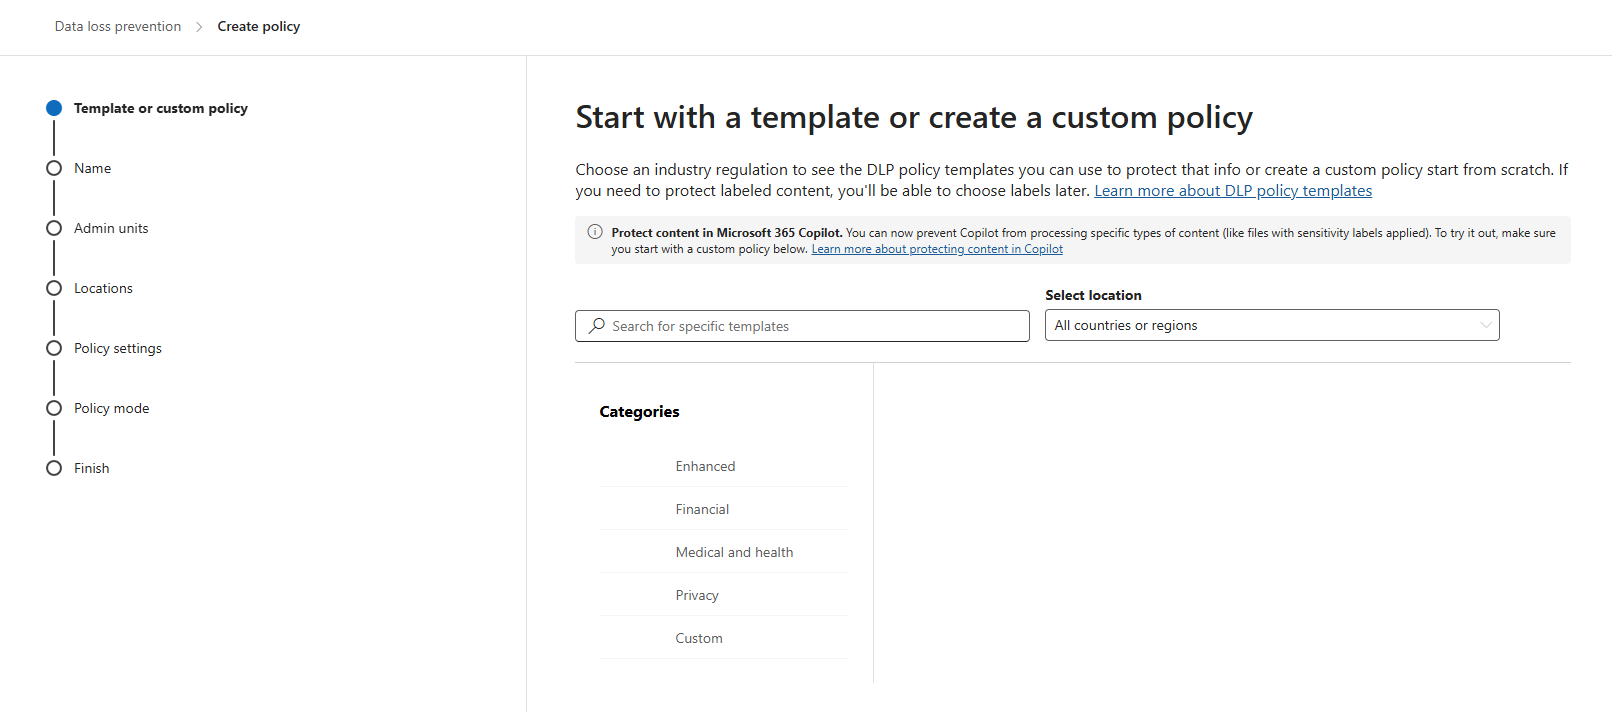
You can start from a template or start from scratch at the first step. Think of what you want to do.
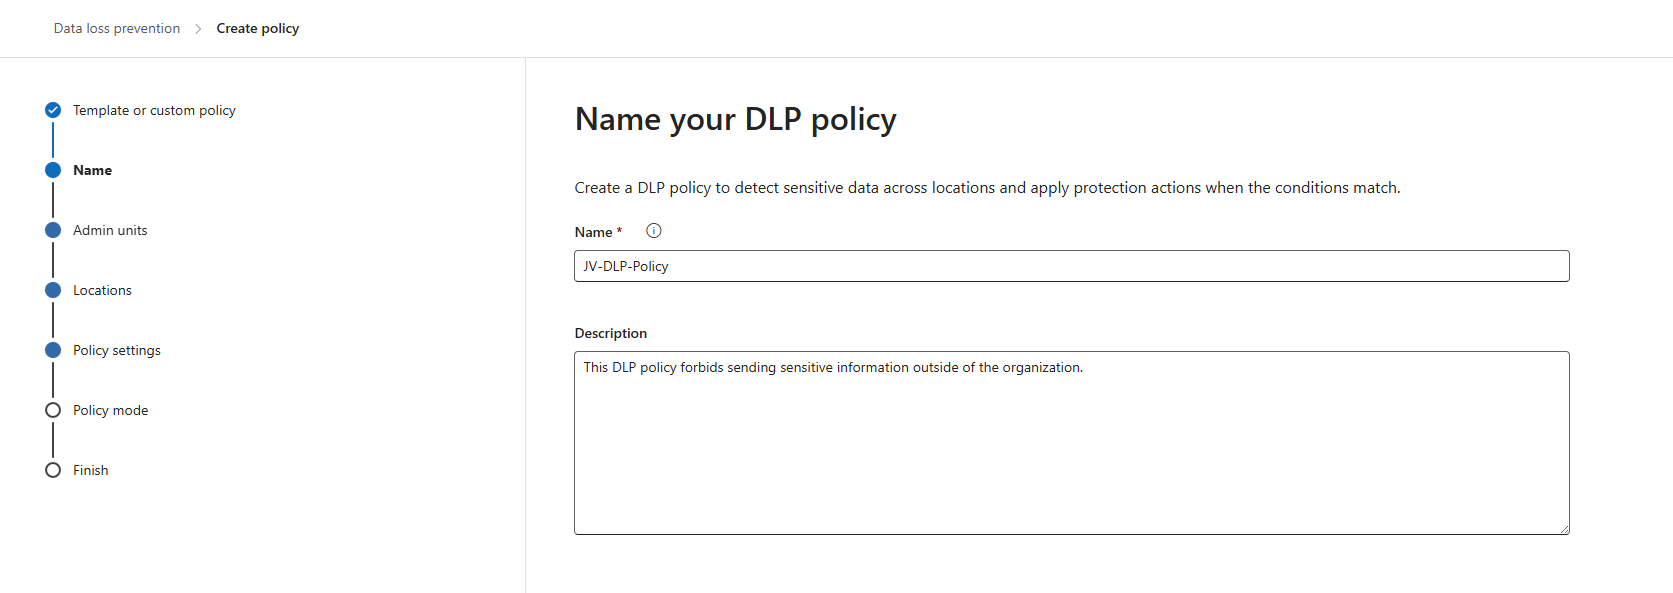
Click “Next”. Give the policy a name and description according to your documentation.
Click “Next”. You can now decide if you want to use administrative units of Entra ID. In my case, I skipped this step.
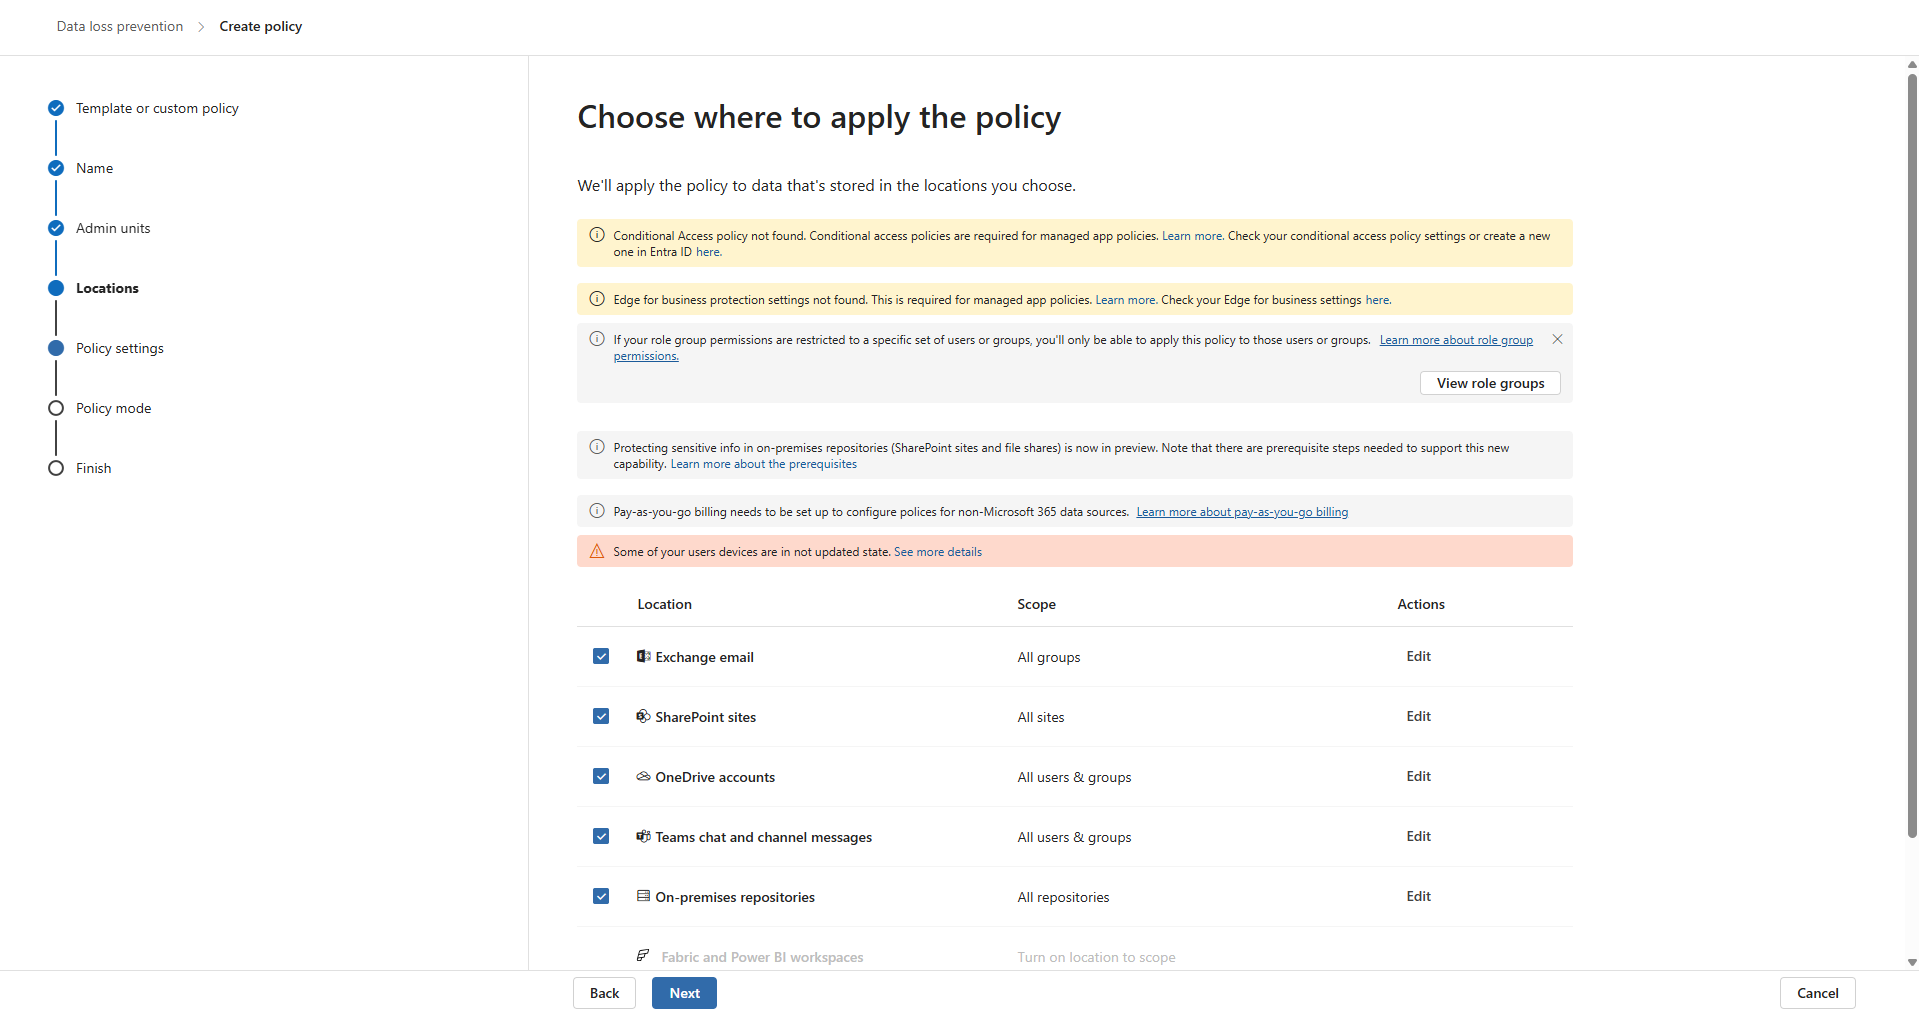
Now you can decide where to apply the policy. To make it the most effective, assign it to all locations, which is by default.
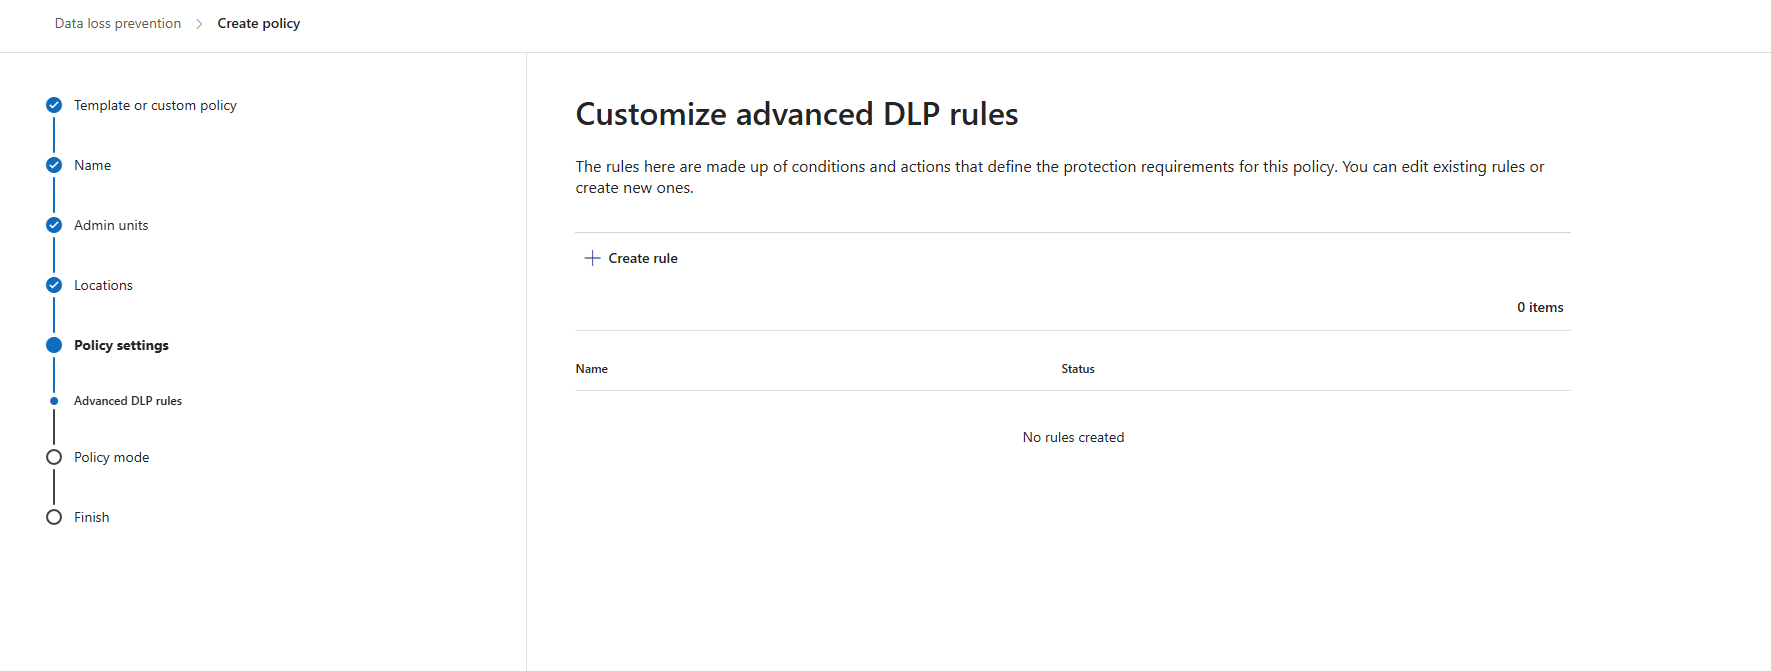
Click “Next” twice. Now we can create some advanced rules. This is up to you of course, but I will make some rules to give a basic example of the possibilities.
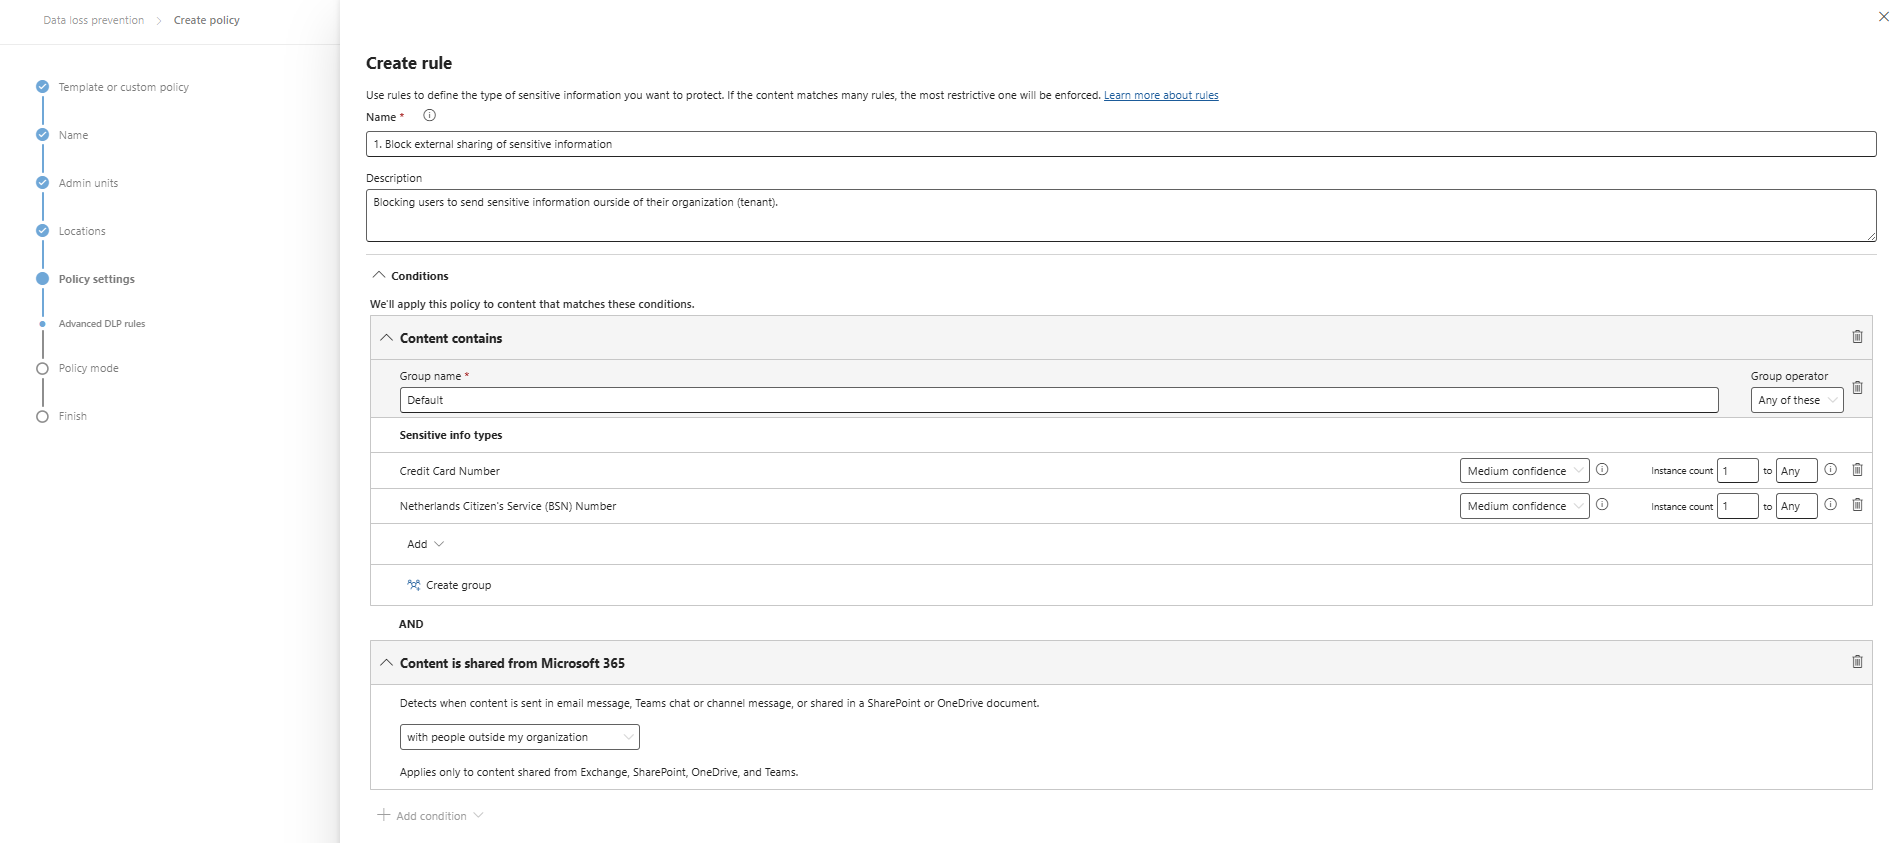
I clicked “+ Create rule” and gave it a name and description. Then I added 2 sensitive information types and stated that they are sent externally:
At the “Actions” section, we are able to block the action:
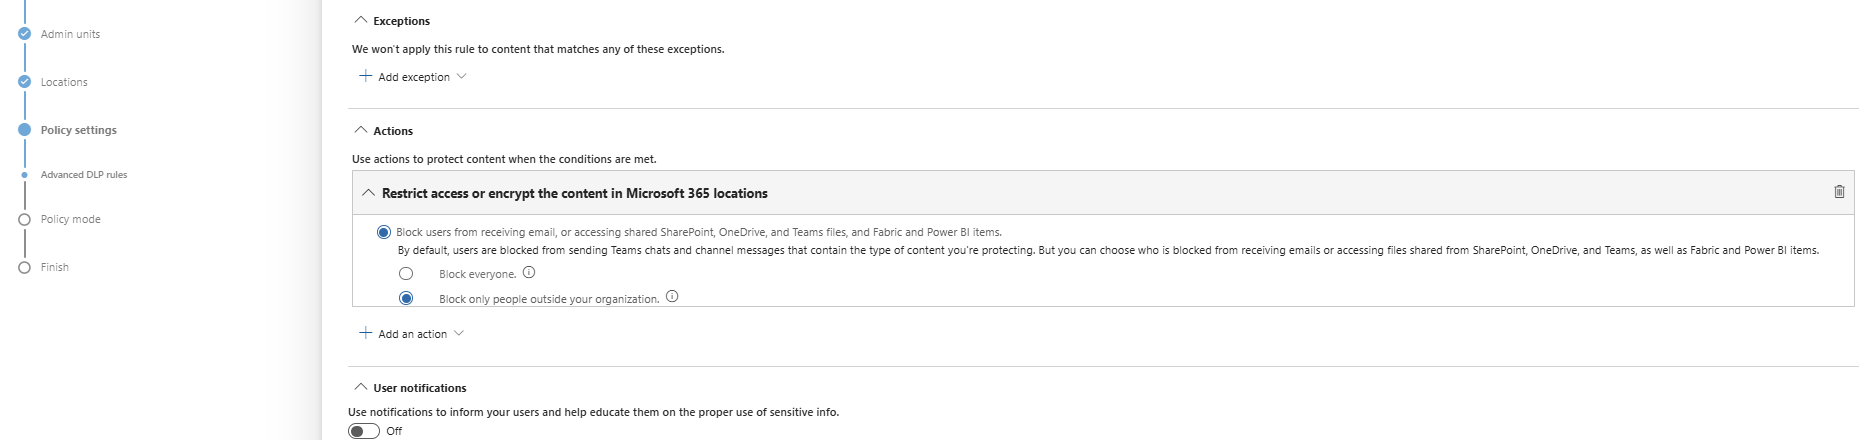
Save the policy, assign it to a group of users (All company group) and that should be it for this recommendation.
Data #2: Publish M365 sensitivity label data classification policies
Sensitivity labels are used to classify content (Public, Internal, Confidential) and apply protection based on the classification. This means users must label their documents, or we can do this with automatic policies.
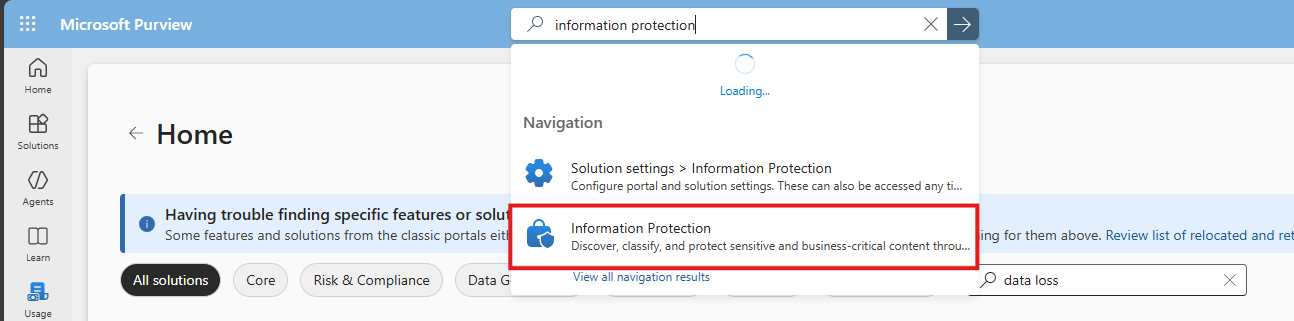
To create and enable sensitivity label, let’s open the Purview Compliance Portal (https://purview.microsoft.com).
Then navigate to: Information protection
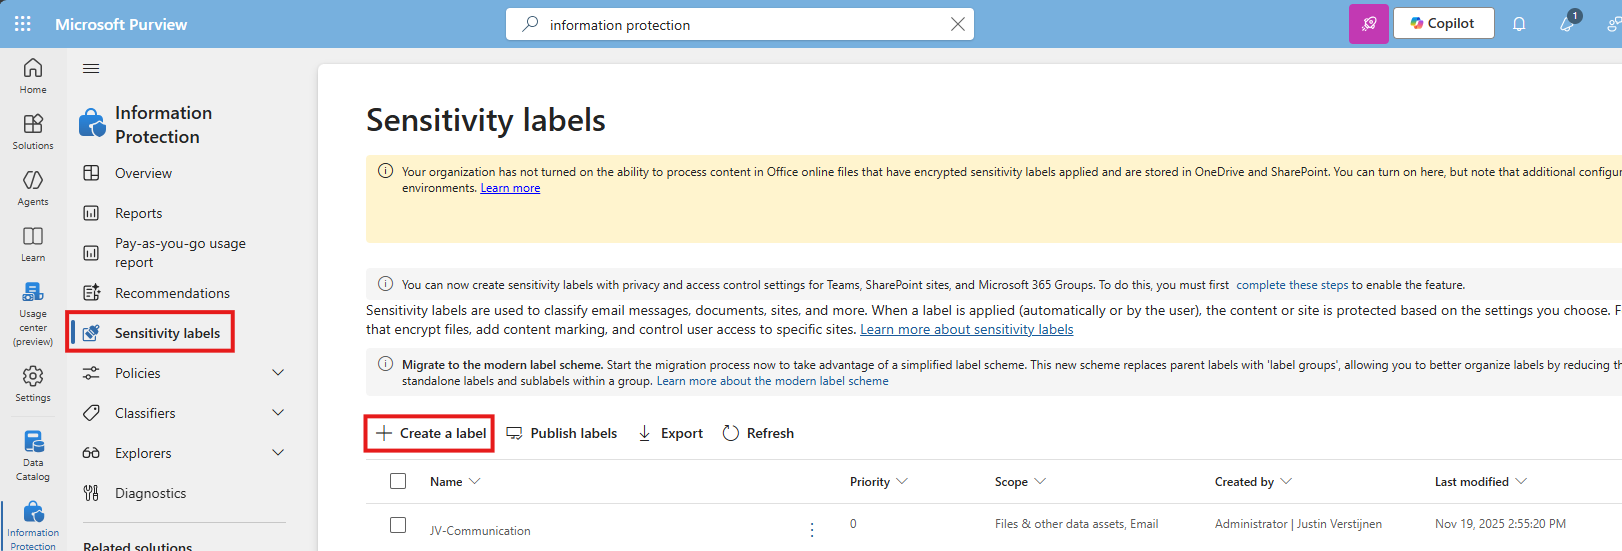
Then select “Sensitivity labels” from the left and click “+ Create a label”
You must now create a label to classify certain data to a certain type of information. Some examples of things you can do are:
- Public content
- Confidential -> Business Secrets
- Confidential -> Personally Identifiable Information (PII)
For this guide, I will make a label for Personally Identifiable Information (PII).
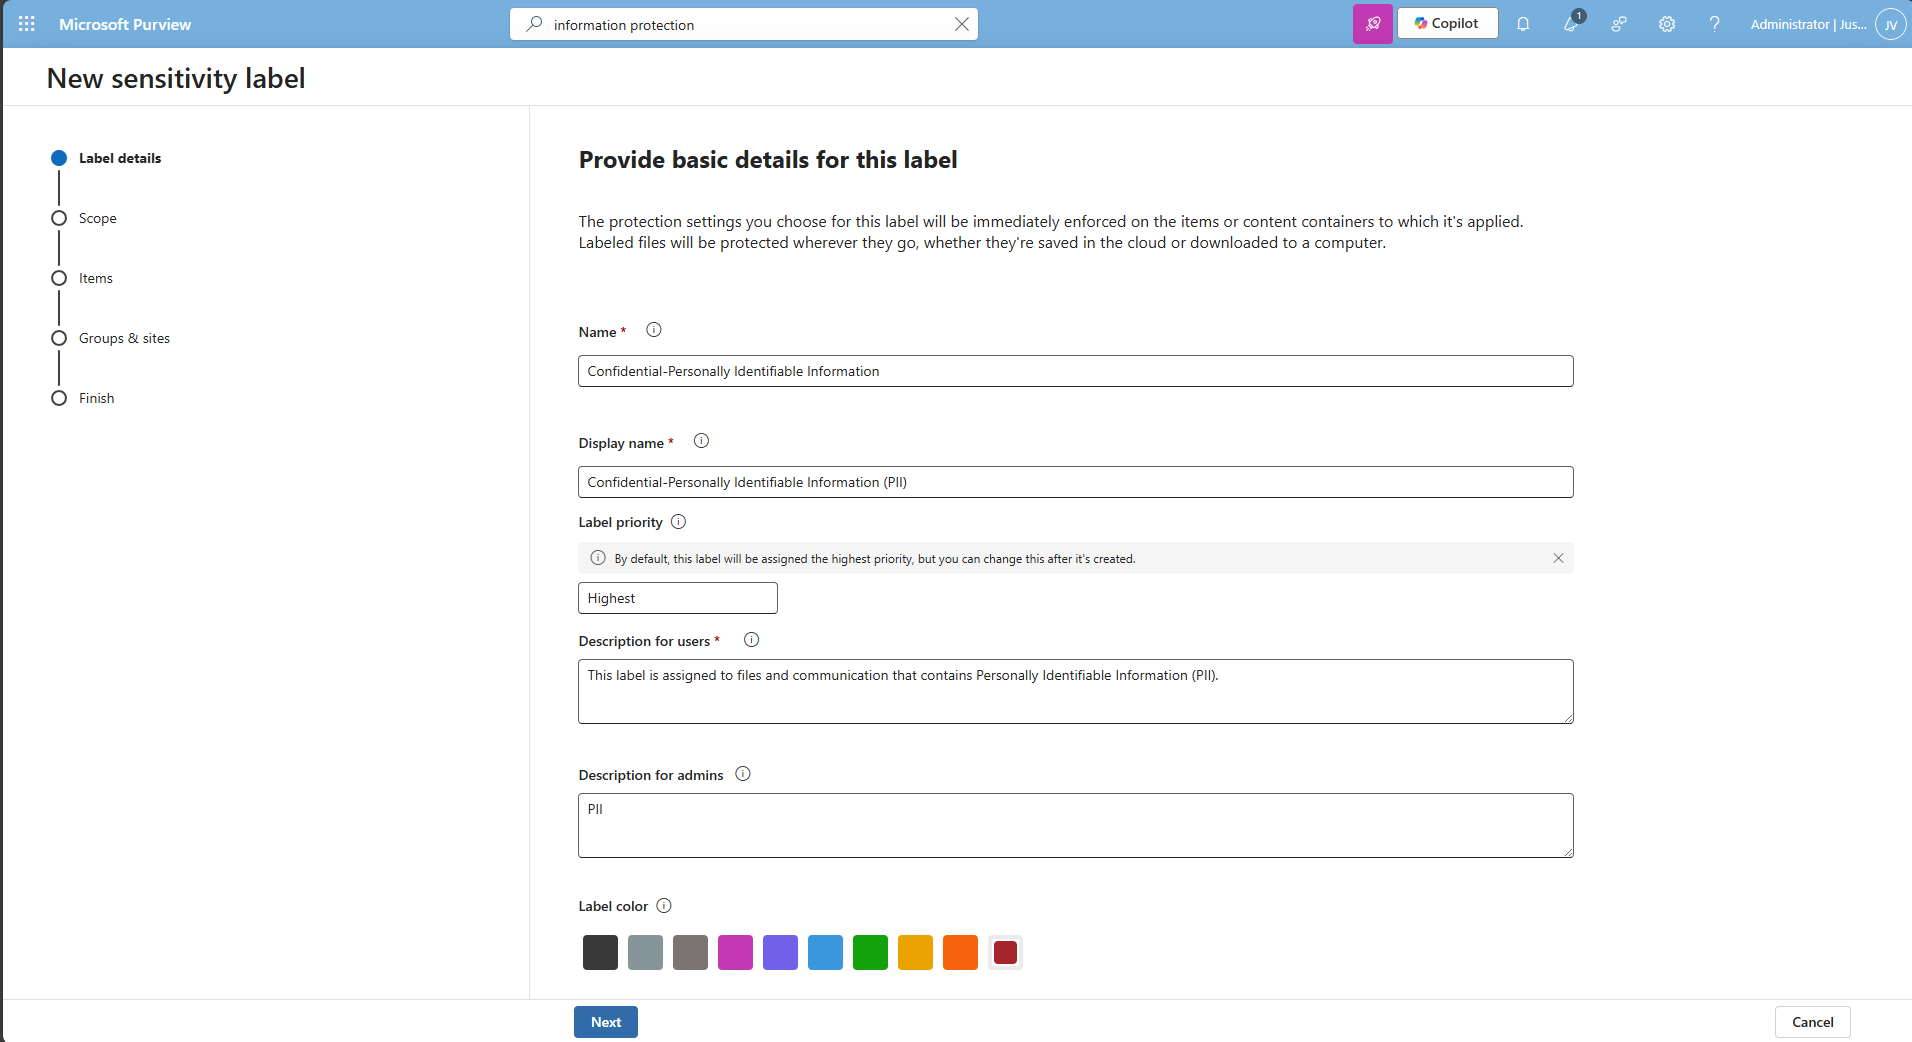
I also selected the red color as color of danger. Then click “Next” twice.
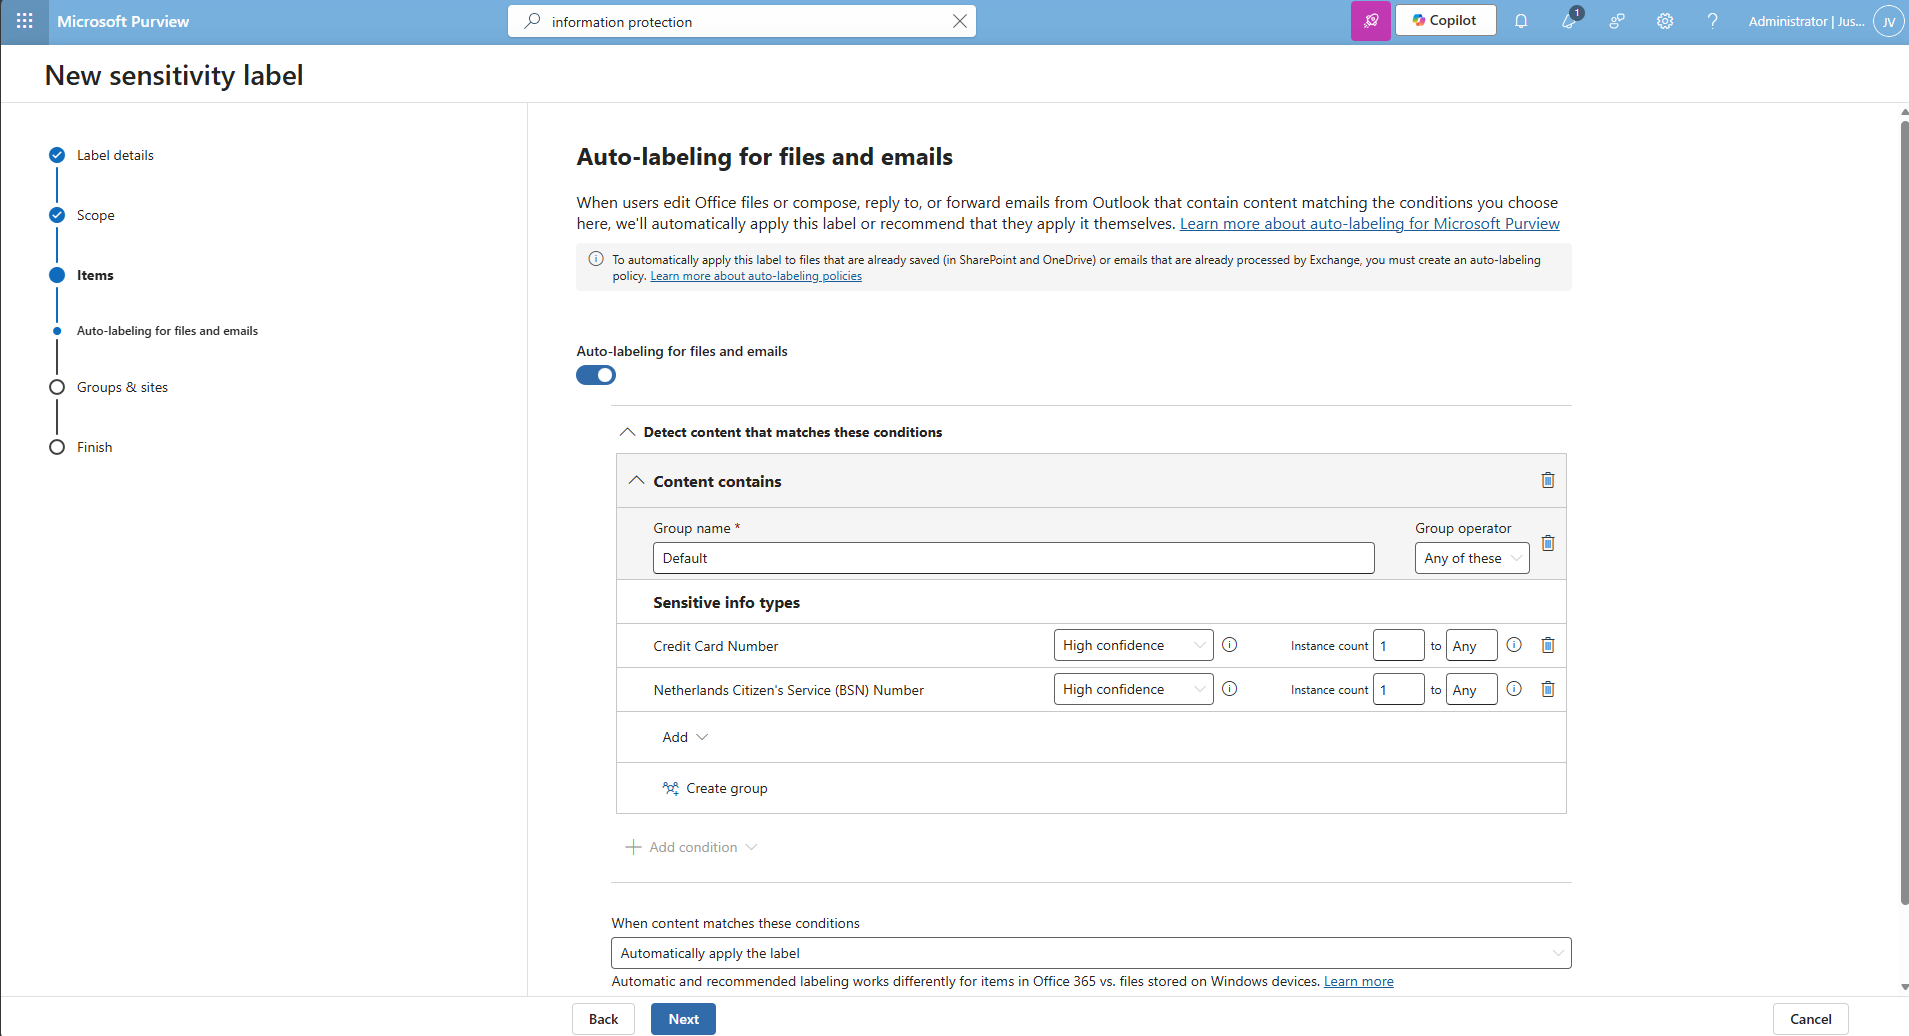
Then I selected the credit card and Netherlands Citizen (BSN) number as information that it must contain before auto labeling the documents, but you can customize this to your own needs.
Finish the wizard.
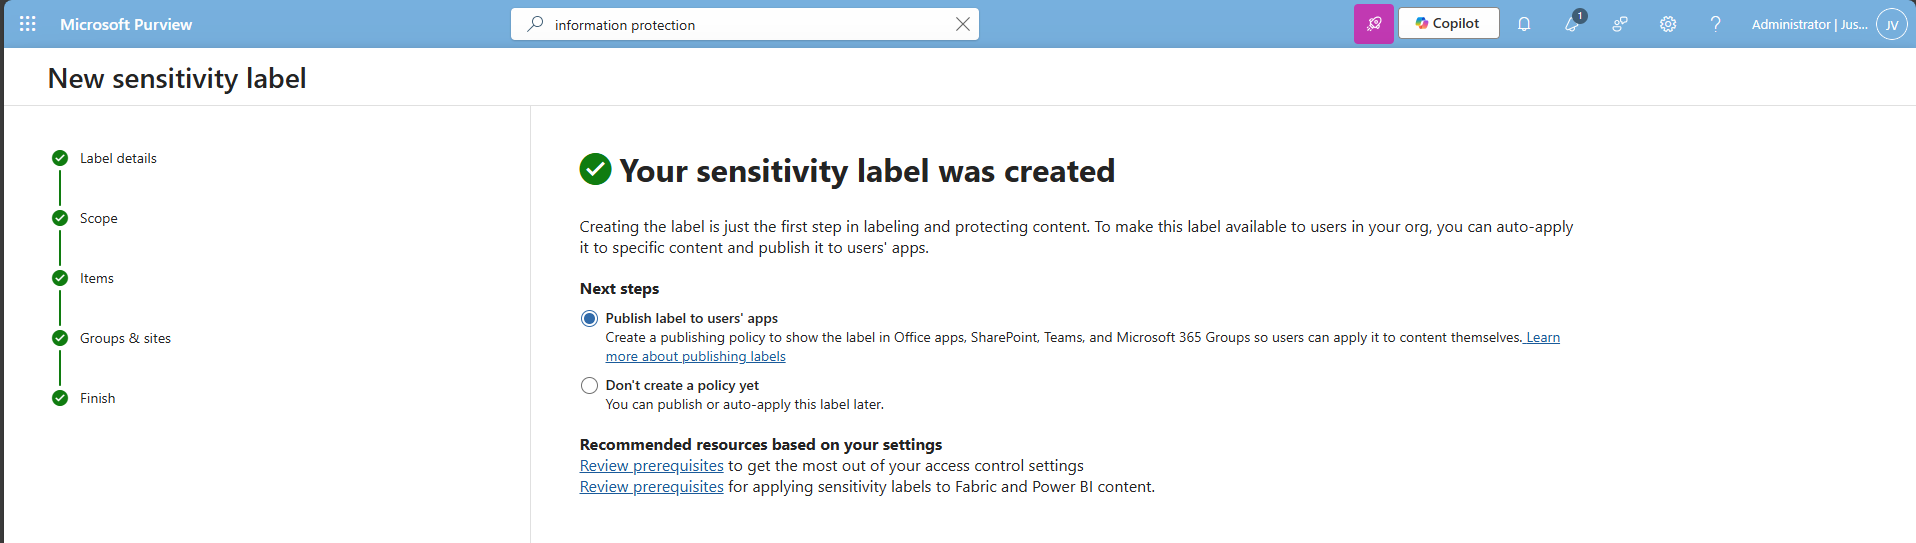
After creating the label, Purview asks you if you want to publish the label, which is a requirement for succeeding in this recommendation.
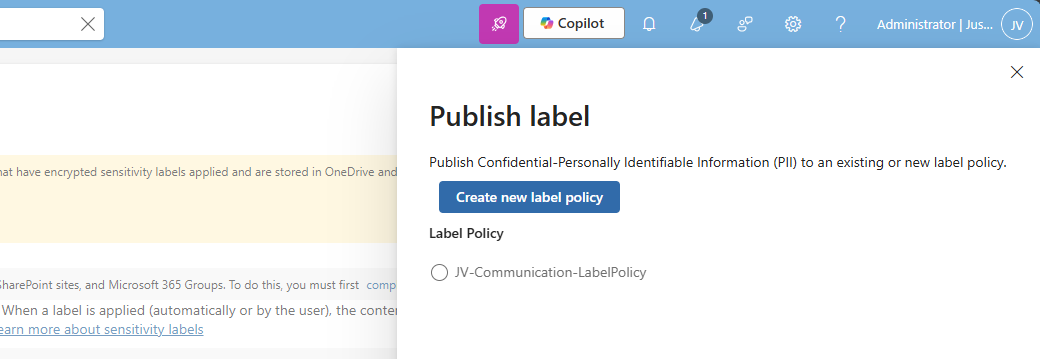
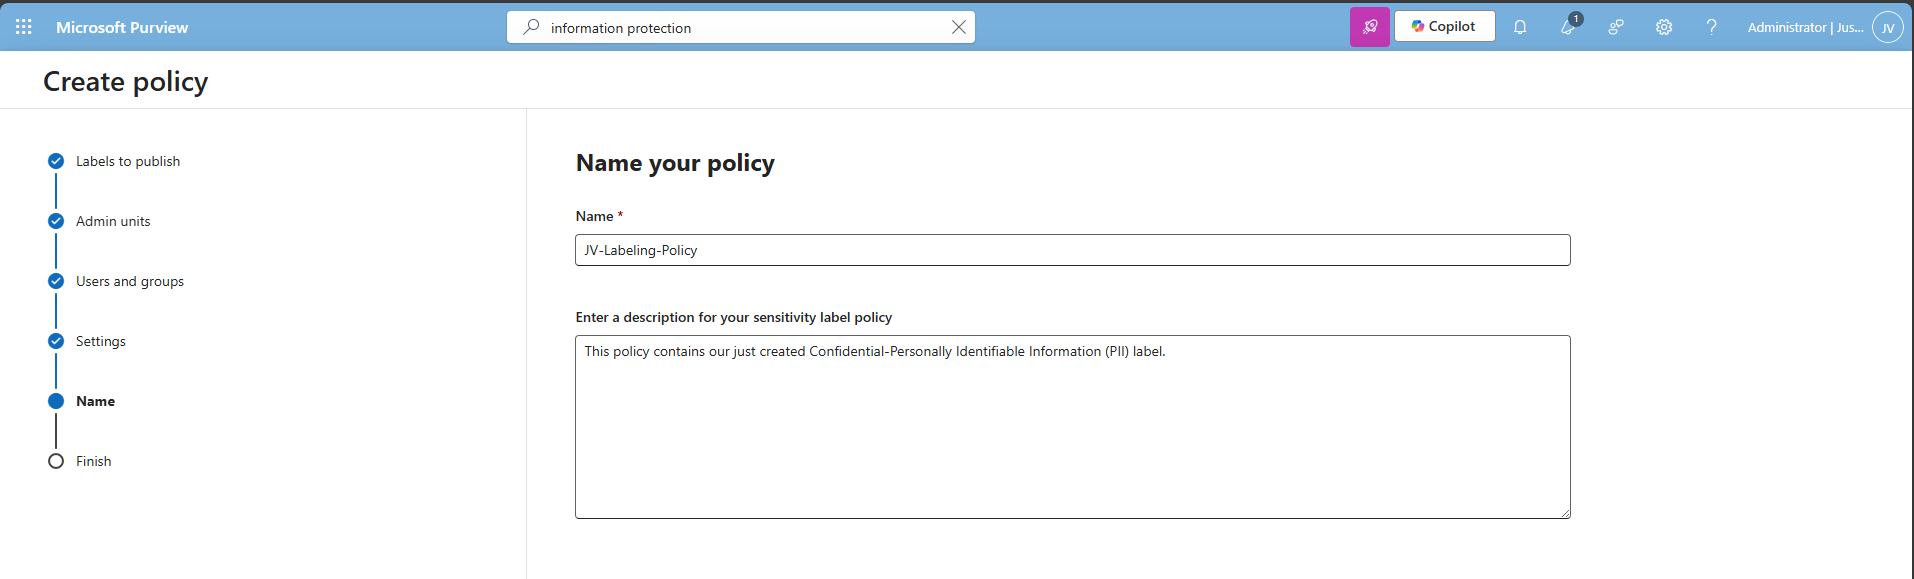
Select an existing label policy or create a new one by clicking “Create new label policy”. For finishing this guide, I will create a new label policy.

Select the labels to publish and click “Next”.
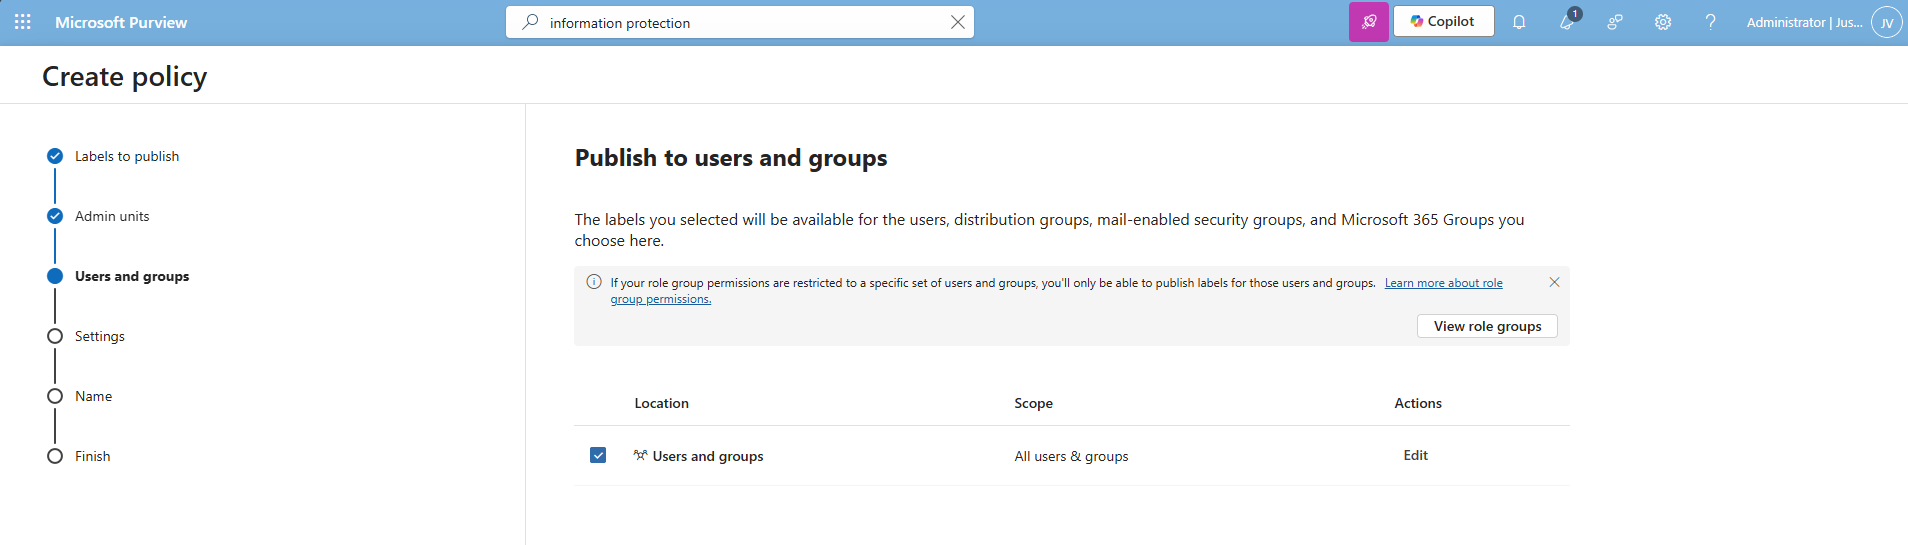
Select the users and groups for the label to apply and click “Next”.
You can now decide to use one of these advanced options:
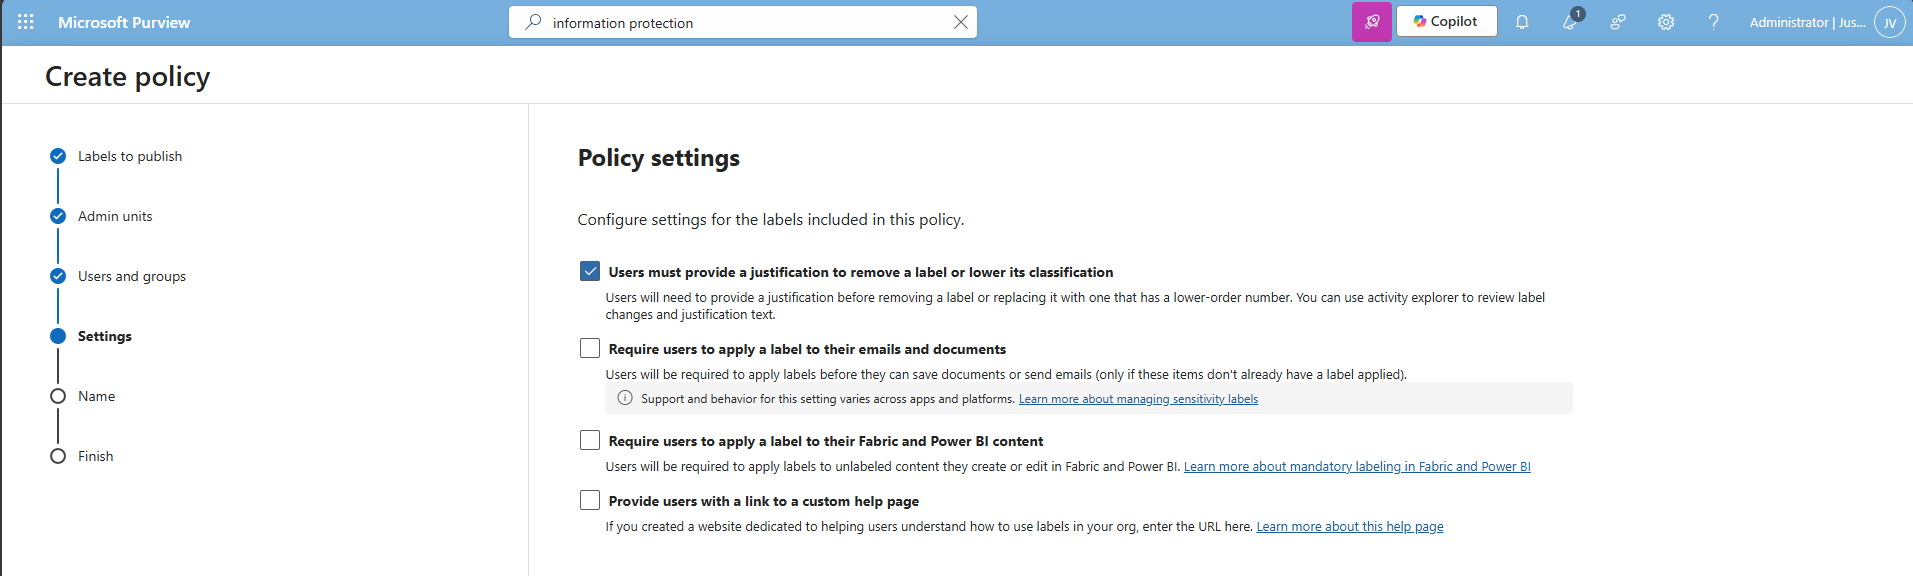
I chose the first option, because we want that for complaince and auditing reasons. Then click “Next”.

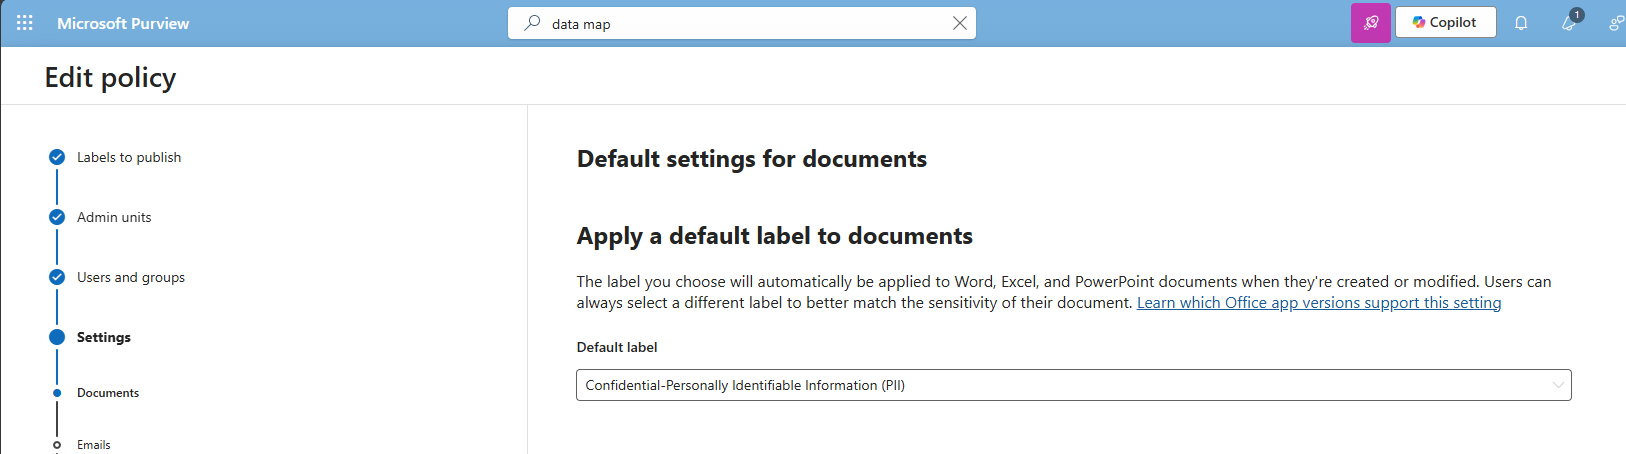
Select the label just created, and repeat this for every type on the left. You can use “Same as document” for a speedy finishing of the wizard.
Click “Next” and after that “Finish” to publish the label. That should be it for this recommendation.
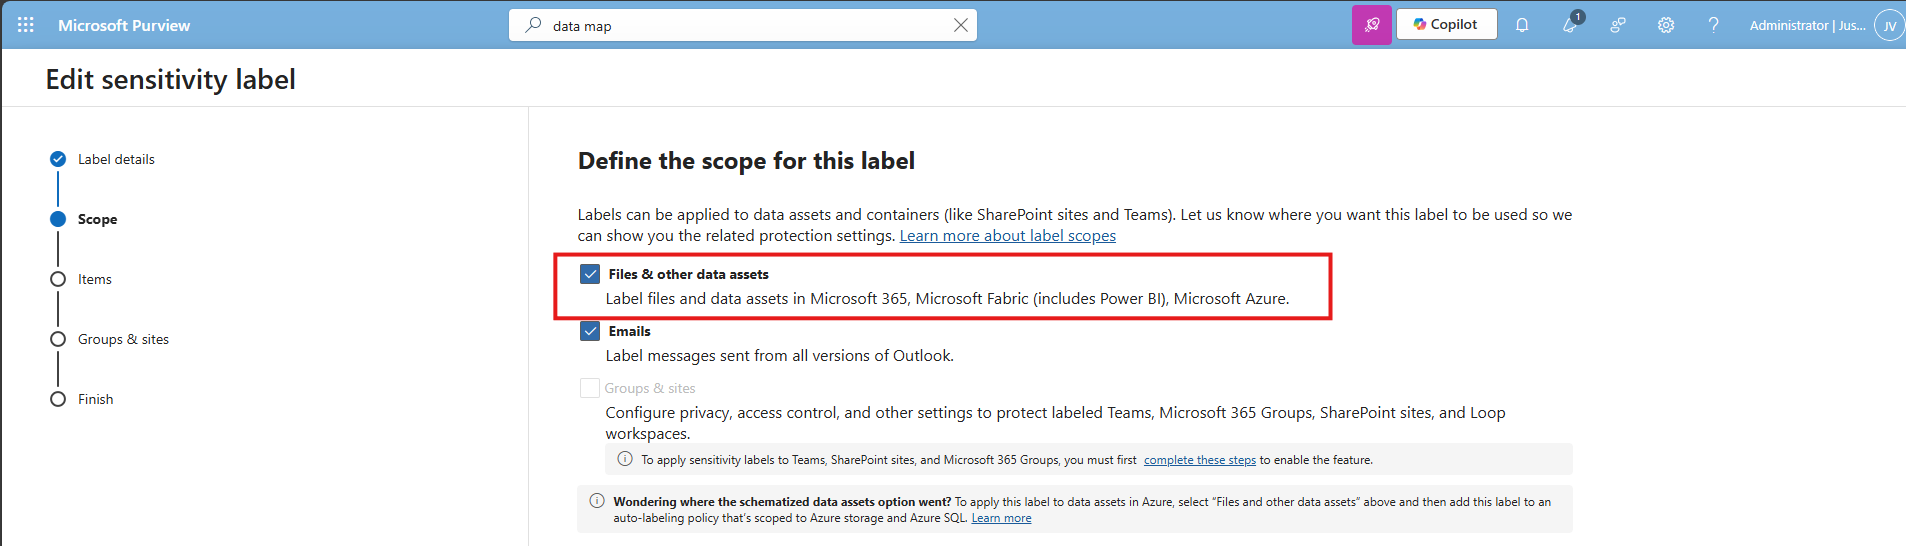
Data #3: Extend M365 sensitivity labeling to assets in Microsoft Purview data map
This recommendation allows sensitivity labels to apply to data sources discovered in Purview (Azure SQL, Storage, etc.). The fun fact is that if you followed the guide till here, you already configured it.
In the label itself, you must have this enabled:
And in the labeling policy, you must have the label selected at this page:
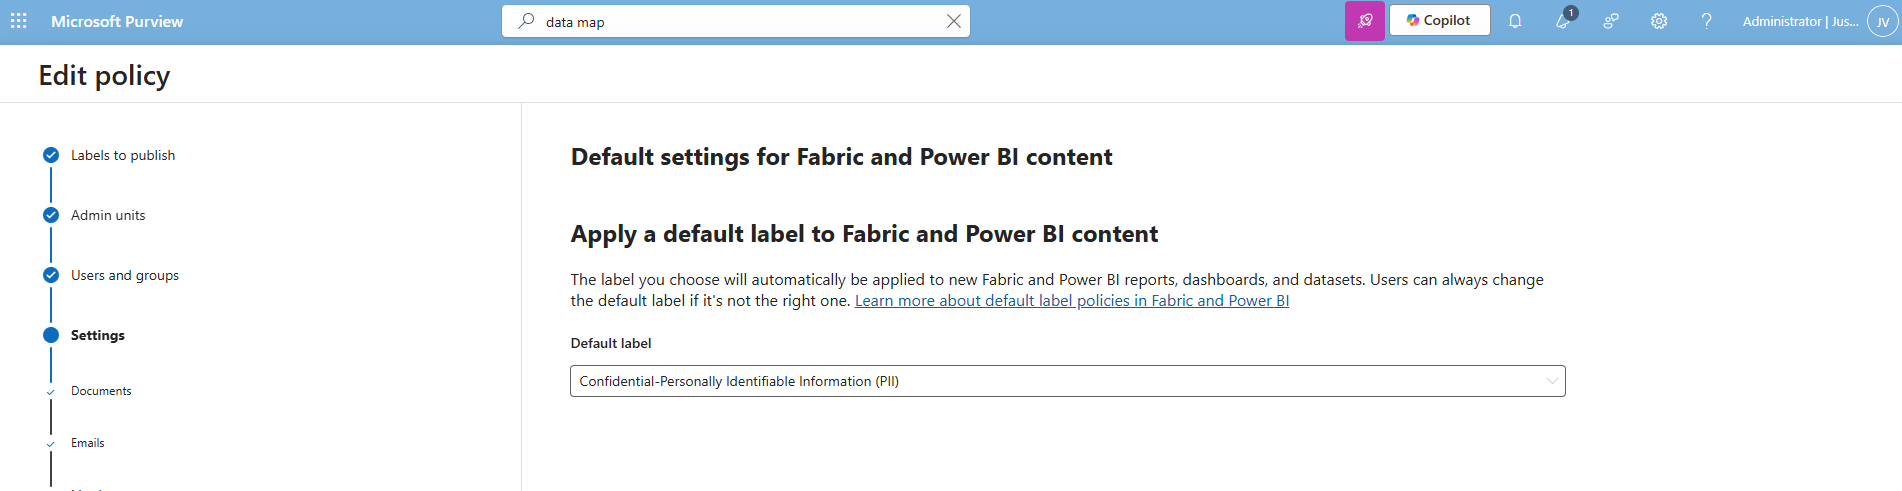
Data #4: Ensure that Auto-labeling data classification policies are set up and used
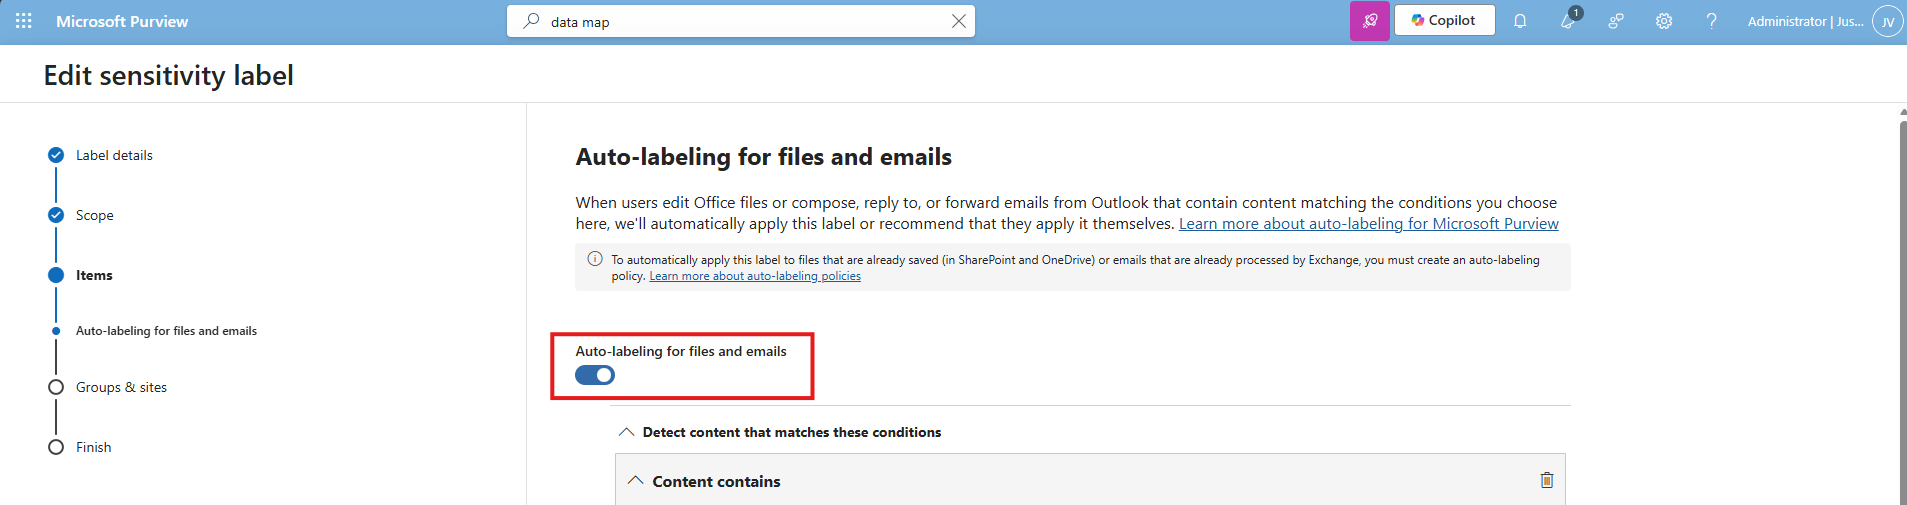
This recommendation wants us to configure automatically applying sensitivity labels based on detected content. The fun fact is again, we already configured this in recommendation 1 and 2:
In the labeling policy, we must configure this:
And in the label itself, we must configure this:
The result
After I did all the configurations described on this page, my Data secure score was at the full max, 100%:

Summary
Configuring these data protection measures is an important step in preventing data leaks and protecting sensitive information. It also helps you become more aware of which data needs extra care, and where users should be more cautious in their daily work. The last thing anyone wants is to lose personal or business-critical data, especially with all the compliance implications and potential damage that can follow.
Thank you for taking the time to read this guide. I hope it was helpful and gives you a solid starting point for improving your data protection setup.
Sources
These sources helped me by writing and research for this post:
- https://learn.microsoft.com/en-us/purview/data-map-sensitivity-labels
- https://learn.microsoft.com/en-us/purview/data-map-sensitivity-labels-apply
- https://learn.microsoft.com/en-us/purview/dlp-overview-plan-for-dlp
End of the page 🎉
You have reached the end of the page. You can navigate through other blog posts as well, share this post on X, LinkedIn and Reddit or return to the blog posts collection page. Thank you for visiting this post.
If you find this page and blog very useful and you want to leave a donation, you can use the button below to buy me a beer. Hosting and maintaining a website takes a lot of time and money. Thank you in advance and cheers :)

The terms and conditions apply to this post.