Receive Periodic Azure Consumption costs with Logic Apps
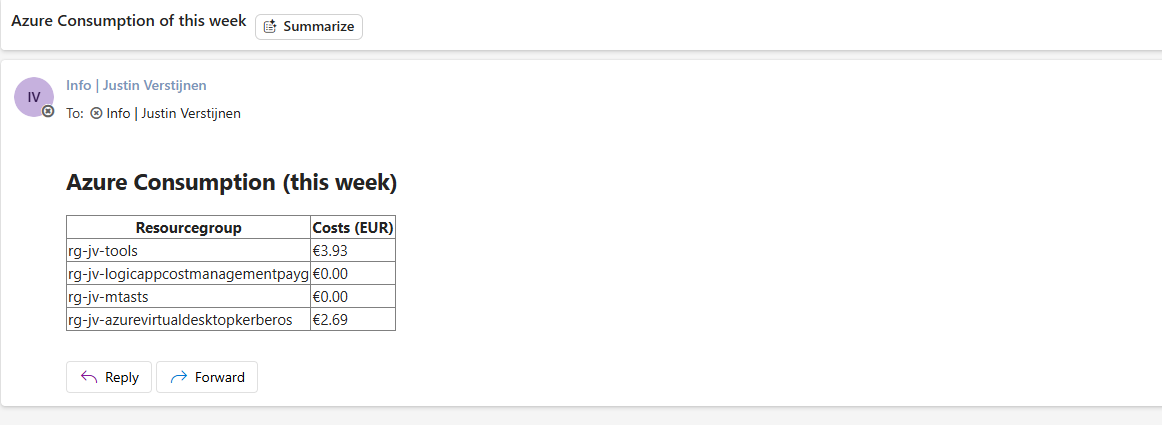
How does the solution work?
The solution works with a Logic App which has a customizable recurrence. Let’s say, every day, hour, week, specific workday or month. It then grabs the costs information from a given subscriptions using a Managed Identity and puts it into a HTML table. After creating and filling the table sends this HTML table via email to your email address of choice.
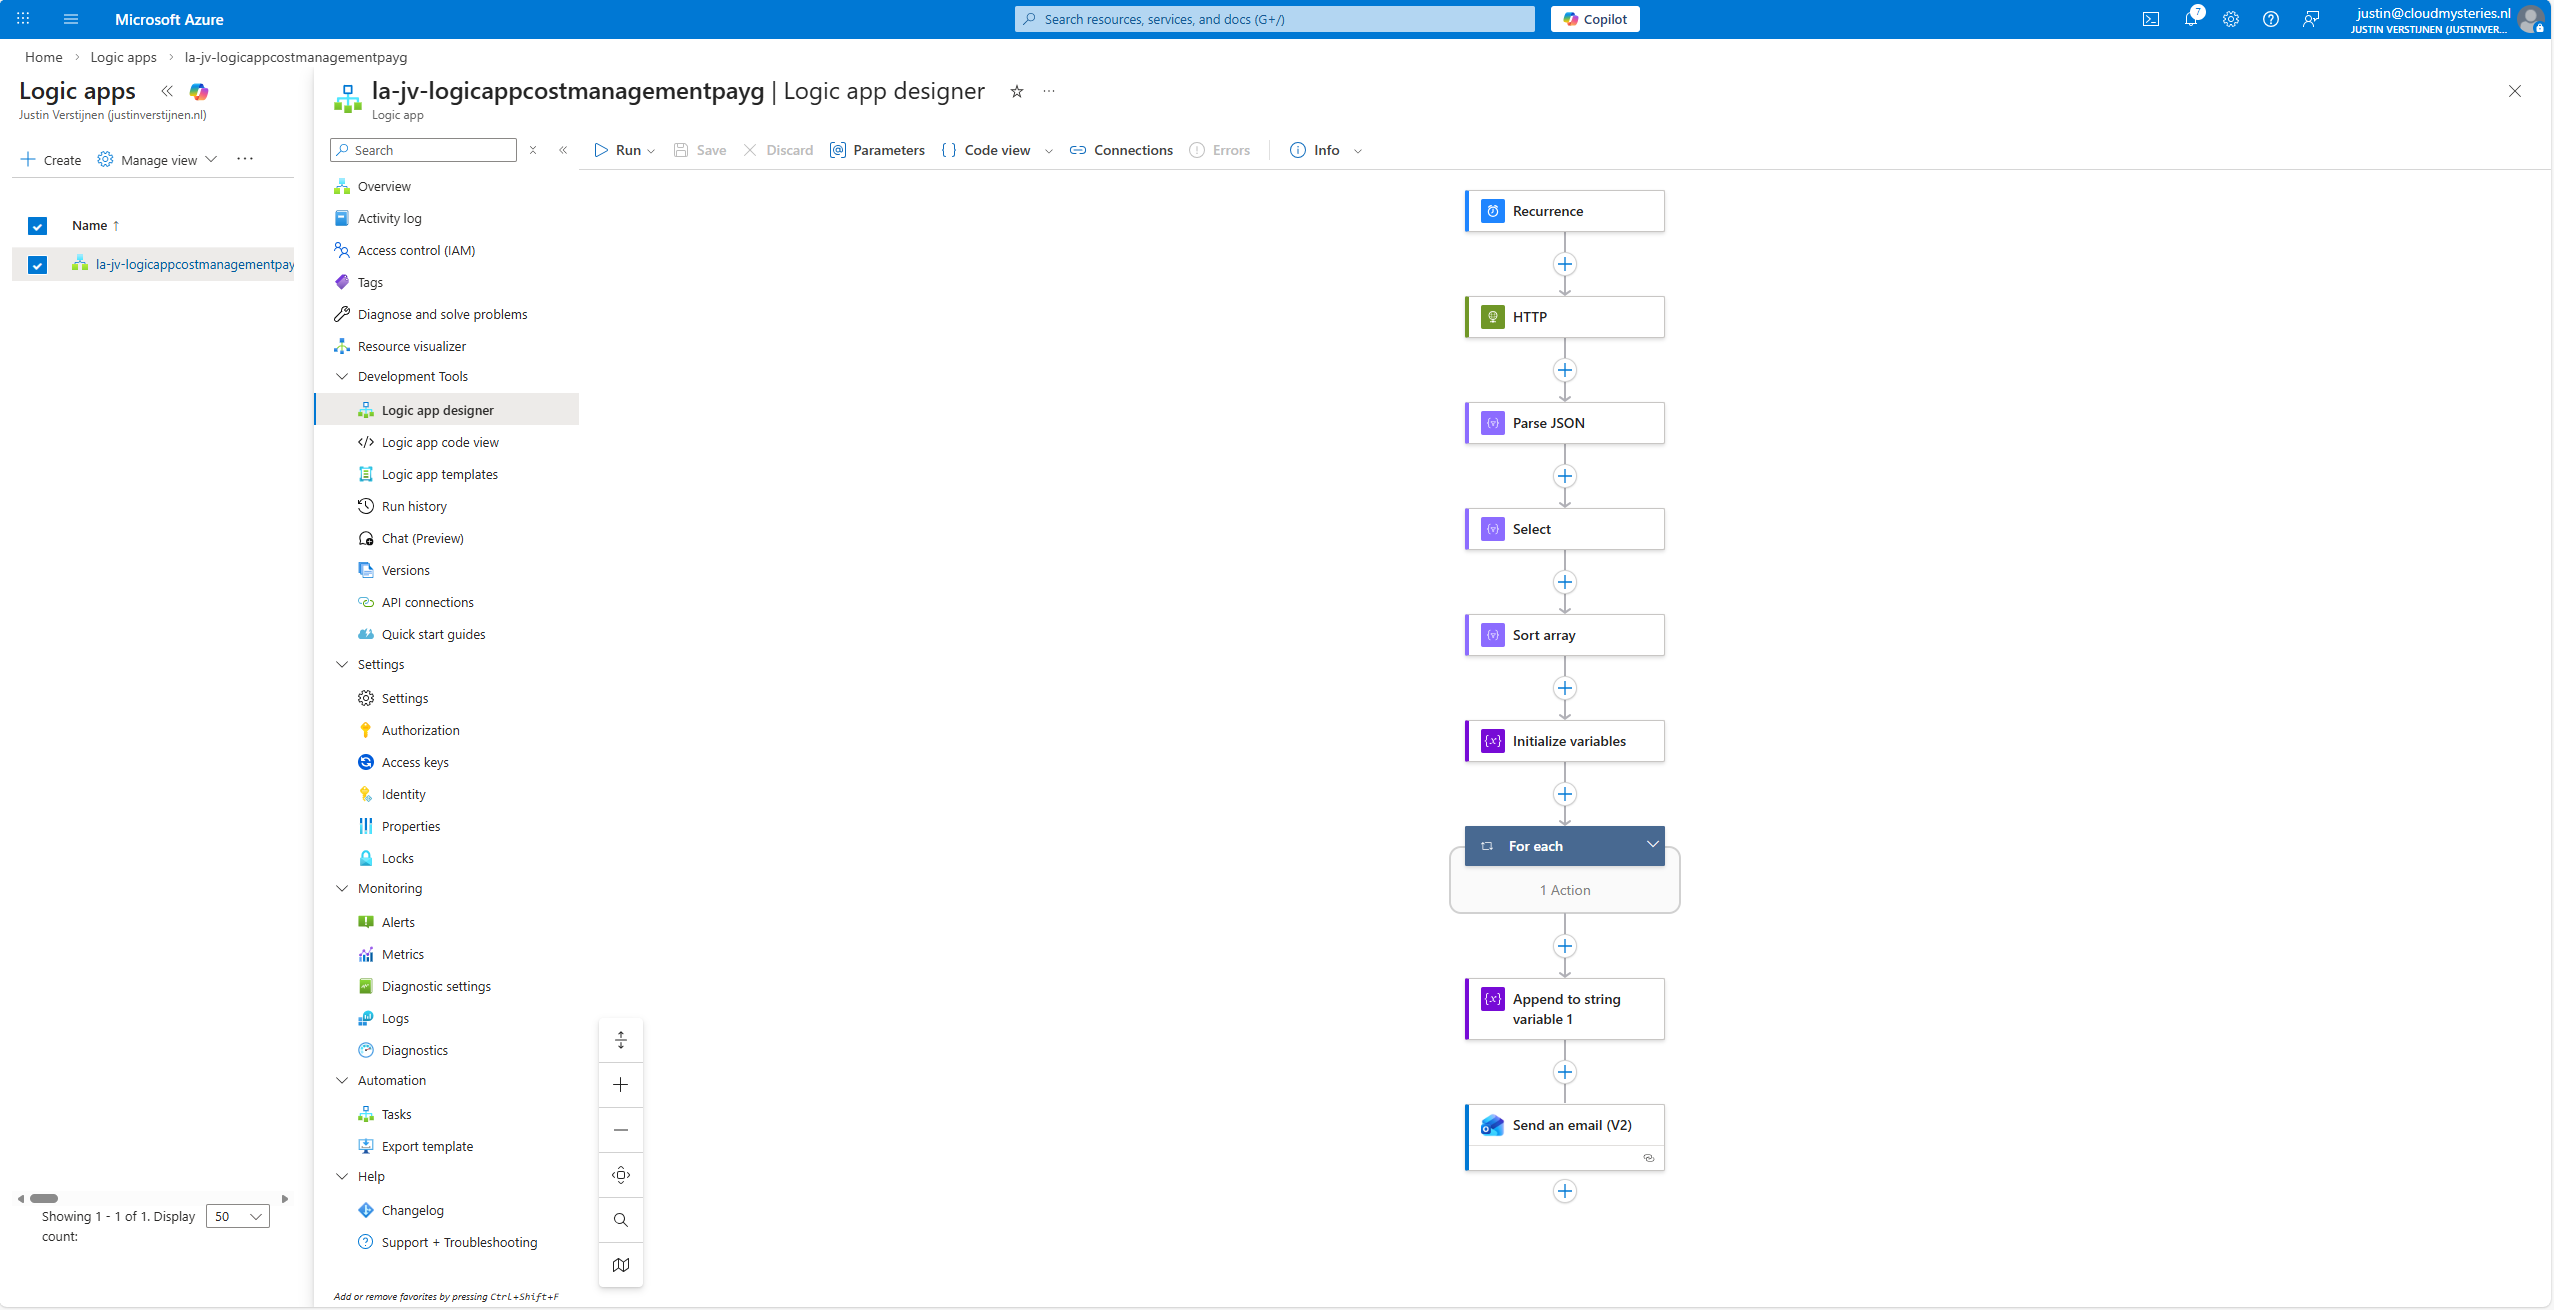
The Logic App JSON code
You can download the source code of this Logic App from my GitHub page:
Step 1: Setting up the Logic App
Let’s start out by opening the Azure Portal at https://portal.azure.com.
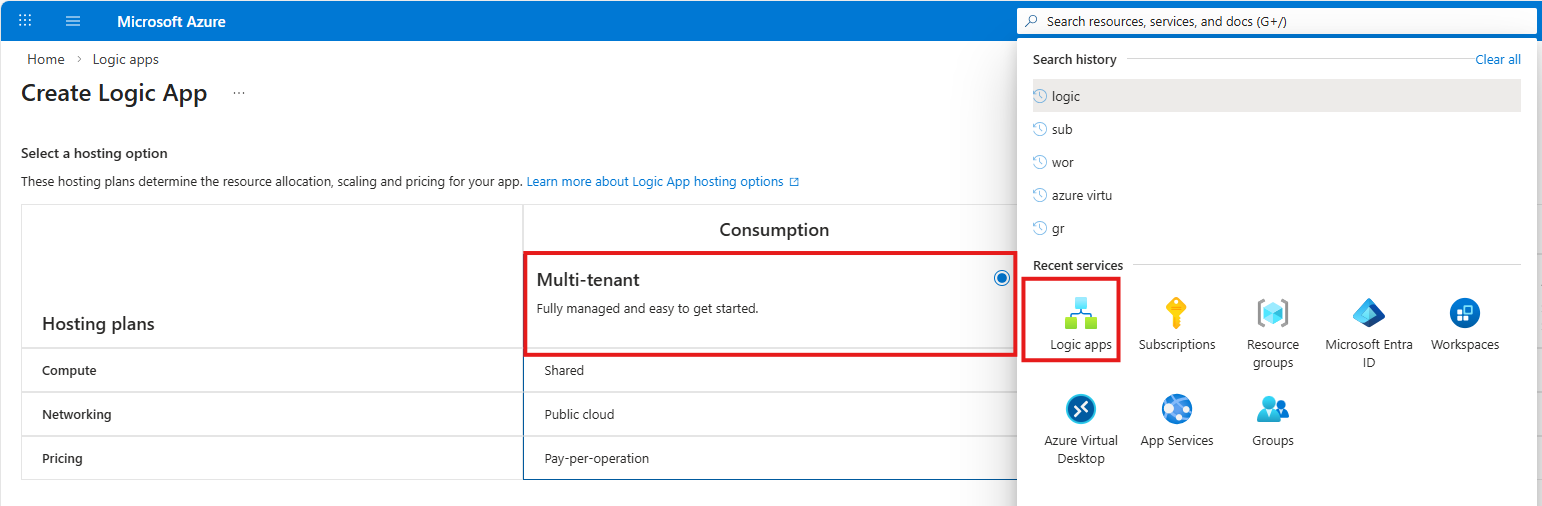
Then search for “Logic apps”, create a new app and select the “Multi-tenant” option, as this is the most cost effective option for this solution.
Then select the desired subscription and resource group and give the Logic App a good and defining name:
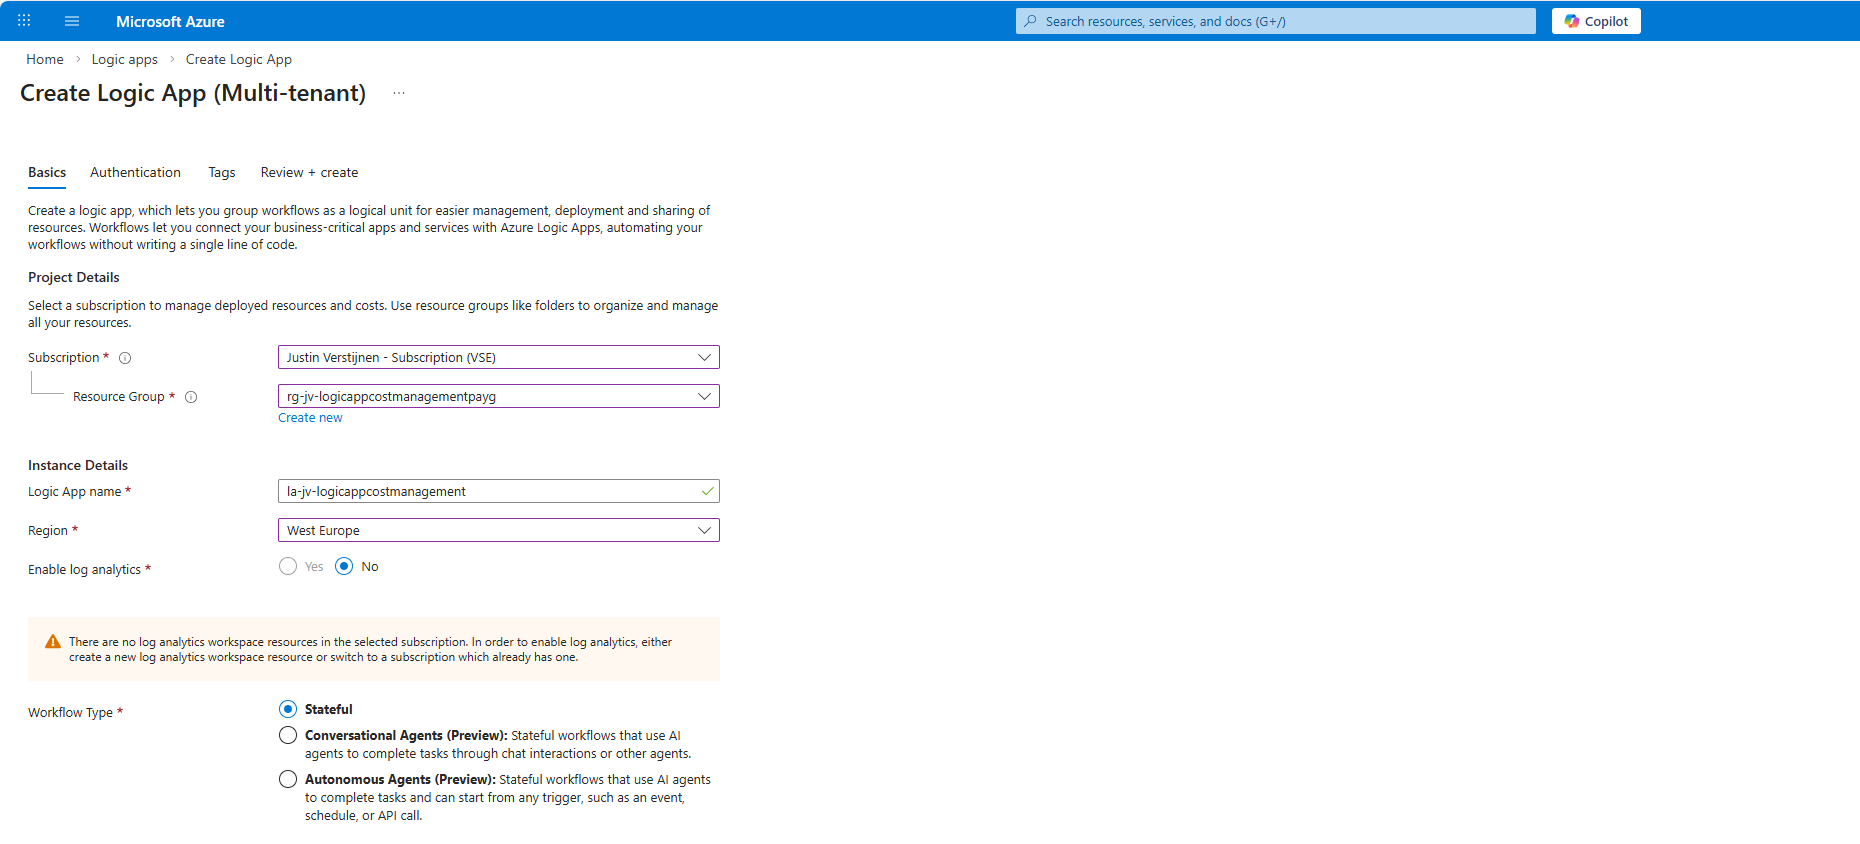
Then click “Review + create” to create the Logic App in your Azure environment.
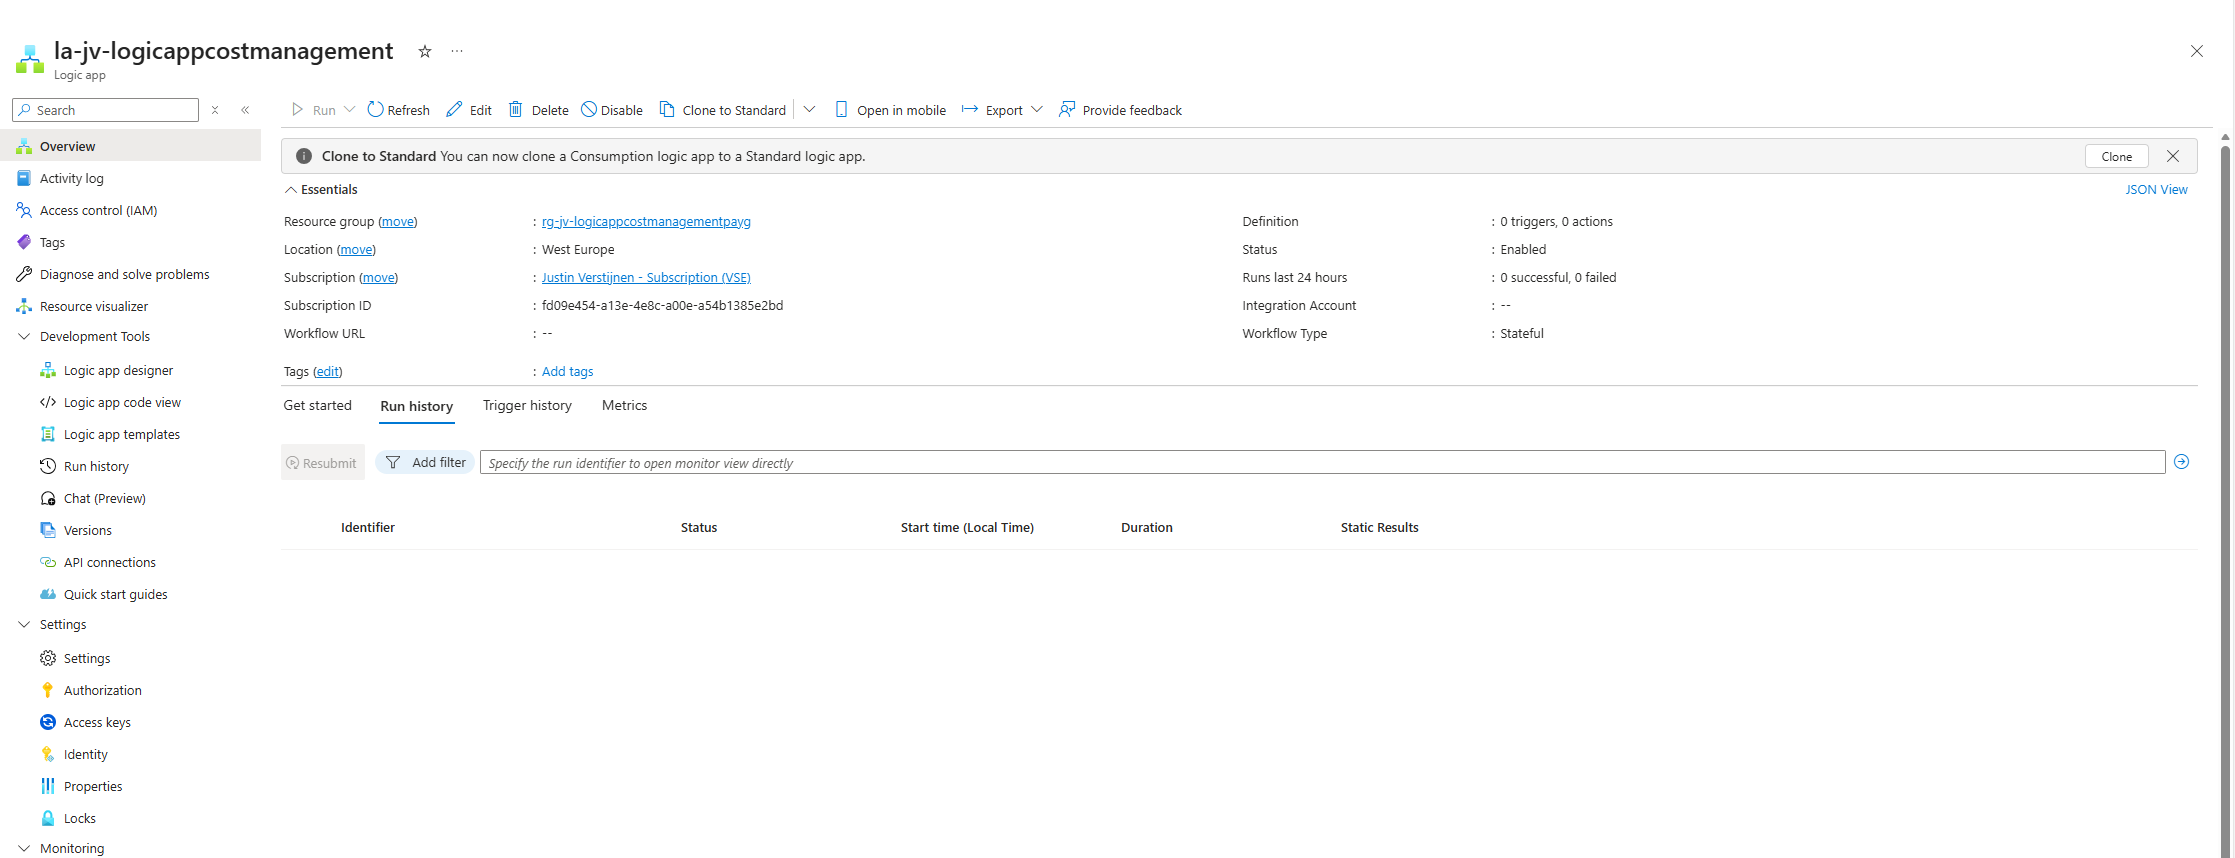
We now have a blank Logic App where we can build the tasks needed to reach our goal:
Step 2: Setting up the Managed Identity
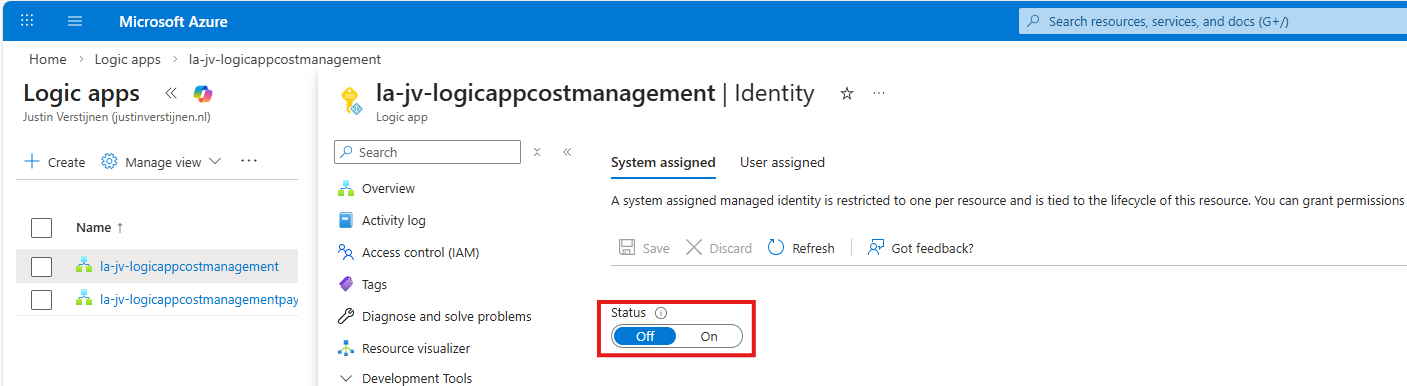
Let’s open the “Identity” blade from the left to setup the Managed Identity for this Logic App.
This is a sort of service account that is being used to get the costs data. This is highly secure when used in combination with least privileges, which I will do.
Enable the “system-assigned” managed identity for this Logic App:
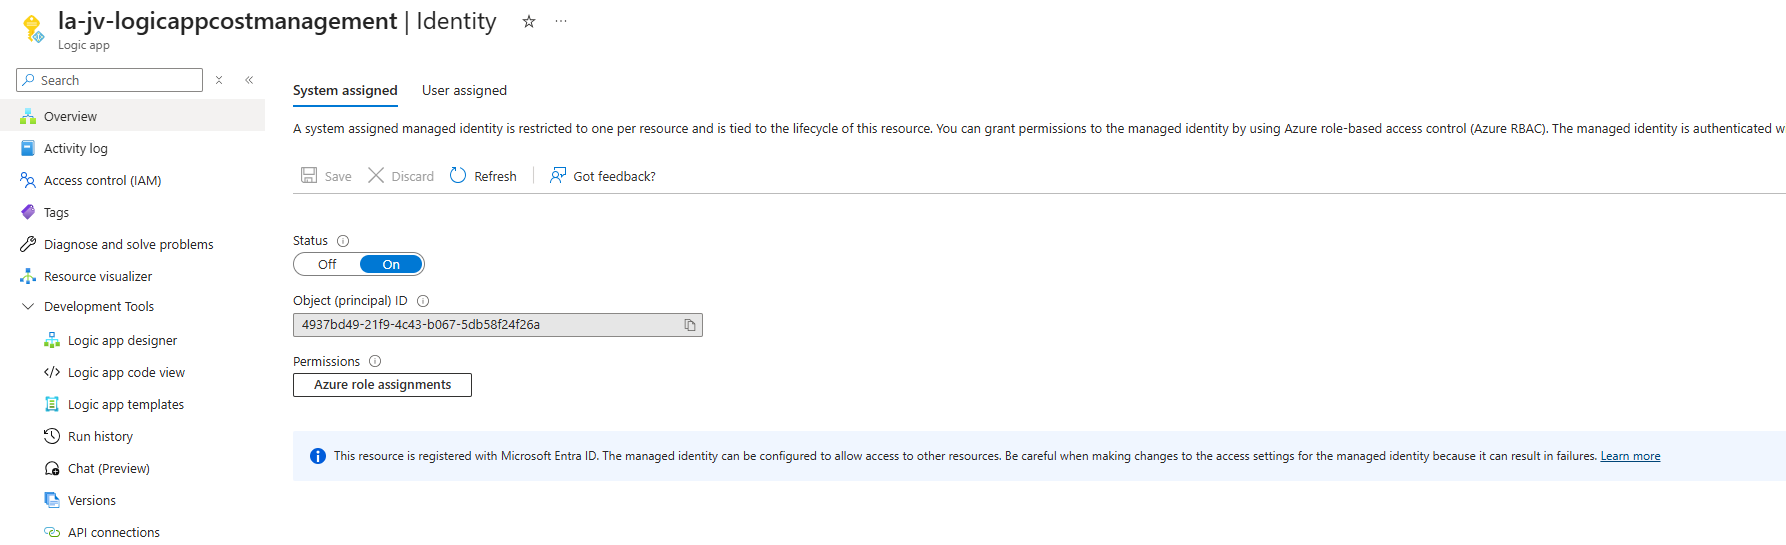
After confirming this action, your blade should look like this:
Step 3: Setting up the Managed Identity permissions
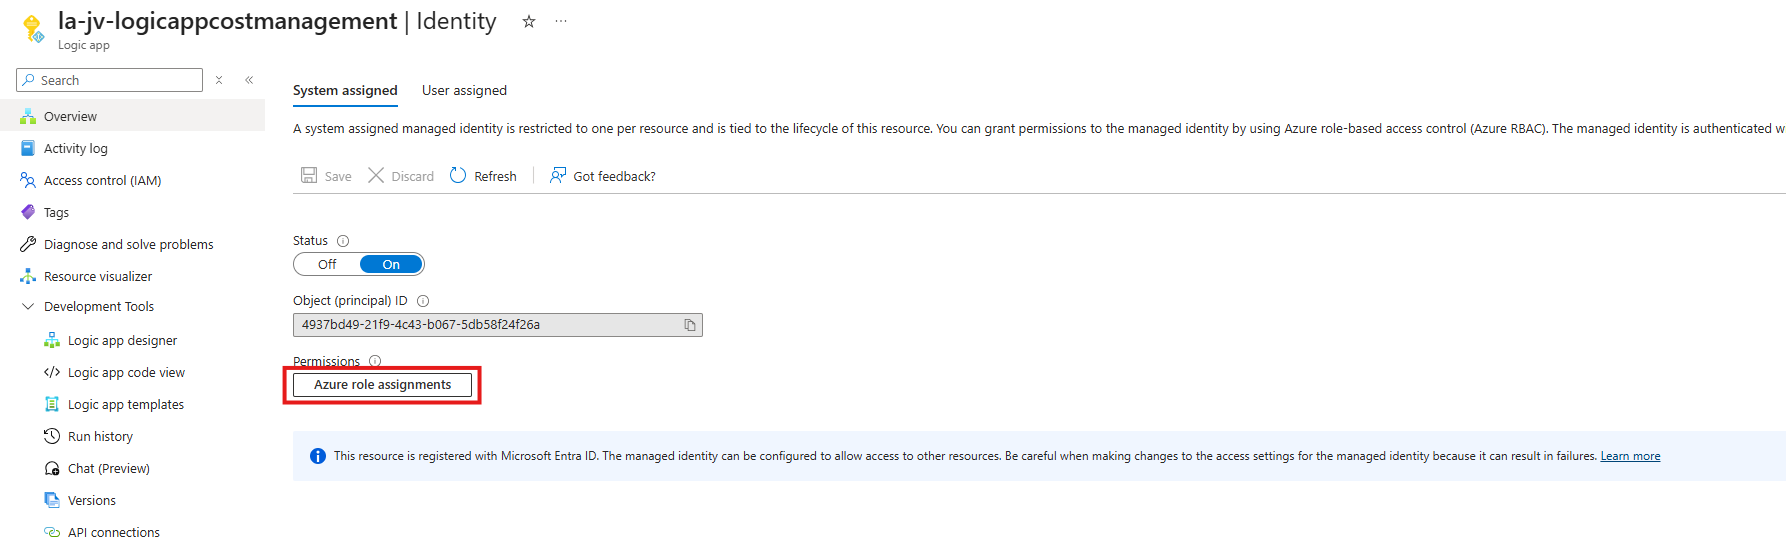
On the same page as where we ended in Step 2, click on “Azure role assignments”:
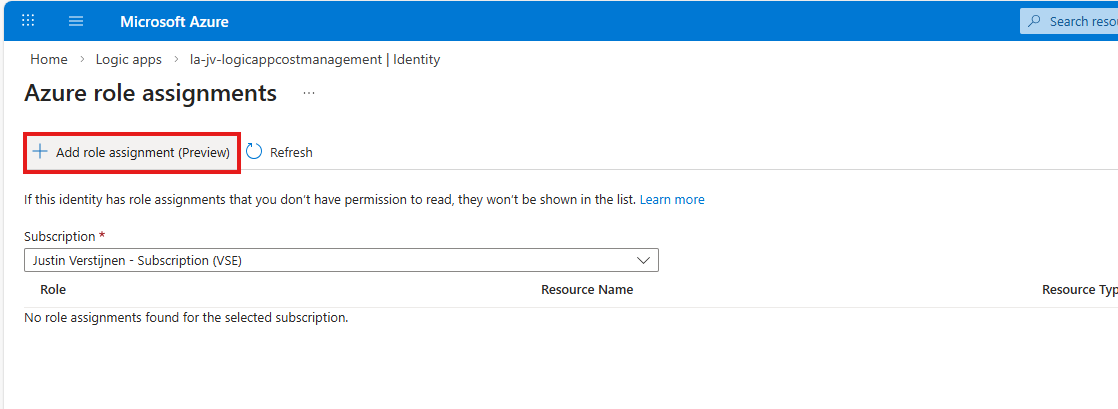
Then select the subscription where you want to collect the data from, and click on “+ Add role assignment”:
Now select the “Subscription” option as scope, and search for the “Costs Management Reader” role:
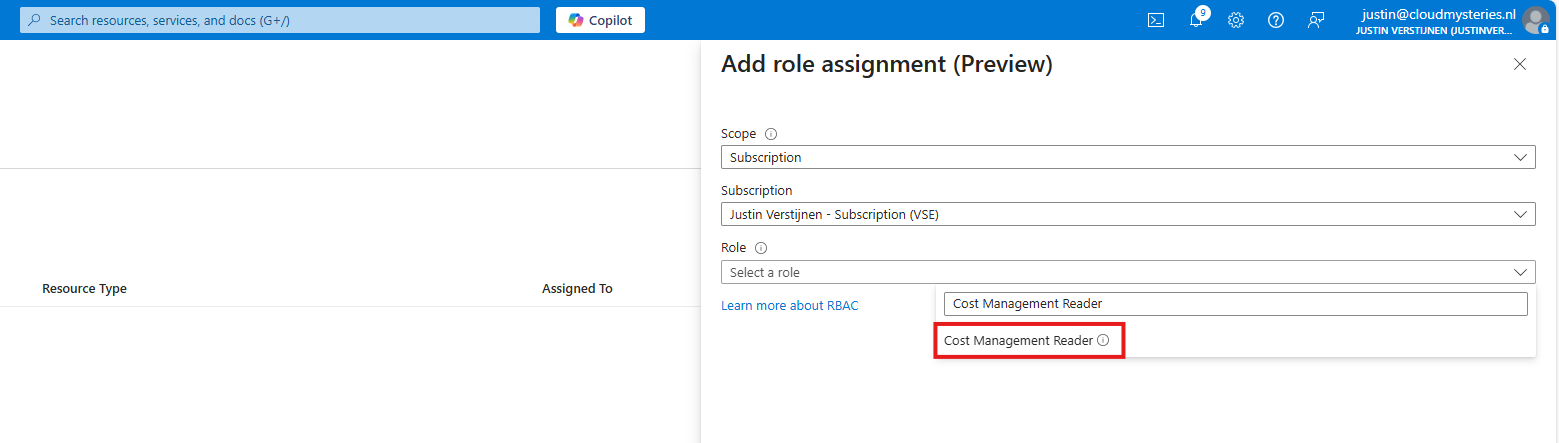
Select it and hit “Save”. The role assignment is now ready to be used.

Step 4: Building the Logic App
Now we have the Logic App in place and our permissions setup corrrectly, we can start by building the Logic App itself.
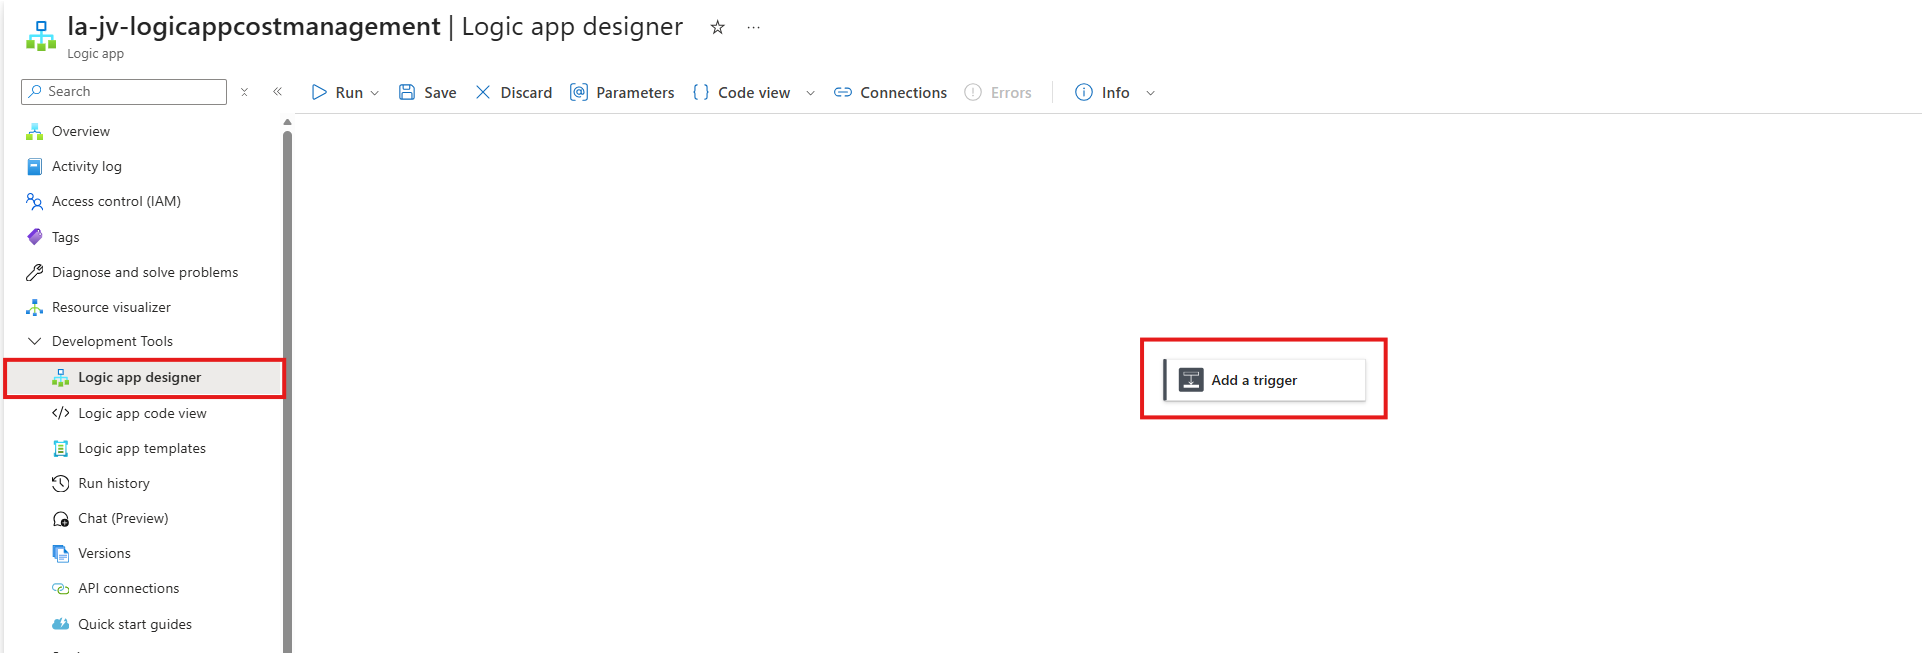
Open up the Logic App and open the Designer. Then click “Add a trigger”.
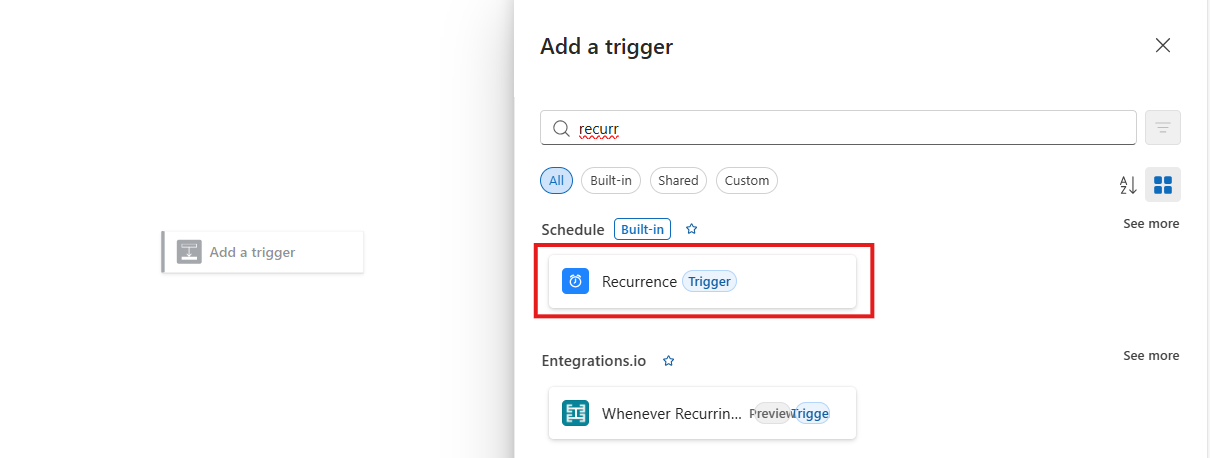
Search for the trigger option “Recurrence” and select it.
Configure this to your likings when you want to receive the report. I have made an example to send this every sunday at 21:00 (9:00 PM).
Now under the recurrence, we will add an action called “Send an email”.
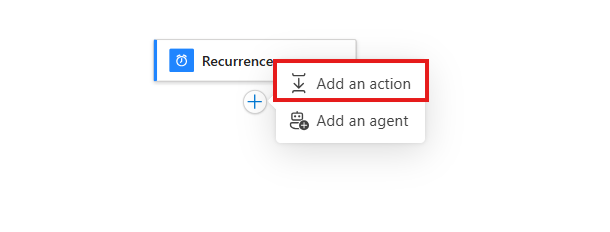
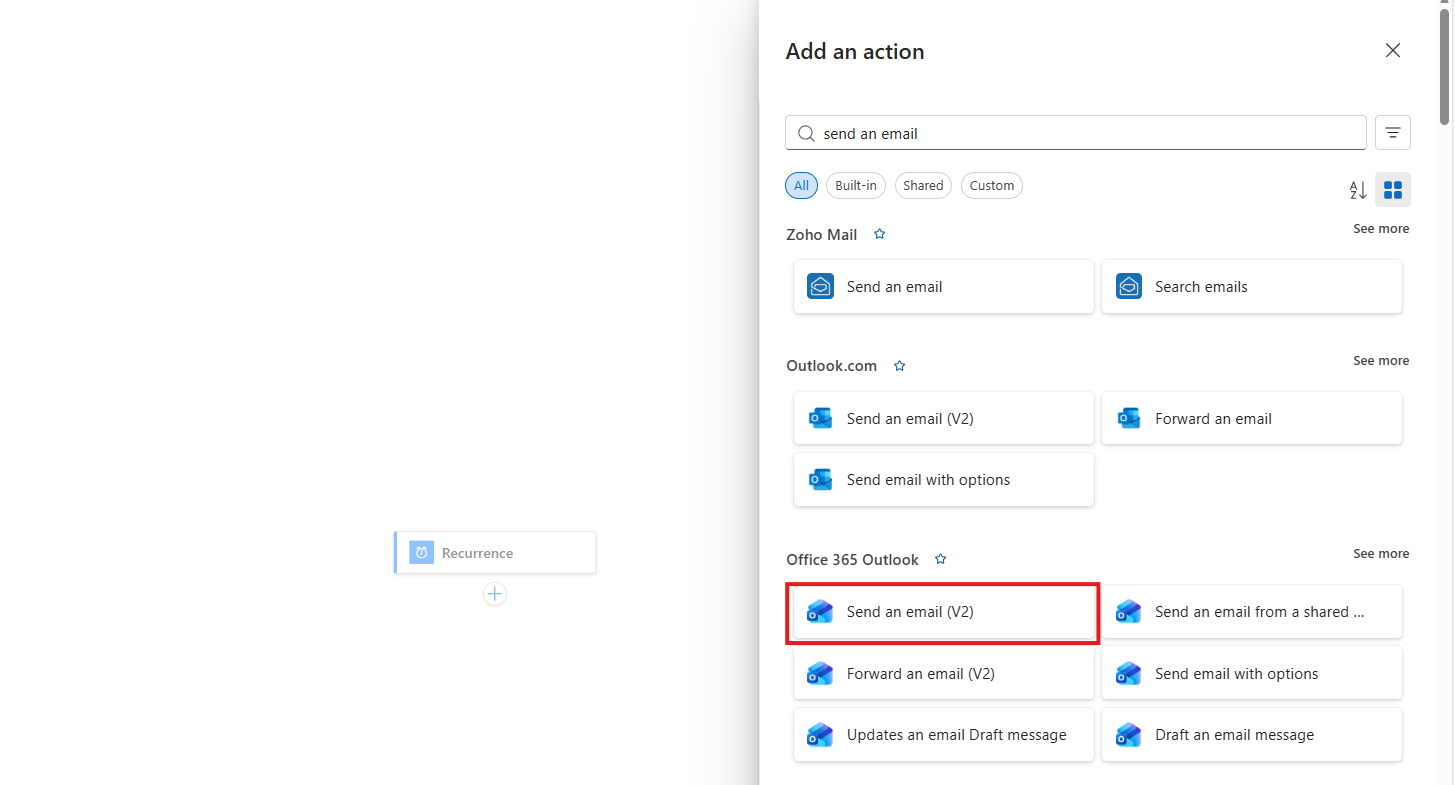
Make sure to select the Office 365 Outlook variant. Now login to an account where you want to send the mail from. This can be any account or shared mailbox in your environment.
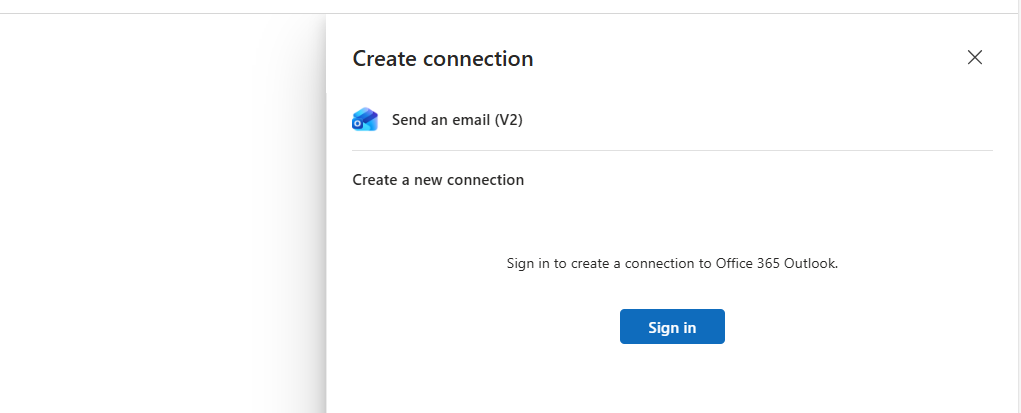
After adding the connection, fill in the following fields with random information and save the Logic App.
- To
- Subject
- Body
Now we will paste in the code found on my GitHub page as this saves you a ton of work and makes sure the Logic App actually works.
Paste the code found in the JSON file into the “Logic App code view” blade, and change this information on lines 224 and 225. You need to paste your subscription id where your Logic App exists and the resource group itself.

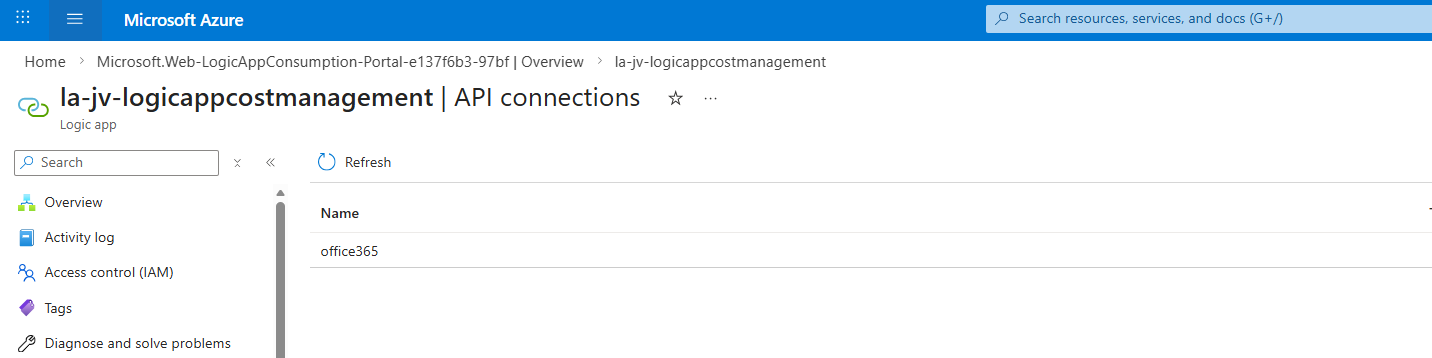
Now save the Logic App and look for possible errors. It can give an error about the connection name if you have existing Office 365 connections already made. In that case, you need to change the connection name (office365) to yours on lines:
- 196
- 223
- 225
- 226
You can find your connection names on the “API connections” blade:
Step 5: Testing the Logic App
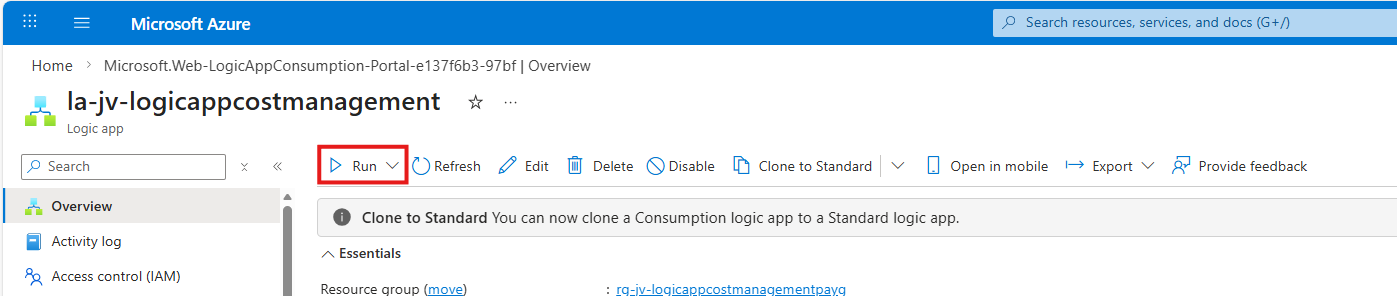
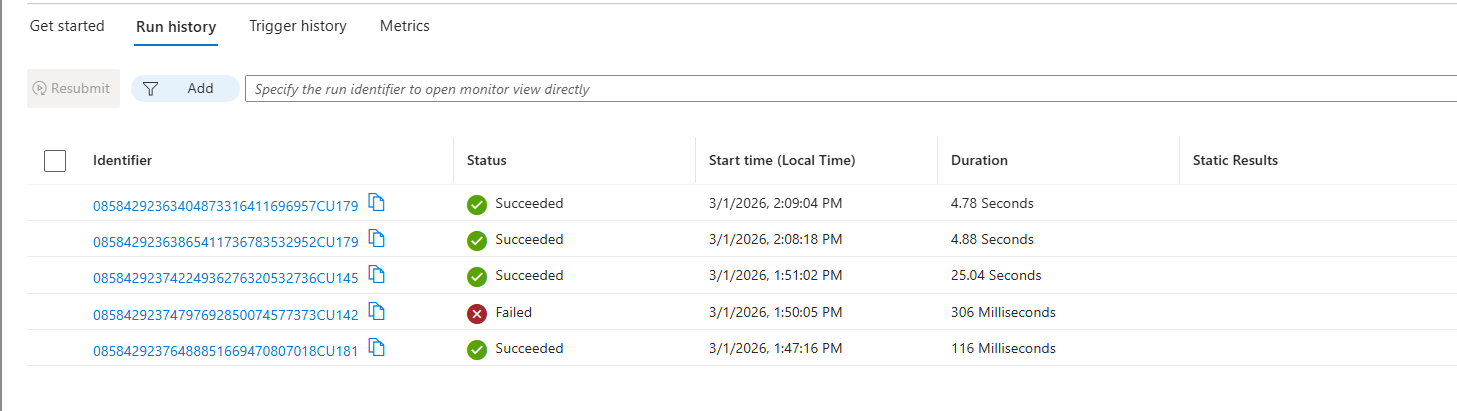
After succesfully saving the Logic App, lets run it for the first time. On the Logic App homepage, click on “Run”. The first time, it will take around 20 to 30 seconds where it collects the information for us on the background, and places it into a HTML table then sending it to us through email.
You can check the status in the “Run history” block:
Let’s check our email now:
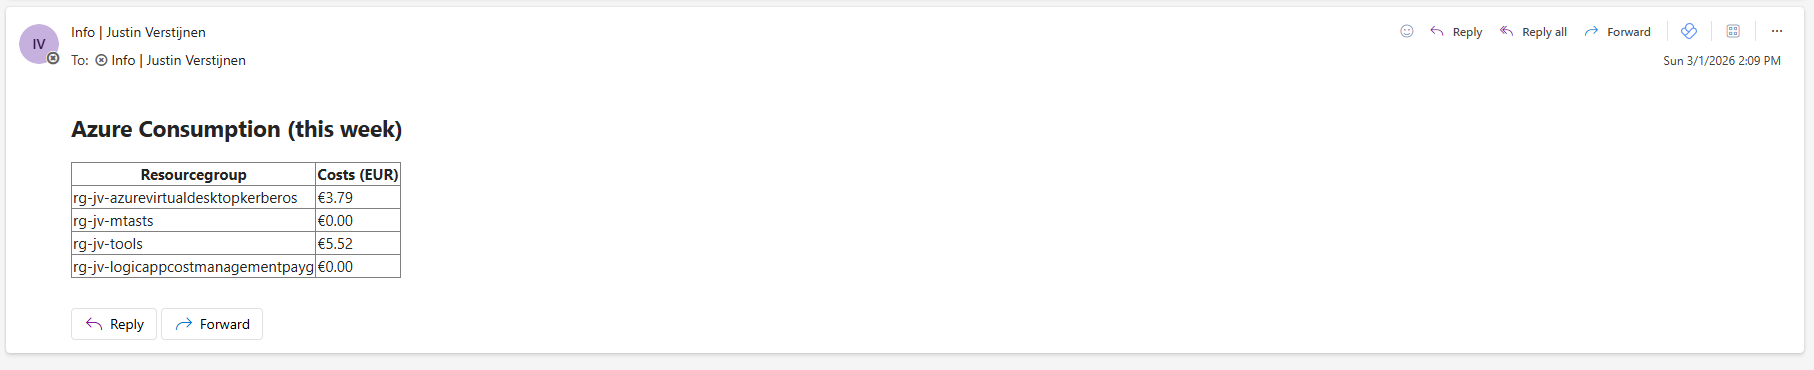
It works and we now got the latest consumption update of our resources in the given subscription. As we configured the recurrence, we will get this every moment you configured, keeping you informed of the costs and where these goes into.
Summary
Because Logic Apps are really fun to play with, I tested if such method for reading costs information does work. Because we already have the table existing, we can do everything with the costs collected. I also like to setup these things with least privileges, so therefore the role “Cost Management Reader” is used.
As we already have a base ready for Logic Apps, we can also use this to send Teams messages, webhooks or do something with Copilot agents. Its up to you!
Thank you for reading this blog and I hope it was helpful.
These sources helped me by writing and research for this post;
End of the page 🎉
You have reached the end of the page. You can navigate through other blog posts as well, share this post on X, LinkedIn and Reddit or return to the blog posts collection page. Thank you for visiting this post.
Support the blog
