Remove Universal Print Devices/Connectors
Categories:
3 minute read
Introduction
In Universal Print, a connector is the link between your local print environment and Universal Print. Over time, you may end up with connectors that are no longer used. For example, after replacing a print server, changing your print setup, or cleaning up old test configurations. These connectors will store your devices in Entra ID, so over time this list will fill up with old devices and connectors.

Universal Print portal does not provide an option to eventually remove connectors in the portal at https://aka.ms/UPPortal. So if you want to clean them up, you need to use PowerShell.
In this guide, I’ll walk you through the steps to remove a Universal Print connector.
Step 1: Install the Universal Print PowerShell module
First, we need to install the Universal Print PowerShell module. This module contains the cmdlets we need to manage Universal Print from PowerShell.
Open up your PowerShell window and execute this command to install this module:
Install-Module UniversalPrintManagement -Scope CurrentUserIf PowerShell asks you to trust the repository, confirm this if you trust the source.
The Module installation can take up to some minutes, in my case this was around 3 minutes to completely finish.
Step 2: Connect to Universal Print
Now that we have our module installed, we are ready to connect your PowerShell session to Universal Print. Run this command to connect to your Microsoft Entra tenant:
Connect-UPServiceA sign-in window will appear. Sign in with an account that has the required permissions to manage Universal Print in your tenant.
If the sign-in was succesful, you will not receive any further error messages and we are ready to go to the next step.
Step 3: Remove the connector
Before we can remove the connector, make sure you have the correct ConnectorId. You can find the ConnectorId in the Universal Print connector details in the Azure portal (https://aka.ms/UPPortal).
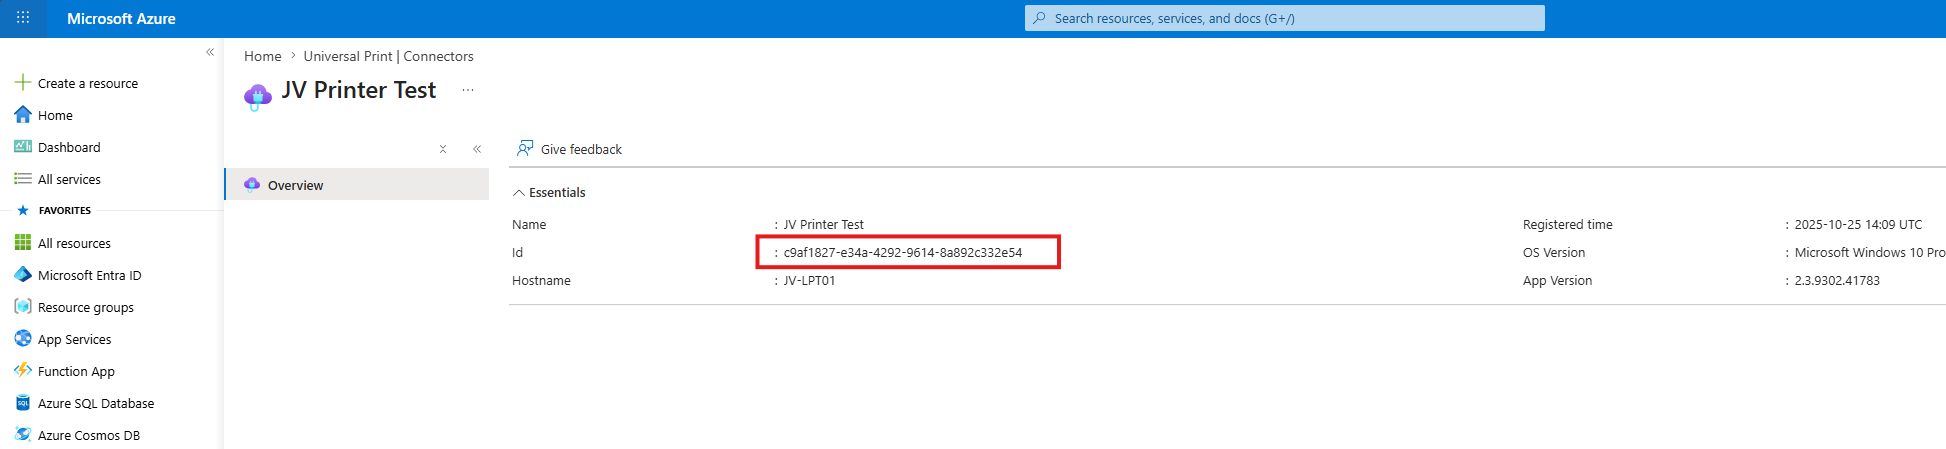
Copy this value as we will need this Id in our PowerShell command. Please double check if you have the right connector in case of multiple connectors.
Now remove the connector by running the command below. Replace the example ConnectorId with the ConnectorId of the connector you want to remove.
Remove-UPConnector -ConnectorId c9af1827-e34a-4292-9614-8a892c332e54
After running the command, the connector will be removed from the Universal Print portal:
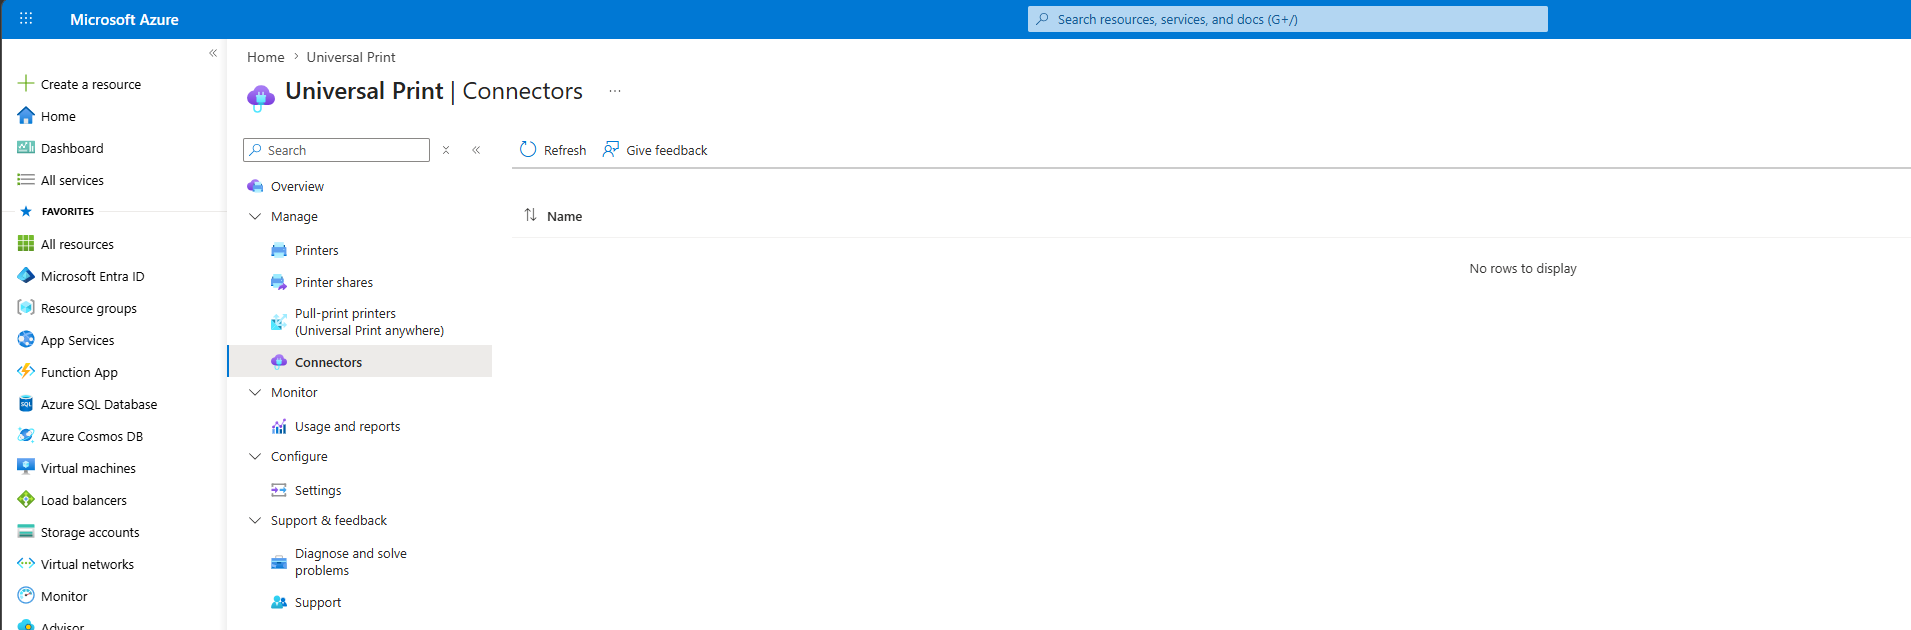
That’s it. Your unused Universal Print connector should now be removed!
Summary
Universal Print connectors cannot be removed from the Universal Print portal. If you want to clean up old or unused connectors, you need to remove them with PowerShell. In this guide we followed the relatively easy steps to achieve this goal.
The process is simple:
- Install the Universal Print PowerShell module.
- Connect to Universal Print.
- Find the correct ConnectorId.
- Remove the connector with the Remove-UPConnector command.
Thank you for reading this post and I hope it was helpful!
Sources
These sources helped me with writing and research for this post:
End of the page 🎉
You have reached the end of the page. You can navigate through other blog posts as well, share this post on X, LinkedIn and Reddit or return to the blog posts collection page. Thank you for visiting this post.
If you think something is wrong with this post or you want to know more, you can send me a message to one of my social profiles at: https://justinverstijnen.nl/about/
If you find this page and blog very useful and you want to leave a donation, you can use the button below to buy me a beer. Hosting and maintaining a website takes a lot of time and money. Thank you in advance and cheers :)

The terms and conditions apply to this post.