Save Azure costs on Virtual Machines with Start/Stop
Categories:
10 minute read
Requirements
- Around 45 minutes of your time
- An Azure subscription
- One or more Azure VMs to automatically start and stop
- Basic knowledge of Azure
- No fear of JSON configurations
- Some drink of your choice
Introduction to the Start/Stop solution
The Start/Stop solution is a complete solution and collection of predefined resources built by Microsoft itself. It is purely focussed on starting VMs and stopping VMs based on some rules you can configure. The solution consists of some different resources and dependencies:
| Type of resource | Purpose |
| Application Insights | Enables live logs in the Function App for troubleshooting |
| Function App | Performs the underlying tasks |
| Managed Identity (on Function App) | Gets the permissions on the needed scope and is the “service account” for starting and stopping |
| Log Analytics Workspace | Stores the logs of operations |
| Logic Apps | Facilitate the schedule, tasks and scope and sends this to the Function App to perform |
| Action Group/Alerts | Enables notifications |
The good thing about the solution is that you can name all resources to your own likings and configure it without the need to built everything from scratch. It saves a lot of time and we all know, time is money.
To learn more about the Start/Stop solution, check out this page: https://learn.microsoft.com/en-us/azure/azure-functions/start-stop-vms/overview
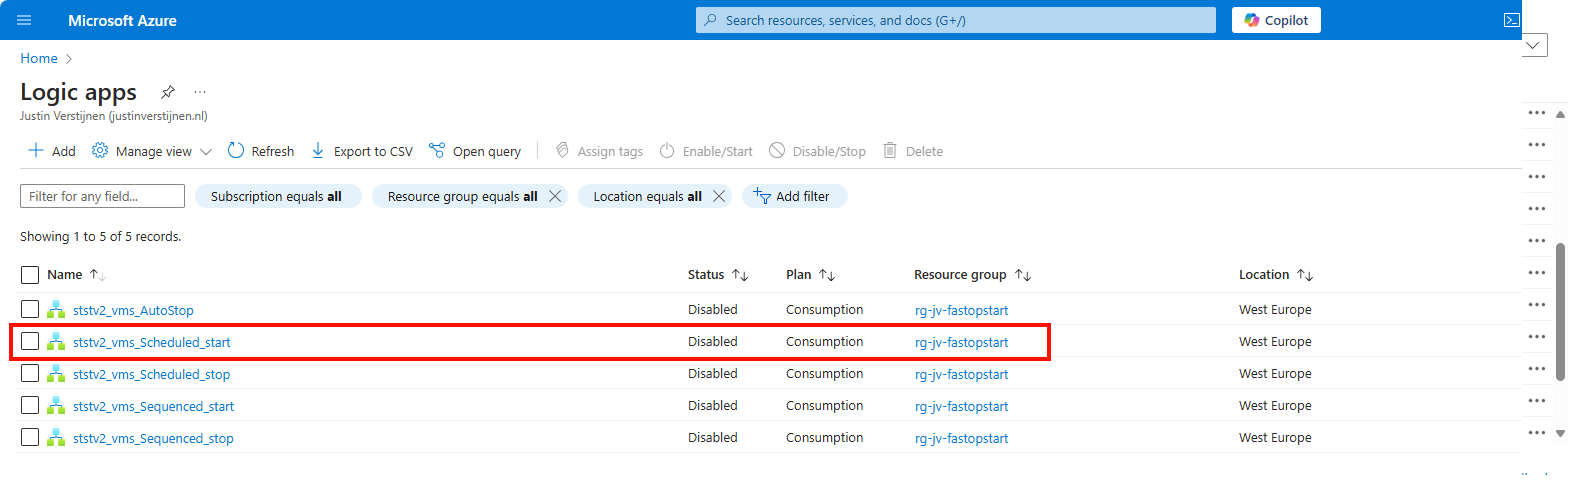
After deploying the template to your resource group, you can find some Logic Apps that are deployed to the resource group:
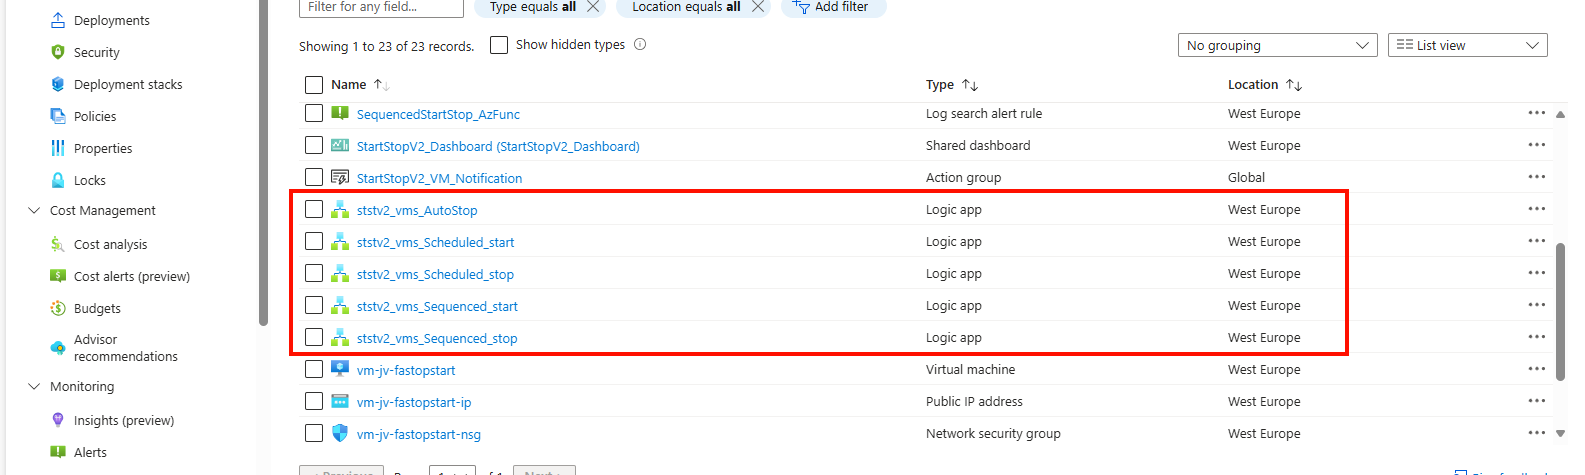
These all have their own task:
- AutoStop: Stop VMs automatically at a certain time
- Scheduled Start: Start VMs at a scheduled time
- Scheduled Stop: Stop VMs at a scheduled time
- Sequenced Start: Start VMs in a predefined order at a scheduled time
- Sequenced Stop: Stop VMs in a predefined order at a scheduled time
In this guide, I will stick to the Scheduled Start and Scheduled Stop tasks because this is what we want.
Possible savings
With this solution you can start and stop virtual machines on scheduled times. This can save Azure Consumption costs because you pay significantly less when VMs are stopped (deallocated) instead of turned on and not being used. You can see this as lights in your house. You don’t leave them all on at night do you?
Let’s say, we have 5 servers (E4s_V5 + 256GB storage) without 1 or 3 year reservations and a full week, which is 168 hours. We are using the Azure calculator for these estimations:
| Running hours | Information | Hours | Costs (a week) | % costs saved |
| 168 hours | Full week | 24/7 | $ 619 | 0% |
| 126 hours | Full week ex. nights | 6AM to 12PM | $ 517 | 16% |
| 120 hours | Only workdays | 24/5 | $ 502 | 19% |
| 75 hours | Business hours + spare | 6AM to 9PM | $ 392 | 37% |
Check out how these calculations are made: https://azure.com/e/763a431f77dc4c73868c4f250e6cf522
As you can see, the impact on the costs is great, according to the times you enable the servers. You can save up to 35% but at the expense of availability. Also, we always have to pay for our disks IP addresses so the actual savings are not linear to the running hours.
There can be some downsides to this, like users wanting to work in the evening hours or on weekends. The servers are unavailable, so is their work.
Deploying the Start/Stop solution
To make our life easier, we can deploy the start/stop function directly from a template which is released by Microsoft. You can click on the button below to deploy it directly to your Azure environment:
Source: https://learn.microsoft.com/en-us/azure/azure-functions/start-stop-vms/deploy
After clicking the button, you are redirected to the Azure Portal. Log in with your credentials and you will land on this page:
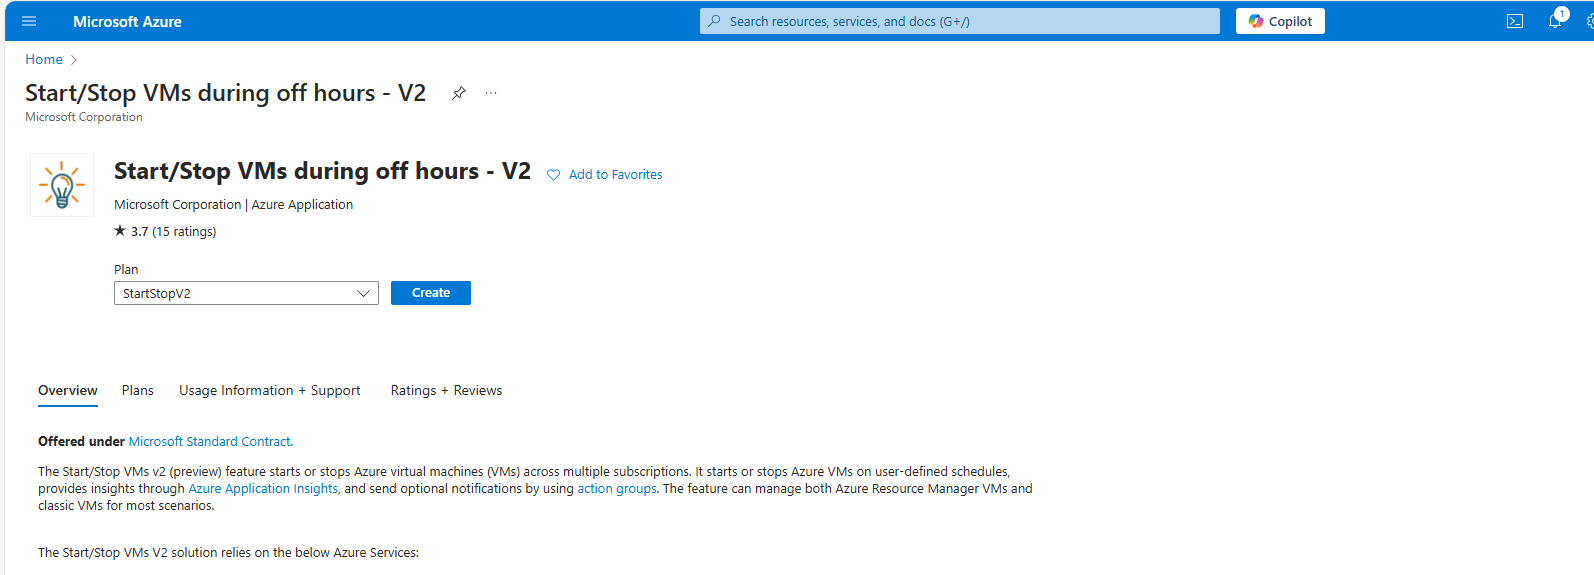
Selectthe appropriate option based on your needs and click on “Create”
- StartStopV2
- StartStopV2-AZ -> Zone Redundant
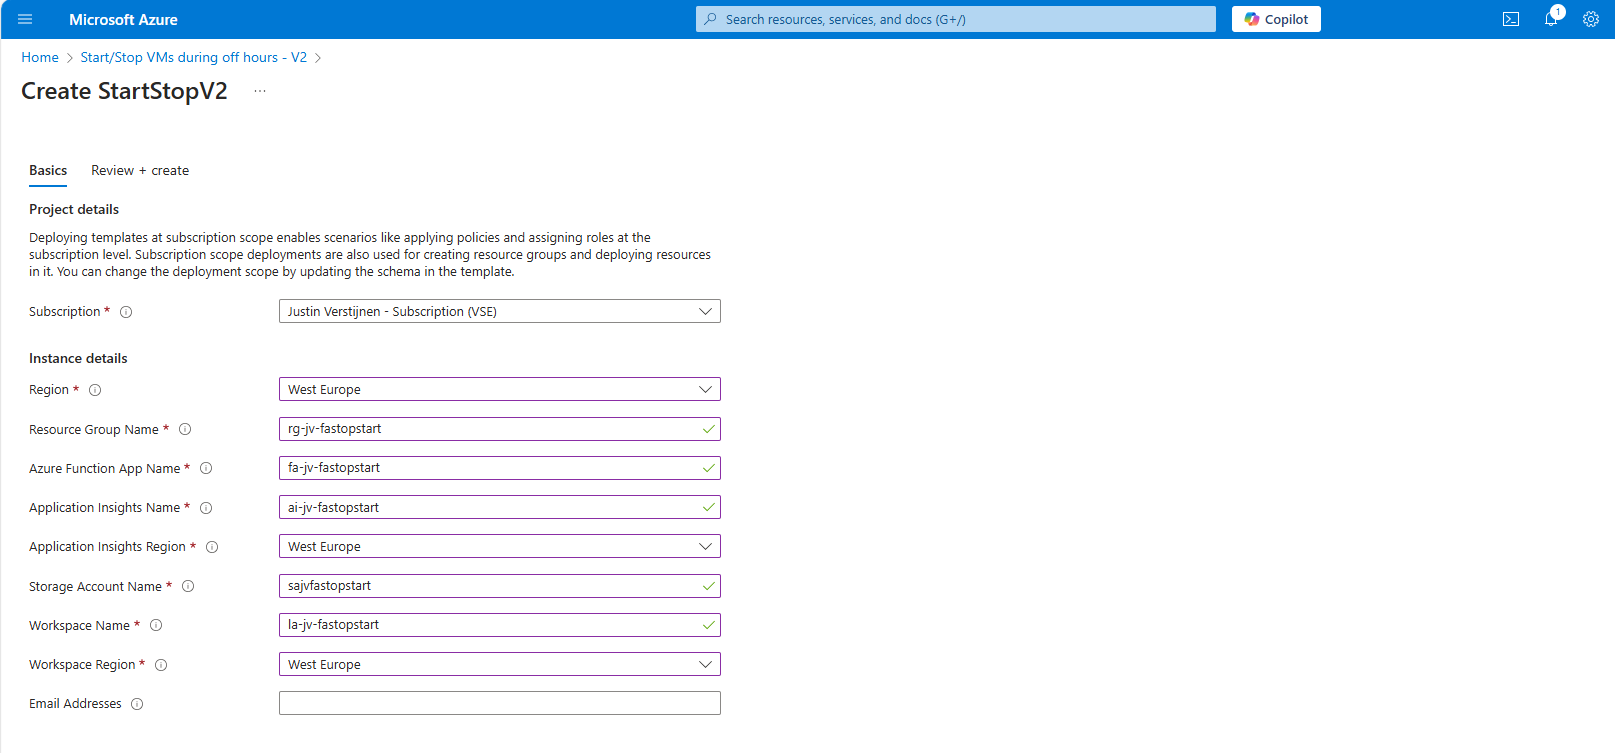
You have to define names of all the dependencies of this Start/Stop solution.
After this step, create the resource and all the required components will be built by Azure. Also all the permissions will be set correctly so this minimizes administrative effort.
There is created a managed identity and will be assigned “Contributor” permissions on the whole resource group. This way it has enough permissions to perform the tasks needed to start and shutdown VMs.
Logic Apps described
In Azure, search for Logic Apps and go to the ststv2_vms_Scheduled_start resource.
Open the Resource and on the left, click on the “Logic App Desginer”.
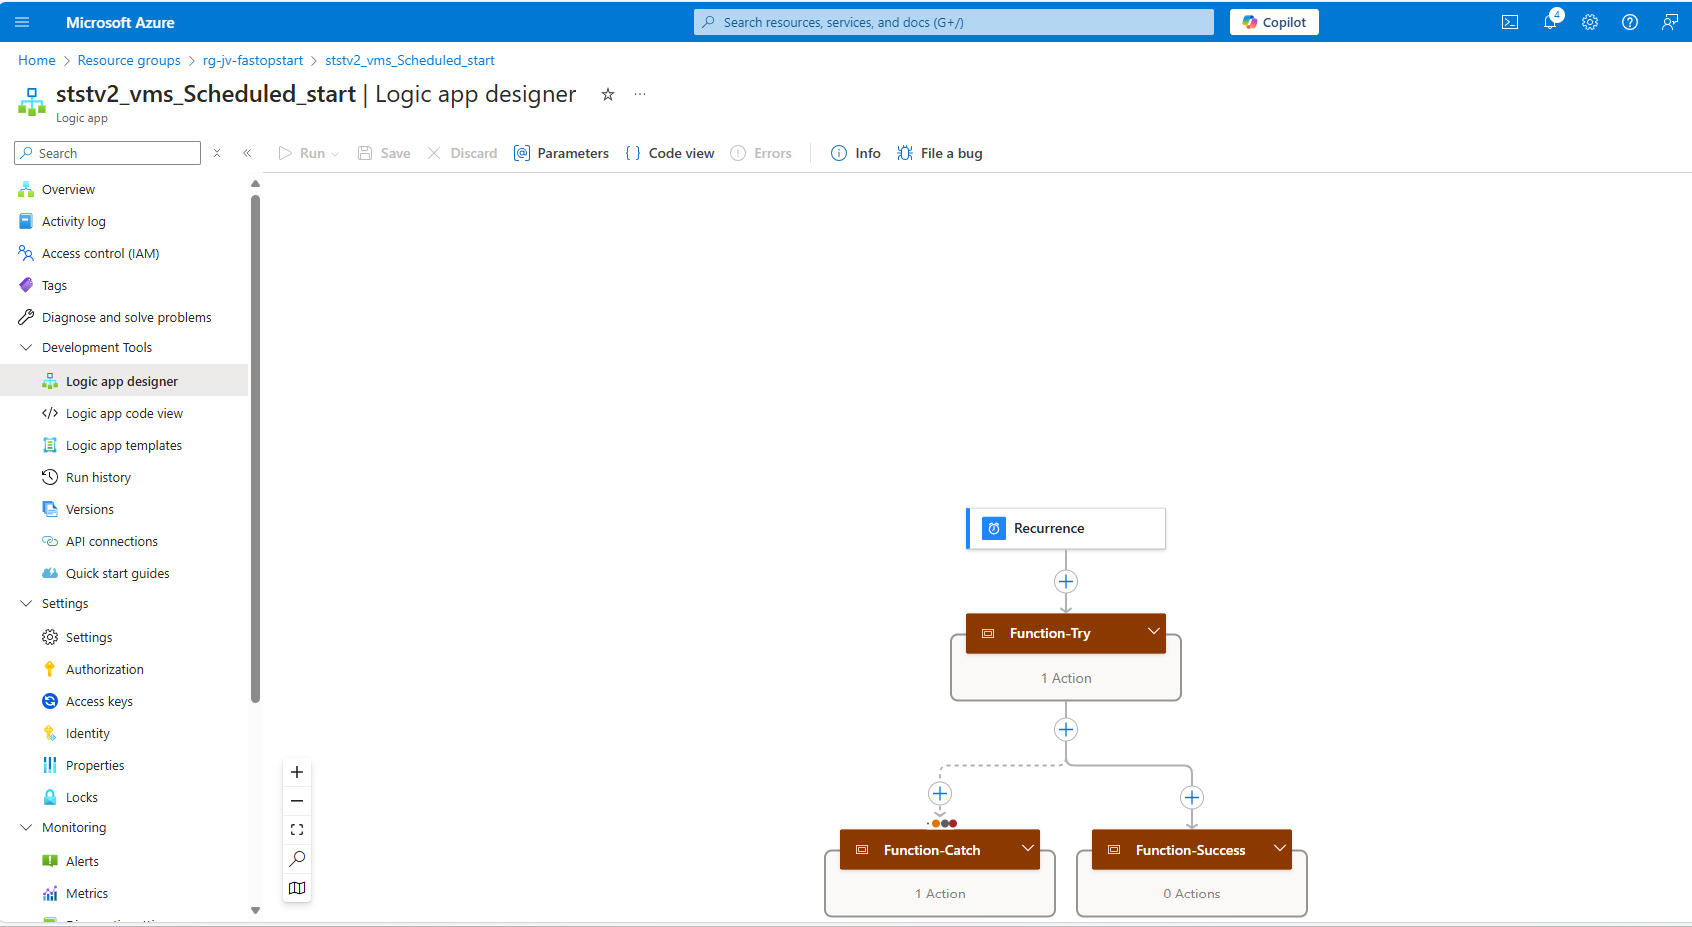
Here you see some tasks and blocks, similar to a Power Automate flow if you are familiar with those.
We can configure the complete flow here in the blocks:
- Recurrence: Here is where you define your scheduled start time of the VM(s)
- Function-Try: Here is the scope of the VMs you wil automatically start. You can define:
- Whole subscription: to start all VMs in a certain subscription
- Resource Group: to start all VMs in a certain resource group
- Single VM: To start one VM
Configure Auto start schedule
Click on the “Recurrence” block and change the parameters to your needs. In my case, I configured to start the VM on 13:45 Amsterdam time.
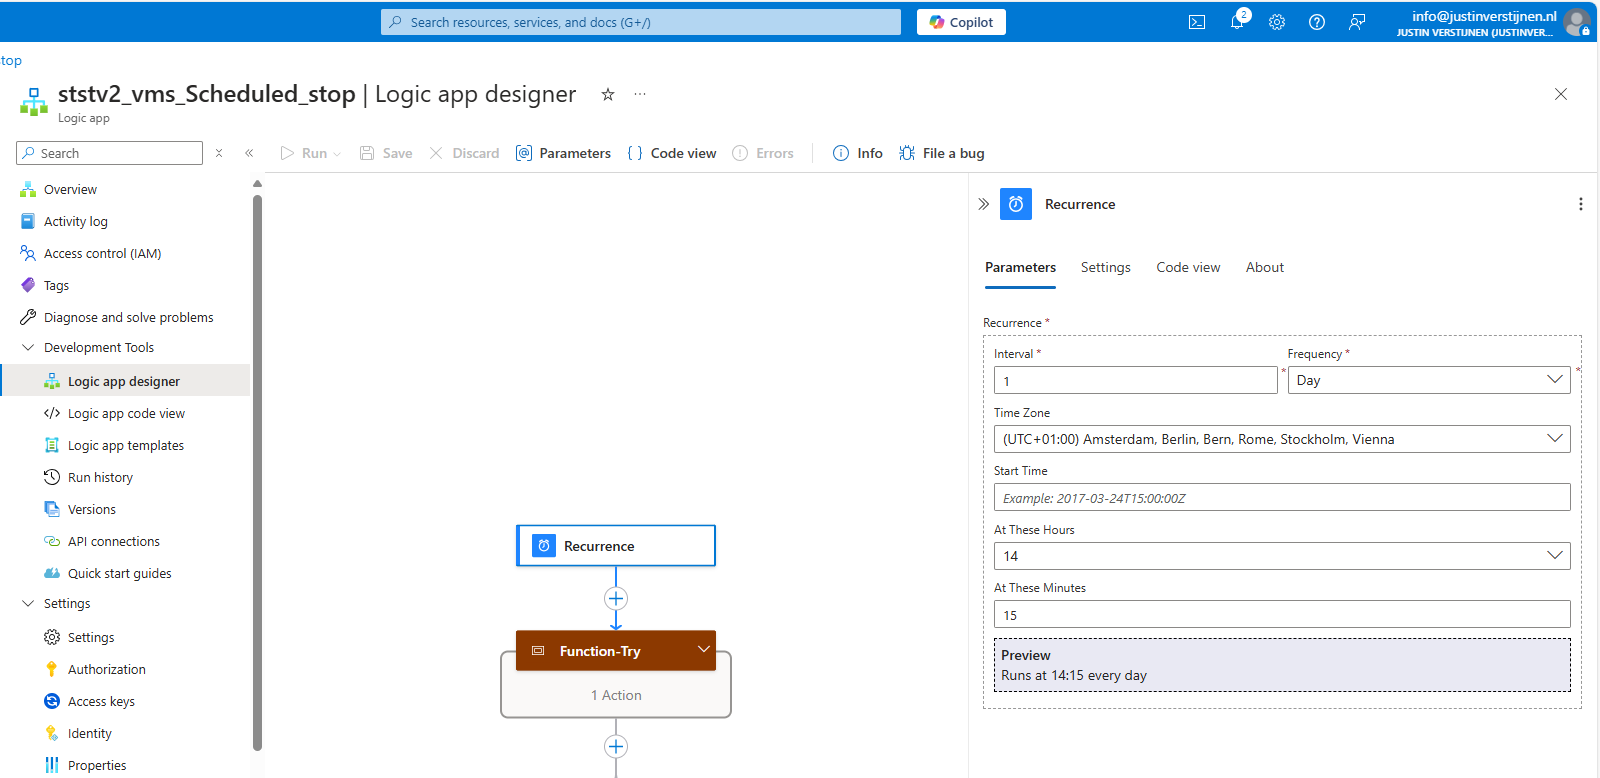
After configuring the scheduled start time, you can close the panel on the right and save the configuration.
Configuring the scope
After configuring the recurrence we can configure the scope of the start logic app. You can do that by clicking on “Function-Try”.
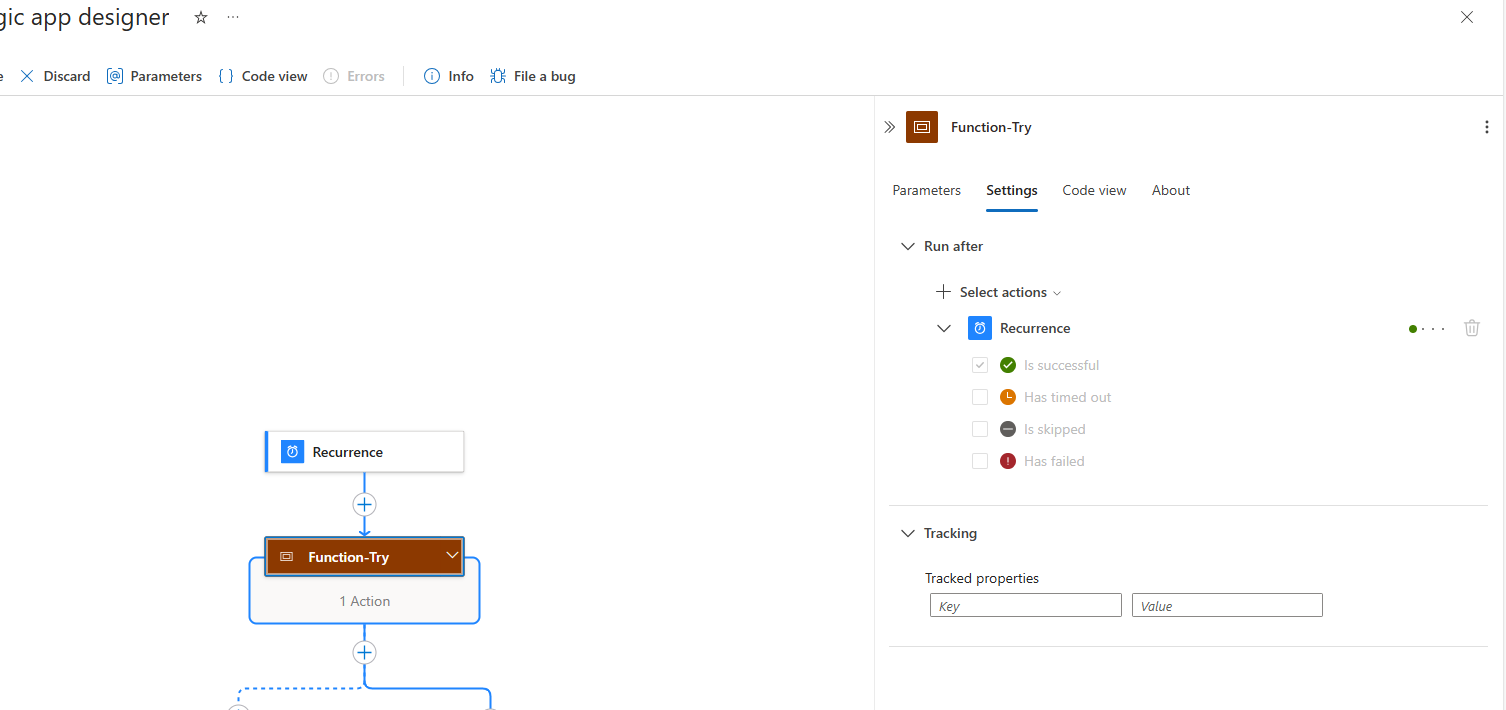
On the “Settings” tab you can see that the recurrence we configured is used in this task to check if the time is matched. If this is a “success” the rest of the Logic App will be started.
Now we have to open the “Logic app code view” option on the left and we have to make a change to the code to limit the scope of the task.
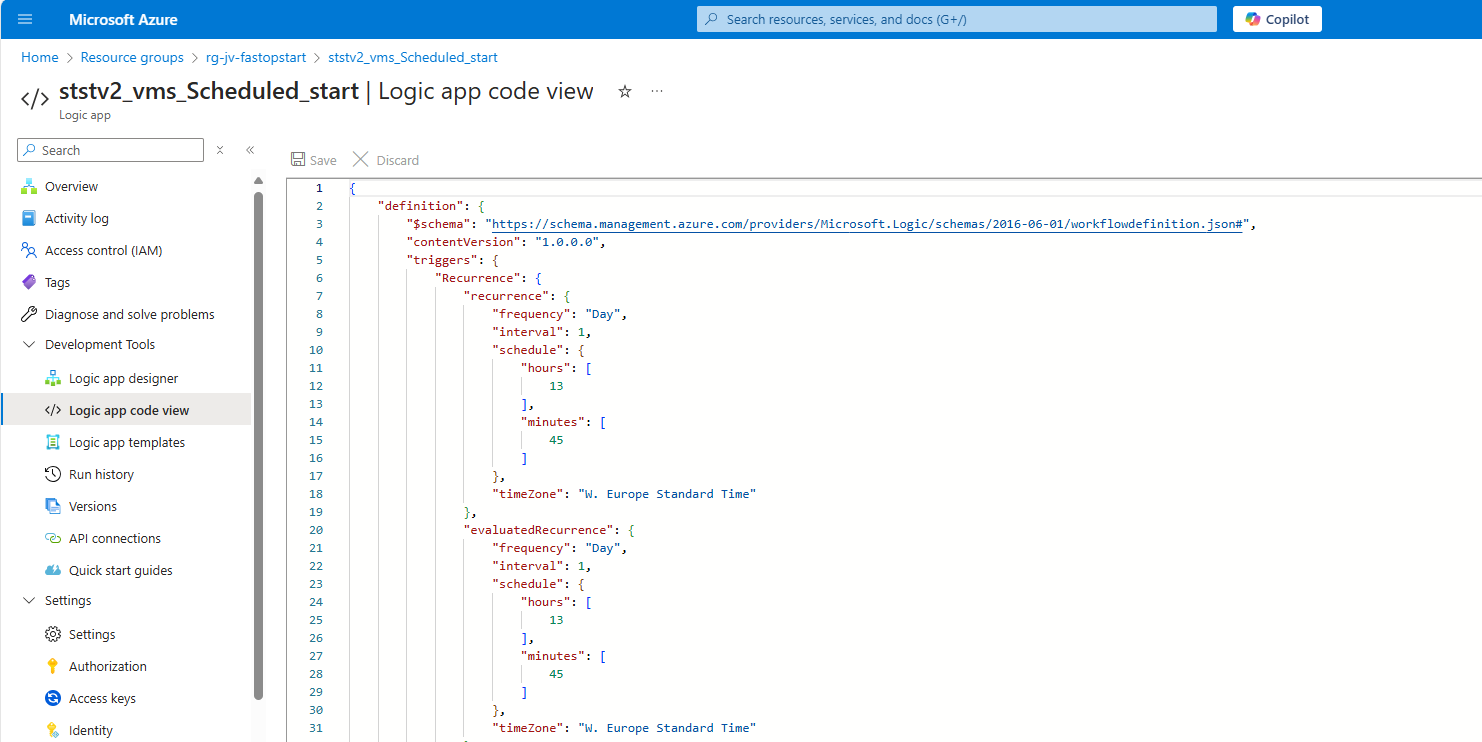
Now we have to look out for a specific part of this code which is the “Function-Try” section. In my case, this section starts on line 68:
Now we have to paste the Resource ID of the resource group in here. You can find the Resource ID of the resource very fast and in a copy-paste manner by navigating to the resource group on a new browser tab, go to properties and in the field “Resource ID”:
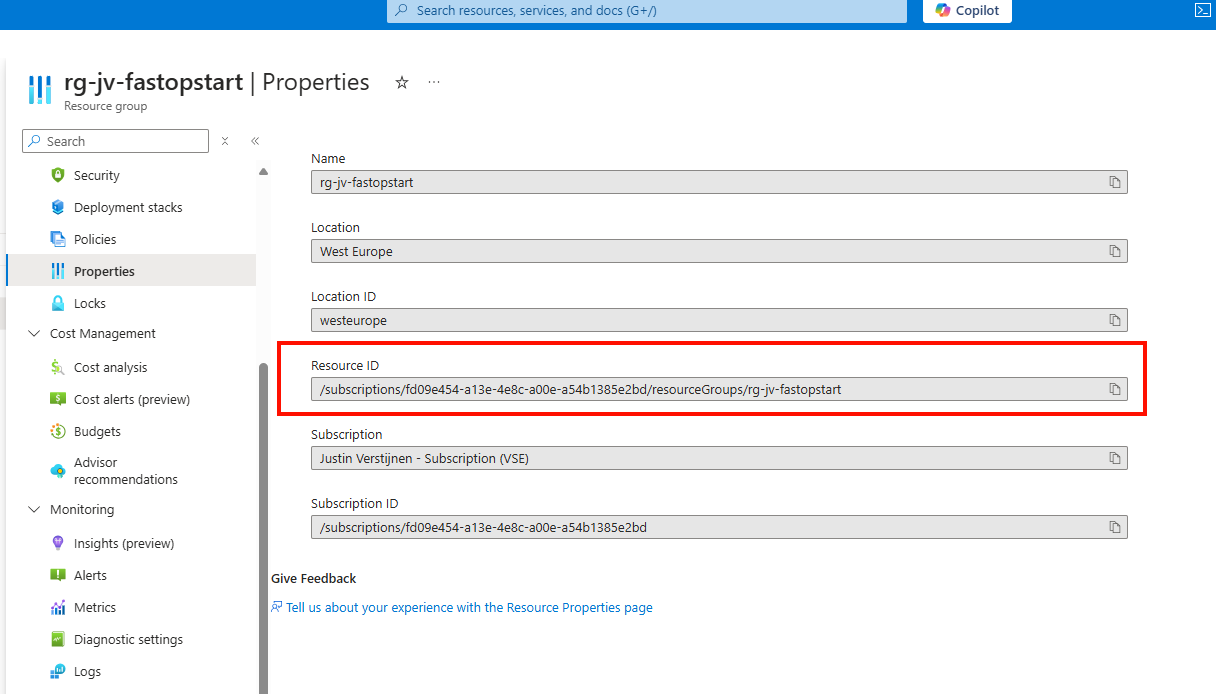
Paste the Resource ID of the resource group and head back to the logic app code view browser tab.
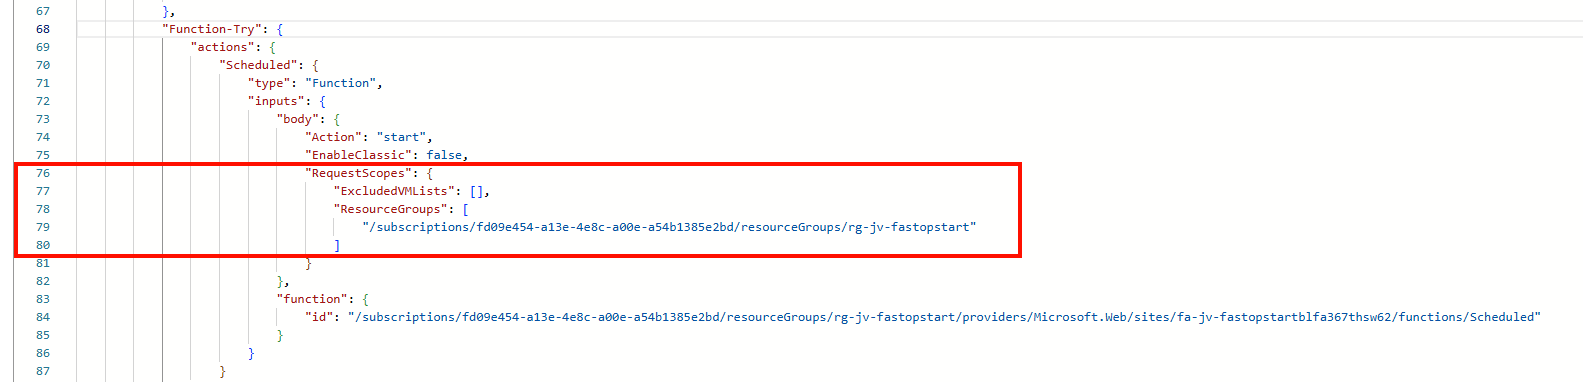
Paste the copied Resource ID there and add a part of code just under the “RequestScopes” parameter if you want to exclude specific VMs:
"ExcludedVMLists": [],In the “ExcludedVMLists” part you can paste the resource ID of virtual machines in the same resource group which you want to exclude from the Auto Start/Stop solution.
Now my “Function-Try” code block looks like this (line 68 to line 91):
"Function-Try": {
                "actions": {
                    "Scheduled": {
                        "type": "Function",
                        "inputs": {
                            "body": {
                                "Action": "start",
                                "EnableClassic": false,
                                "RequestScopes": {
                                    "ExcludedVMLists": [],
                                    "ResourceGroups": [
                                        "/subscriptions/fd09e454-a13e-4e8c-a00e-a54b1385e2bd/resourceGroups/rg-jv-fastopstart"
                                    ]
                                }
                            },
                            "function": {
                                "id": "/subscriptions/fd09e454-a13e-4e8c-a00e-a54b1385e2bd/resourceGroups/rg-jv-fastopstart/providers/Microsoft.Web/sites/fa-jv-fastopstartblfa367thsw62/functions/Scheduled"
                            }
                        }
                    }
                },
                "runAfter": {},
                "type": "Scope"
            }
If you want to copy and paste this code in your own configuration, you have to change the resource group to your own on line 12 above and the Resource ID of the Azure Function on line 17.
After this change, save the configuration and go back to the Home page of the logic app.
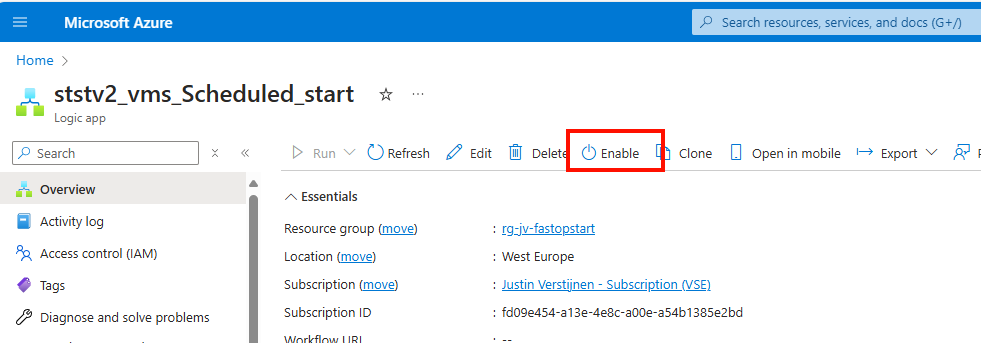
Enable the logic app by clicking “Enable”. This starts the logic app and begins checking the time and starting of the VMs.
Configure Auto stop schedule
To configure the Auto stop schedule, we have to go to the Logic app “ststv2_vms_Scheduled_stop”
Go to the Logic App Designer, just when we did with the Auto Start schedule:
Click on the “Recurrence” block and configure the desired shutdown time.
After changing it to your needs save the logic app and go to the “Logic app code view.
Again, go to Line 68 and change the resource group to the “Resource ID” of your own Resource Group. In my case, the code looks like this (line 68 to line 91):
"Function-Try": {
                "actions": {
                    "Scheduled": {
                        "type": "Function",
                        "inputs": {
                            "body": {
                                "Action": "stop",
                                "EnableClassic": false,
                                "RequestScopes": {
                                    "ExcludedVMLists": [],
                                    "ResourceGroups": [
                                        "/subscriptions/fd09e454-a13e-4e8c-a00e-a54b1385e2bd/resourceGroups/rg-jv-fastopstart"
                                    ]
                                }
                            },
                            "function": {
                                "id": "/subscriptions/fd09e454-a13e-4e8c-a00e-a54b1385e2bd/resourceGroups/rg-jv-fastopstart/providers/Microsoft.Web/sites/fa-jv-fastopstartblfa367thsw62/functions/Scheduled"
                            }
                        }
                    }
                },
                "runAfter": {},
                "type": "Scope"
            }
In the “ExcludedVMLists” part you can paste the resource ID of virtual machines in the same resource group which you want to exclude from the Auto Start/Stop solution.
After configuring the Function-Try block you can save the Logic app and head to its Home page and enable the Logic App to make it active.
Let’s check the Auto Start outcome
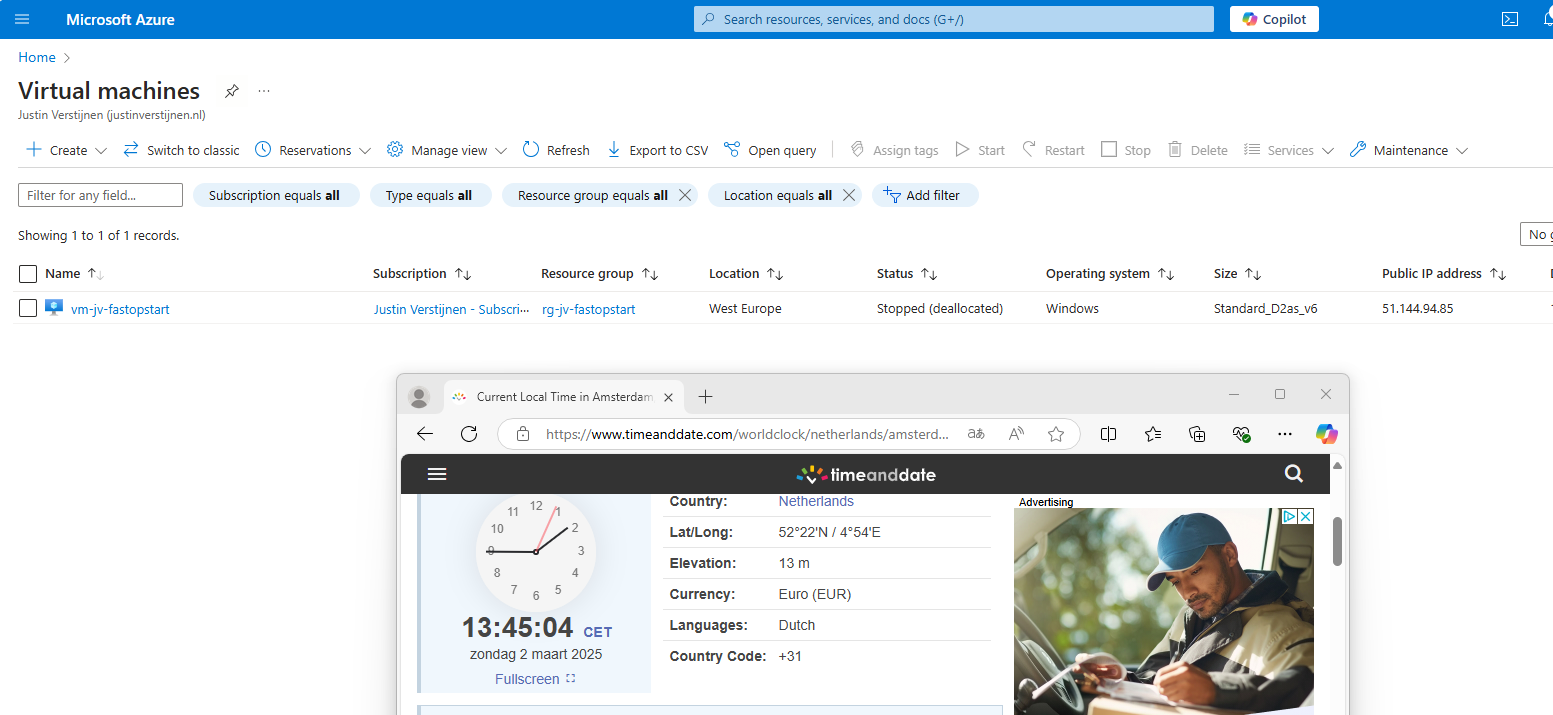
Now I configured the machine to start on 13:45. You will not see the change directly in the Azure Portal but it will definitely start the VM.
At 13:45:
And some minutes later:
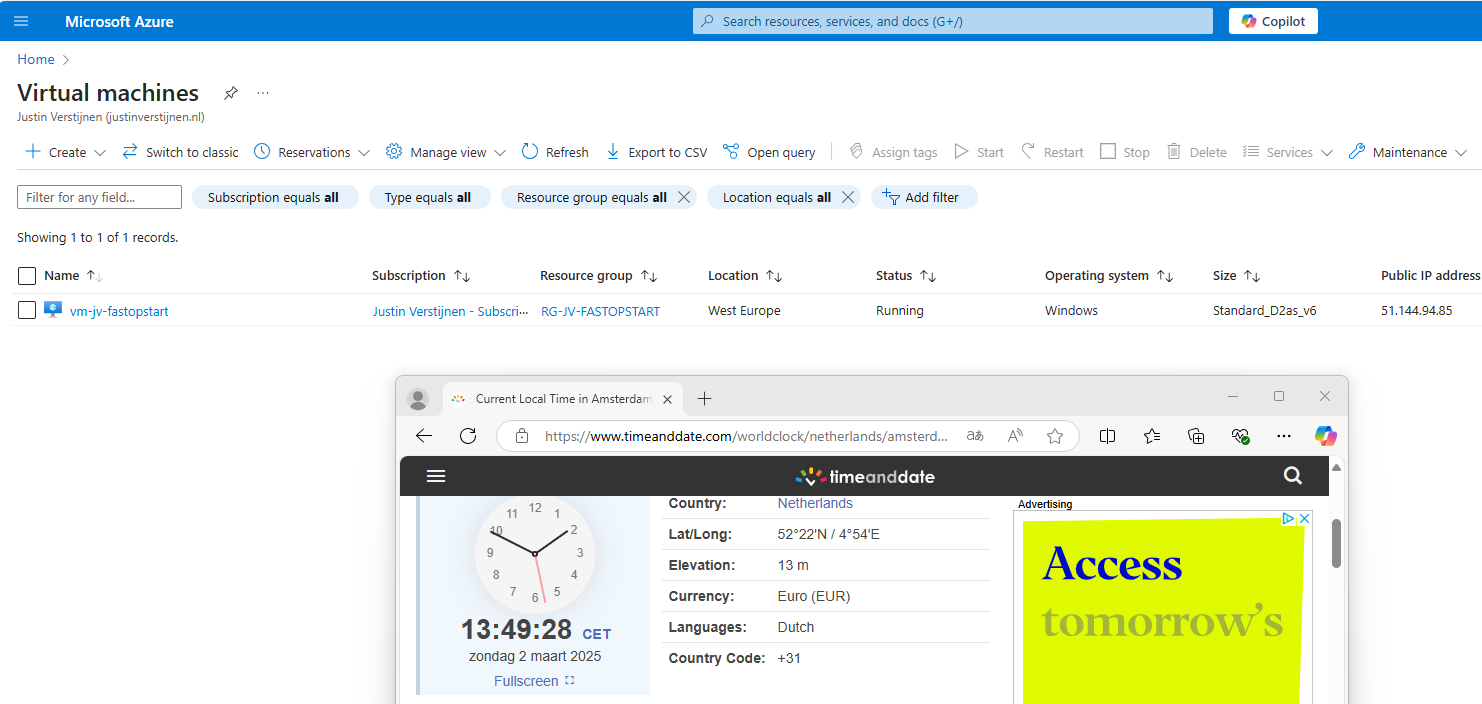
Now the starting procedure will work for all your VMs in that same resource group, excluding VMs you excluded.
Let’s check the Auto Stop outcome
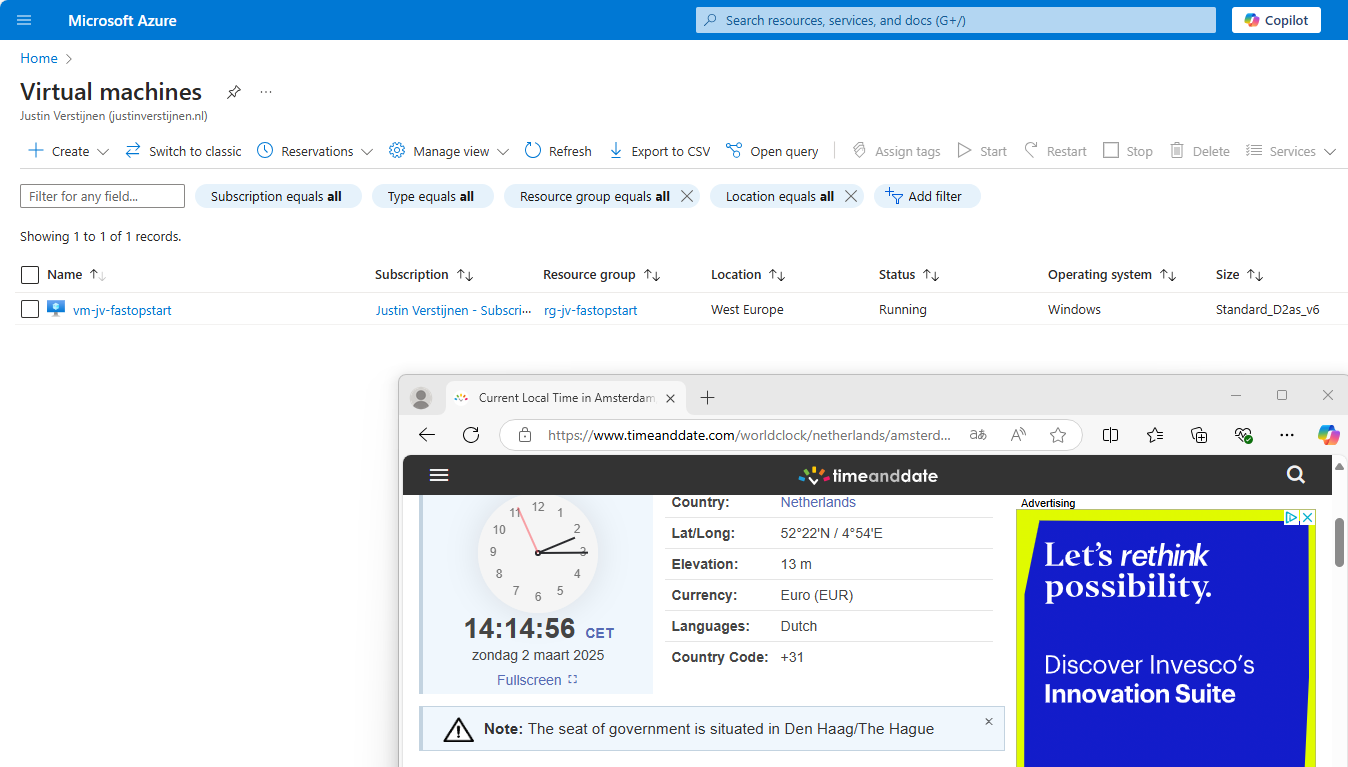
Now I configured the machine to stop on 14:15. My VM is running at this time to test if it will shutdown.
At 14:15:
And some time later:
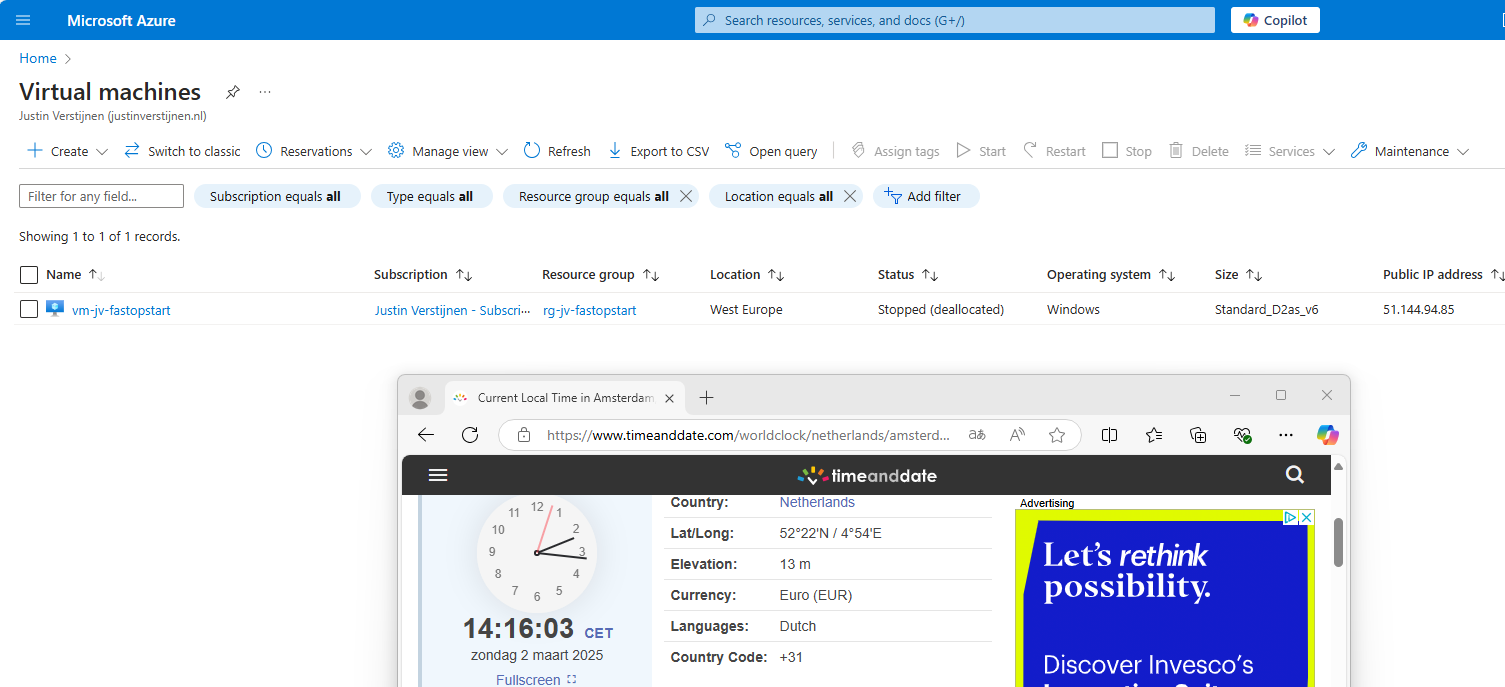
This confirms that the solution is working as intended.
Troubleshooting the Start/Stop solution
There may be some cases that the solution does not work or gives other errors. We can troubleshoot some basic things in order to solve the problem.
- Check the status of the Logic App -> Must be “Enabled”
- Check the trigger of the Logic App
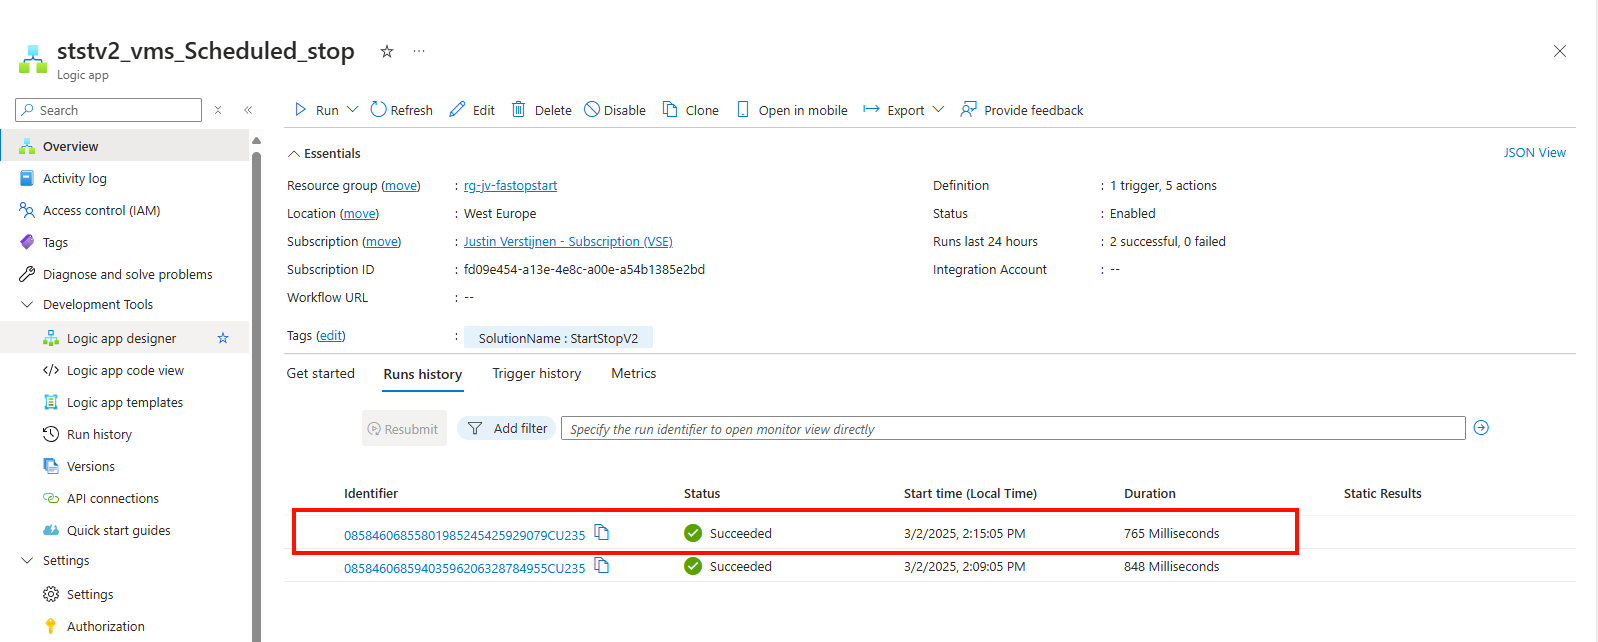
Maybe your time or timezone is incorrect. By going to the logic app and then the “Runs history” tab, you can view if the logic app has triggered at the right time.
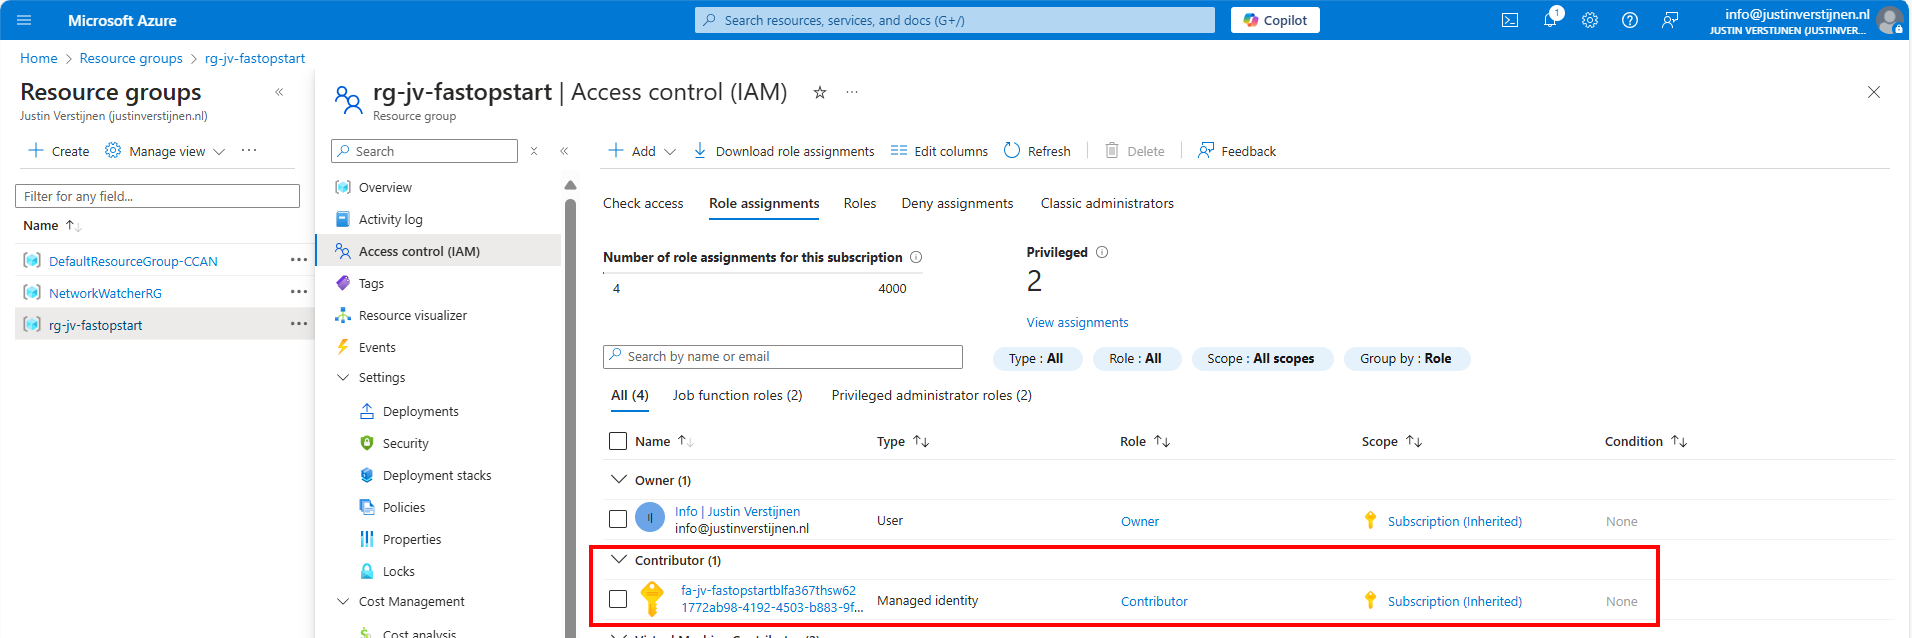
- Check permissions
The underlying Azure Function app must have the right permissions in your Resource Group to be able to perform the tasks. You can check the permissions by navigating to your Resource Group, and them check the Access Control (IAM) menu.
Double check if the right Functions App/Managed Identity has “Contributor” permissions to the resource group(s).
Configuring notifications
In some cases, you want to be alerted when an automatic tasks happens in Azure so if any problem ill occur, you are aware of the task being executed.
You can configure notifications of this solution by searching for “Notifications” in the Azure Portal and heading to the deployed Action Group.
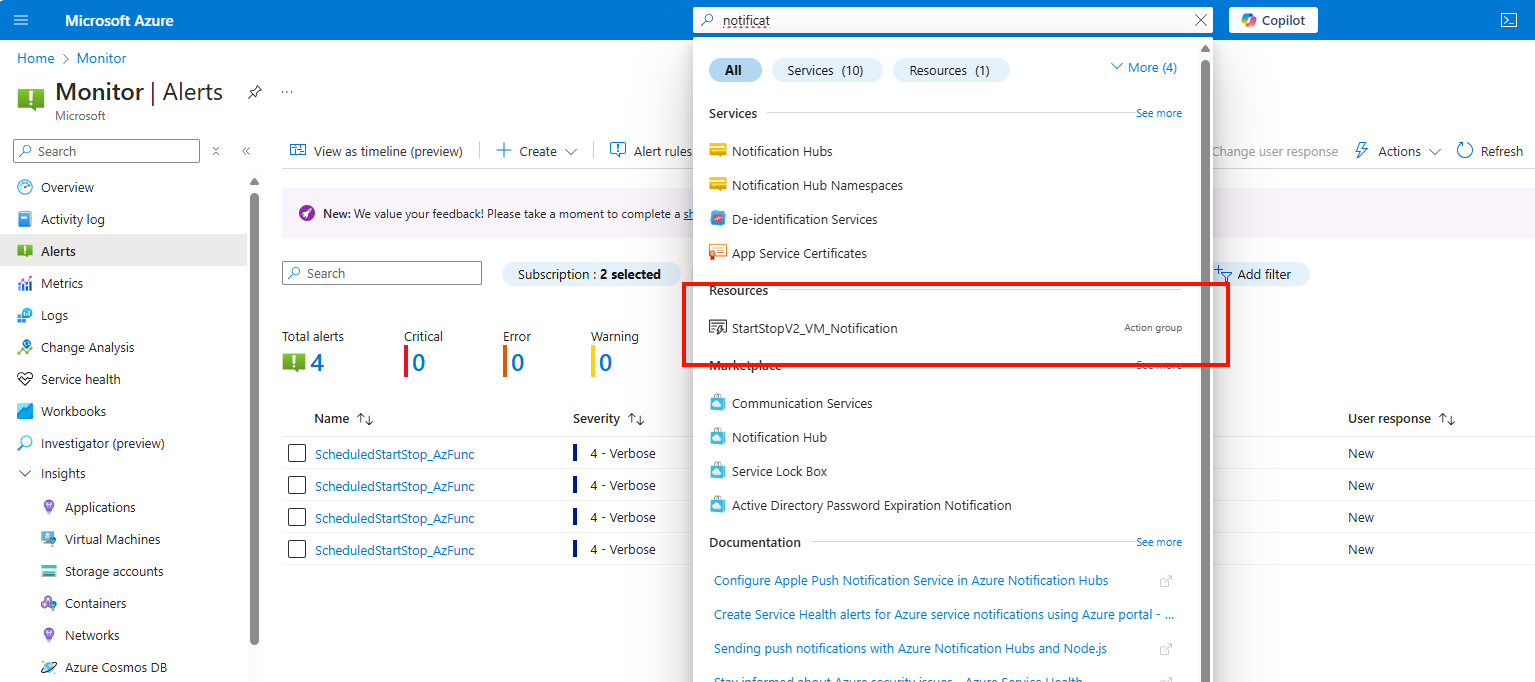
Here you can configure what type of alert you want to receive when some of the tasks are executed.
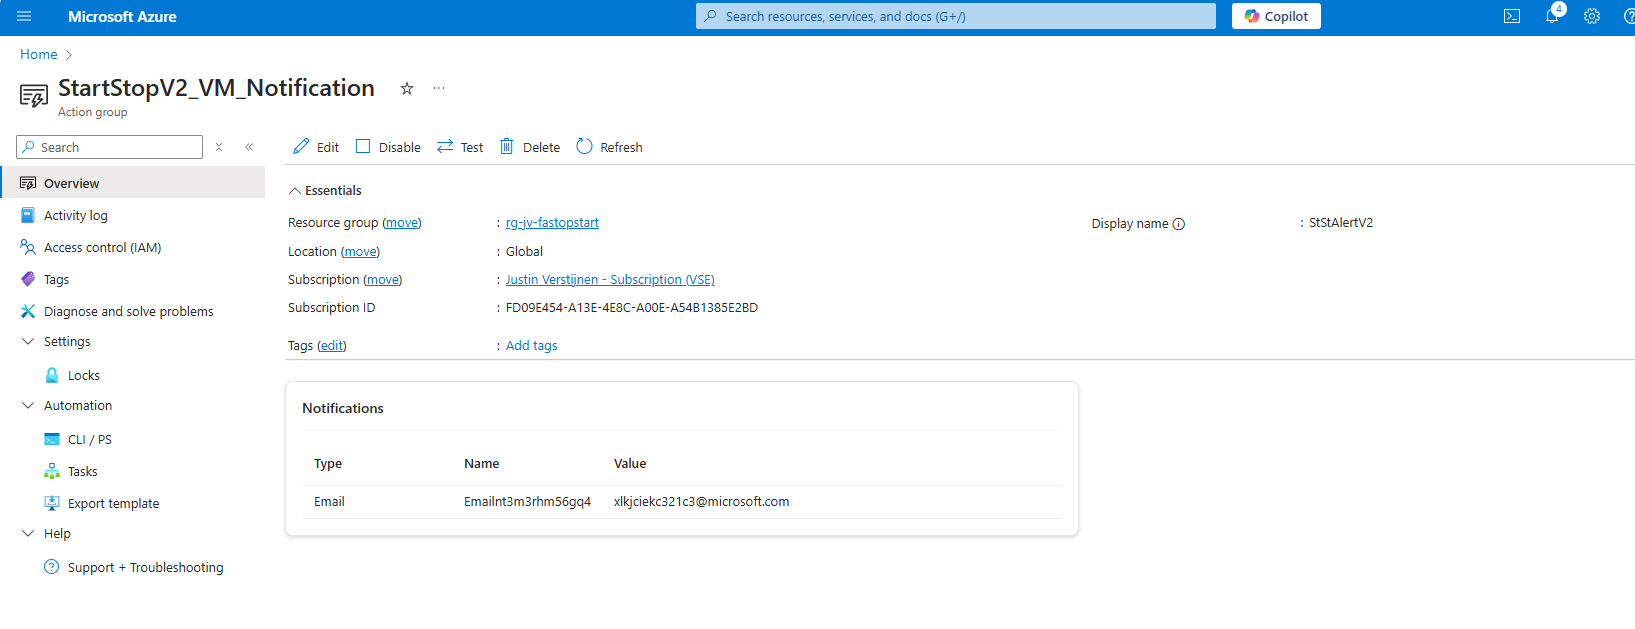
Click on the “Edit” button to edit the Action Group.
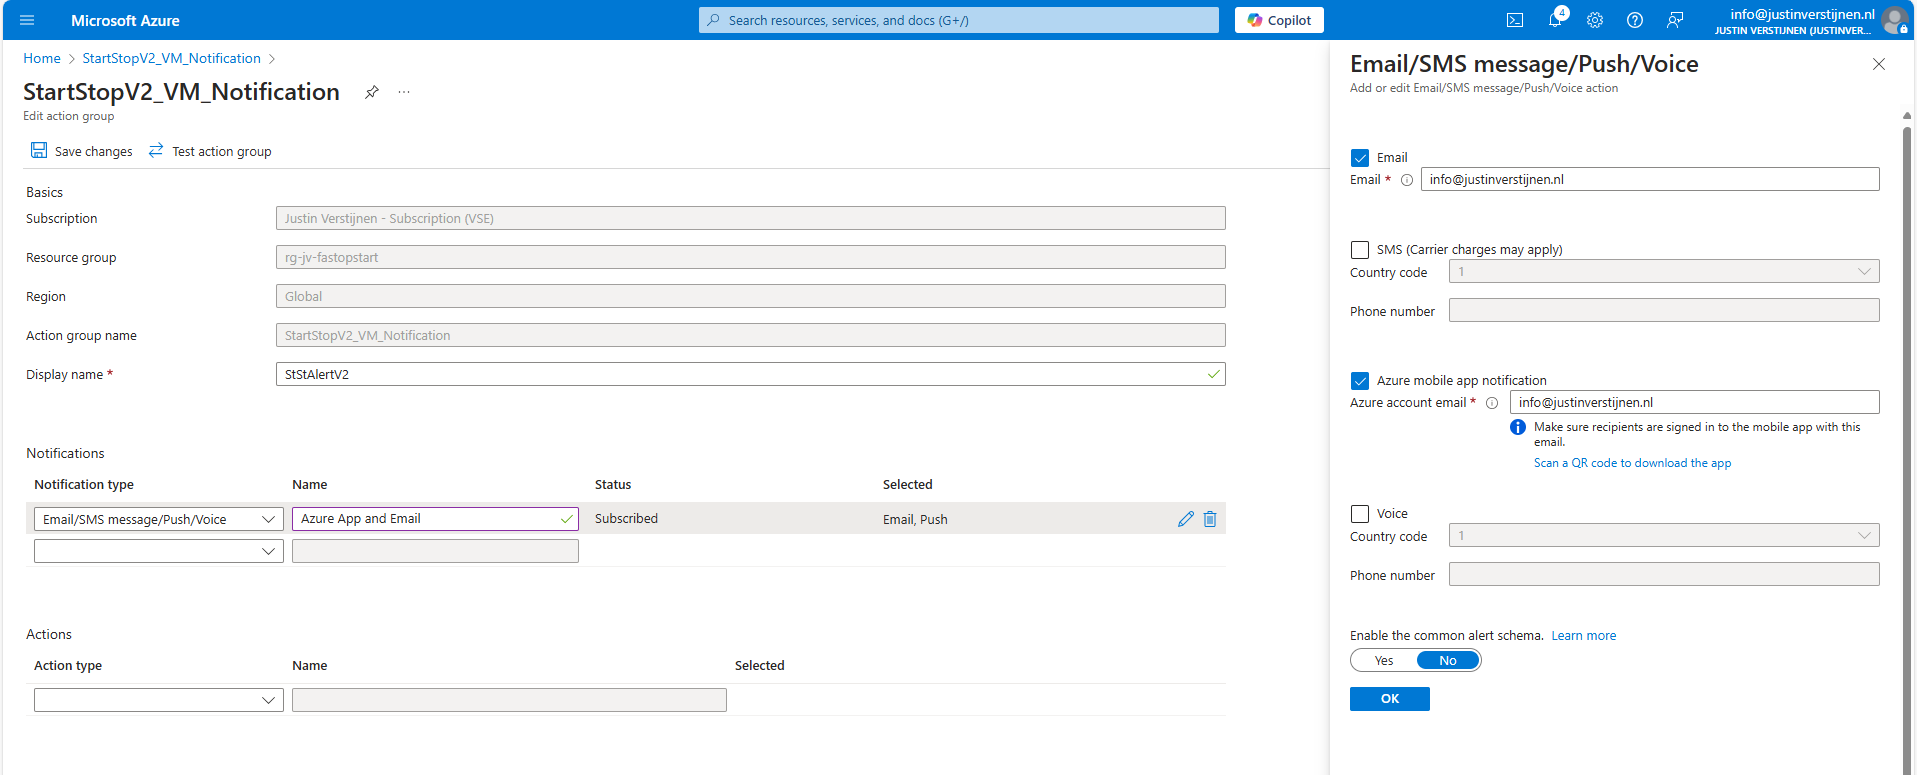
Here you can configure how you want to receive the notifications. Be aware that if this task is executed every day, this can generate a huge amount of notifications.
This is an example of the email message you will receive:
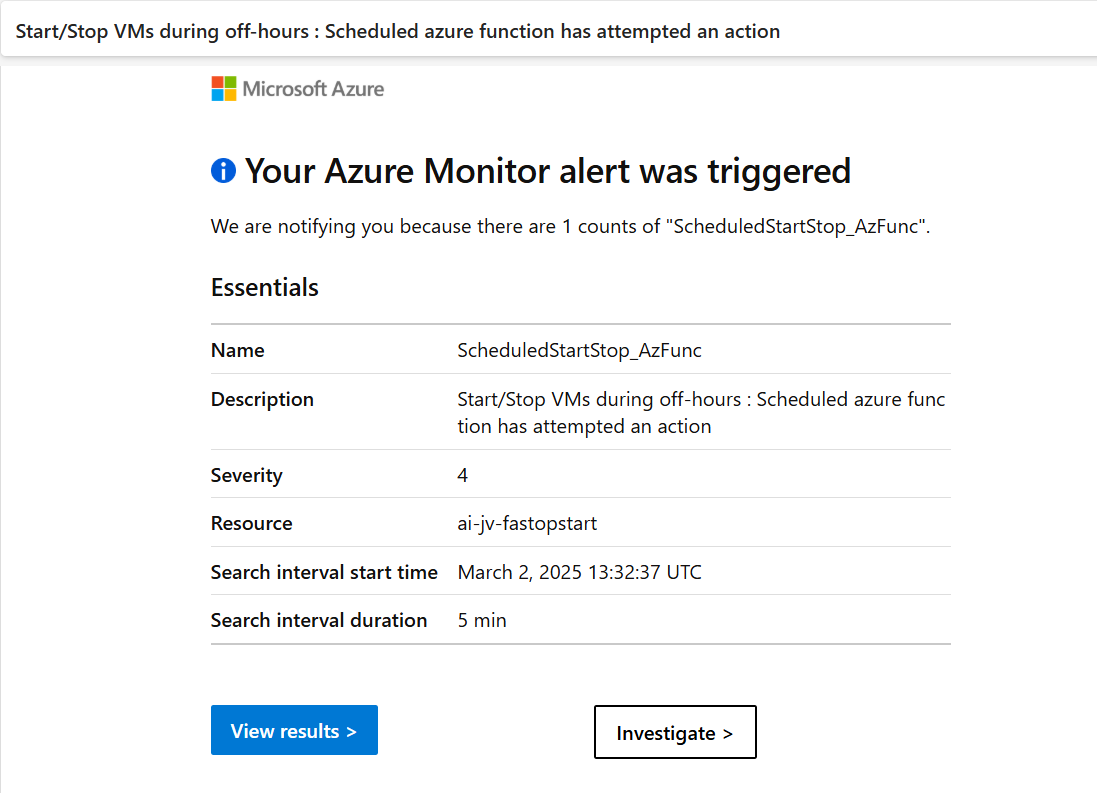
You can further change the texting of the notification by going into the alerts in Azure.
Summary
This solution is a excellent way to save on Azure VM consumption costs and shutting down VMs when you don’t need them. A great example of how computing in Azure can save on costs and minimize usage of the servers. Something which is a lot more challenging in On-premises solutions.
This solution is similar to the Scaling Plans you have for Azure Virtual Desktop, but then for non-AVD VMs.
Thank you for reading this page and I hope I helped you by saving costs on VM consumption in Microsoft Azure.
End of the page 🎉
You have reached the end of the page. You can navigate through other blog posts as well, share this post on X, LinkedIn and Reddit or return to the blog posts collection page. Thank you for visiting this post.
If you find this page and blog very useful and you want to leave a donation, you can use the button below to buy me a beer. Hosting and maintaining a website takes a lot of time and money. Thank you in advance and cheers :)

The terms and conditions apply to this post.