Sysprep script for Azure Virtual Desktop images
Categories:
4 minute read
One of the most common Sysprep errors is:
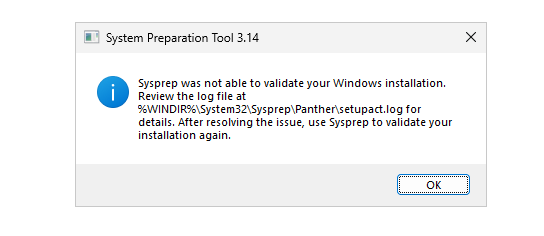
Sysprep was not able to validate your Windows installation.
Review the log file at %WINDIR%\System32\Sysprep\Panther\setupact.log for details.
And/or this one in the setupact.log file:
Package … was installed for a user, but not provisioned for all users. This package will not function properly in the sysprep image.
We often get this error during the last process of creating golden images for Azure Virtual Desktop, Windows 365 or the older Remote Desktop Services as we get more and more modern Appx packages. To resolve this issue, I created a script that does some automation tasks for us in this process to make our life easier:
- Disabling Bitlocker
- Checking the log files
- Removing AppX Packages which causes errors
- Starts Sysprep after all tasks are done and completed
You can find this script here:
Why do these Sysprep errors happen?
Sysprep prepares Windows for cloning and mass deployment. It removes machine-specific information like SID information, hardware references, drivers and settings. The problem is that modern Windows installations are full of AppX packages, Store applications and security features which can block this process.
Especially in Azure Virtual Desktop environments, admins often:
- Install organization-specific applications
- Run Windows updates
- Run optimizations
All these actions can leave behind states which Sysprep does not like. A very common issue is that some Windows Store applications become installed only for the currently logged in user instead of being provisioned system-wide. This causes Sysprep to stop because the image would become inconsistent after deployment to other machines.
Another common issue is BitLocker protection being enabled. Sysprep cannot generalize a machine while the operating system drive is still encrypted. This is the case when deploying V6/V7 VMs with Trusted Launch enabled. We then end up checking these logs:
| Log file | Purpose |
|---|---|
C:\Windows\System32\Sysprep\Panther\setupact.log | Detailed Sysprep actions and validation |
C:\Windows\System32\Sysprep\Panther\setuperr.log | Sysprep errors |
| Event Viewer | Additional deployment and AppX errors |
Then manually removing packages one by one with PowerShell commands until Sysprep finally works. This becomes even worse on Windows 11 multi-session images because there are many built-in AppX packages and some are updated automatically during image preparation.
Running the script
Using the script is simple. Download the script from GitHub and open PowerShell ISE as Administrator on your Azure Virtual Desktop reference machine as the last step, where you would normally open sysprep.exe. At this point, your image must be fully completed, where all these tasks are done:
- Optimizations are applied
- Organization specific applications are installed
- Latest Windows updates are installed
- The local account is cleaned up to save space
After opening PowerShell ISE as Administrator, open the script and first run this command to be able to run scripts for the duration of this PowerShell window:
Set-ExecutionPolicy Unrestricted -Scope Process -ForceThen you can run the script by clicking the green “Play” button. It will show on every step what it does:
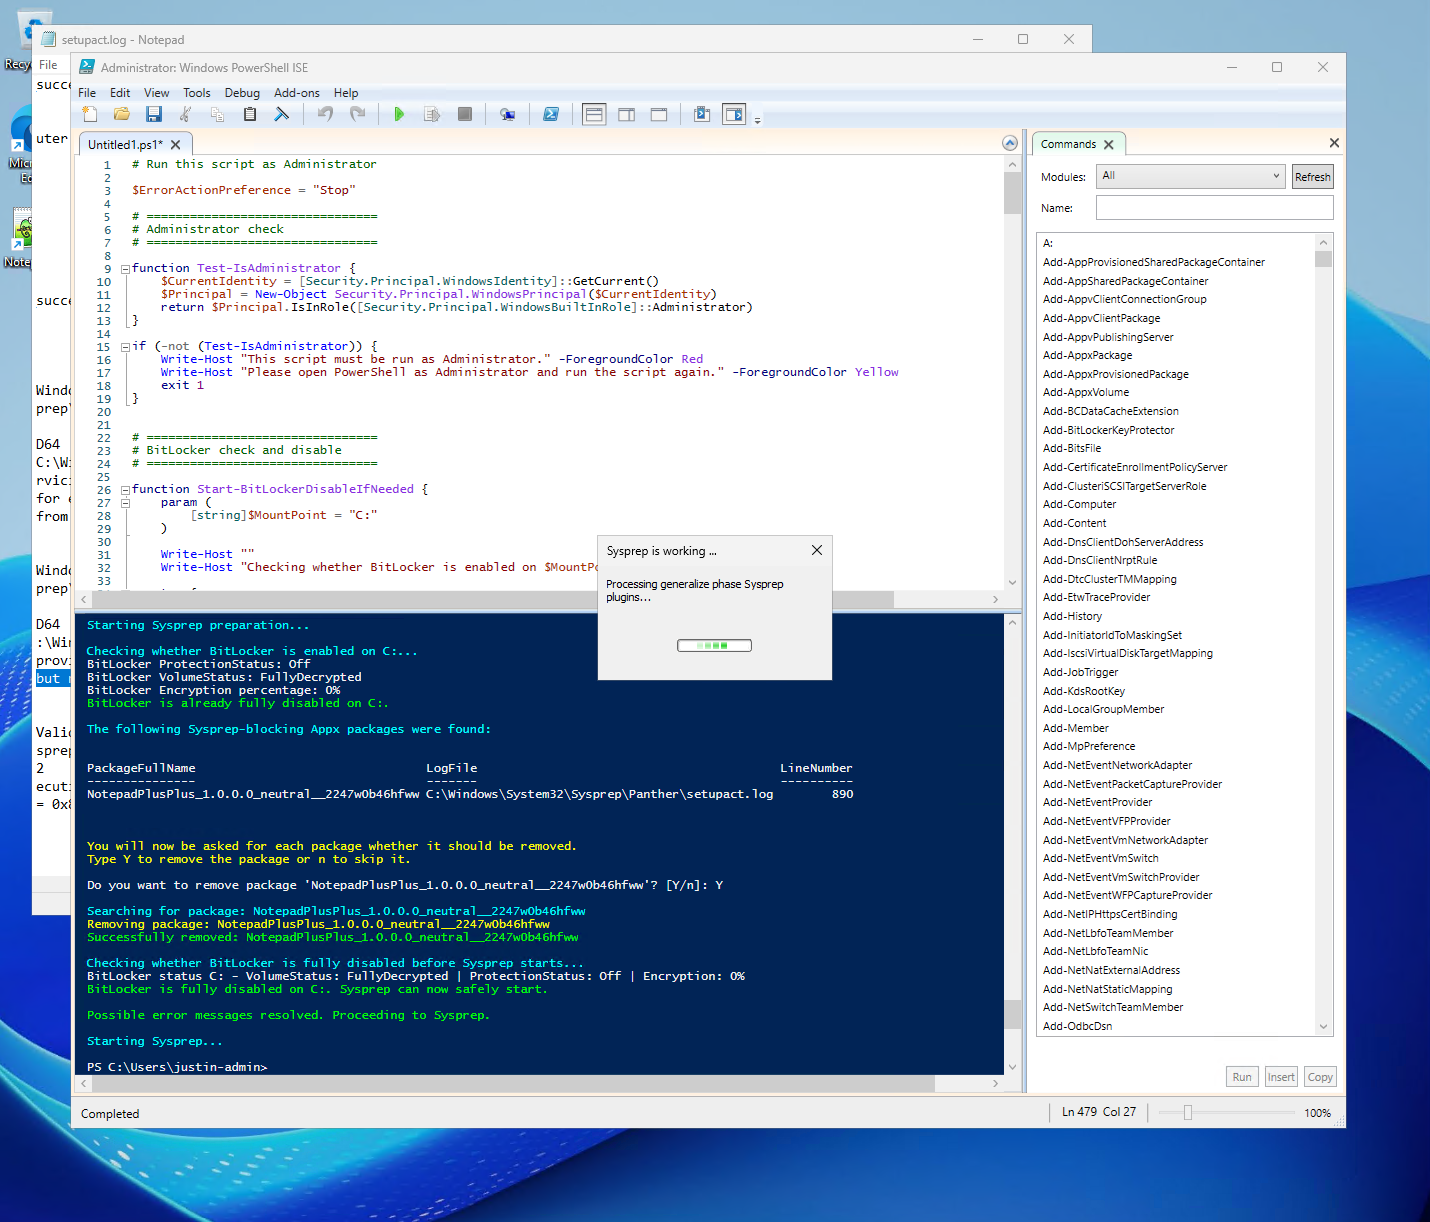
After every package is removed and Bitlocker is disabled, the Sysprep application will be started automatically and will shutdown the VM/machine. From there you can open the Azure Portal to capture it to your Compute Gallery.
This last sysprep step may take up to 15 minutes depending on the size of your Virtual Machine.
Summary
Sysprep failures on Azure Virtual Desktop images are usually caused by AppX package inconsistencies or BitLocker protection blocking the generalization process. Troubleshooting this manually can take quite some time because the errors are hidden inside setupact.log and setuperr.log files.
My PowerShell script automates a large part of this process by scanning the logs, detecting known issues and remediating them automatically. This makes the process of preparing Azure Virtual Desktop golden images much easier and more consistent. I find it very efficient and taking away much time troubleshooting and manually having to remove packages.
Thank you for reading this post and I hope it was helpful!
Sources
These sources helped me by writing and research for this post;
- https://github.com/JustinVerstijnen/JV-AVD-Sysprep
- https://learn.microsoft.com/en-us/windows-hardware/manufacture/desktop/sysprep--system-preparation--overview
- https://learn.microsoft.com/en-us/azure/virtual-machines/shared-image-galleries
- https://learn.microsoft.com/en-us/windows/application-management/appx-package-manager/appx-and-msix-faq
- https://justinverstijnen.nl/azure-compute-gallery-and-avd-vm-images/
End of the page 🎉
You have reached the end of the page. You can navigate through other blog posts as well, share this post on X, LinkedIn and Reddit or return to the blog posts collection page. Thank you for visiting this post.
If you find this page and blog very useful and you want to leave a donation, you can use the button below to buy me a beer. Hosting and maintaining a website takes a lot of time and money. Thank you in advance and cheers :)

The terms and conditions apply to this post.