Use Ephemeral OS Disks in Azure
Categories:
6 minute read
Requirements
- Around 25 minutes of your time
- An Azure subscription (if wanting to deploy)
- Basic knowledge of Azure
- Basic knowledge of servers and infrastructure
What are Ephemeral OS Disks?
Ephemeral OS Disks are disks in Azure where the data is stored directly on the hypervisor itself, rather than having a managed disk which could be resided at the very other end of a datacenter. Every cable and step between the disk and the virtual machine creates latency which will result in your machine being slower.
Ephemeral OS Disk topology
Now this looks really how it normally should look.
Managed OS Disk topology
Now, let’s take a look at how normal, Managed disks work:
Topologies are simplified for more understanding.
As you can see, they could be stored anywhere in a datacenter or region. It could even be another datacenter. We can’t see this in the portal. We only see that a VM and disk are in a specific region and availability zone, but we don’t have further control.
Configuring Ephemeral OS Disks so mean much less latency and much more performance. Let’s dive into the pro’s and cons before being overjoyed.
Pro’s and Cons of Ephemeral OS Disks
Now let’s outline the pro’s and cons of Ephemeral OS Disks before jumping into the Azure Portal and configuring them:
| Pro | Con | Difference with managed disk |
| Very high disk performance and great user experience | Only support for VM sizes with local storage (includes non-capital “d” in size: D8dv4, E4ds_v6 | Managed disks support all VM sizes |
| No disk costs | Deallocation of VM not possible, VMs must be on 24/7 | Deallocation possible, saving money when VMs are shutdown and deallocated |
| Data storage is non-persistent, this means when a VM is redeployed or moved to another host, you data will be gone | Managed disks are persistent across a complete region | |
| No datacenter redundancy, VMs stay in the same datacenter for its lifetime | Datacenter redundancy and region redundancy possible with ZRS and GRS | |
| Resizing of disk not possible | Resizing possible (only increase) | |
| Backup, imaging or changing disk after deployment not possible | Backup, imaging and changing disks possible |
As you can see, this is exactly why I warned you for the cons, because these cons make it unusable for most workloads. However, there is at least one use-case where I can think of where the pros weigh up to the cons: Azure Virtual Desktop.
Theoretical performance difference
According to the Azure Portal, you have the following performance difference when using Ephemeral OS disks and Managed disks for the same VM size:
When using a E4ds_v6 VM size (and 128GB size disk);
| Disk type | IOPS | Throughput (Mbps) | |
| Ephemeral OS disk | 18000 | 238 | |
| Managed OS disk | 500 | 100 |
Let’s deploy a virtual machine with Ephemeral OS disk
To deploy a new virtual machine with a Ephemeral OS disk, follow these steps:
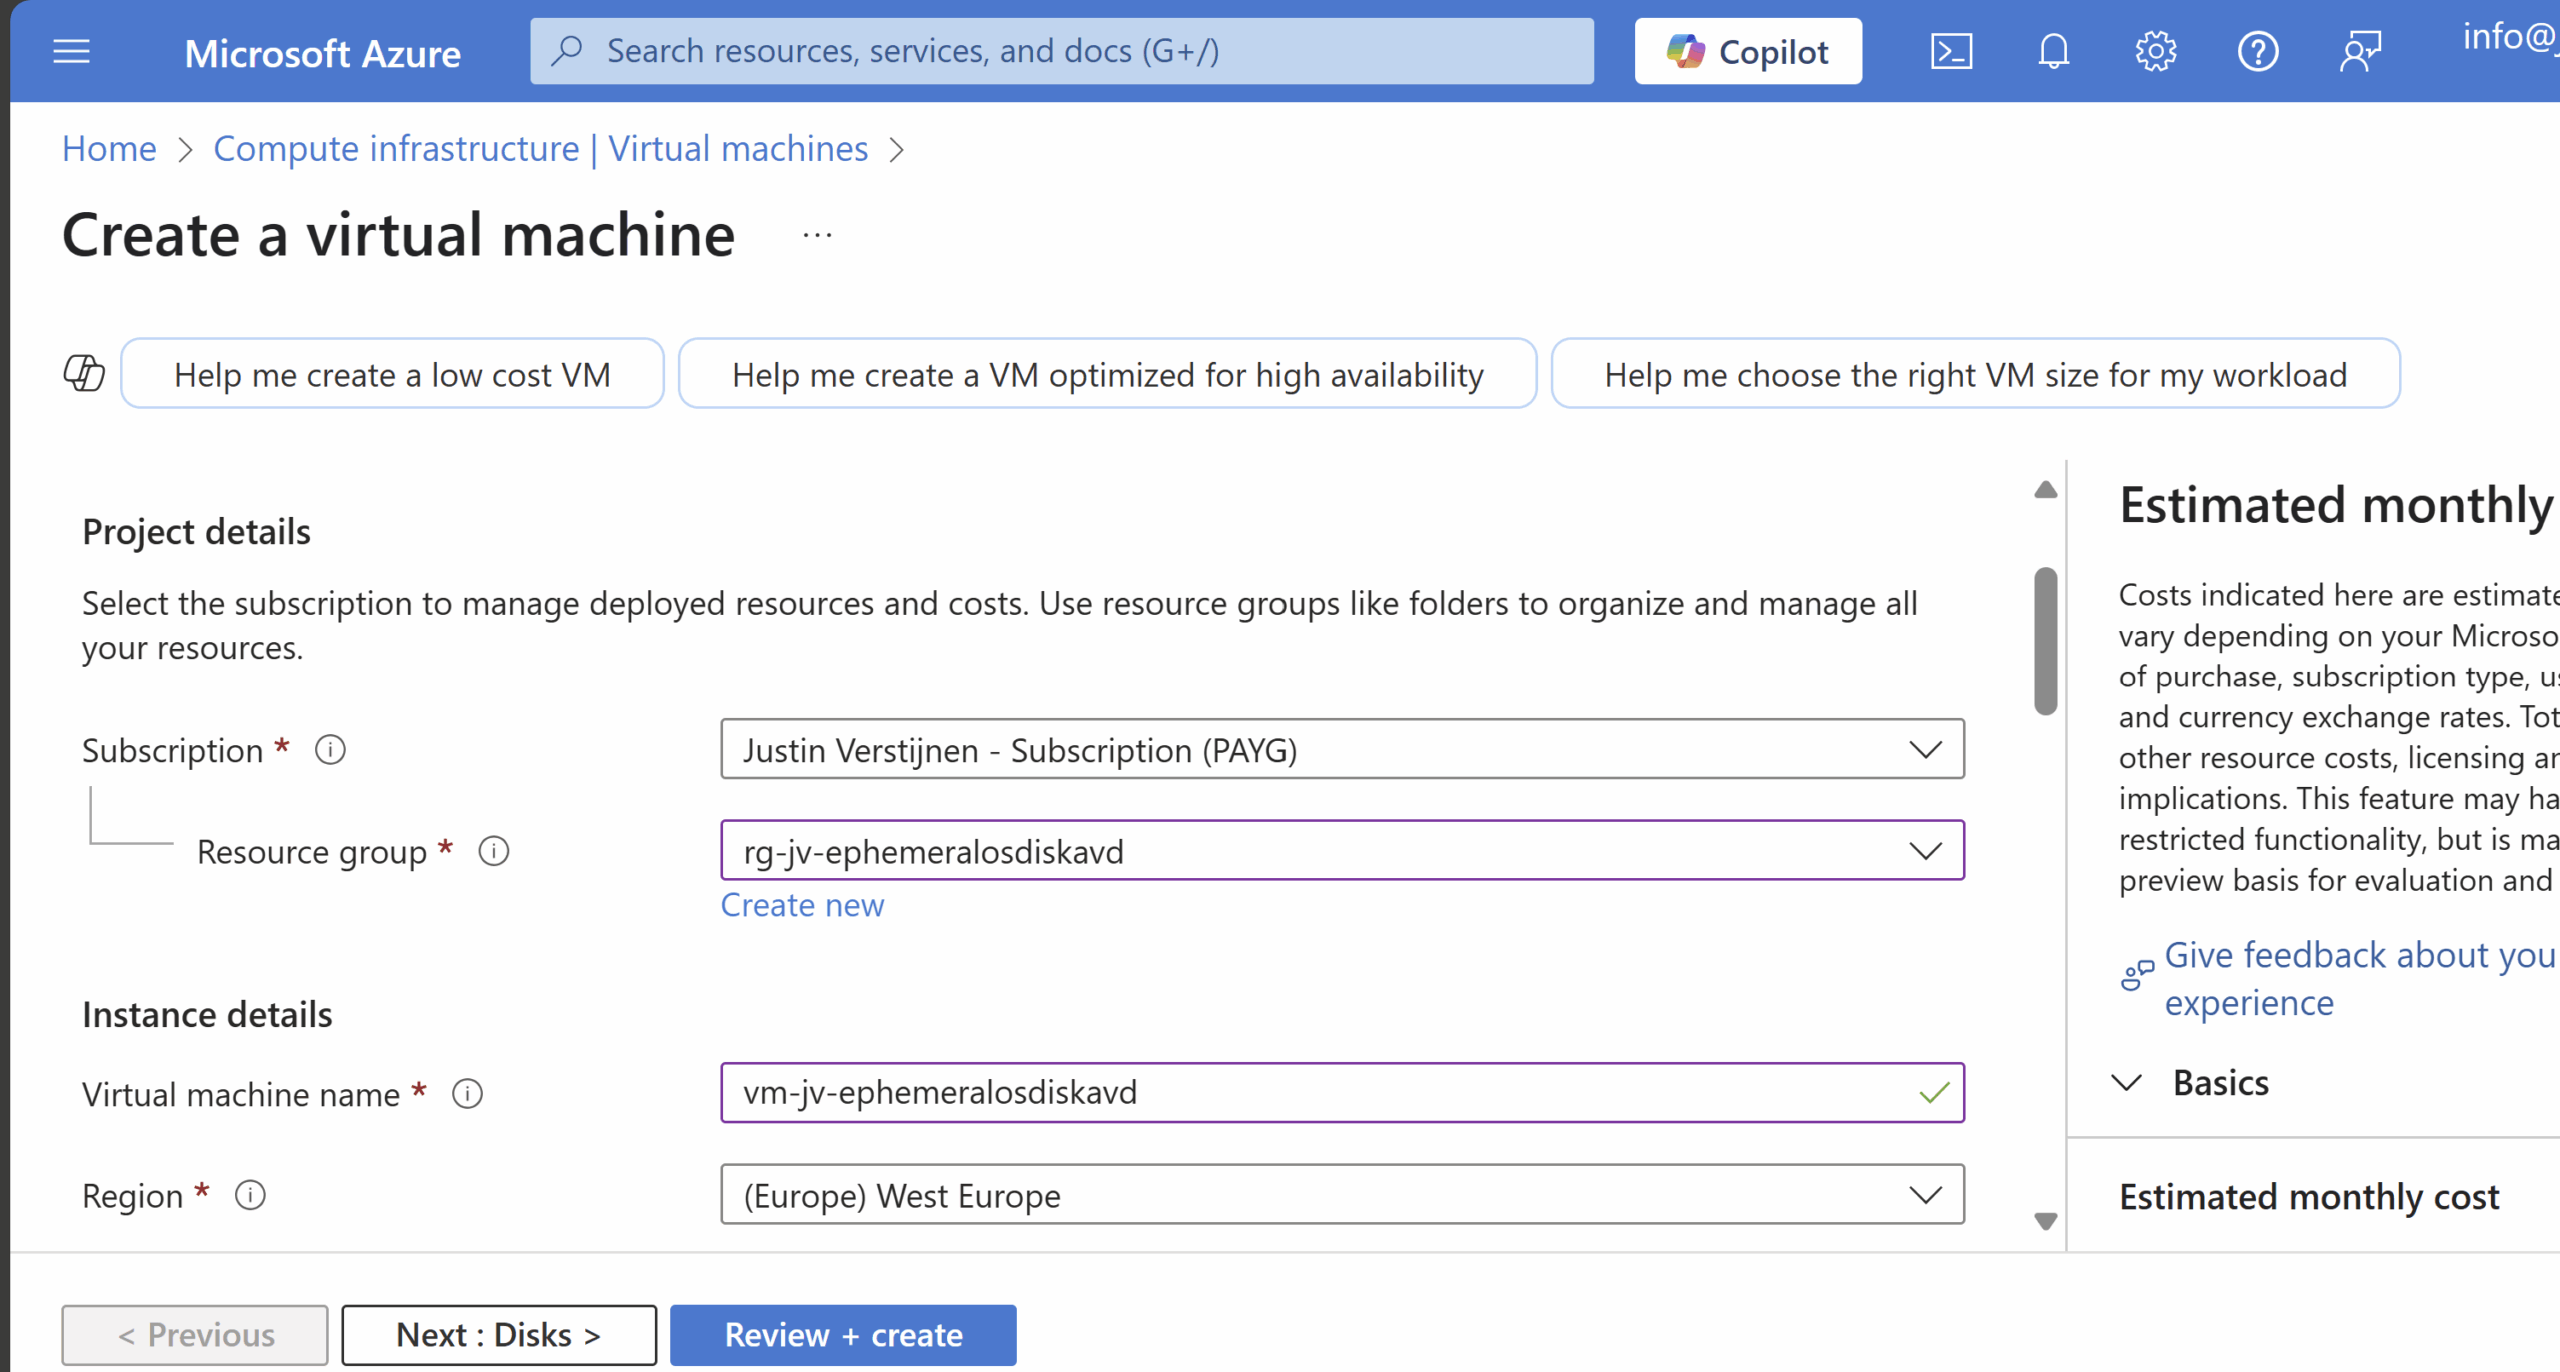
Login to the Azure Portal, and deploy a new virtual machine:
- Select a resource group
- Give it a name
- Disable availability zones (as this is not supported)
- Select your image (Windows 11 24H2 Multi-session in my case)
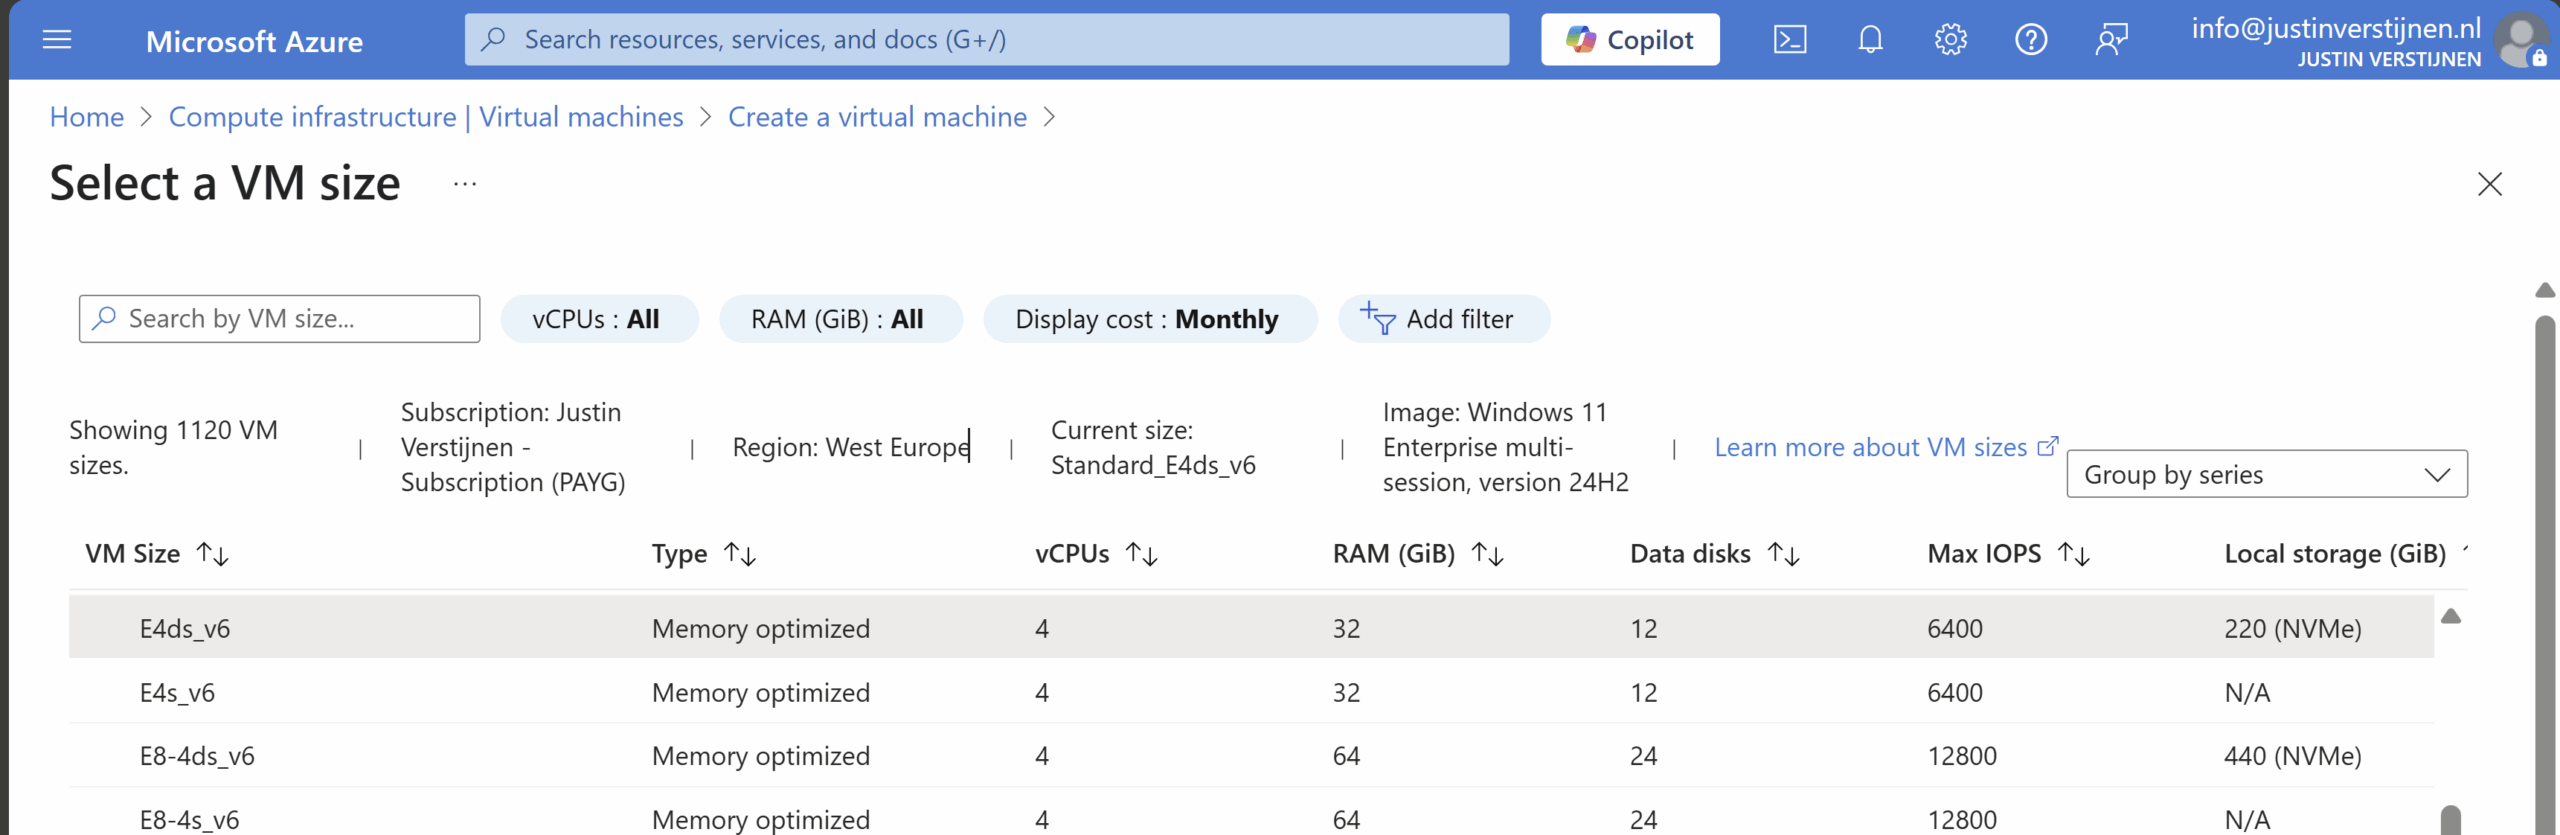
Now we have to select a size, which mus contain a non-capital “d”. This stands for having local NVME storage on the hypervisor which makes it bloody fast. In my case, I selected the vm size: “E4ds_v6”
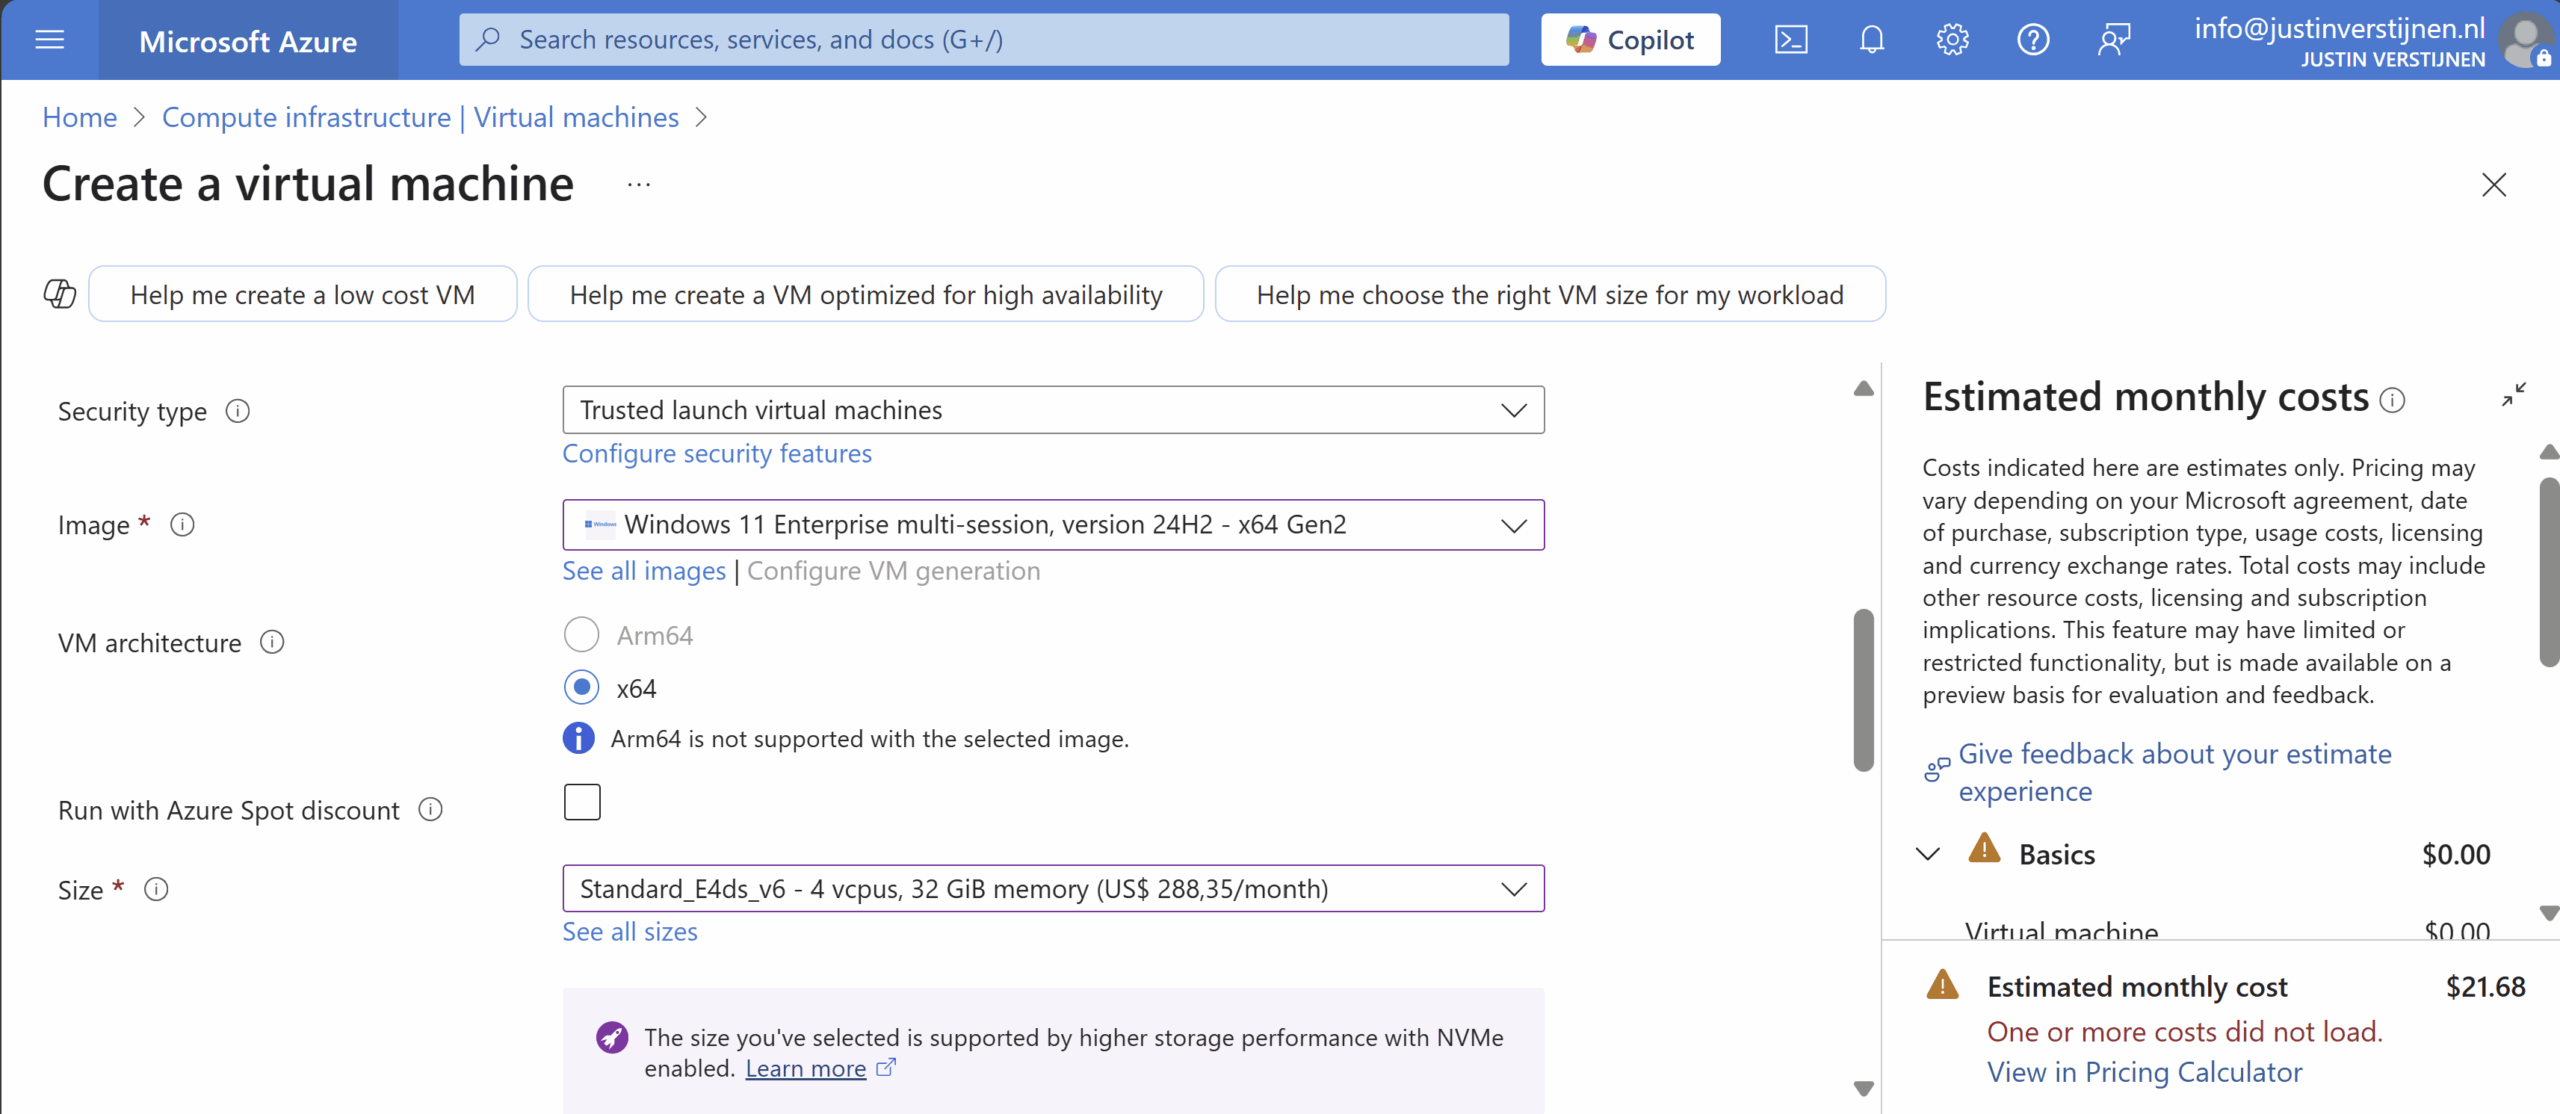
Now the wizard looks like this:
Proceed by creating your local account and advance to the tab “Disks”.
Here we have to scroll down to the “Advanced” section, expand it and here we have the hided options for having Ephemeral OS disks:
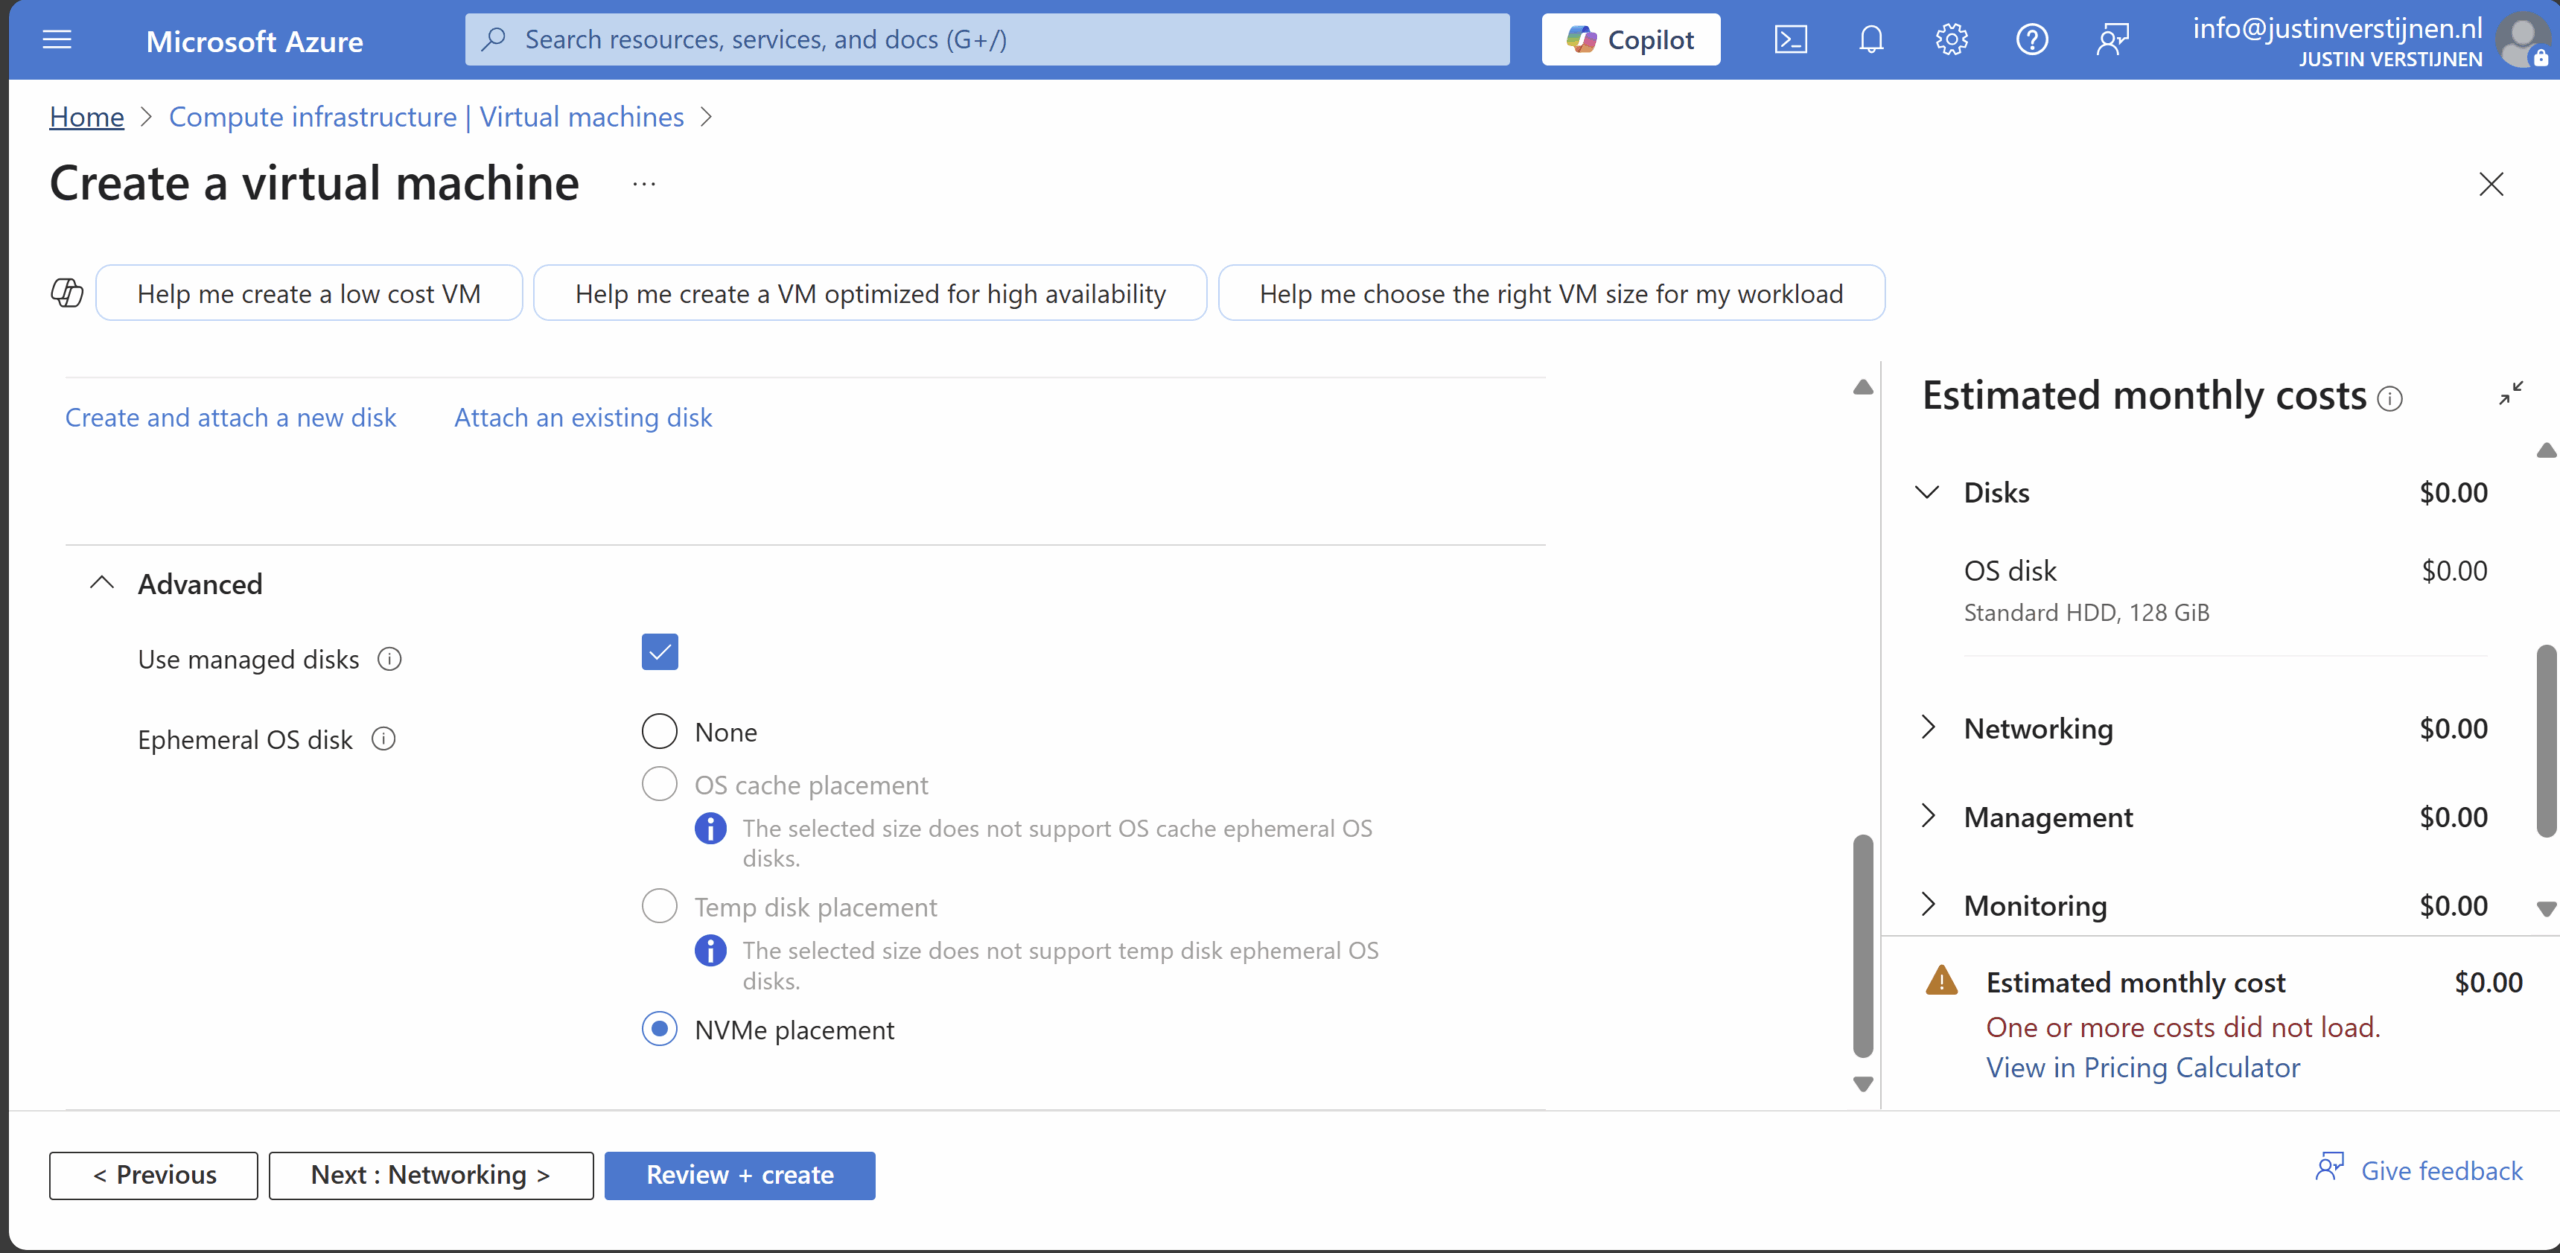
Select the “NVME placement” option and let the option “Use managed disks” checked. This is for additional data disks you link to the virtual machine. The Ephemeral OS disk option requires you to enable it.
Finish the rest of the wizard by selecting your needed options.
Testing Ephemeral OS disk performance
Now that the virtual machine is deployed, we can log into it with Remote Desktop Protocol:
In my test period of about 15 minutes, the VM feels really snappy and fast.
Performance testing method
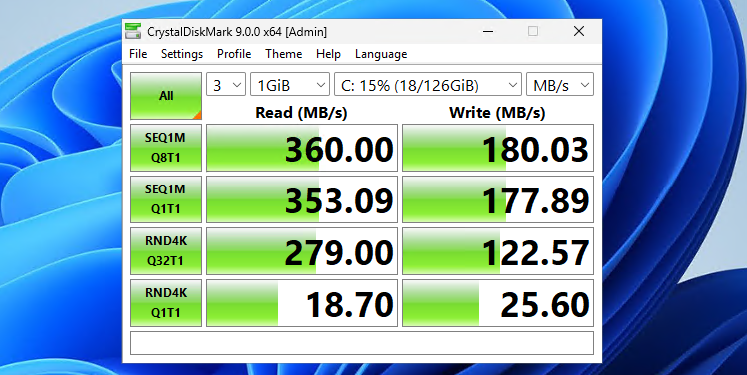
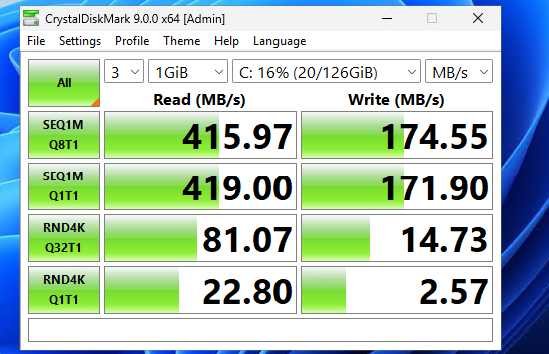
To further test the speed of the VM storage, I used a tool called Crystal Disk Mark. This is a generic tool which tests the disk speed of any Windows instance (physical or virtual).
Performance testing results
To have a great overview of the speeds, I have created a bar diagram to further display the test results of the different tests, each separated by read and write results:
Conclusion from test results
My conclusion from the test results is that Ephemeral OS disks does provide more speed when doing specific actions, like in the random 4KB tests, where it delivers 3 to 10 times te performance of managed disks. This is where you actually profit from the huge increase in Input Output operations Per Second (IOPS)
The sequential 1MB speeds are quite similar to the normal managed disks, in the read cases even slower. I think this has to do with traffic or bottlenecking. As my research goes, disk speed increases when the size of the VM increases, but I could not go for like D64 VMs due of quota limits.
Both of the test were conducted between 20 minutes of each other.
Raw data
Here is the raw data of the tests. 360/180 at the top is Ephemeral and 415/174 at the top are Managed disk results.
Summary
Ephemeral OS Disks ensure the VM is powered by great disk performance. Storage will not longer be a bottleneck when using the VM but it will be mostly CPU. However, it comes at the cost of not being able to perform some basic tasks like shutting down and deallocating the machine. Restarting is possible and these machines have an extra option, called “Reimage”, where they can be built again from a disk/image.

If using VMs with Ephemeral OS disks, use it for cases where data loss is no issue om the OS disk. All other data like data disks, data on storage account for FSLogix or outside of the VM is unharmed.
Sources
- https://learn.microsoft.com/en-us/azure/virtual-machines/ephemeral-os-disks
- https://justinverstijnen.nl/amc-module-7-virtual-machines-and-scale-sets/
Thank you for reading this guide and I hope it was helpful.
End of the page 🎉
You have reached the end of the page. You can navigate through other blog posts as well, share this post on X, LinkedIn and Reddit or return to the blog posts collection page. Thank you for visiting this post.
If you find this page and blog very useful and you want to leave a donation, you can use the button below to buy me a beer. Hosting and maintaining a website takes a lot of time and money. Thank you in advance and cheers :)

The terms and conditions apply to this post.